
Since adding shiplap to my living room a few months ago, I have been obsessed with the idea of installing more. The warmth and instant charm it adds has me hooked! Many friends warned me that this would happen…they said once you start shiplapping you just can’t stop. And OH MY GOSH were they right!
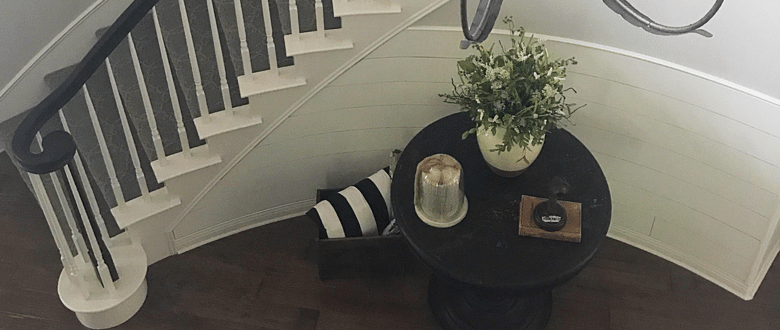
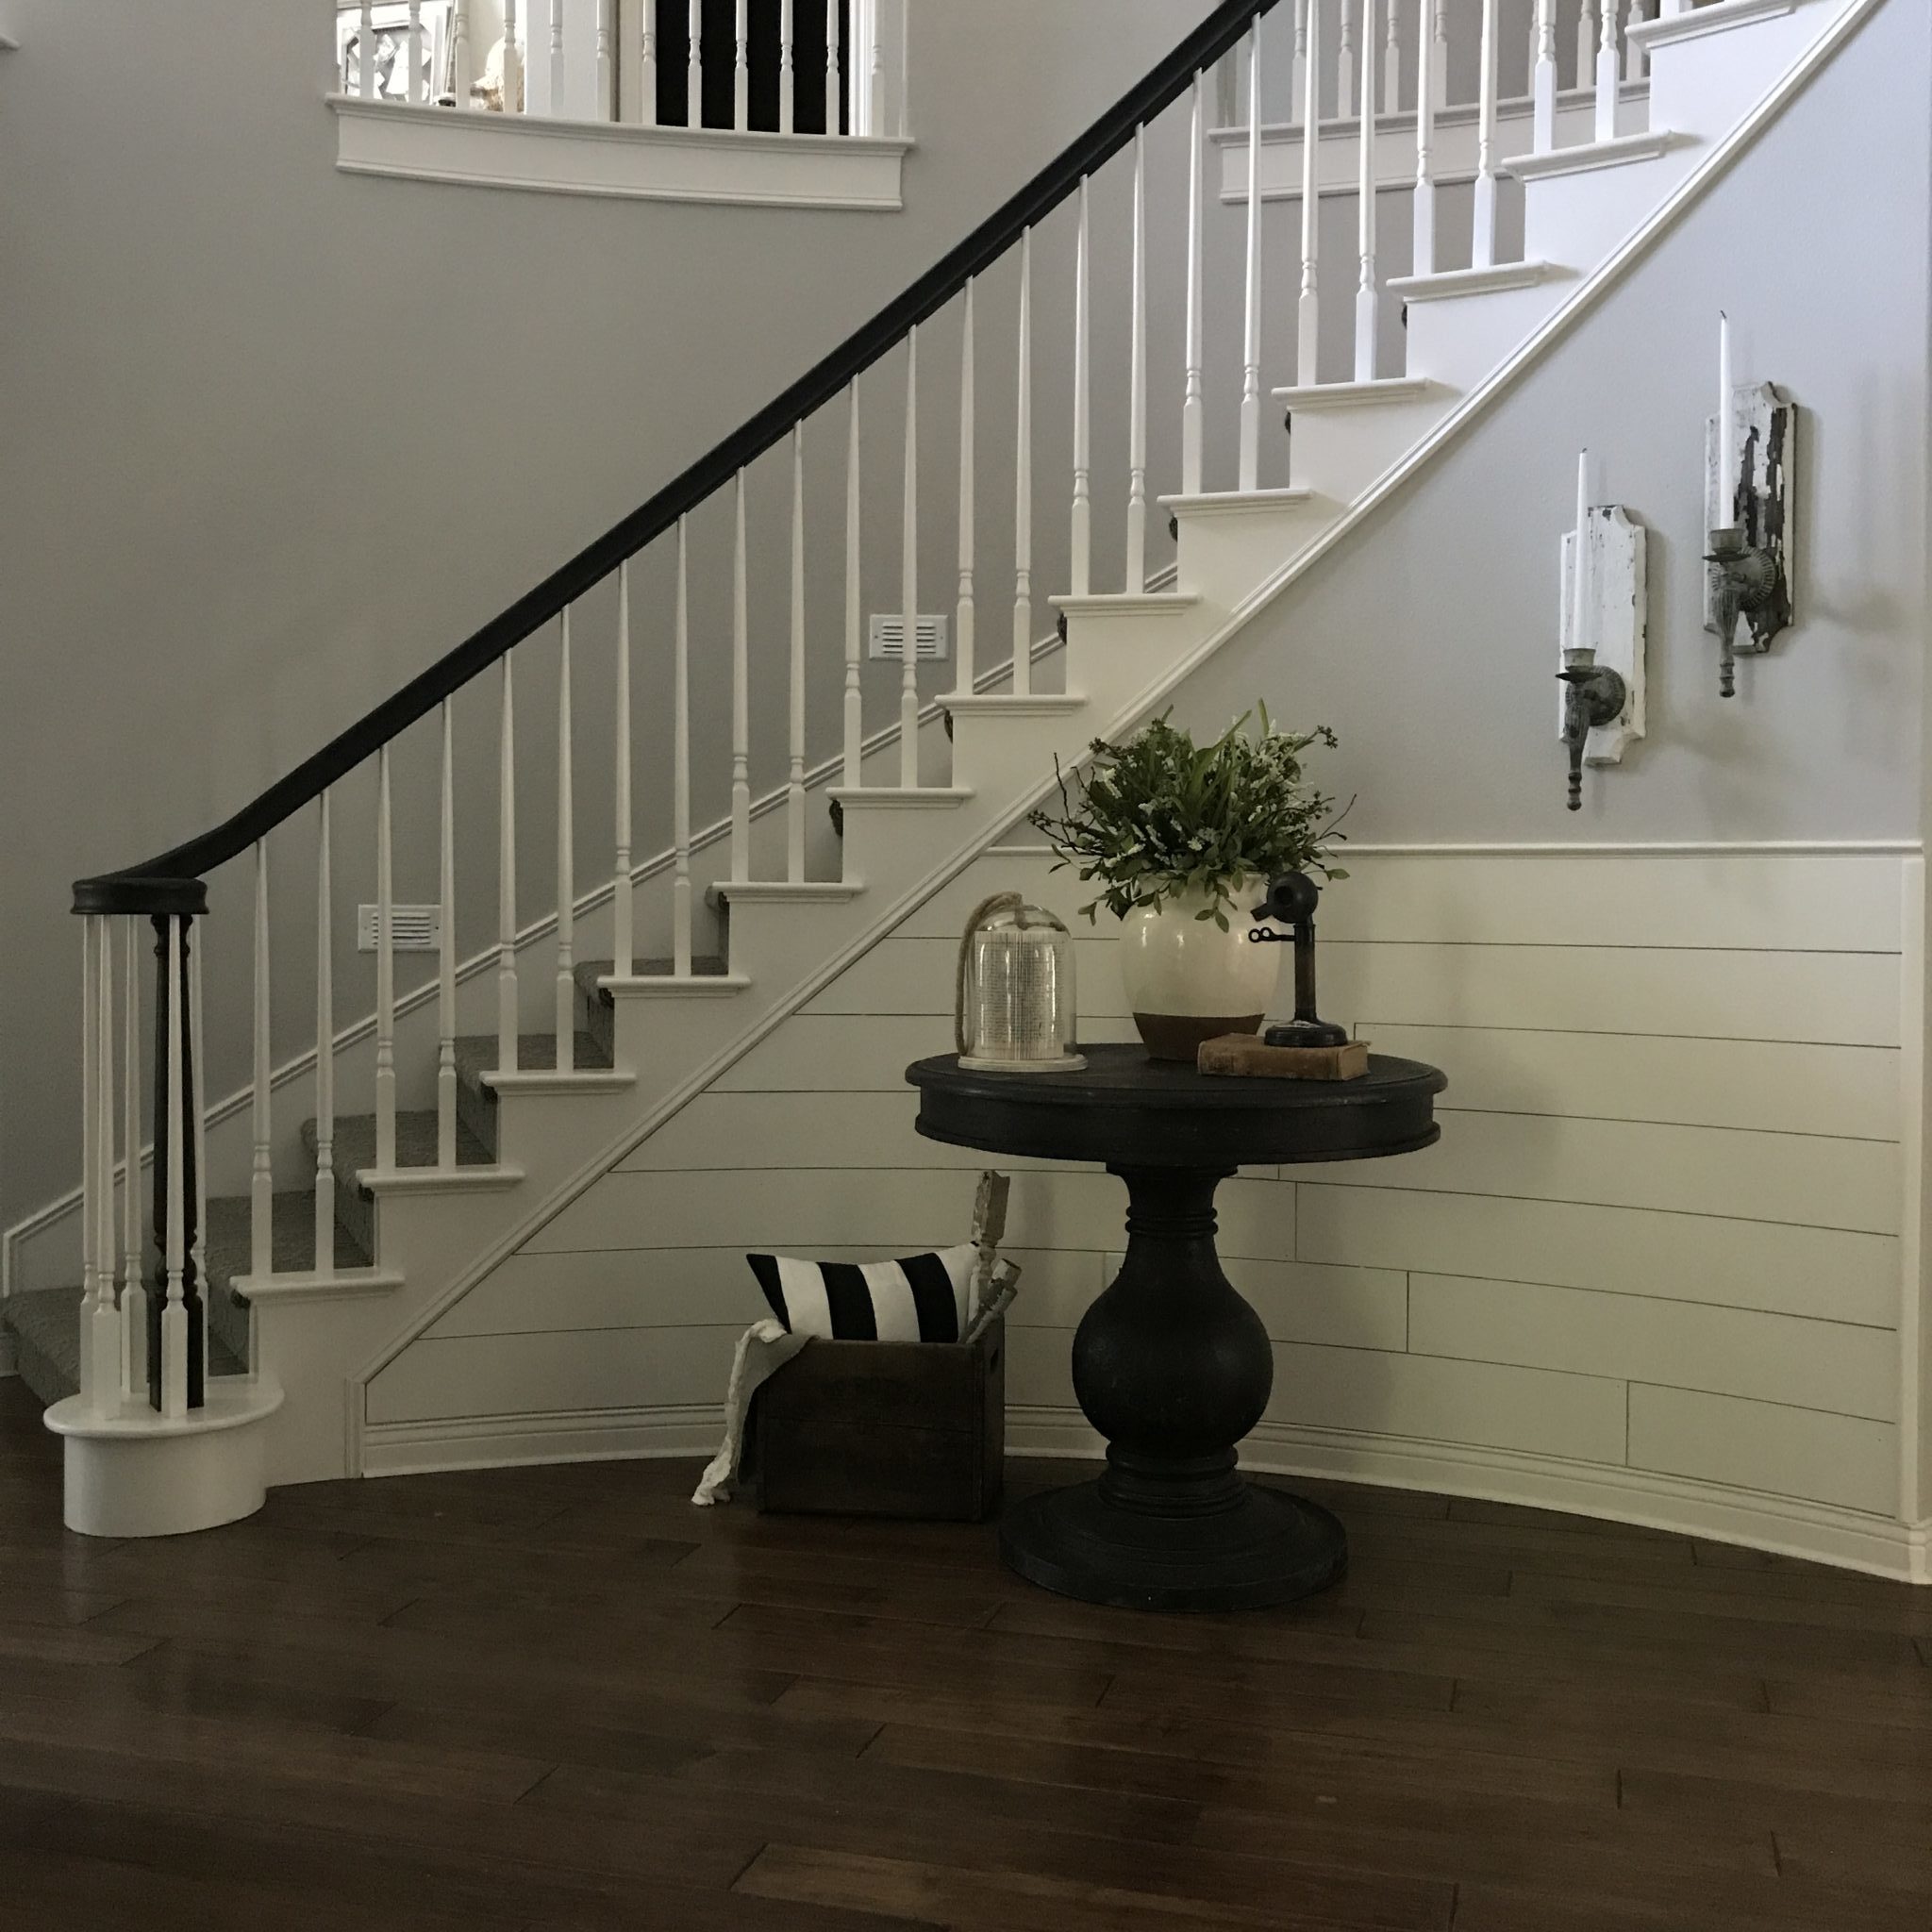
When we moved into this house, I knew I wanted to add some wood detail to accentuate the curved wall below the staircase but I wasn’t exactly sure what I wanted. After shiplapping in the living room…I had this crazy idea to create a 1/2 wall of shiplap, wainscot style!! Truth be told, if I was living in a real “farmhouse” I would probably have shiplapped the entire wall and the rest of my foyer (and probably every other wall in the house).
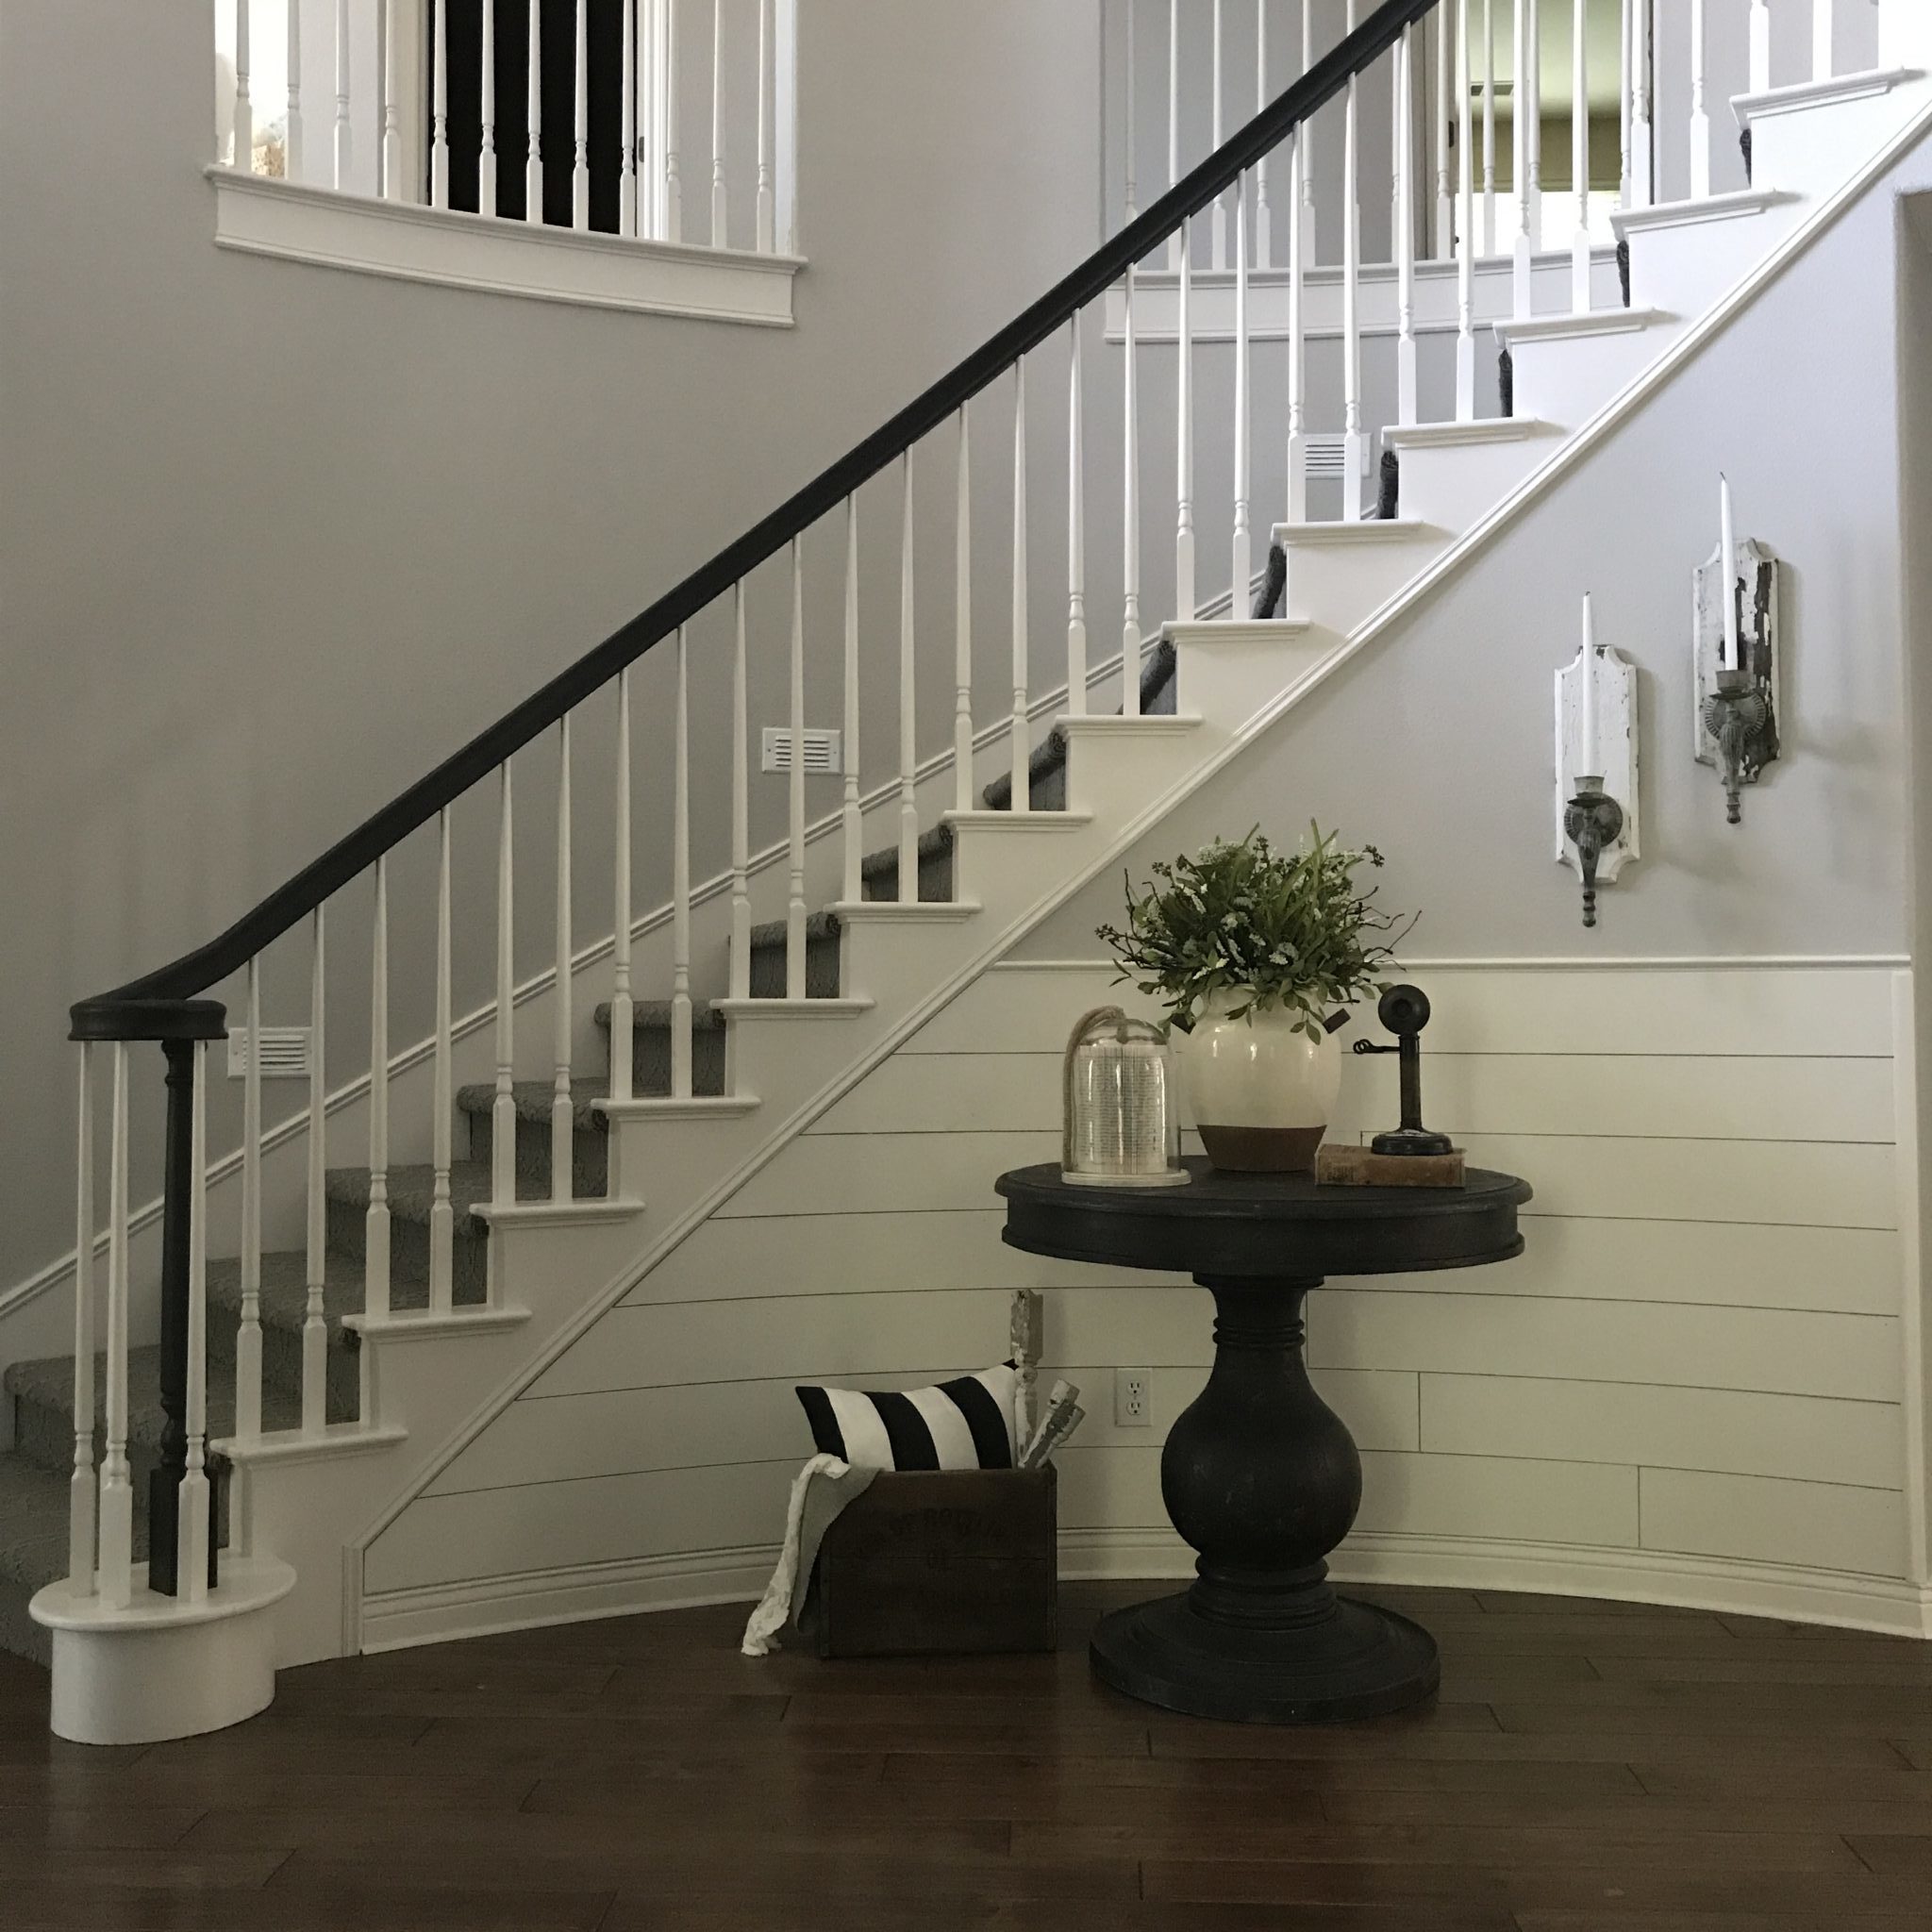
But, I live in a quaint neighborhood in a master planned community in Souther California. I am trying to quench my thrust for all things farmhouse, but still try to keep in mind that if we had to sell this house tomorrow….a new buyer (as crazy as this sounds to us shiplap lovers) likely wouldn’t want every single wall to be covered in faux shiplap with millions of tiny nail hole – OMG! And there you have it….exactly why I decided to do a 1/2 wall in the entry and why the majority of the spaces I add shiplap too, will be accent wall and not entire rooms (UNTIL me and the hubs get a real farmhouse….THEN watch out!)
Ok…so the important stuff…how shiplap a curved wall!
Here are the supplies you will need for this project:
- 1/4” Maple Plywood (see details below)
- Finishing molding for the side and top of the shiplap
- GLOVES (absolute MUST or you will have splinters for days)
- Light grit sand paper
- Long level stick
- Nail Gun
- 2” finishing nails
- Wood glue (A MUST!!)
- Miter Saw (click HERE to see which saw I purchased and why)
- Popsicle sticks (aka your shiplap spacing tool)
- Safety glasses
- Measuring tape
- Caulk
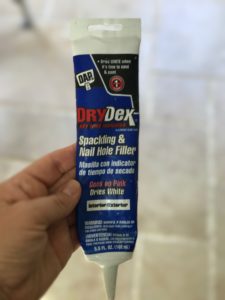
- Nail Filler
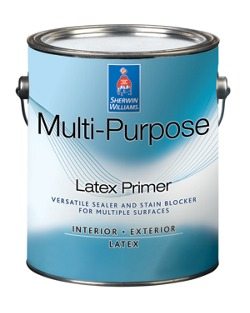
- Primer
- Paint
- Painters Tape
- Paint Brushes
- Drop cloth if you are a messy painter
- Construction paper or butcher block paper (to create a template for your cuts if needed)
Below is an except from my previous post on shiplapping an entire wall or room. It details the type of wood that I used, why I selected it and where I purchased it. After I shiplapped my first wall, I had so much wood left over that I was able to use my leftovers to create this 1/2 wall. The .25” thick plywood was a perfect material to work with for this project. It was thick enough to give the illusion of real shiplap BUT was thin enough that I was easily able to bend it to the wall. Read more below! Click HERE to read my previous shiplap wall post.

Stack of ripped plywood – sanded and ready to install.
PLYWOOD DETAILS
I did a lot of reading and research before I attempted to install shiplap myself. I read that .25” thick maple plywood in 4’ x 8’ sheets would be my most cost effective option to give me the look I wanted at the price I NEEDED. I also decided to have my wood precut. I had the wood ripped into strips (“ripped” meaning cutting down the sheets of plywood into my shiplap pieces). Many home/hardware stores will cut the wood you purchase for you at a small fee per cut. I highly recommend this option if you have a big project you want to undertake AND it also made it easier for me to transport the wood having it cut smaller.
I purchased my plywood at Home Depot. They were so helpful and patient with me and cut all of my 4’ x 8’ x .25” boards into 6” strips. Just ask them to “rip” the boards into whatever size shiplap you want (5-8” usually) and you pay about .$50 per cut. It cost me $18 to have 6 boards cut (well worth the money in my mind!). And I didn’t need to pre-order the wood or cutting and was able to have it done when I went to the store. Just be mindful that you may have to wait in line to have your wood milled because there were a few other people doing the exact same thing when I was there 🙂
Before installing each board, I quickly used a light/medium grit sand paper on the cut edges of the wood stripes to clean up any rough cuts (and help us get less splinters!) I strongly recommend keeping a pair of gloves on throughout the installation process….I promise you will thank me for that!
Once you have your wood cut and ready it’s time to install.
*****
Ok! So hopefully that helps explain what I used and why it was the perfect solution for this project. It was inexpensive and easy to work 😉
INSTALLATION
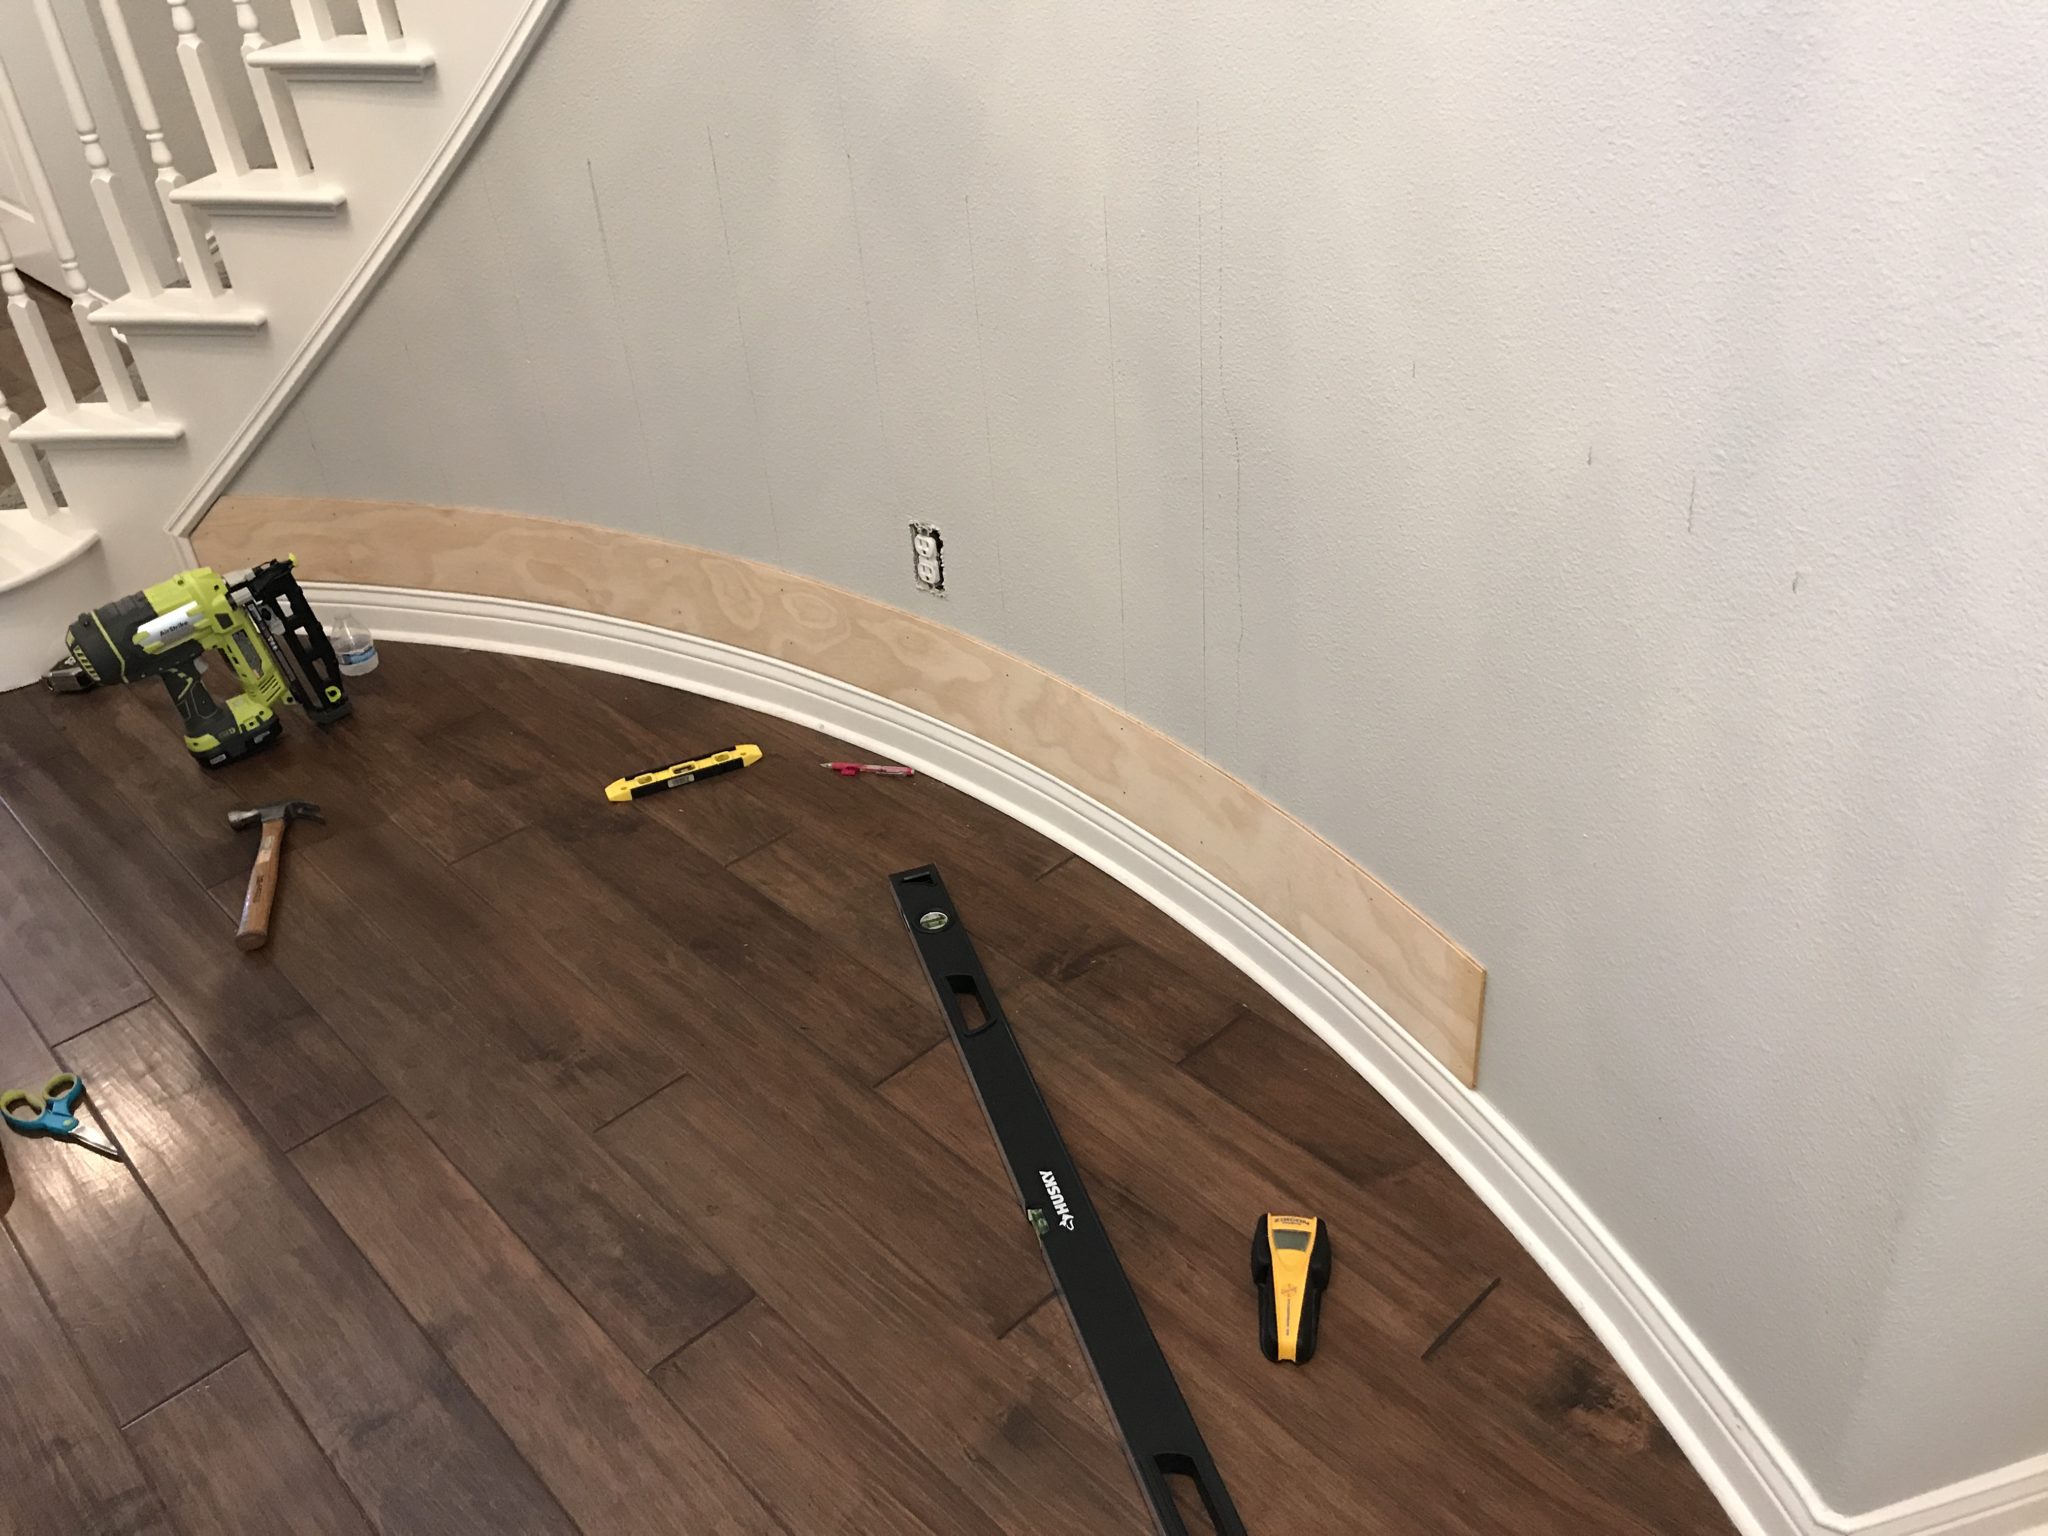
Step 1: Locate the studs. We used a stud finder to help us pinpoint the best places to nail our shiplap. We drew lines down the wall so we could easily follow the studs and minimize the number of nails we needed. However, as we started installing, we realized because of the curve we were going to need a lot more nails to help the wood adhere. Do your best to line up your nail holes, but be prepared to fill some depending upon the finished look you are going for.
Step 2: Getting the 1st piece installed is the most challenging. We already have base trim installed in our home so we made the decision not to remove it. We are doing a lot of the home renovating ourselves to save money. Removing and reinstalling the trim would negate our cost savings, so we worked with it.
Differently than our last project, where we started shiplapping at the top of the wall, we decided to start at the bottom. We wanted to make sure we would have full pieces of 6” shiplap all the way up the wall. Since it was just a 1/2 wall, we knew we could stop at any height we wanted.
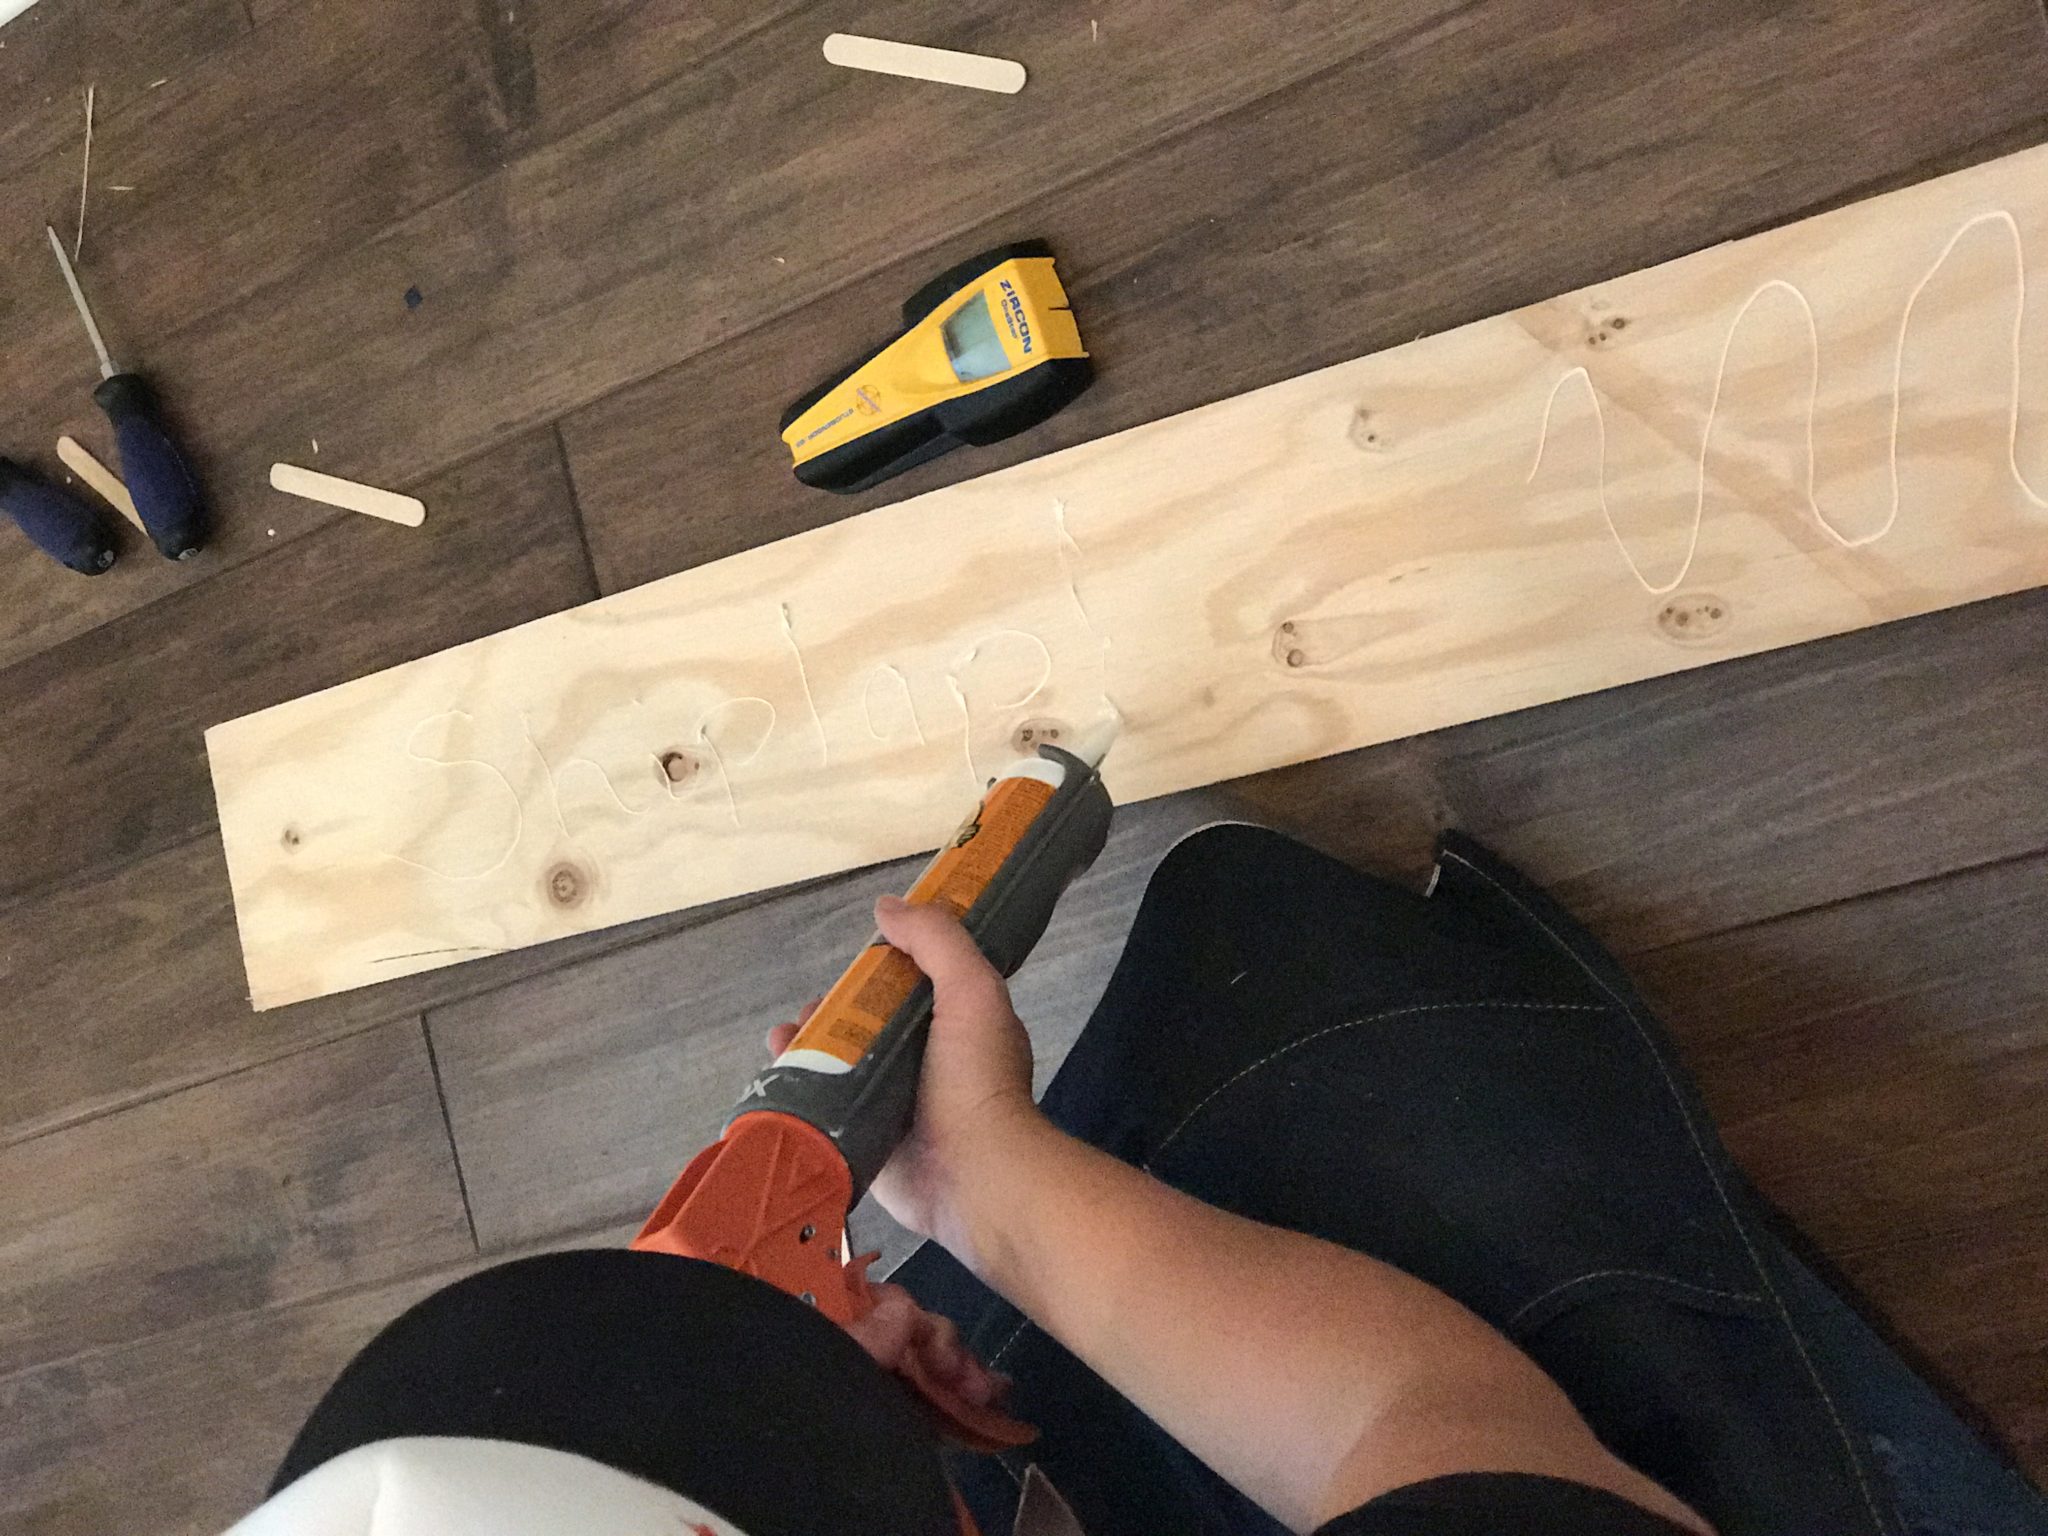
Before installing each piece of shiplap, take your wood glue and zigzag glue all over your board, especially on the corners.
Using your “spacer” (aka a popsicle stick) place it at the end of your first board as you measure to cut (or simply install depending on the size of your wall) your next board. You are going to use multiple popsicle sticks to install and space each piece of wood all the way up your wall. You will use the popsicles to create space between the top and sides of each board.
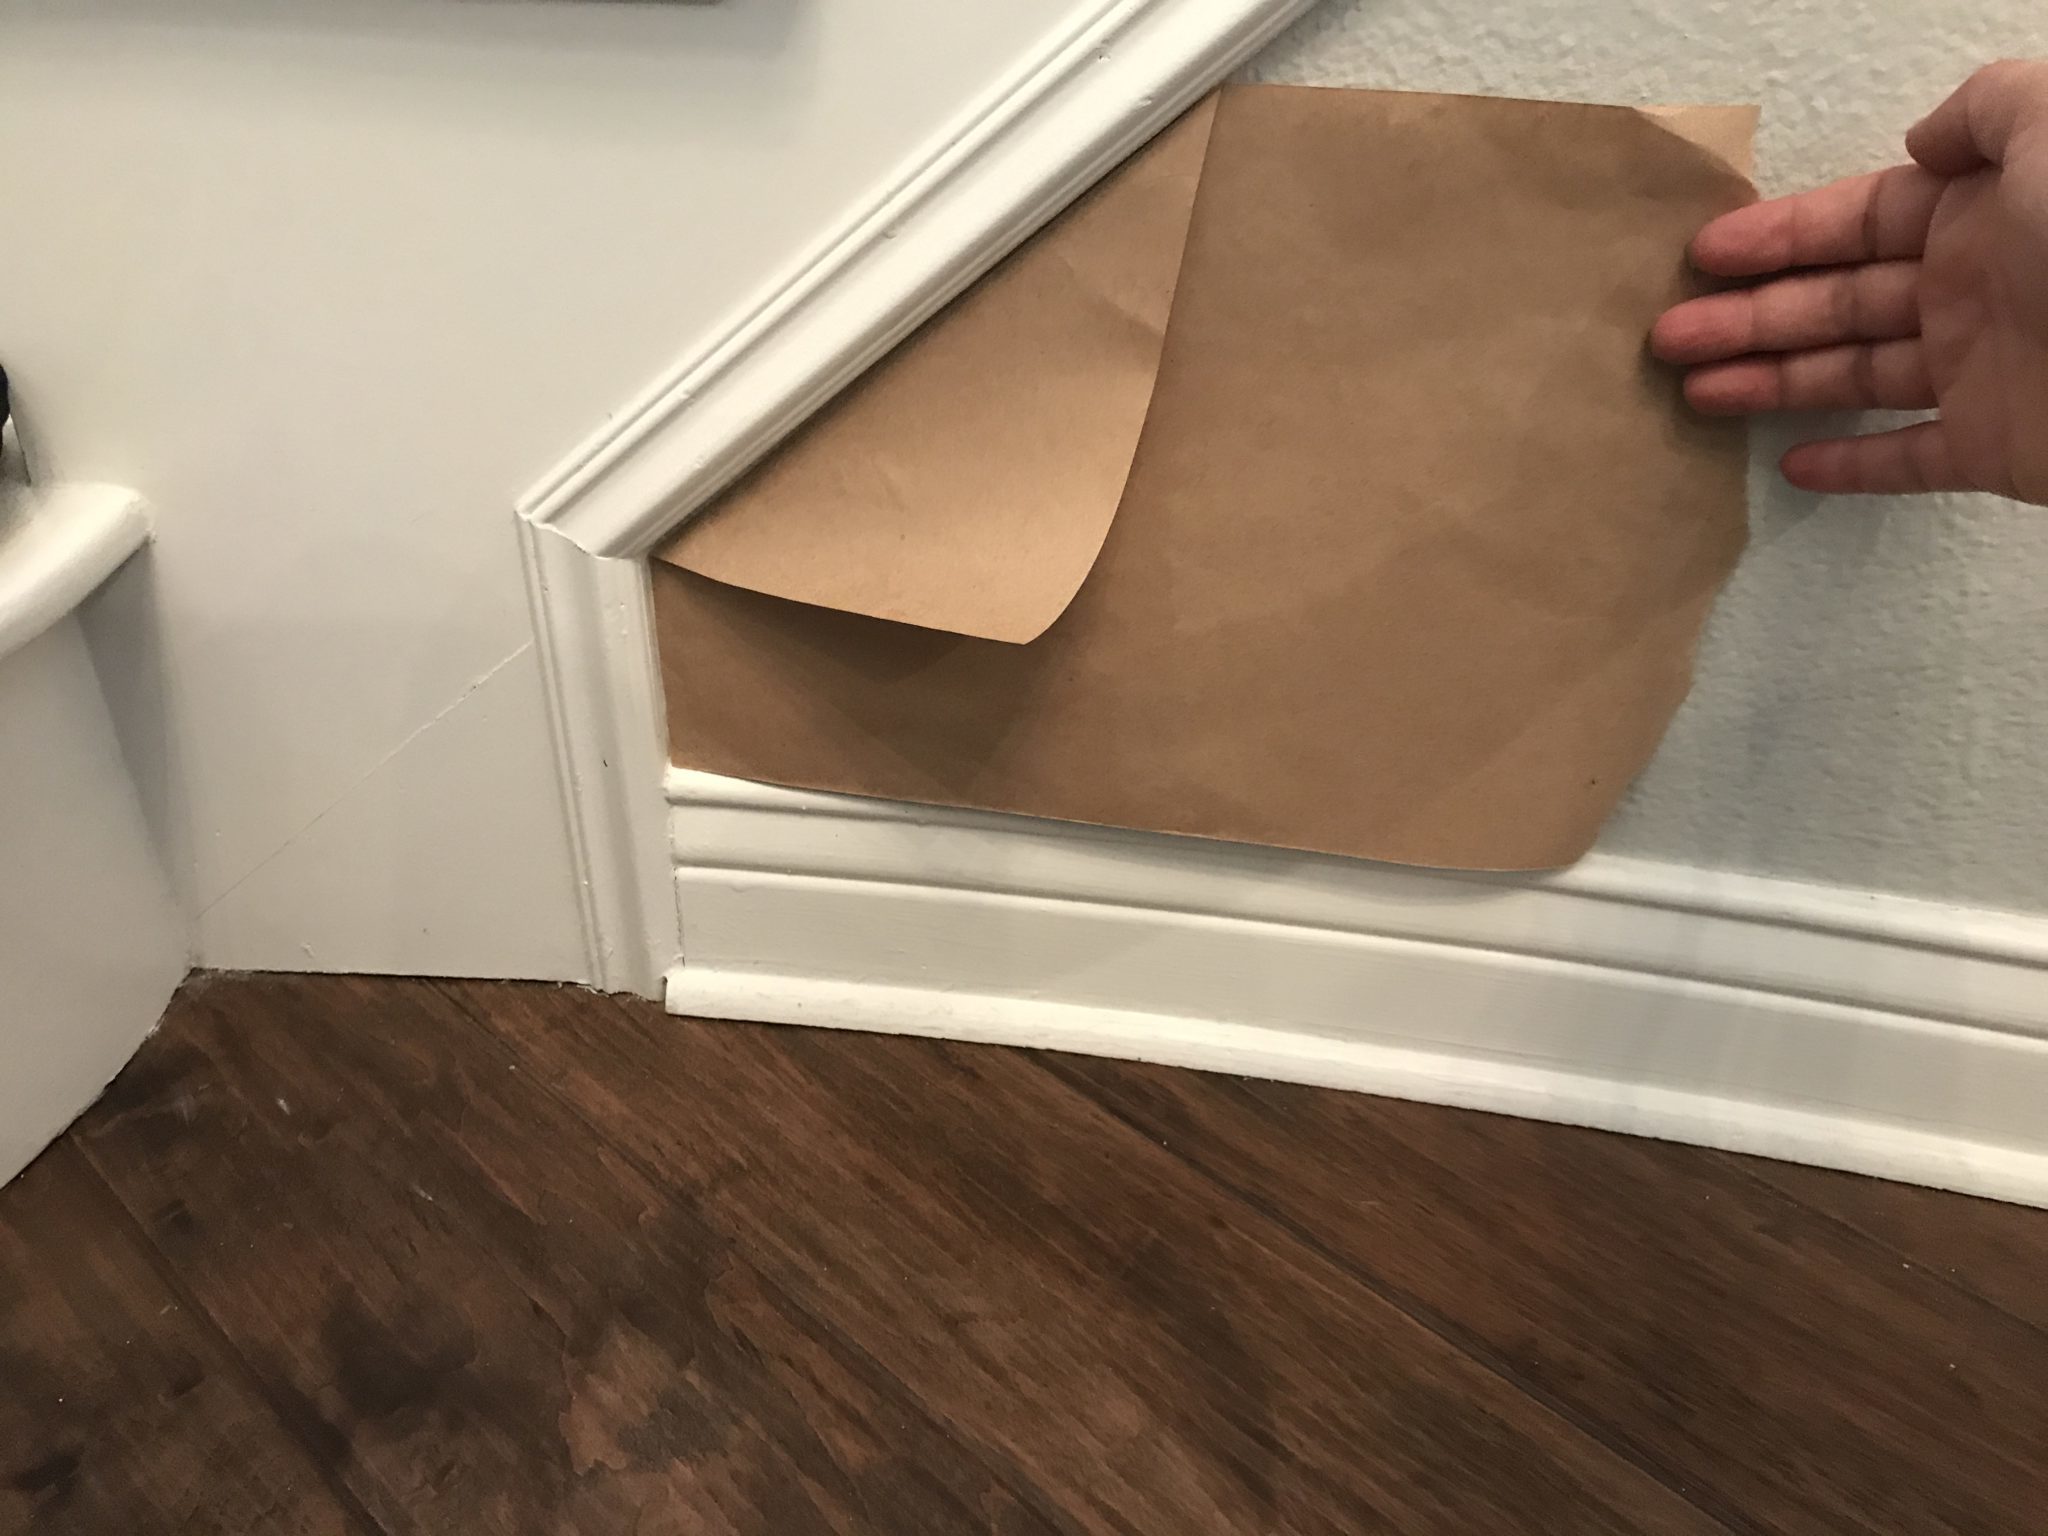
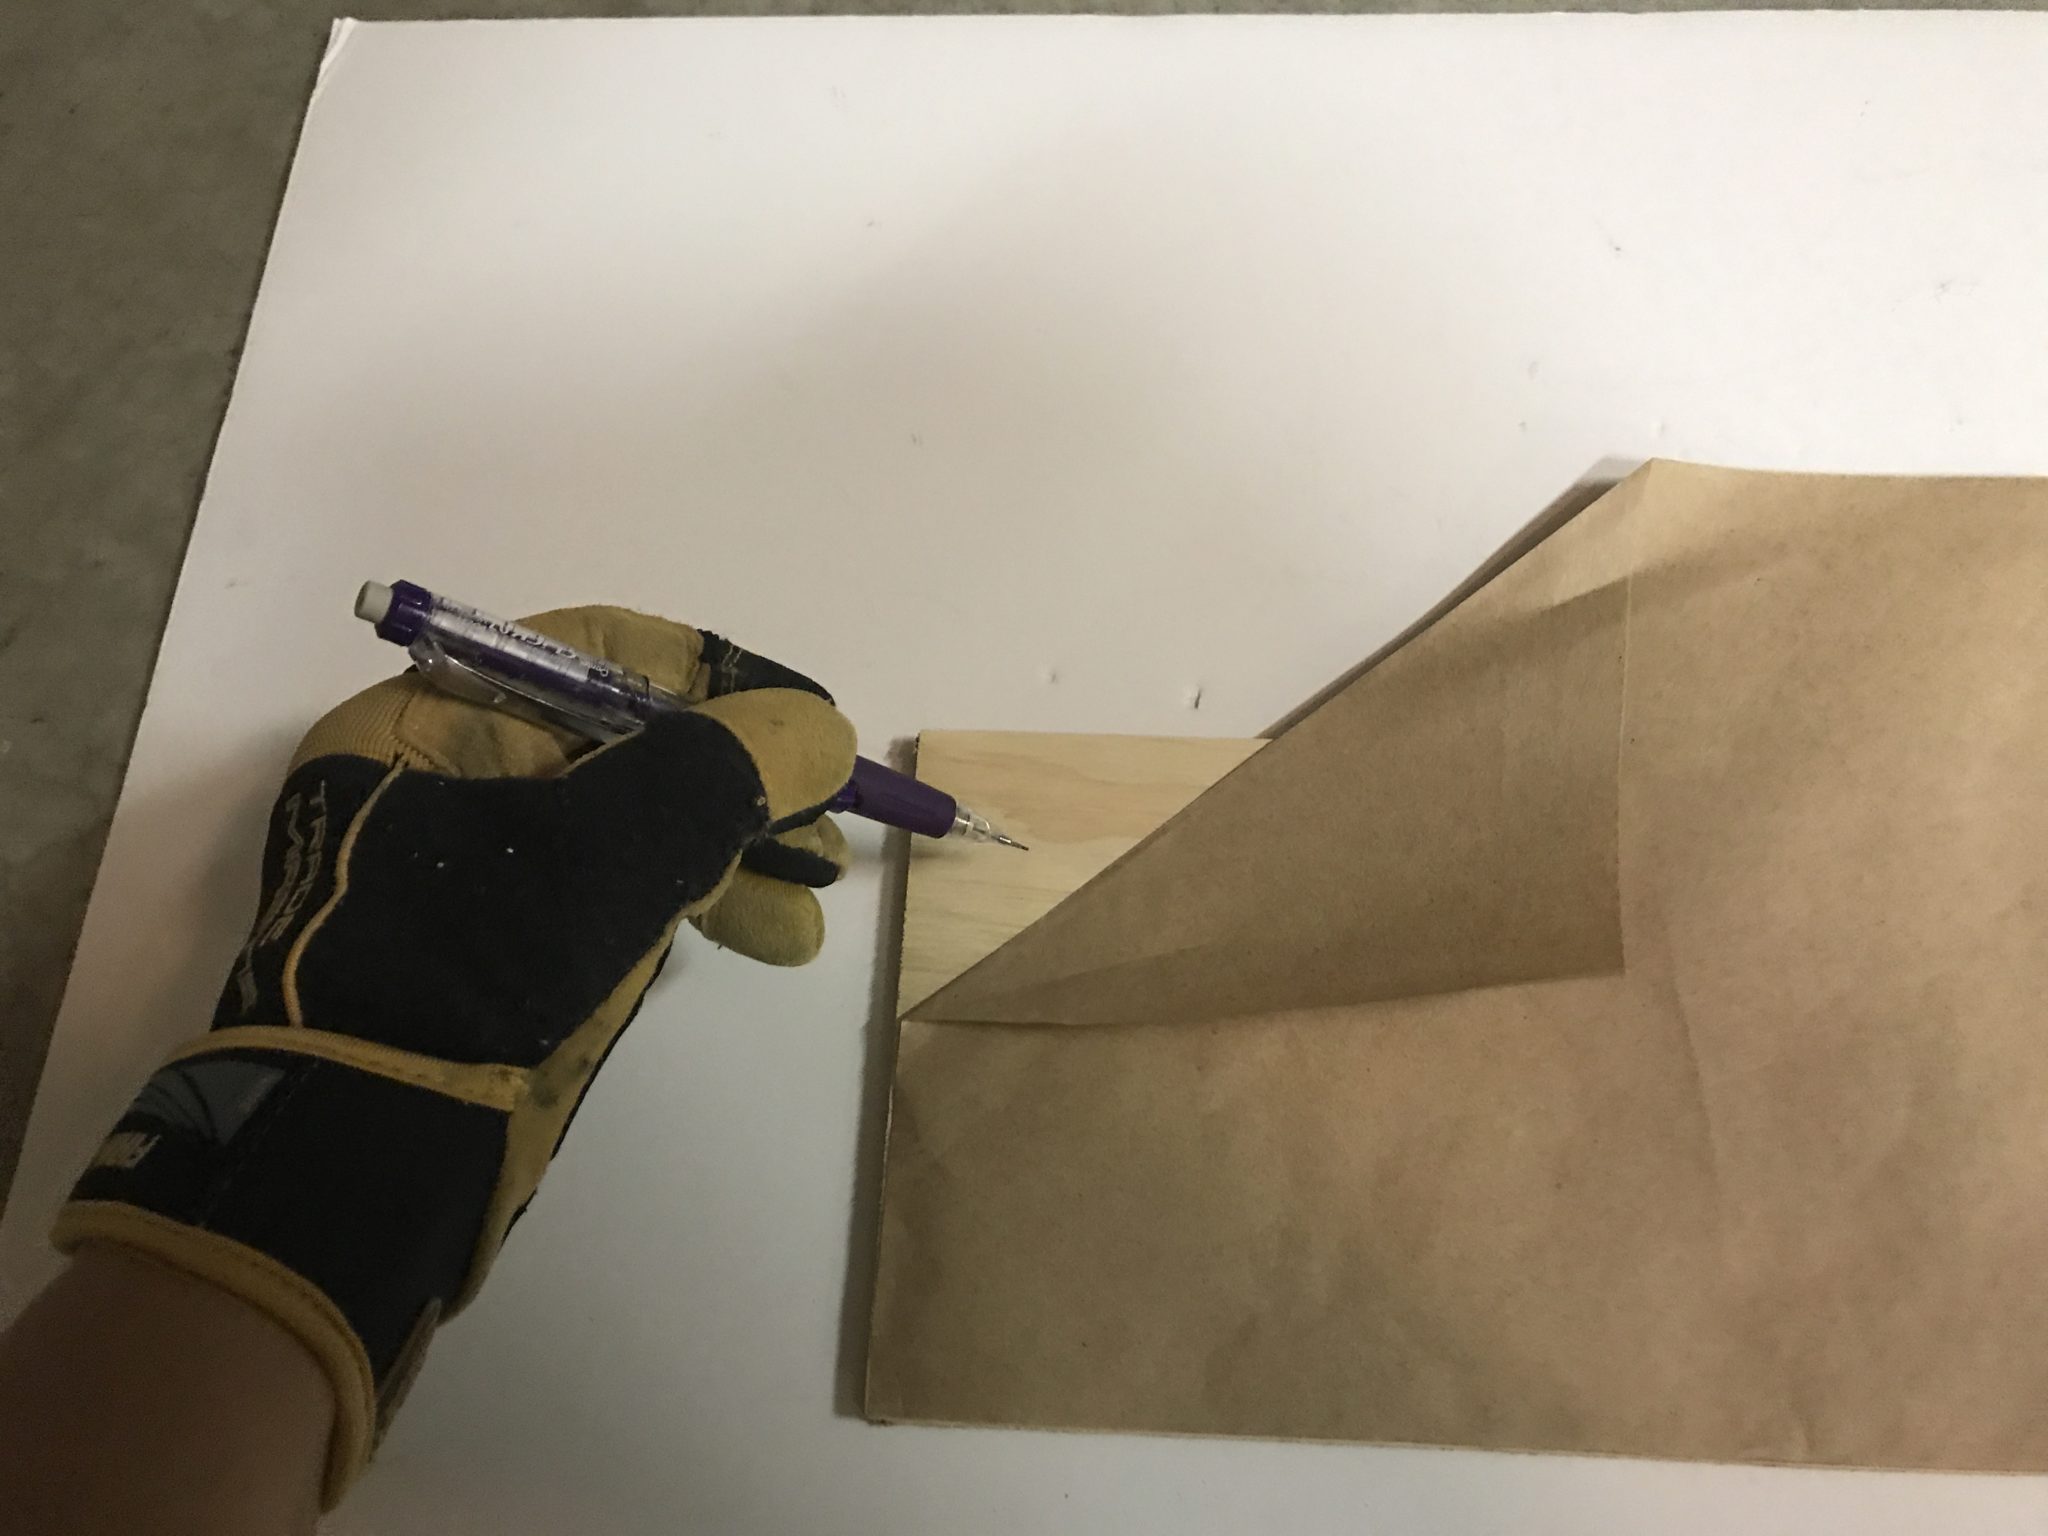
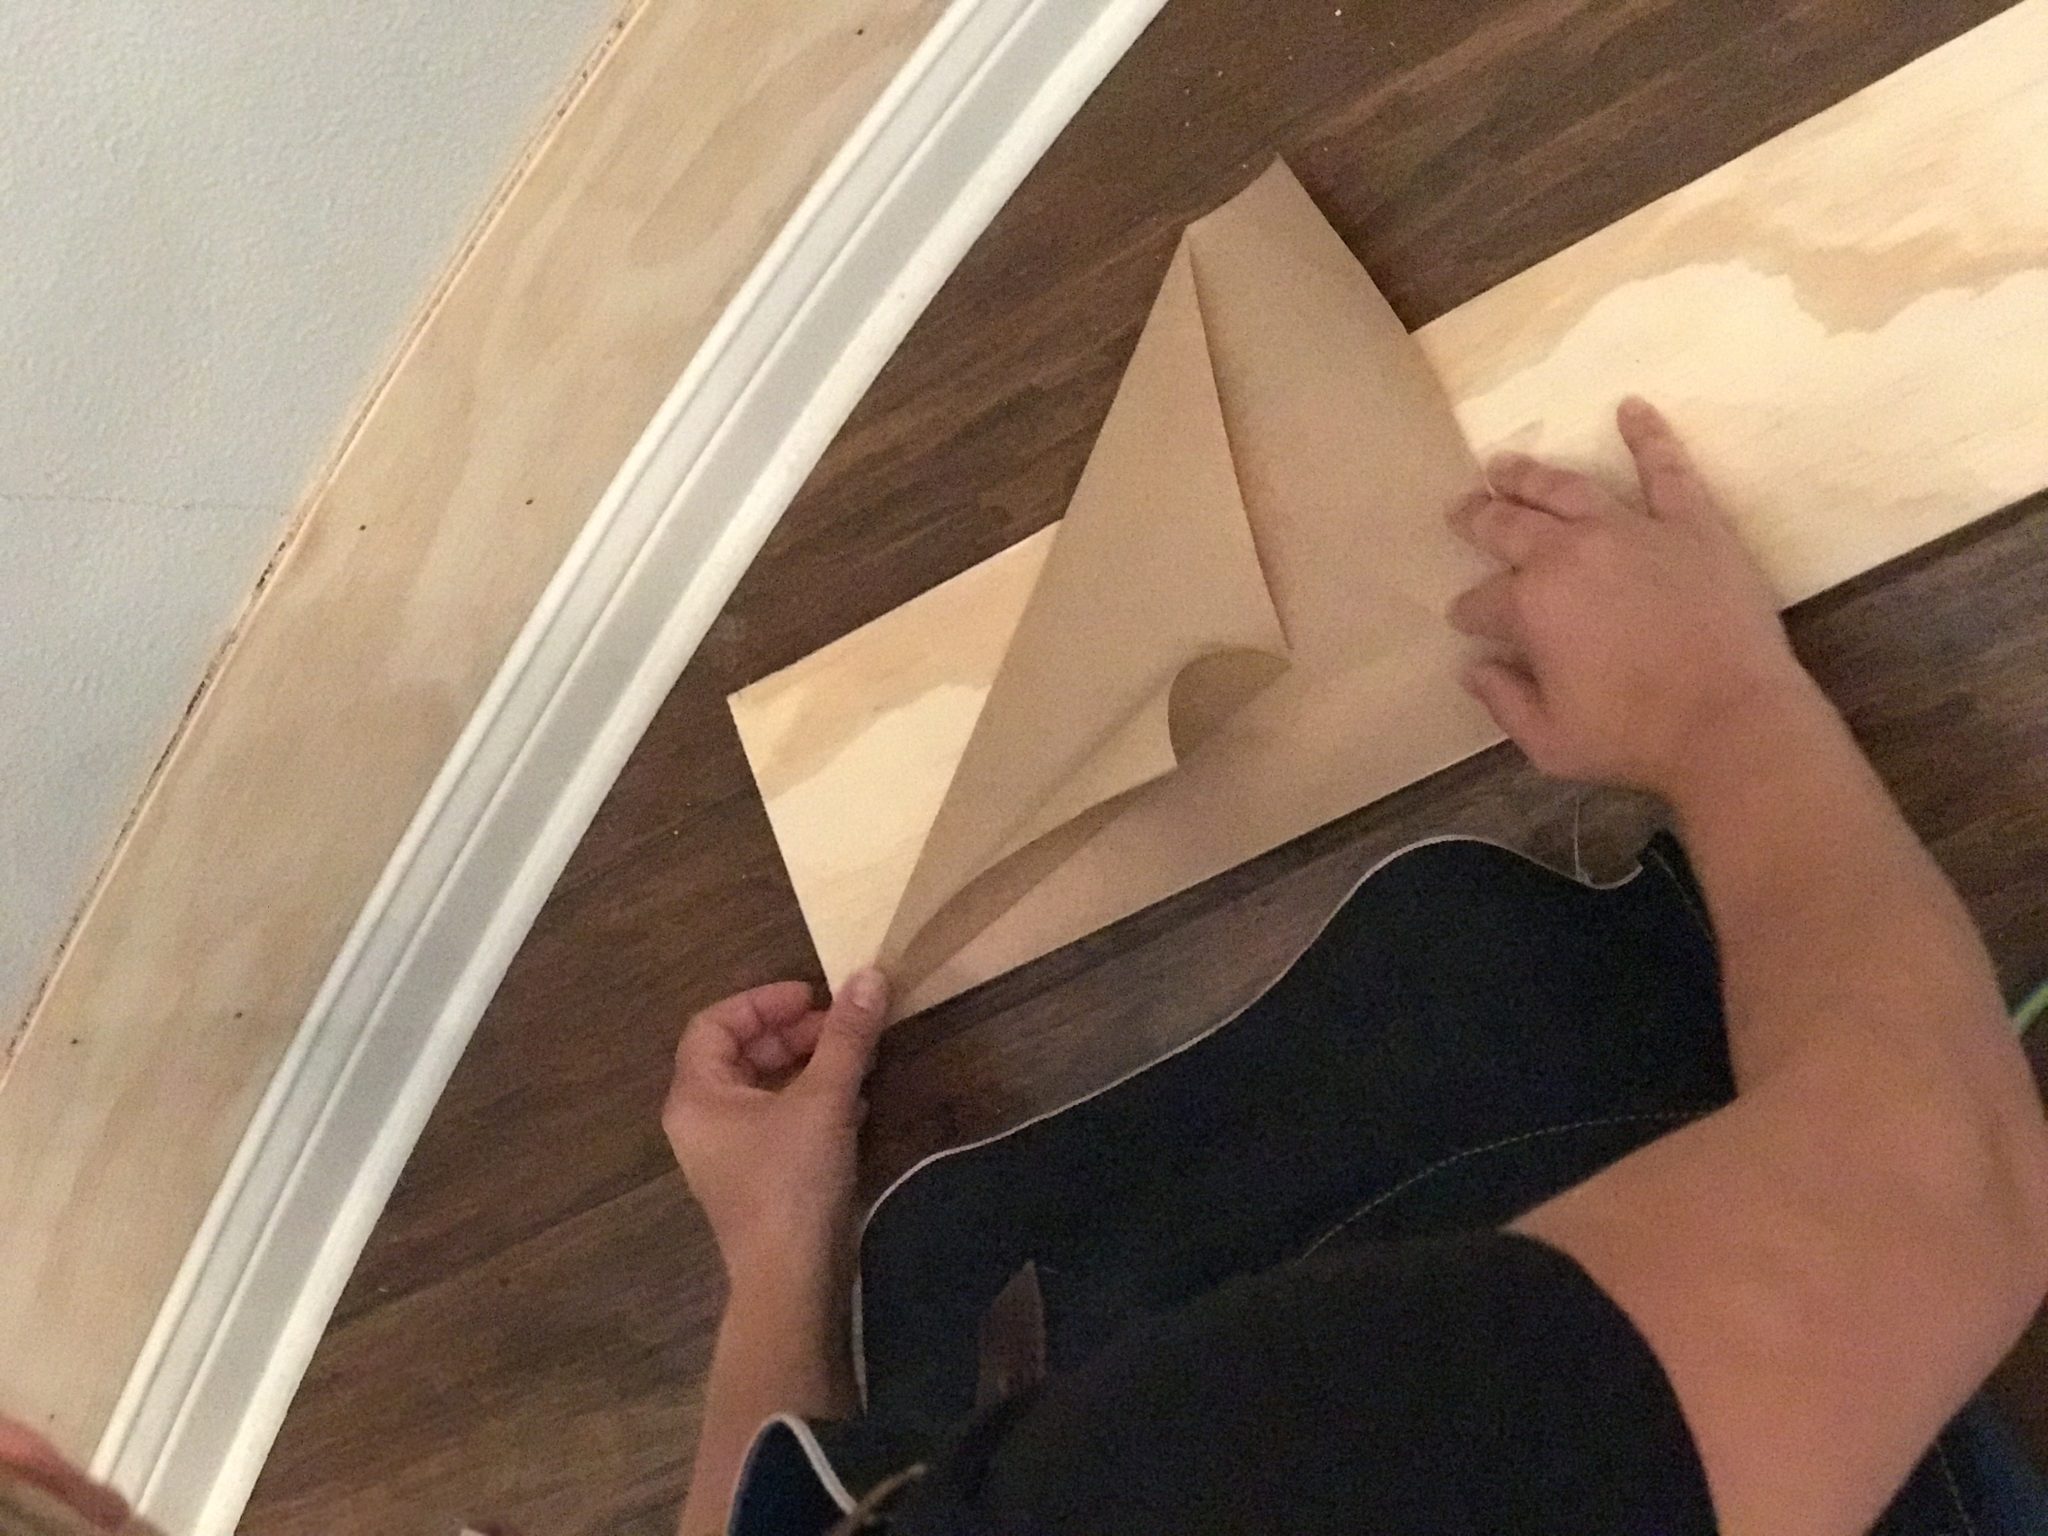
TIP: CUTTING ON AN ANGLE! If you have a stair case like mine + a curved wall…cutting the wood at a 30 or 45 degree angle isn’t going to work because you have to take the curve into account. To manage this, I created a paper template and drew each cut onto the plywood. See pictures below. This was the easiest way I found to get perfect cut on the first try! Take your time and ensure the paper is level with the piece of shiplap (or baseboard/floor) below and fold the paper where your cut needs to be.
When I was cutting the wood on my miter saw, I would angle the saw to 45 degrees and then I would line my wood up using the laser I have on my saw as my main guide. My cut was more like a 37 degree angle. It was a little tricky and I wasn’t able to use my saw as I typically would but I improvised and it worked just the same!
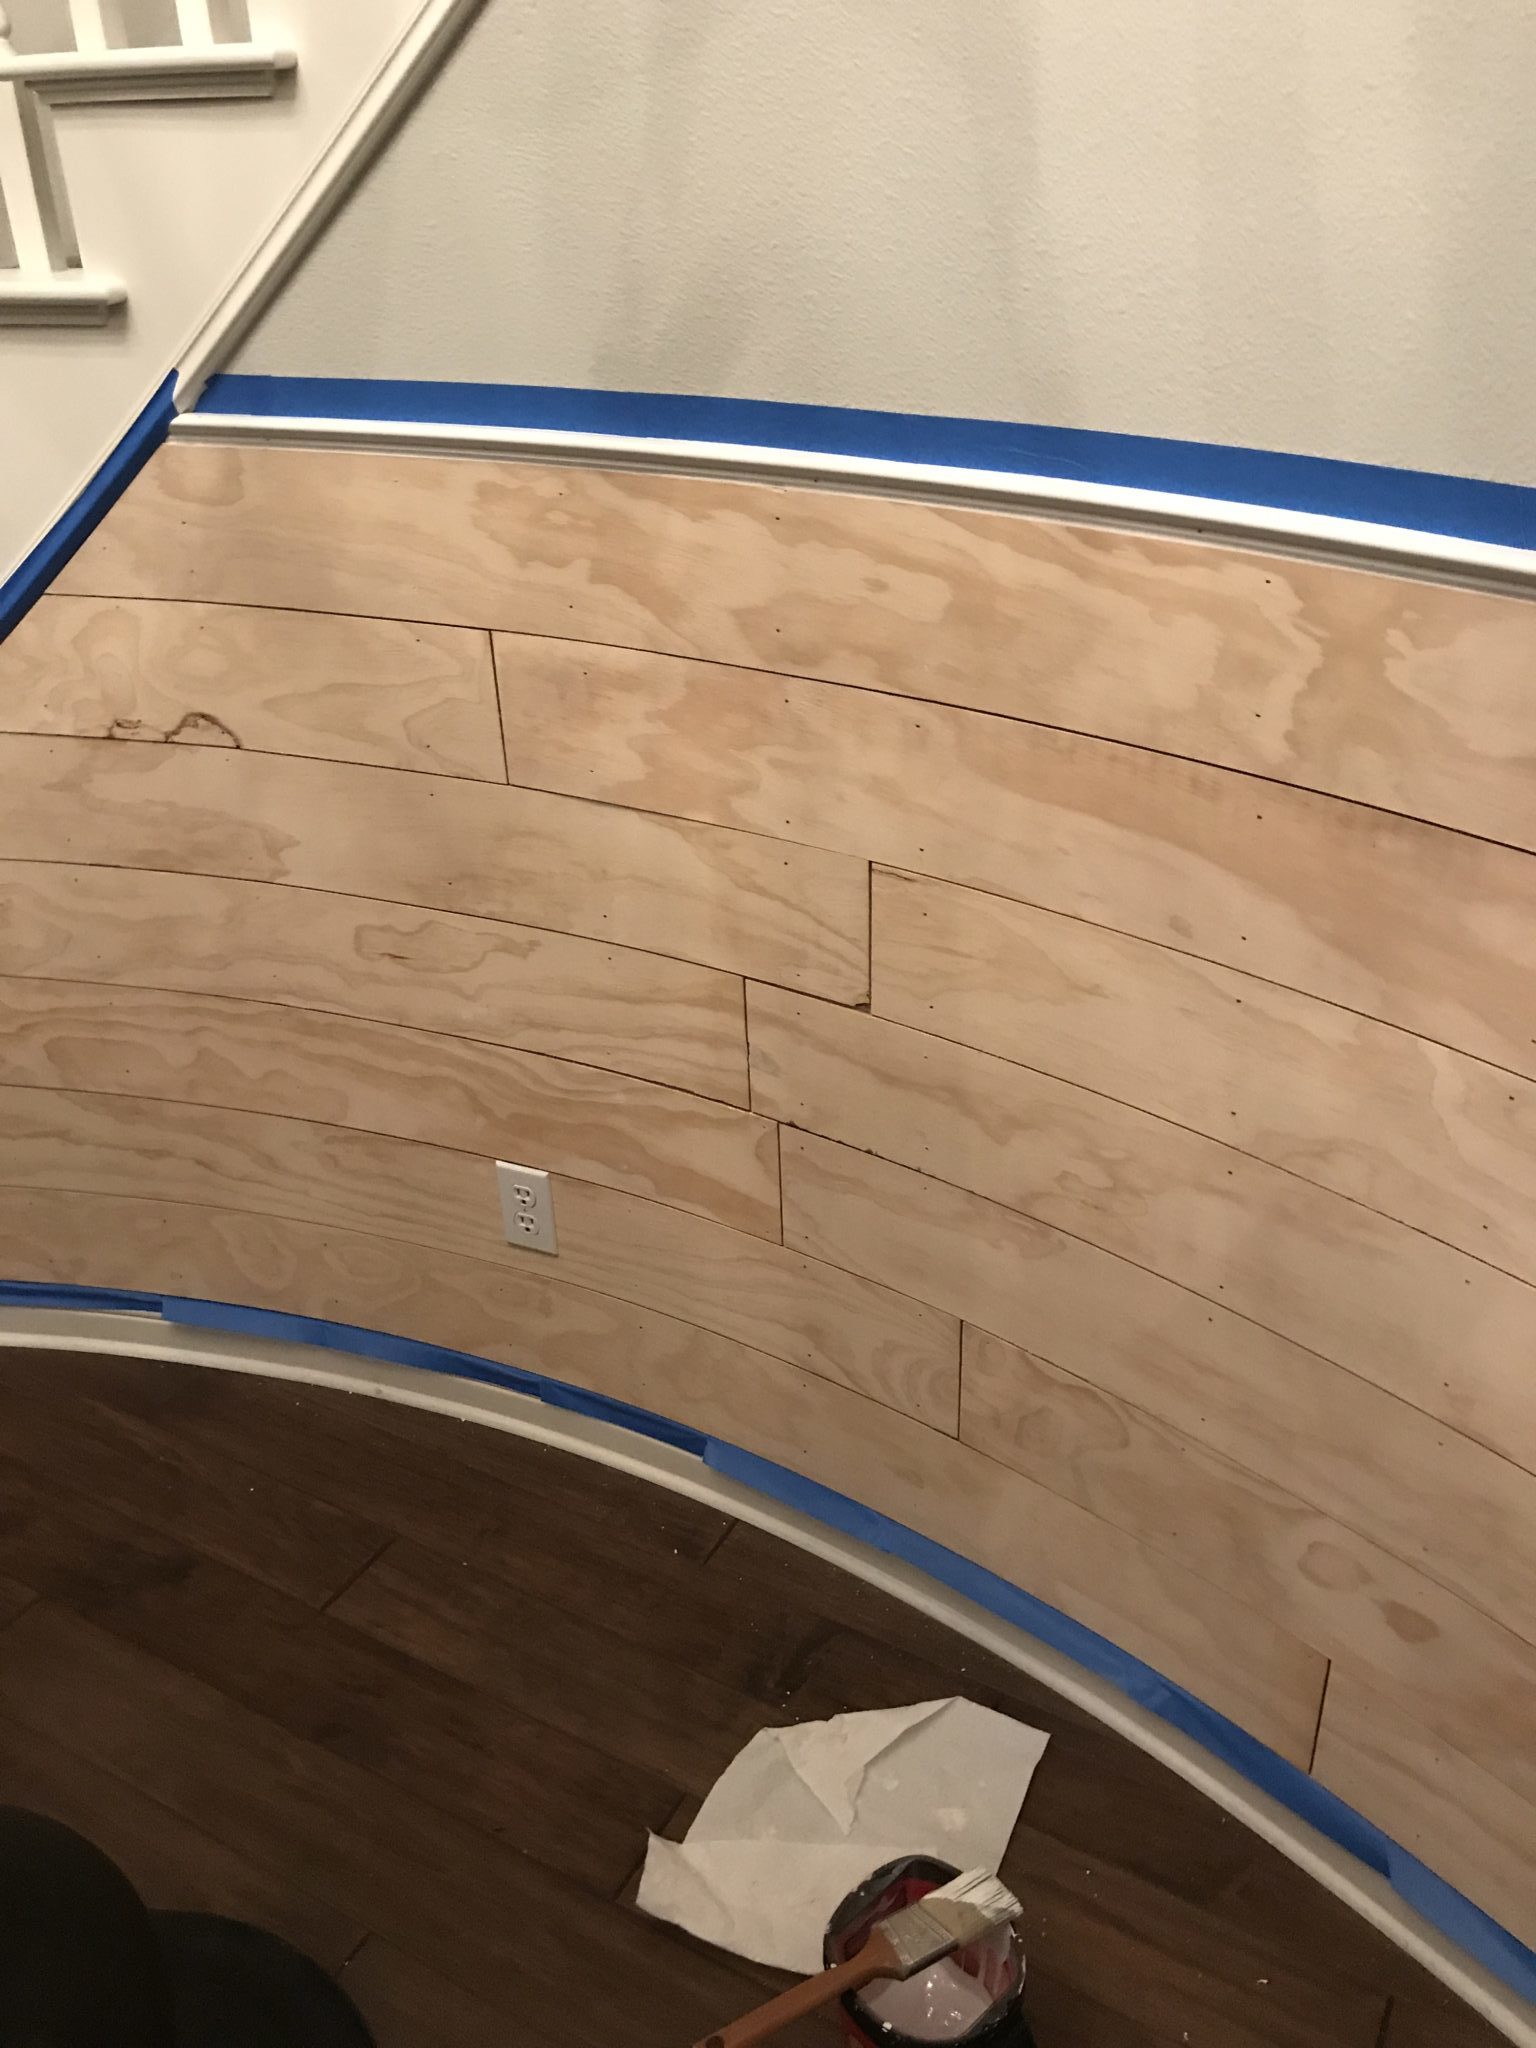
Step 3 – Achieving the staggered/random look. Your 1st board up will likely be one entire 8’ board and many of the following boards will be cut to fit the space. To achieve the random stagger look, you install the wood piece by piece and continue with the SAME piece of wood until it is completely used and nailed to the wall (even if you cut it multipe times!) Then you grab a new board.
**NOTE – because of the difficult cut I had to make against the stairs, I started each piece of wood at the stairs and went across. It worked pretty well for the first few rows, but then I noticed all my breaks were in the same spot. I forced some cuts to happen on the left side of the wall and the top piece I installed was one full board. It’s not exactly perfect but because the cut against the stairs was more important to me than the stagger pattern, I focused there. And I knew my furniture would be in front of most of it 🙂
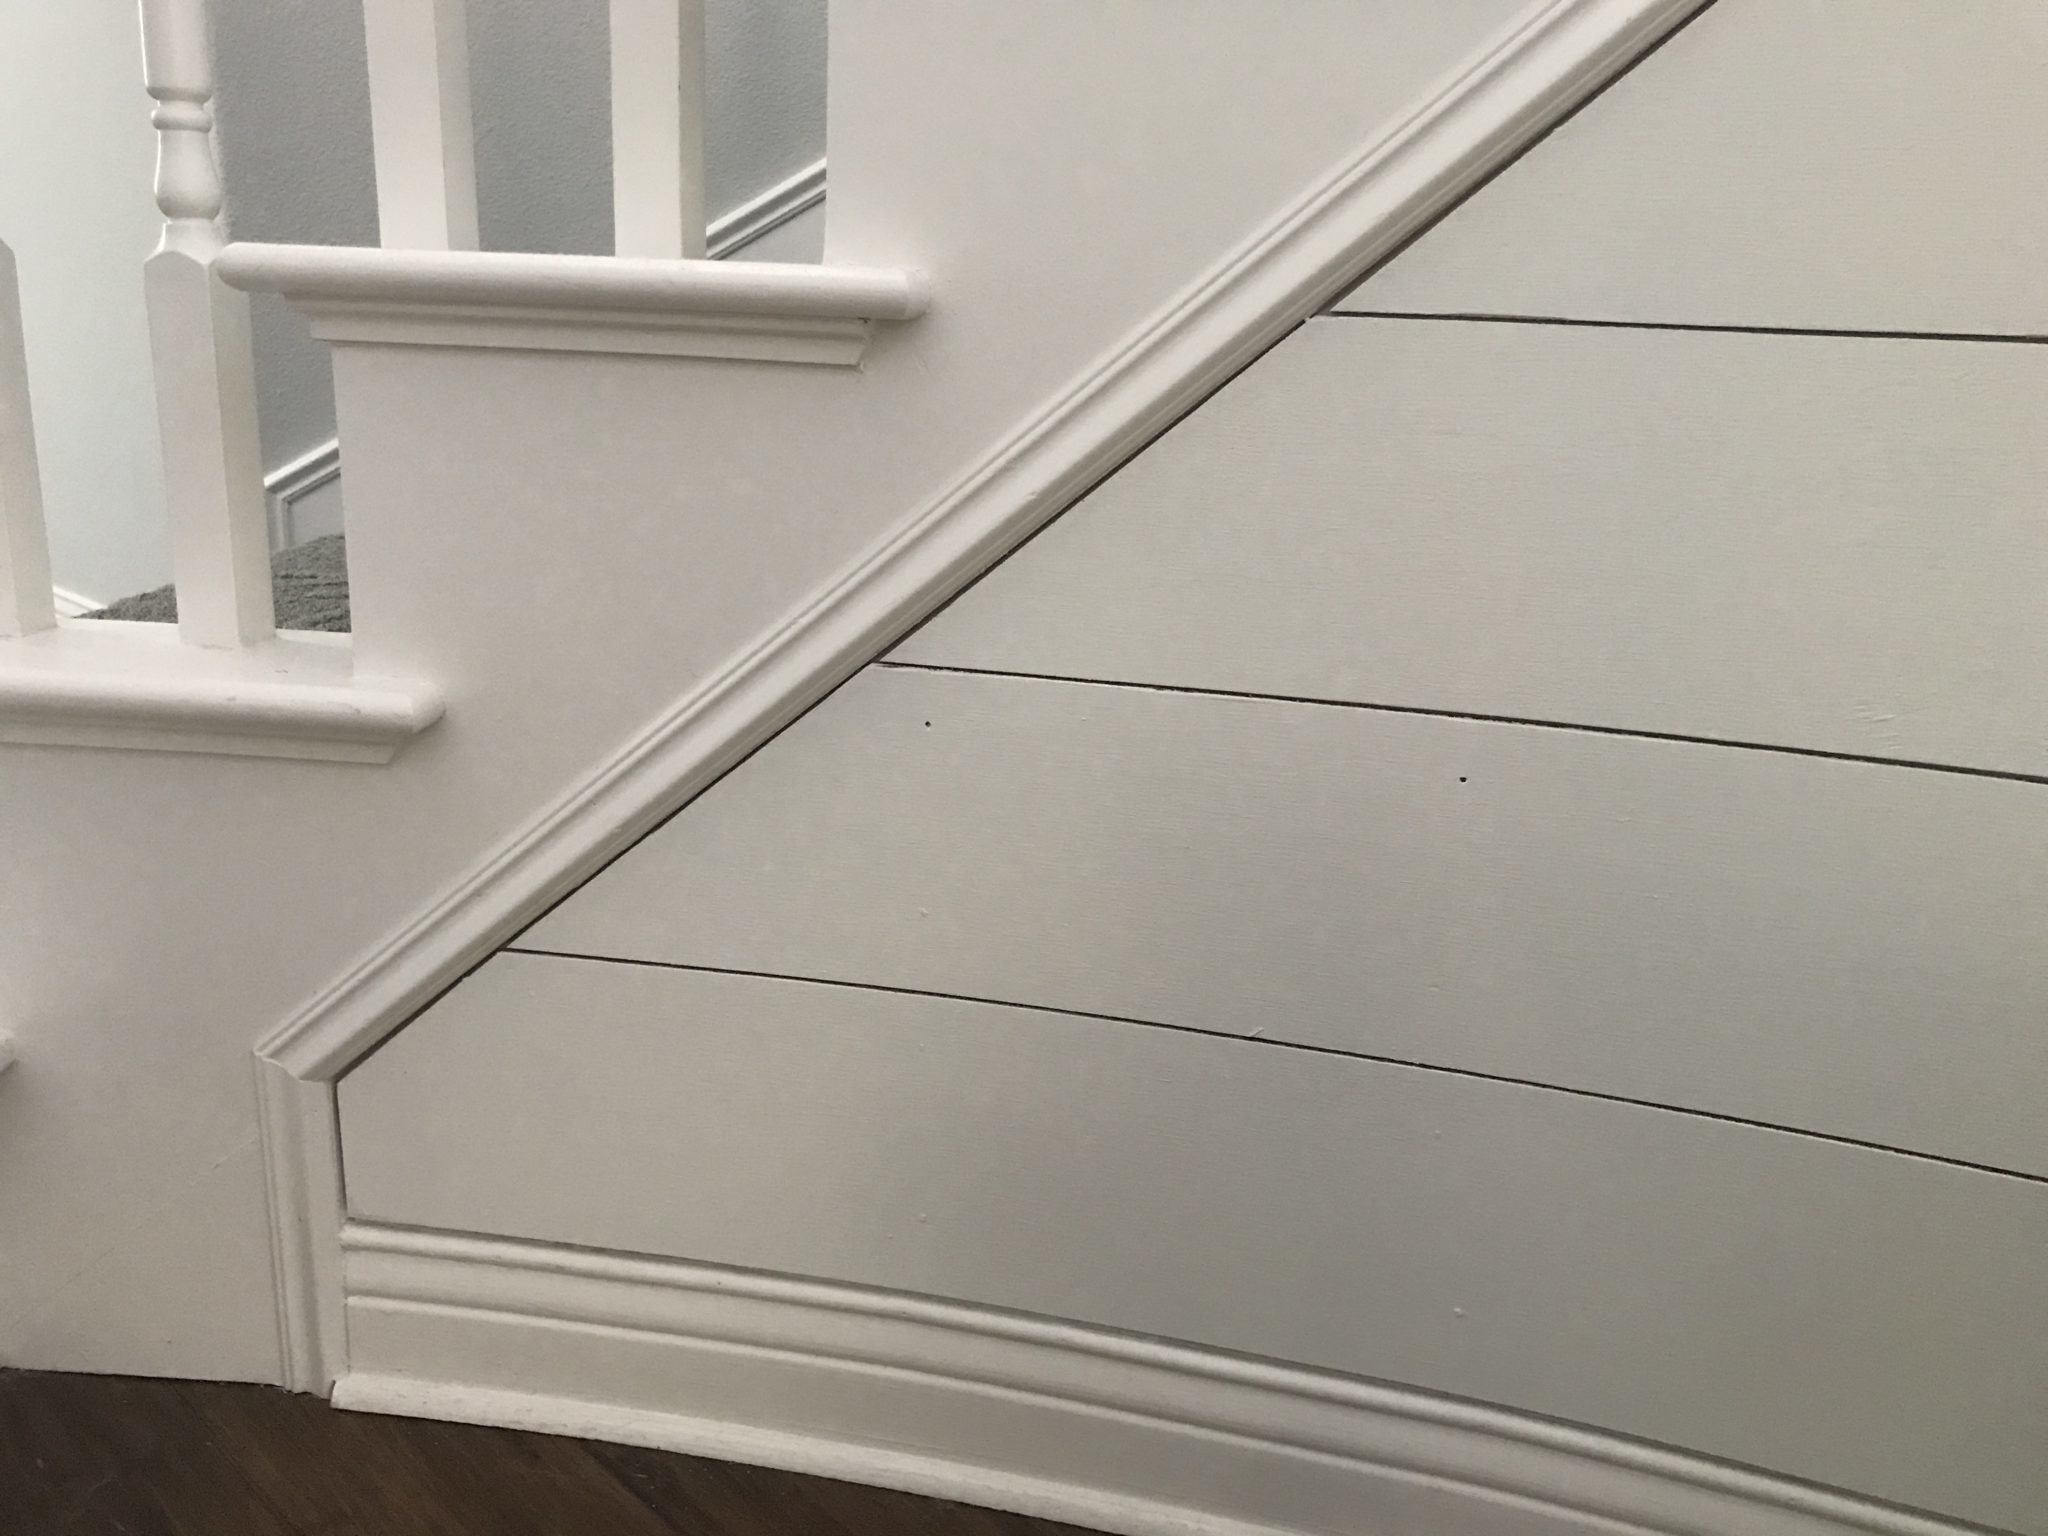

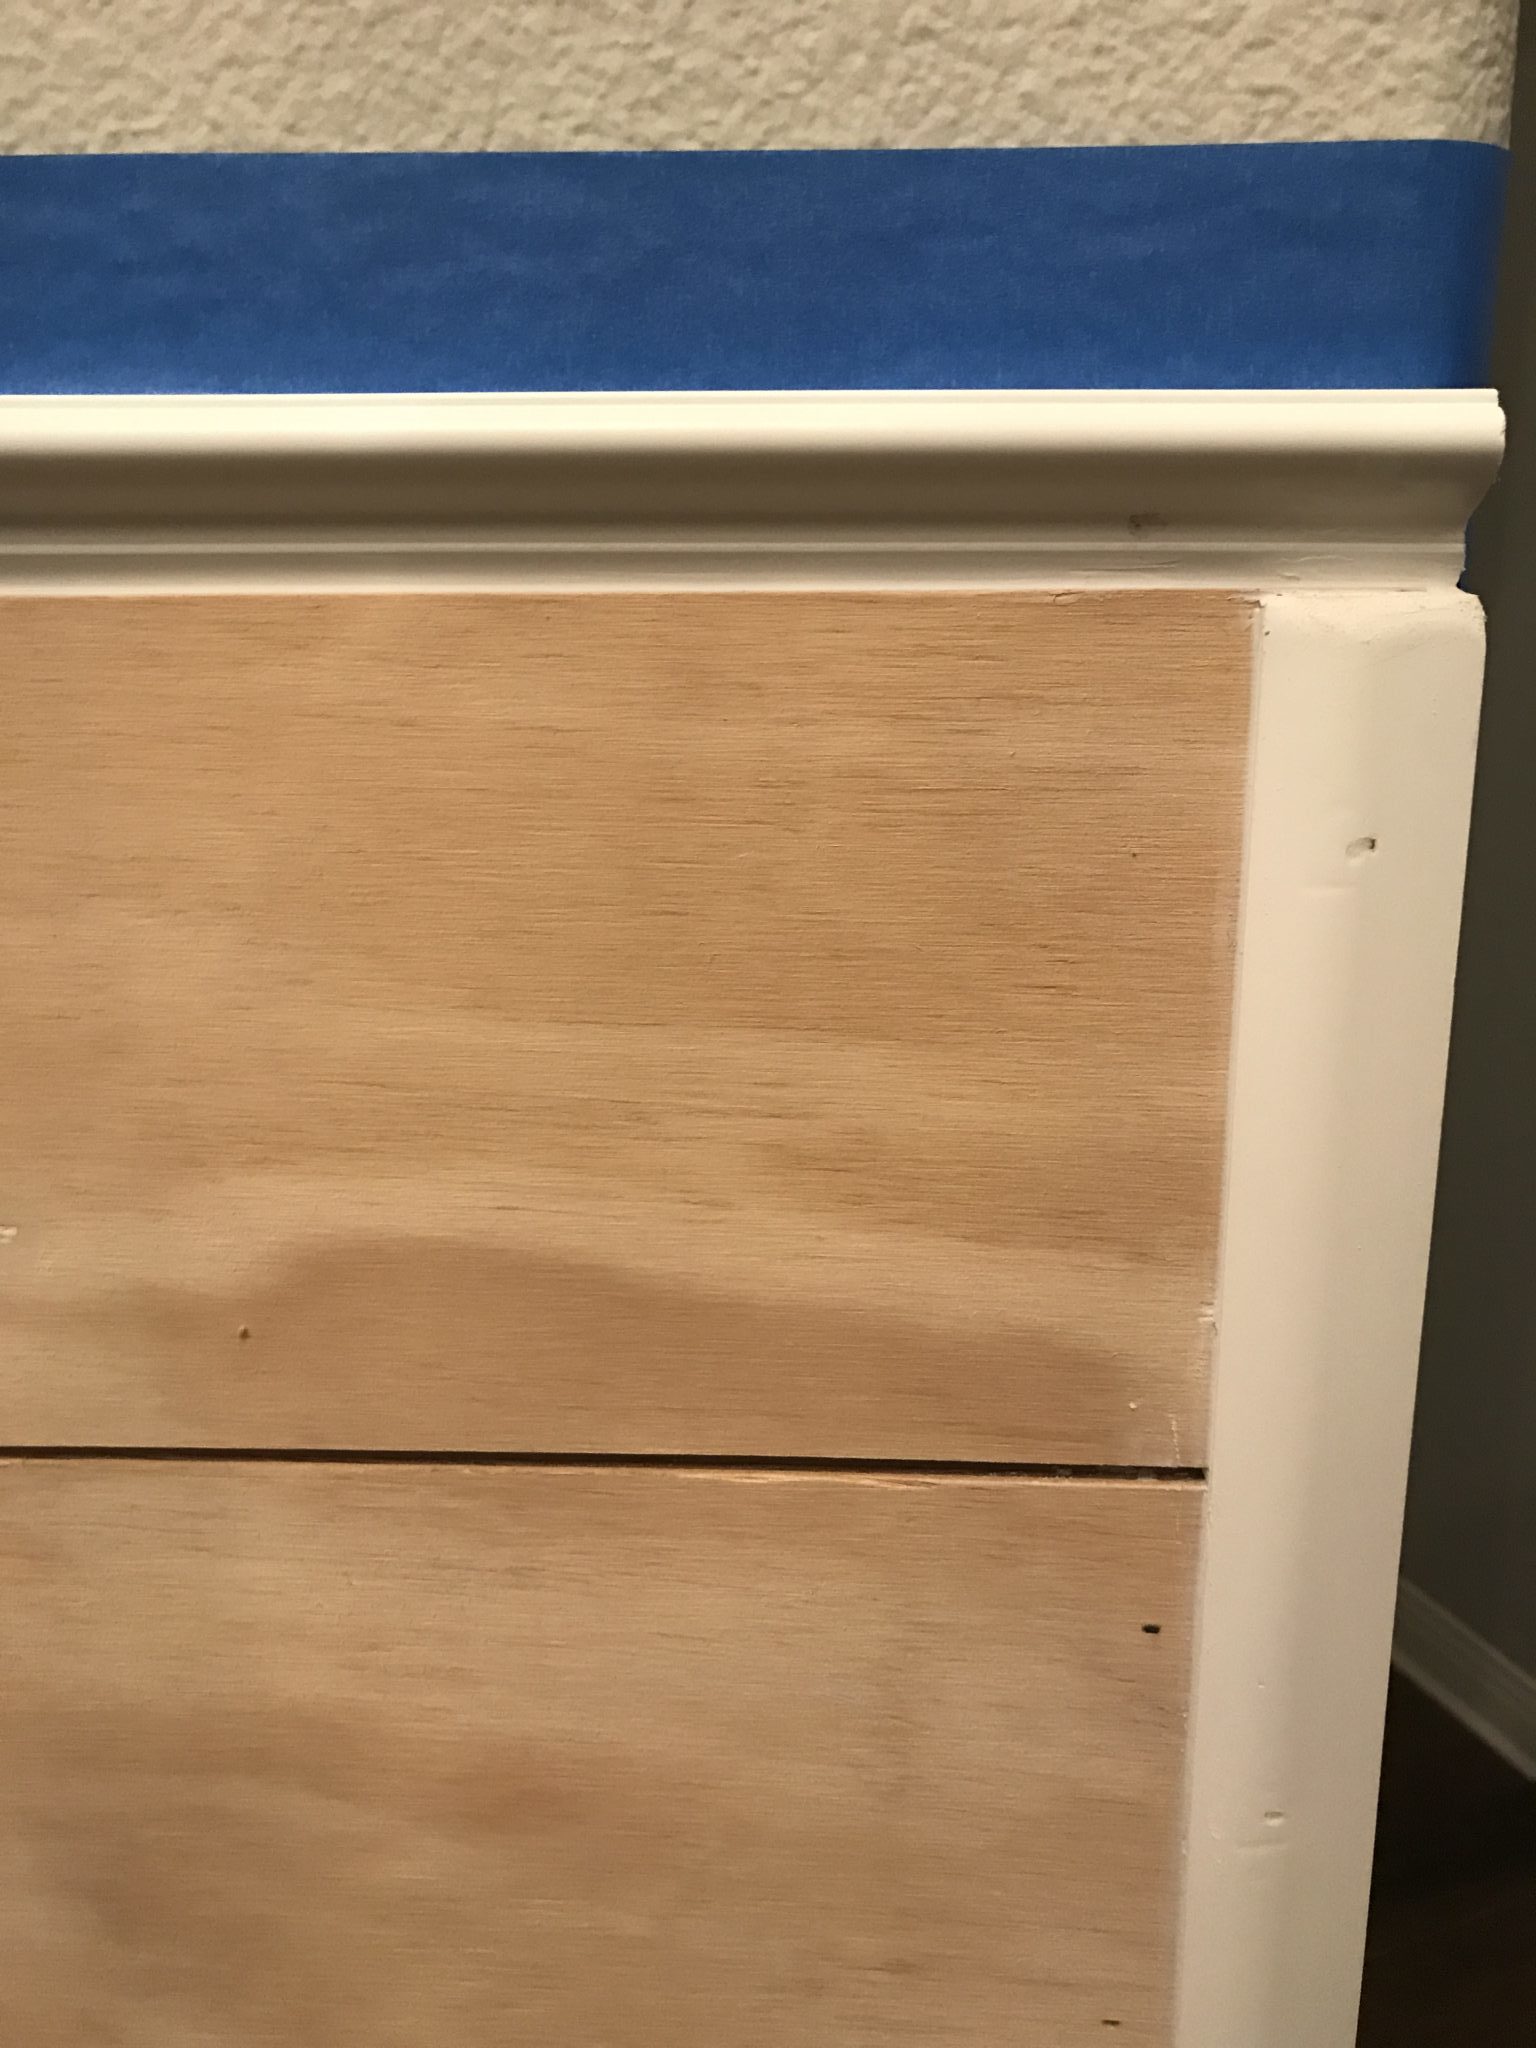
Step 4 – Dealing with TRIM!
You need to select trim to finish off the top of your 1/2 wall. I highly recommend using trim that is vinyl or made of pvc material because it will install more easily on the curve. And you will likely need trim to cap off the end of your shiplap. Quarter round can be a good option if you end in a corner. It will all depend on where your shiplap ends. Take a stroll thru HD or Lowe’s to see what works best for your space!
Step 5 – Caulk and Fill!
Use caulk to fill any gaps in the trim for a more finished look. After I apply caulk to the side trim, I went back and removed any excess that accumulated between my shiplap boards. I just used a little scraper.
Fill any (or all) nail holes. We had LOTS of extra nail holes this time around so I filled several!
Step 6 – PAINT!
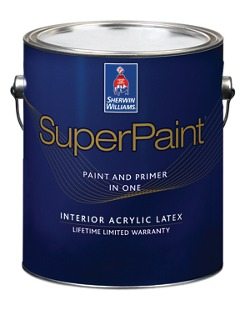
I brush paint all of my shiplap because I don’t want to fill the spaces I intentionally created with the popsicle sticks with paint. I painted one coat of primer and then two coats of paint. If you have any paint that accumulates in the spaces between the boards, you can use a razor or other thin sharp edged item to clear out the paint.
The type of primer and paint I used was Sherwin Williams:
Step 7 – Style it!
You saved yourself HUNDREDS adding this wall to your home yourself….so now relax, enjoy it and style it up with your home decor!!
Happy creating!
xoxo