A few weeks ago, the hubs and I took on our first big DIY project….shiplap! We had ZERO experience using a nail gun or miter saw before we did this project. We are so happy with how it turned out and even more excited about our new found confidence to take on many more projects. If you have been thinking about adding shiplap to your home, I PROMISE you can do it! We are not contractors or carpenters (or any other handy sort you may think of). We read, research and learn on the fly as we take on each home project….and we have a BLAST doing it!
Below is my step by step guide. But before we jump into that, I want to share one BIG tip with you….
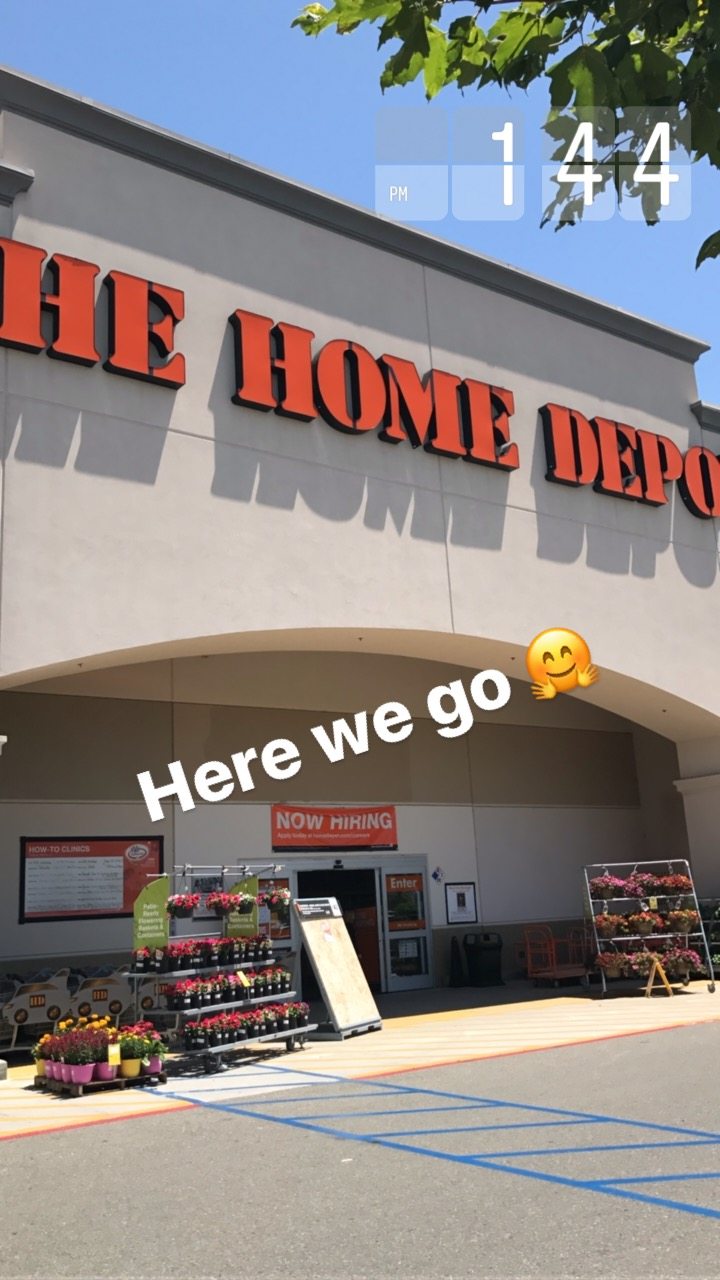
Day 1 – SHOP – go out and gather everything you need for the project (because this will take a bit of time).

Day 2 – SET UP everything you purchased (and understand how to use your tools if they are new to you…head to YouTube if you need help)
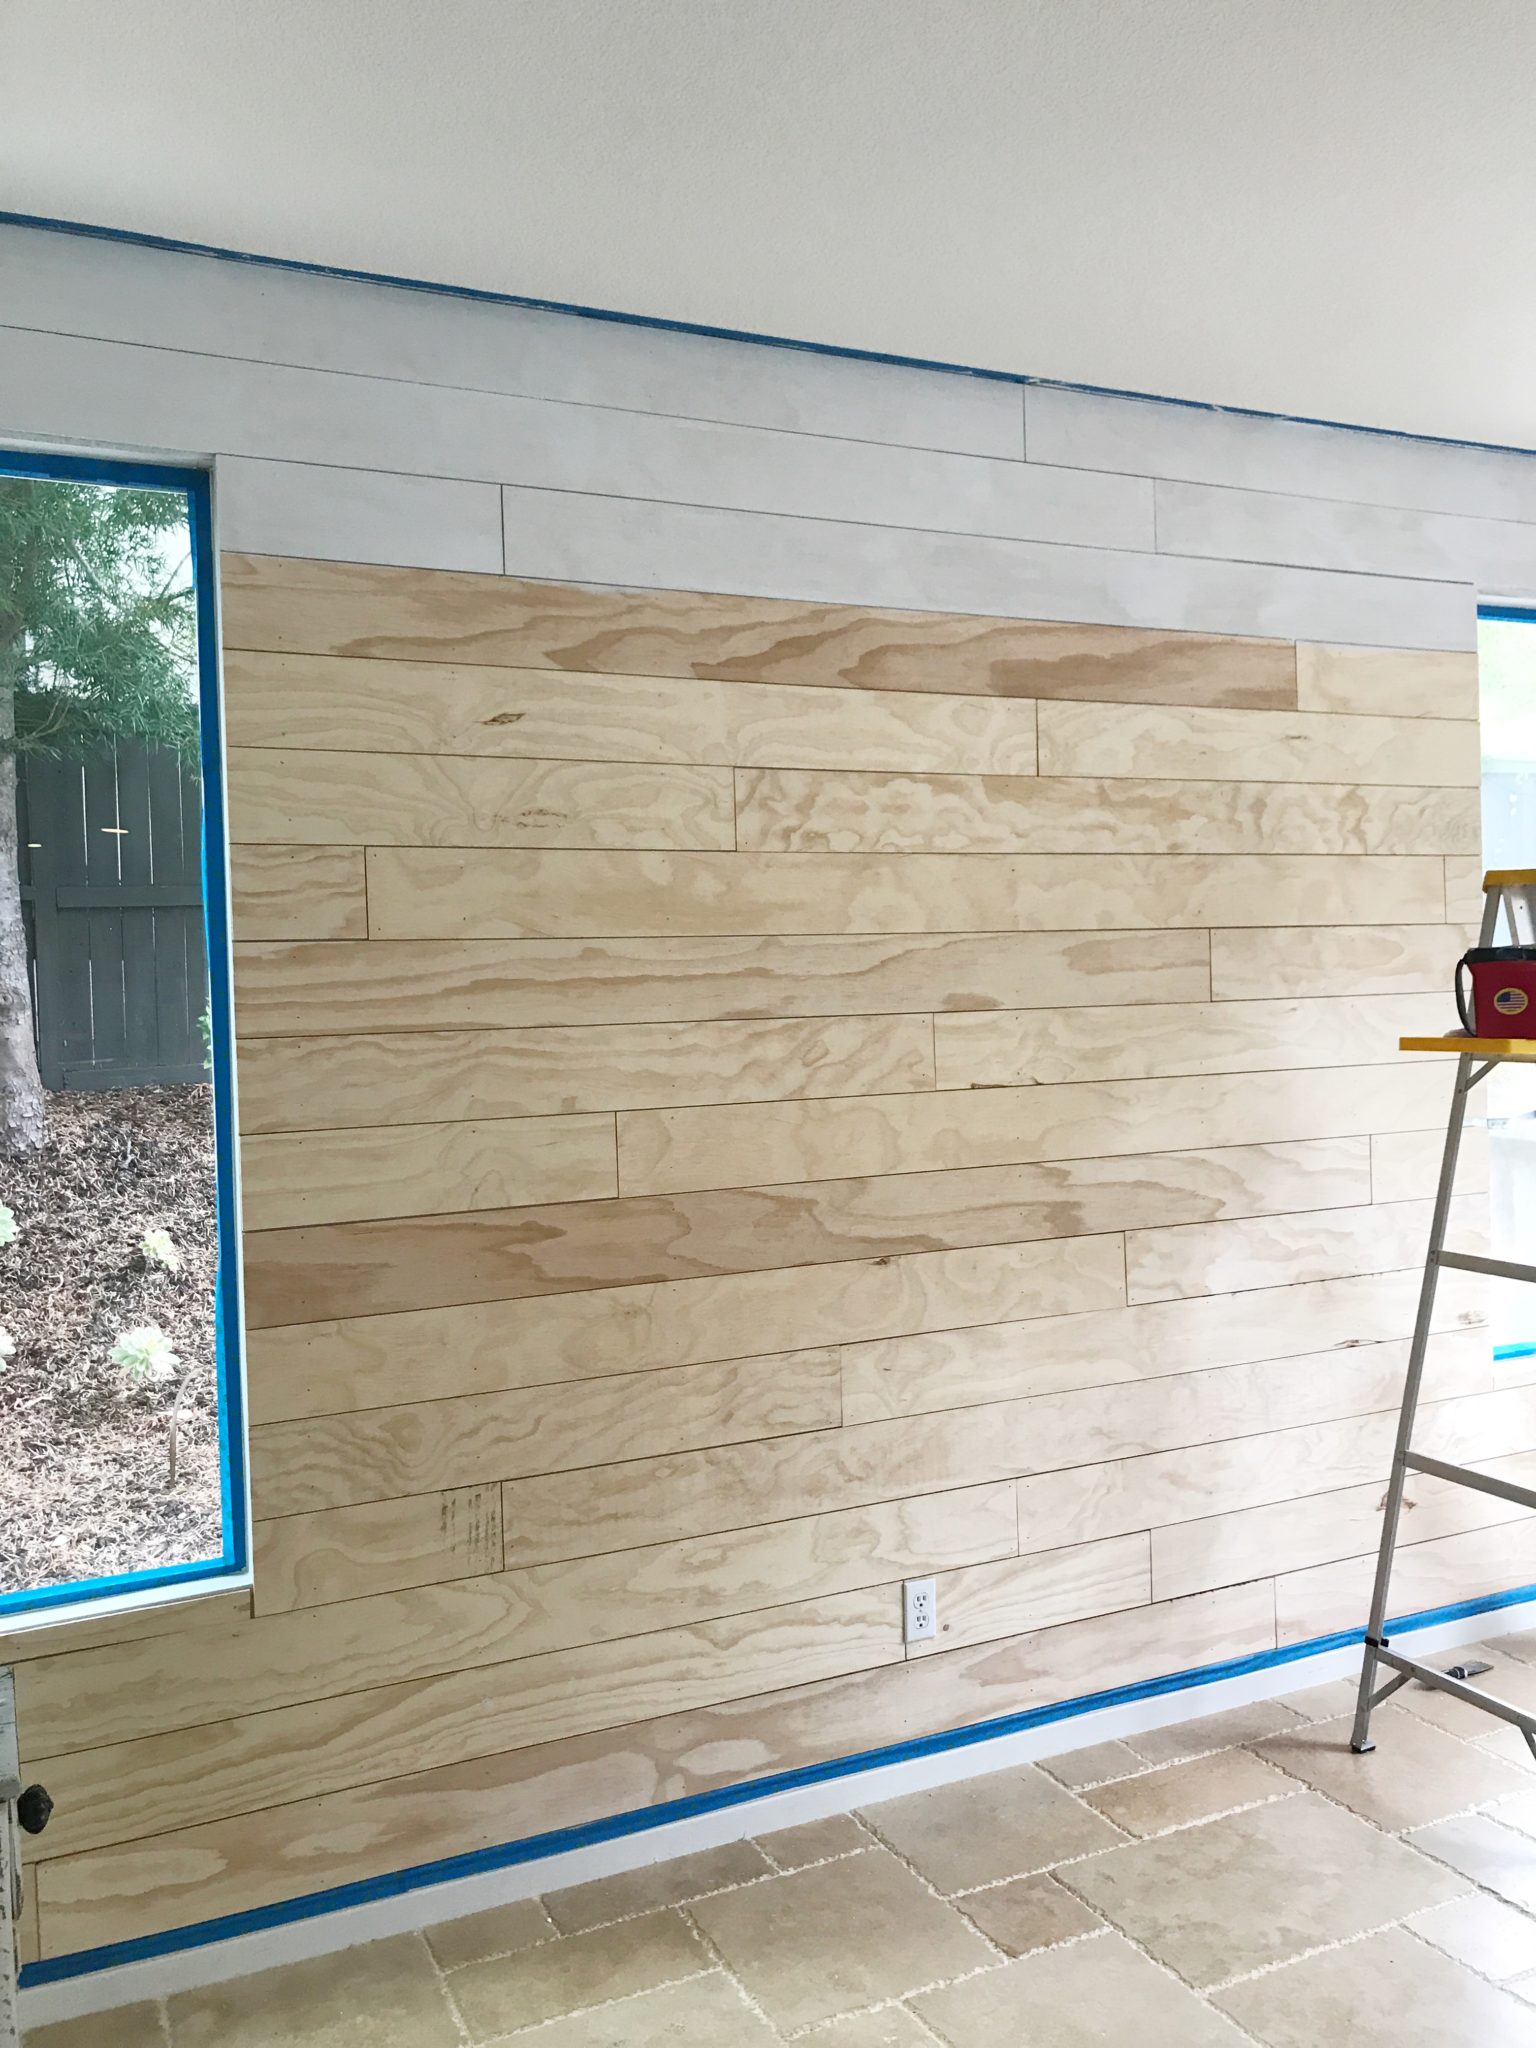
Day 3 – SHIPLAP AWAY
Day 4 & 5 – Prime & Paint
Day 6- Put your room back together and ENJOY!
This was how I managed our time for this project and it helped us tremendously. We were able to avoid over cramming tasks into our days and took the process in stages which helped us stay organized and get the work done without feeling rushed or stressed.
Supplies you will need for this project:
- 1/4” Maple Plywood (see details below)
- GLOVES (absolute MUST or you will have splinters for days)
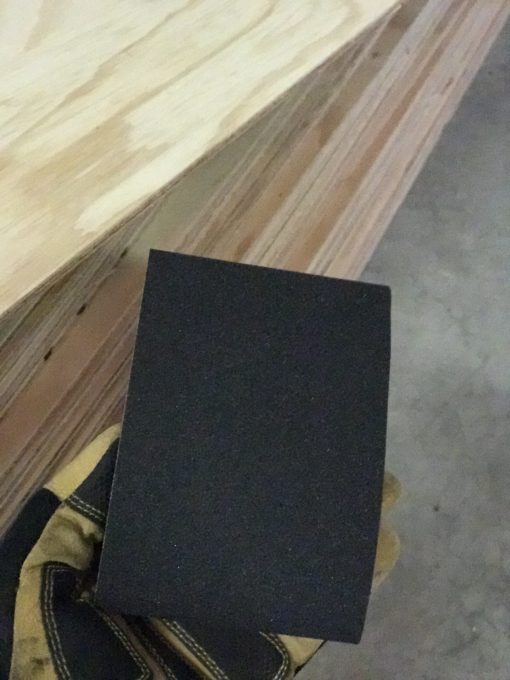
- Light/medium grit sand paper
- Long level stick
- Nail Gun
- 2” finishing nails
- Miter Saw (check out THIS post for details on what tools I picked and why)
- Table Saw (optional)
- Hammer/Nail Setter (for any nails that don’t completely go into the wall/shiplap)
- Safety glasses
- Measuring tape
- Caulk
- Primer
- Painters Tape
- Paint Brushes
- (Drop cloth if you are a messy painter)
PLYWOOD DETAILS
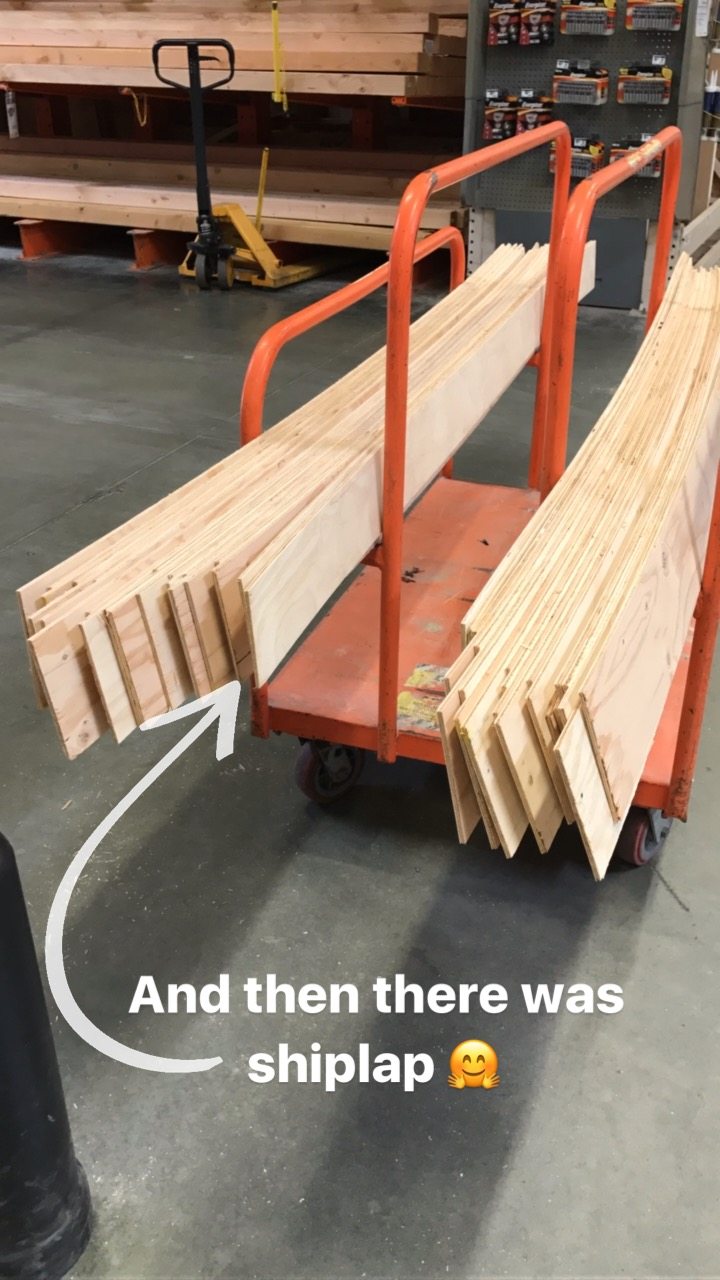
I did a lot of reading and researching and didn’t want to break the bank on this project. I read that .25” thick maple plywood in 4’ x 8’ sheets would be my most cost effective option to give me the look I wanted at the price I NEEDED. I also decided to have my wood precut. I had the wood ripped into strips (“ripped” meaning cutting down the sheets of plywood into my shiplap pieces). Many home/hardware stores will cut the wood you purchase for you at a small fee per cut. I highly recommend this option if you have a big project you want to undertake AND it also made it easier for me to transport the wood having it cut smaller.
I purchased my plywood at Home Depot. They were so helpful and patient with me and cut all of my 4’ x 8’ x .25” boards into 6” strips. Just ask them to “rip” the boards into whatever size shiplap you want (5-8” usually) and you pay about .$50 per cut. It cost me $18 to have 6 boards cut (well worth the money in my mind!). And I didn’t need to pre-order the wood or cutting and was able to have it done when I went to the store. Just be mindful that you may have to wait in line to have your wood milled because there were a few other people doing the exact same thing when I was there 🙂
Before installing each board, I quickly used a light/medium grit sand paper on the cut edges of the wood stripes to clean up any rough cuts (and help us get less splinters!) I strongly recommend keeping a pair of gloves on throughout the installation process….I promise you will thank me for that!

INSTALLATION
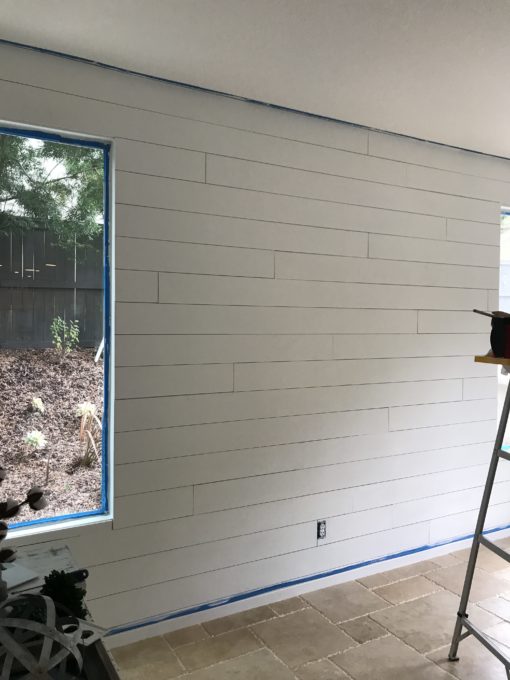
Step 1: Locate the studs. We used a stud finder to help us pinpoint the best places to nail our shiplap. We drew lines down the walls so we could easily follow the stud and minimize the number of nails we needed.
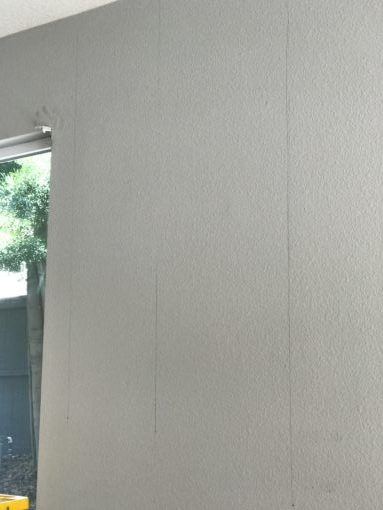
Studs marked for easier install
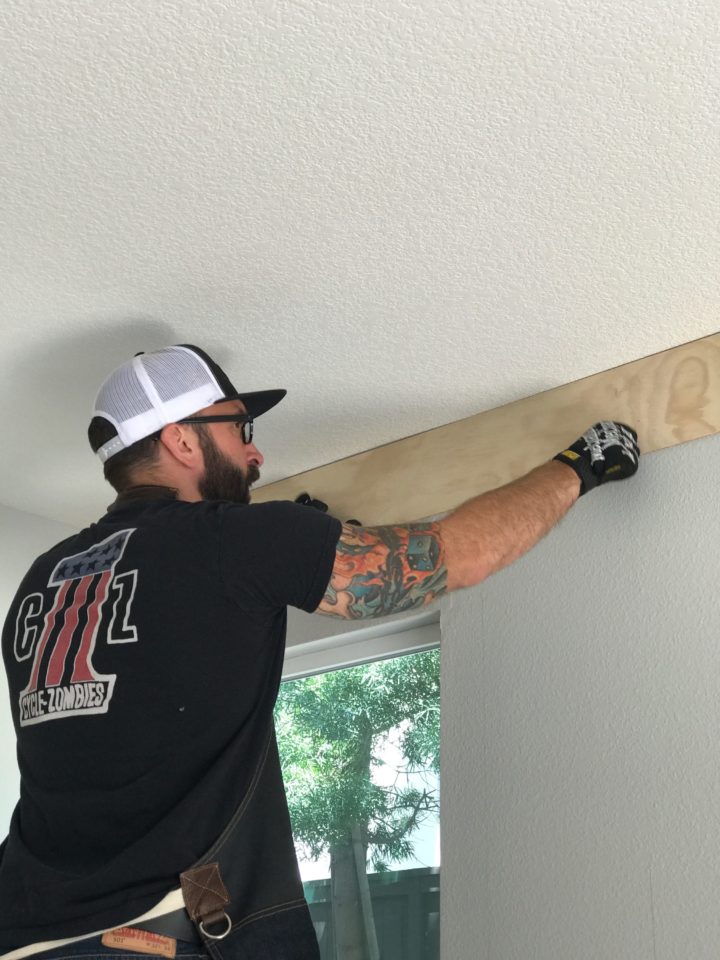
1st piece going up
Step 2: Getting the 1st row up (and level) is the most important! Take your first piece and get it up to the ceiling. Using your level make sure it’s even and as close to the ceiling as possible while still being straight. DO NOT just shove the wood flush with the ceiling and nail it in. My house is only 15 years old and the ceiling isn’t perfectly level! Use the level to get the entire top row of shiplap in!
Using your nail gun, nail on the studs (as much as possible) and start to build your wall. Get the first piece installed and double (and triple) check that it’s straight.
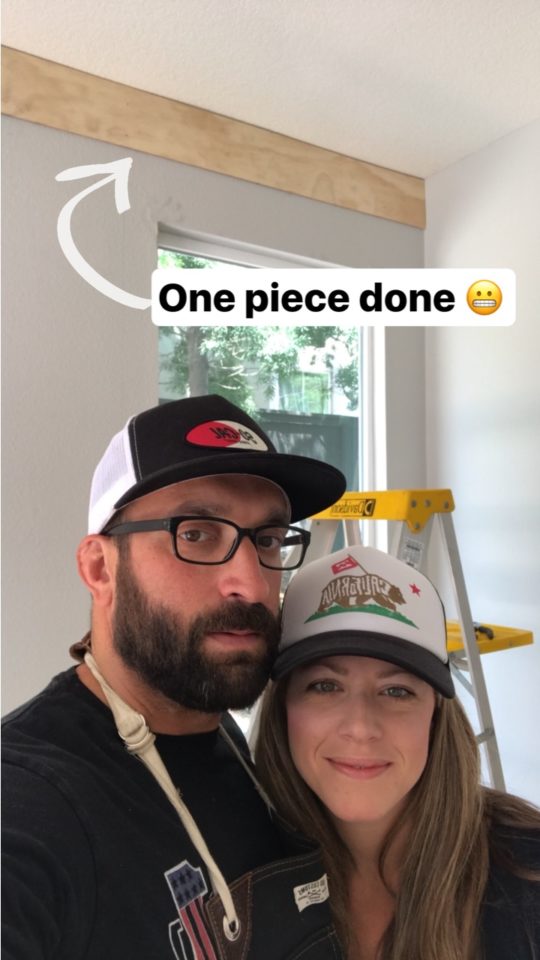
Installed board #1 🙂 So excited
Tip #2 – If your nail doesn’t go all the way into the wall, you can use a hammer or a hammer and nail setter. Using the nail setter, I was able to gently tap the nail all the way into the wall without causing damage to the shiplap (which was my fear, just using the hammer). You place the “setter” on the nail head and then hammer the nail setter instead of just “whacking” the nail. The shiplap is thin wood so you want to be a bit gentle when swinging a hammer at it 🙂
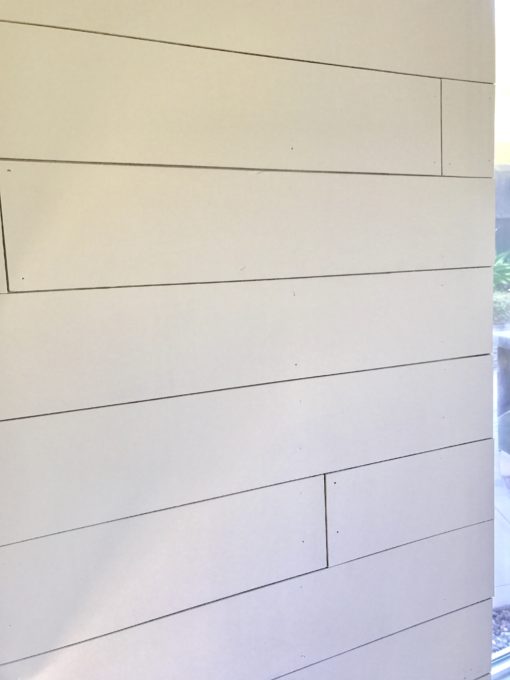
Using your “spacer” (aka a popsicle stick) place it at the end of your first board as you measure to cut (or simply install depending on the size of your wall) your next board. You are going to use multiple popsicle sticks to install and space each piece of wood all the way down your wall.
My very high tech spacing tool 🙂
Perfectly spaced
Step 4 – How to skip using a measuring tape! Precise measuring using a measuring tape isn’t exactly my forte and I’m always looking for tricks to get around using a measuring tape so I don’t have to remember which little “tick” on the tape I need to cut at/measure to. Here’s my quick guide to perfect measuring and fool proof cuts without a measuring tape!
Step 5 – Outlets – If you have an outlet on your soon to be shiplap wall, you will want to install an extender box to pull the box out from the wall. We cut a U shape into the wood to fit it around the extender box. The type of cut you need to make will vary and likely not be the same as ours. **NOTE: we used a dremel multi-tool with a wood flush cut attachment to make the “U” shaped cut. Once the plate cover goes back on the wall you will cover a lot of the imperfections that happen so don’t worry too much.
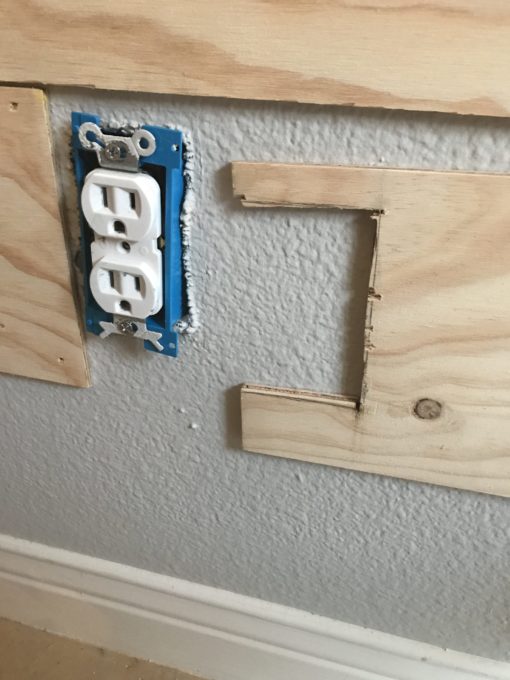
Don’t forget an extender box for any outlets
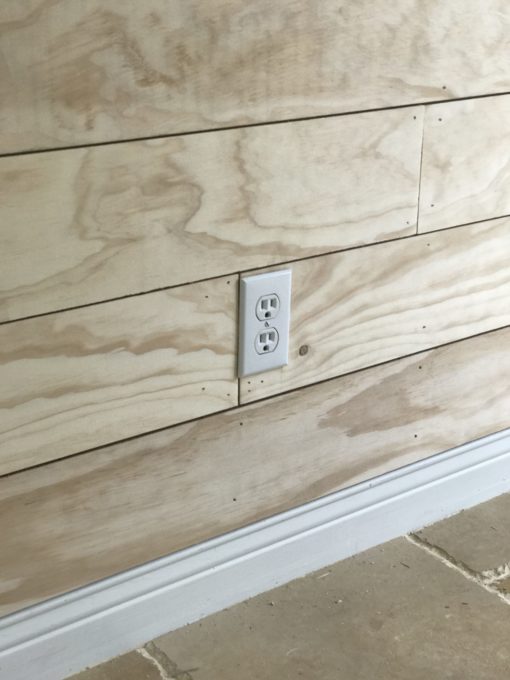
Adjust to allow the cover plate to lay flush with the shiplap
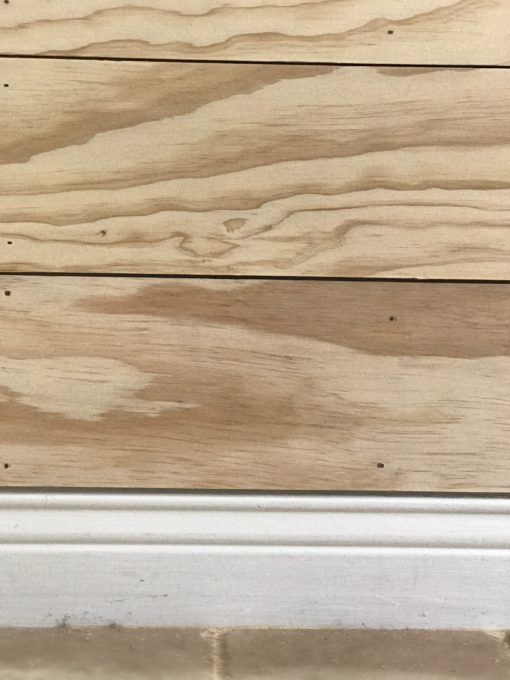
Base trim – Our house already had base trim so we decided not to remove it and simply installed the shiplap as close to the existing trim as we could. We didn’t feel it was worth removing and destroying the trim and we were able to shiplap close enough that it still has a finished look.
However, if you don’t have base trim, I highly recommend going to Pinterest to get a few ideas of what may work best in your home!
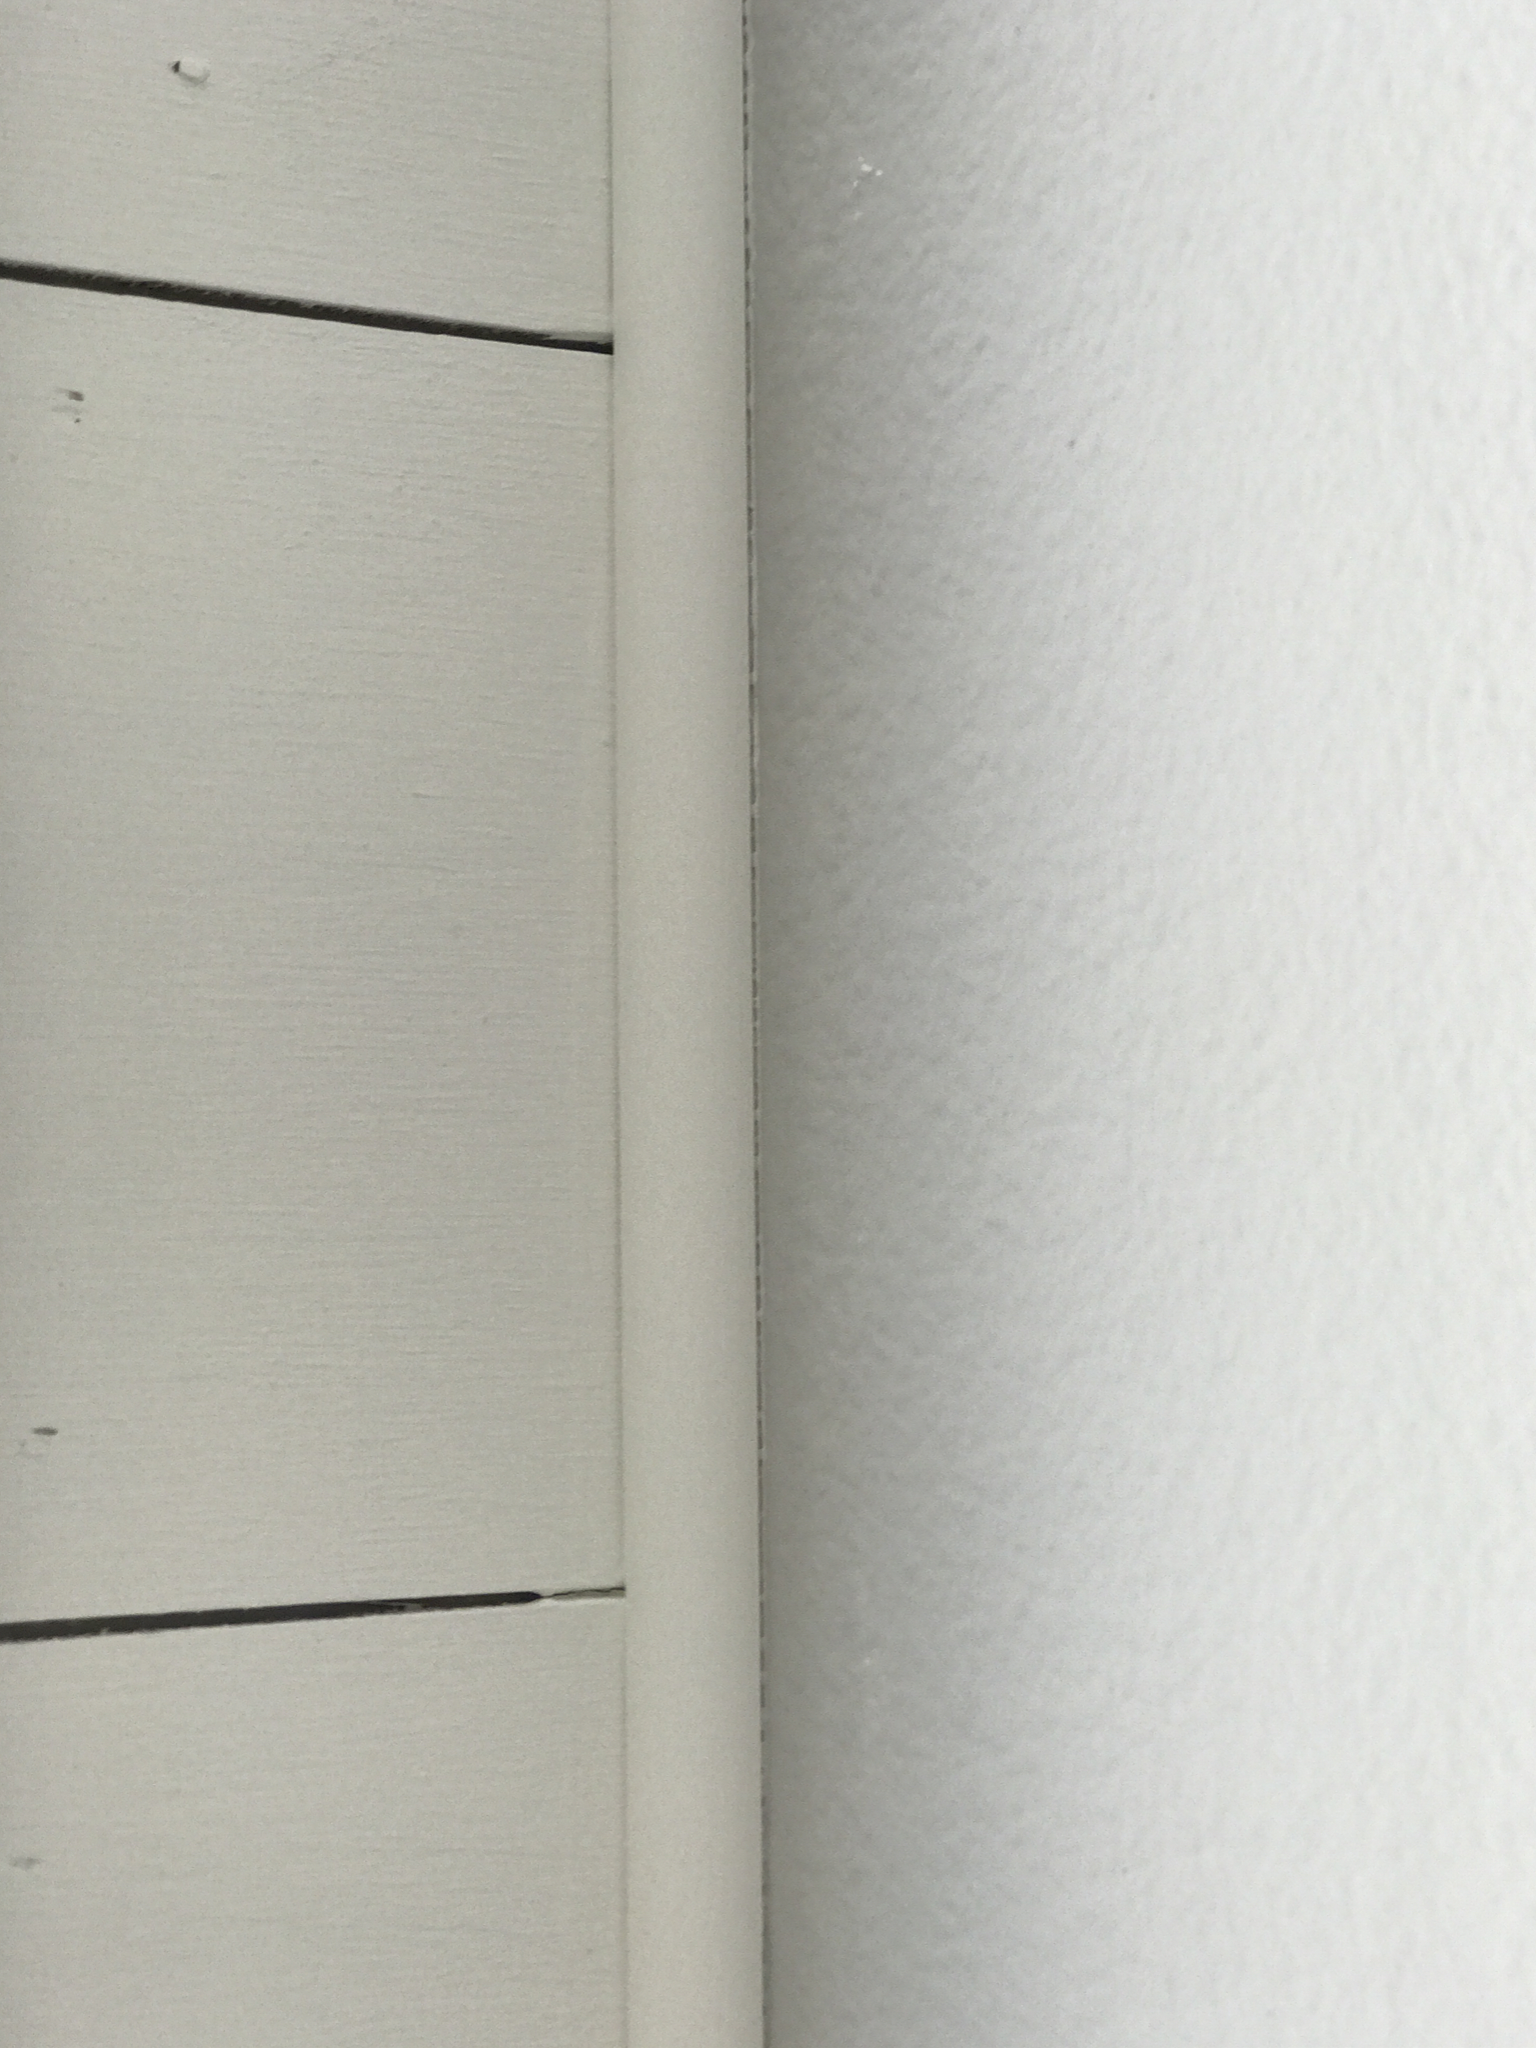
Corner trim – our cuts turned out pretty clean and close to the wall but we wanted to polish the look a little further, so we added quarter round to the corners of the wall to hide all the edges and give it a clean look. I used the nail gun to install the trim and painted it the same color as the wall.
I brush painted the wall because I didn’t want to fill the spaces I intentionally created using the popsicle sticks with paint. I painted one coat of primer and then two coats of paint. I was on the fence about the final coat of paint and wasn’t sure if the wall needed it. HOWEVER, you 100% want that final coat of paint! It really gives it a much more polished look because the plywood soaks up the paint.
If you have any paint that gets caked in between the boards, you can use a razor or other thin sharp edged item to clear out the paint.
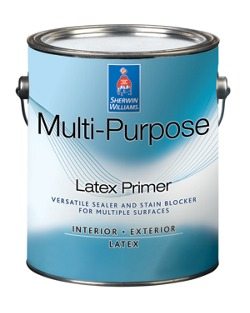
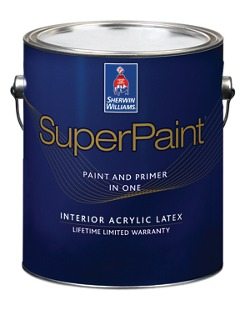
Below is the type of primer/paint I used:
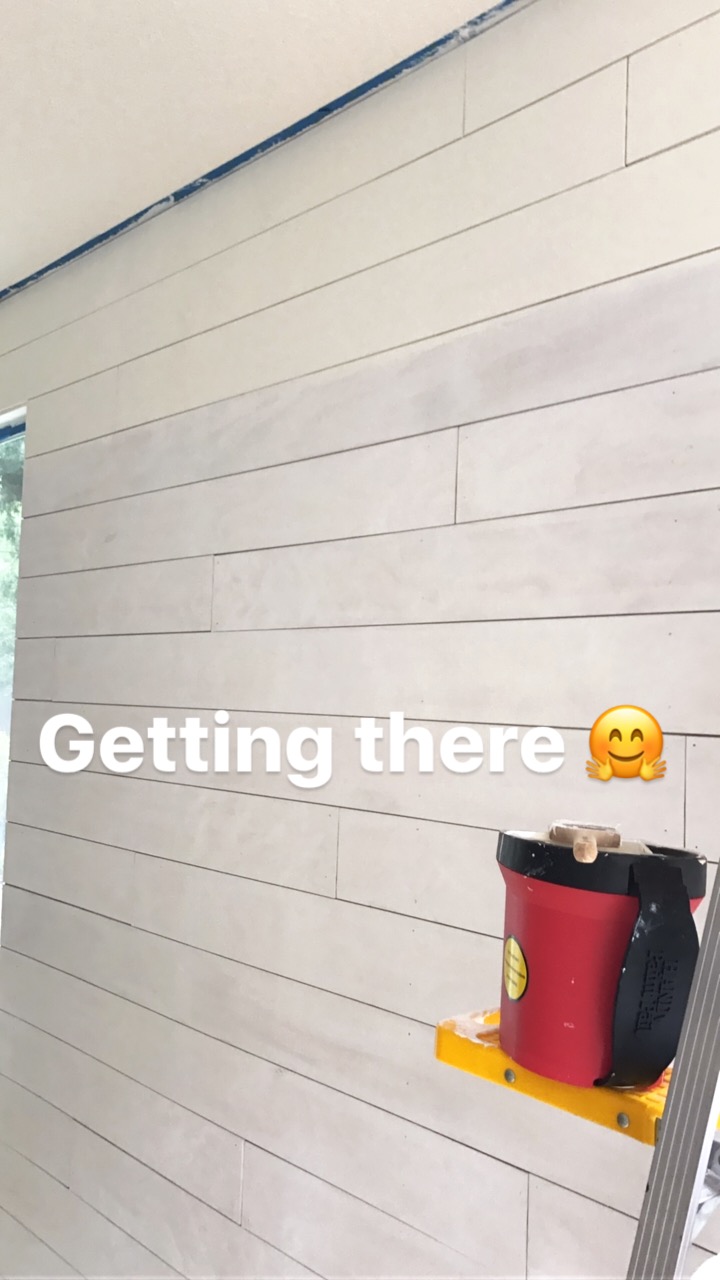
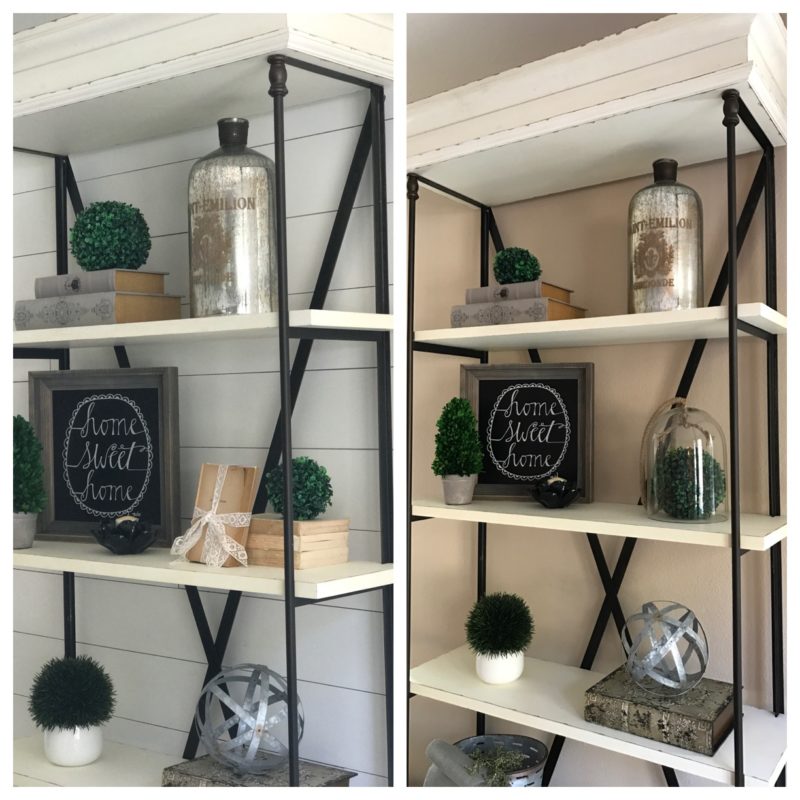
And voila! You have one awesome wall! It made a HUGE difference in our home and adds so much warmth and character.
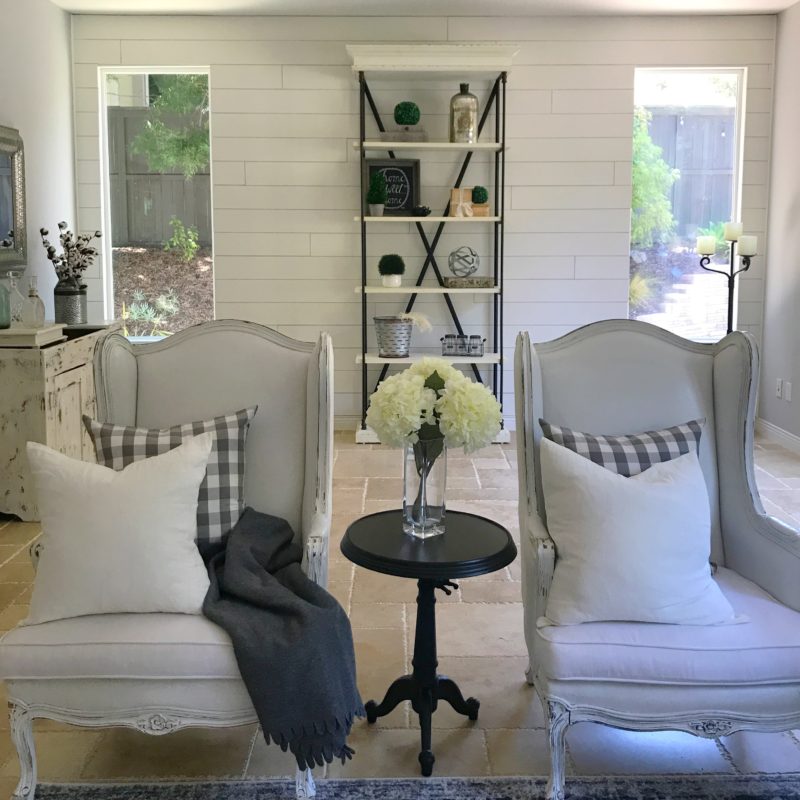
Happy Shiplapping!