
Easy DIY Planter Box….no carpentry skills required! Let’s create a beautiful garden space to grow fruits and veggies…all you need are cement planter blocks and 2″ x 6″ inexpensive wood. There’s no complicated building plan to follow and zero construction skills are needed.
The cement blocks hold the entire structure in place and the wood is cut to whatever length you need to fit your garden space.
Our yard used to have a large blank space that was literally just filled with rocks. Three years ago, we built the first version of this planter box and it transformed what was unused space into such a fun spot that has yielded lots of delicious homegrown veggies.
Fast forward three years, we just updated the planter box, respraying the blocks black for a more modern look and we also added a little more height by adding another row of blocks.
Here’s the original before and after:
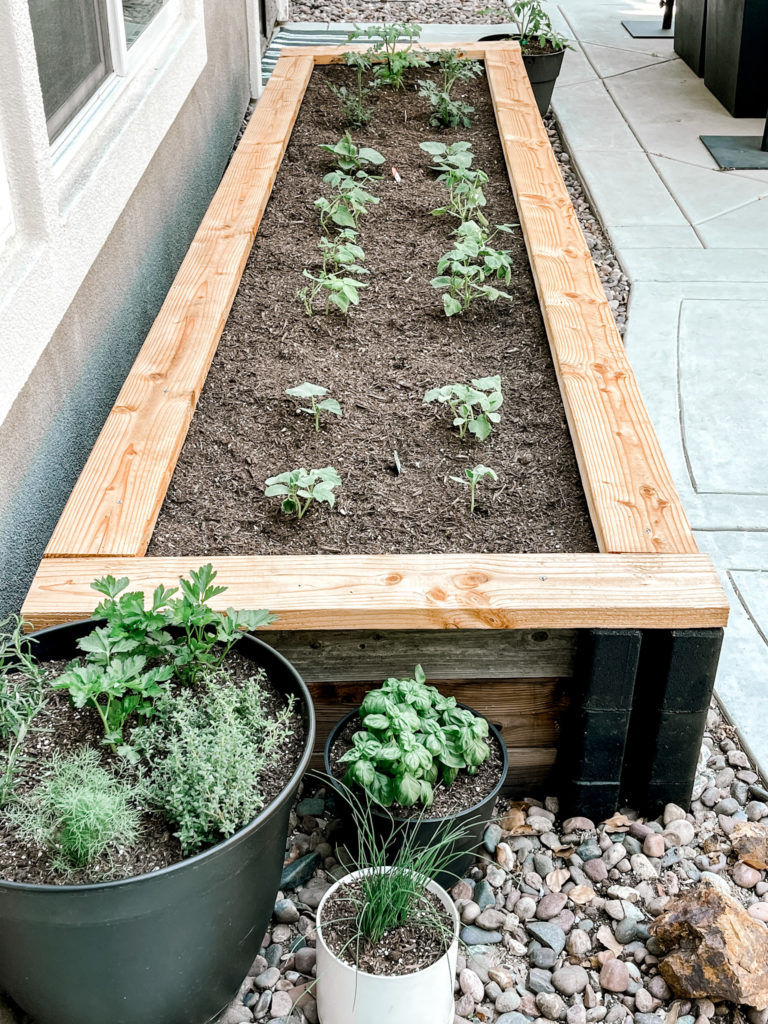
In the first build out of this planter box, we built it two cement blocks high, 12′ long and 3′ wide. We’ve had some great small yields from this small planter box and it’s been so much fun to experiment with fruits and veggies.
To watch video stories on that first build, click HERE.
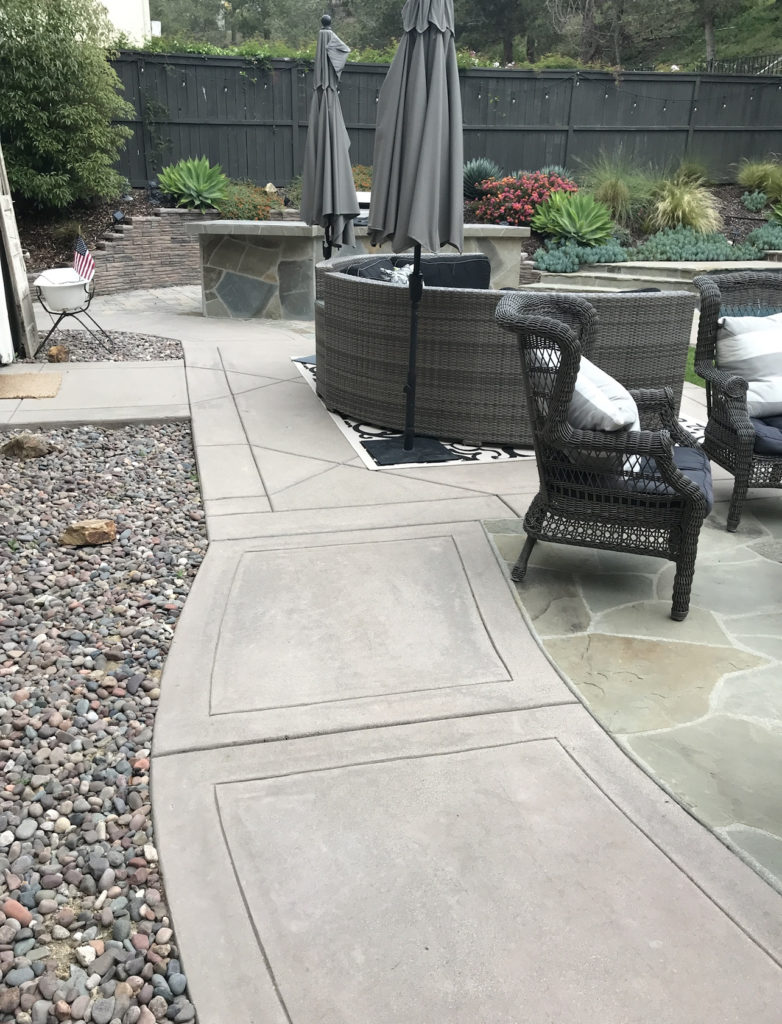
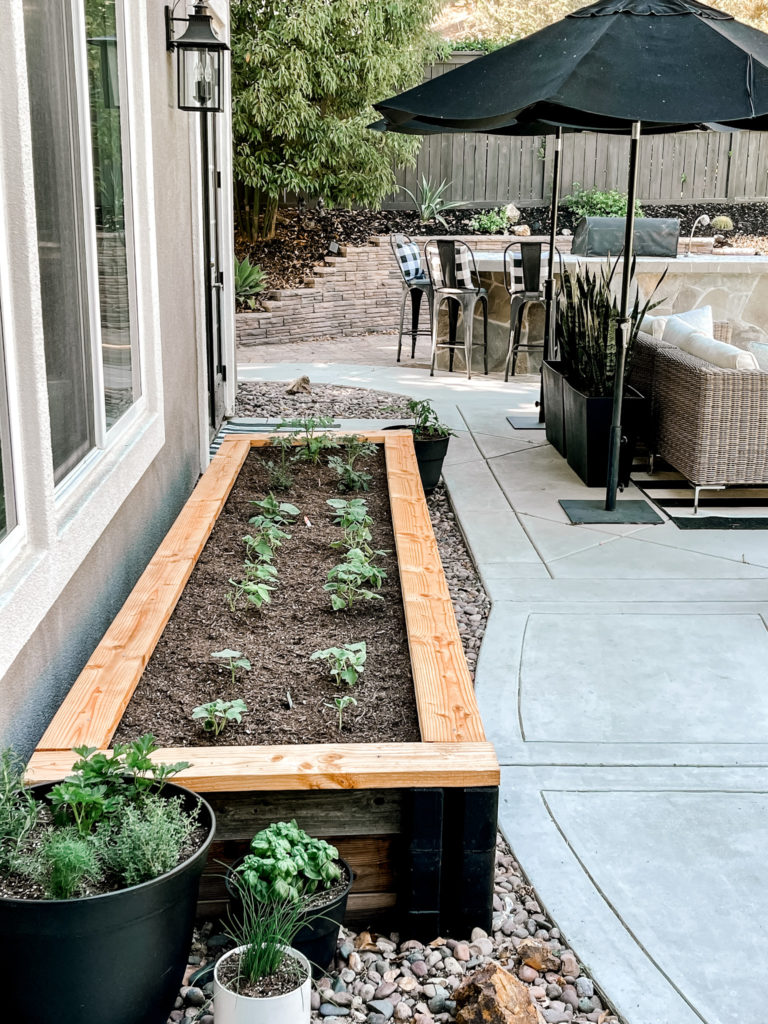
In the summer of 2020, we gave our backyard a refresh with brand new furniture for a more modern feel. Now you know the rule…one project always leads to another…so of course I NEEDED to update our garden space to match the new aesthetic.
**For a peek at our updated yard you can head over to my backyard tour HERE.
Let’s Build
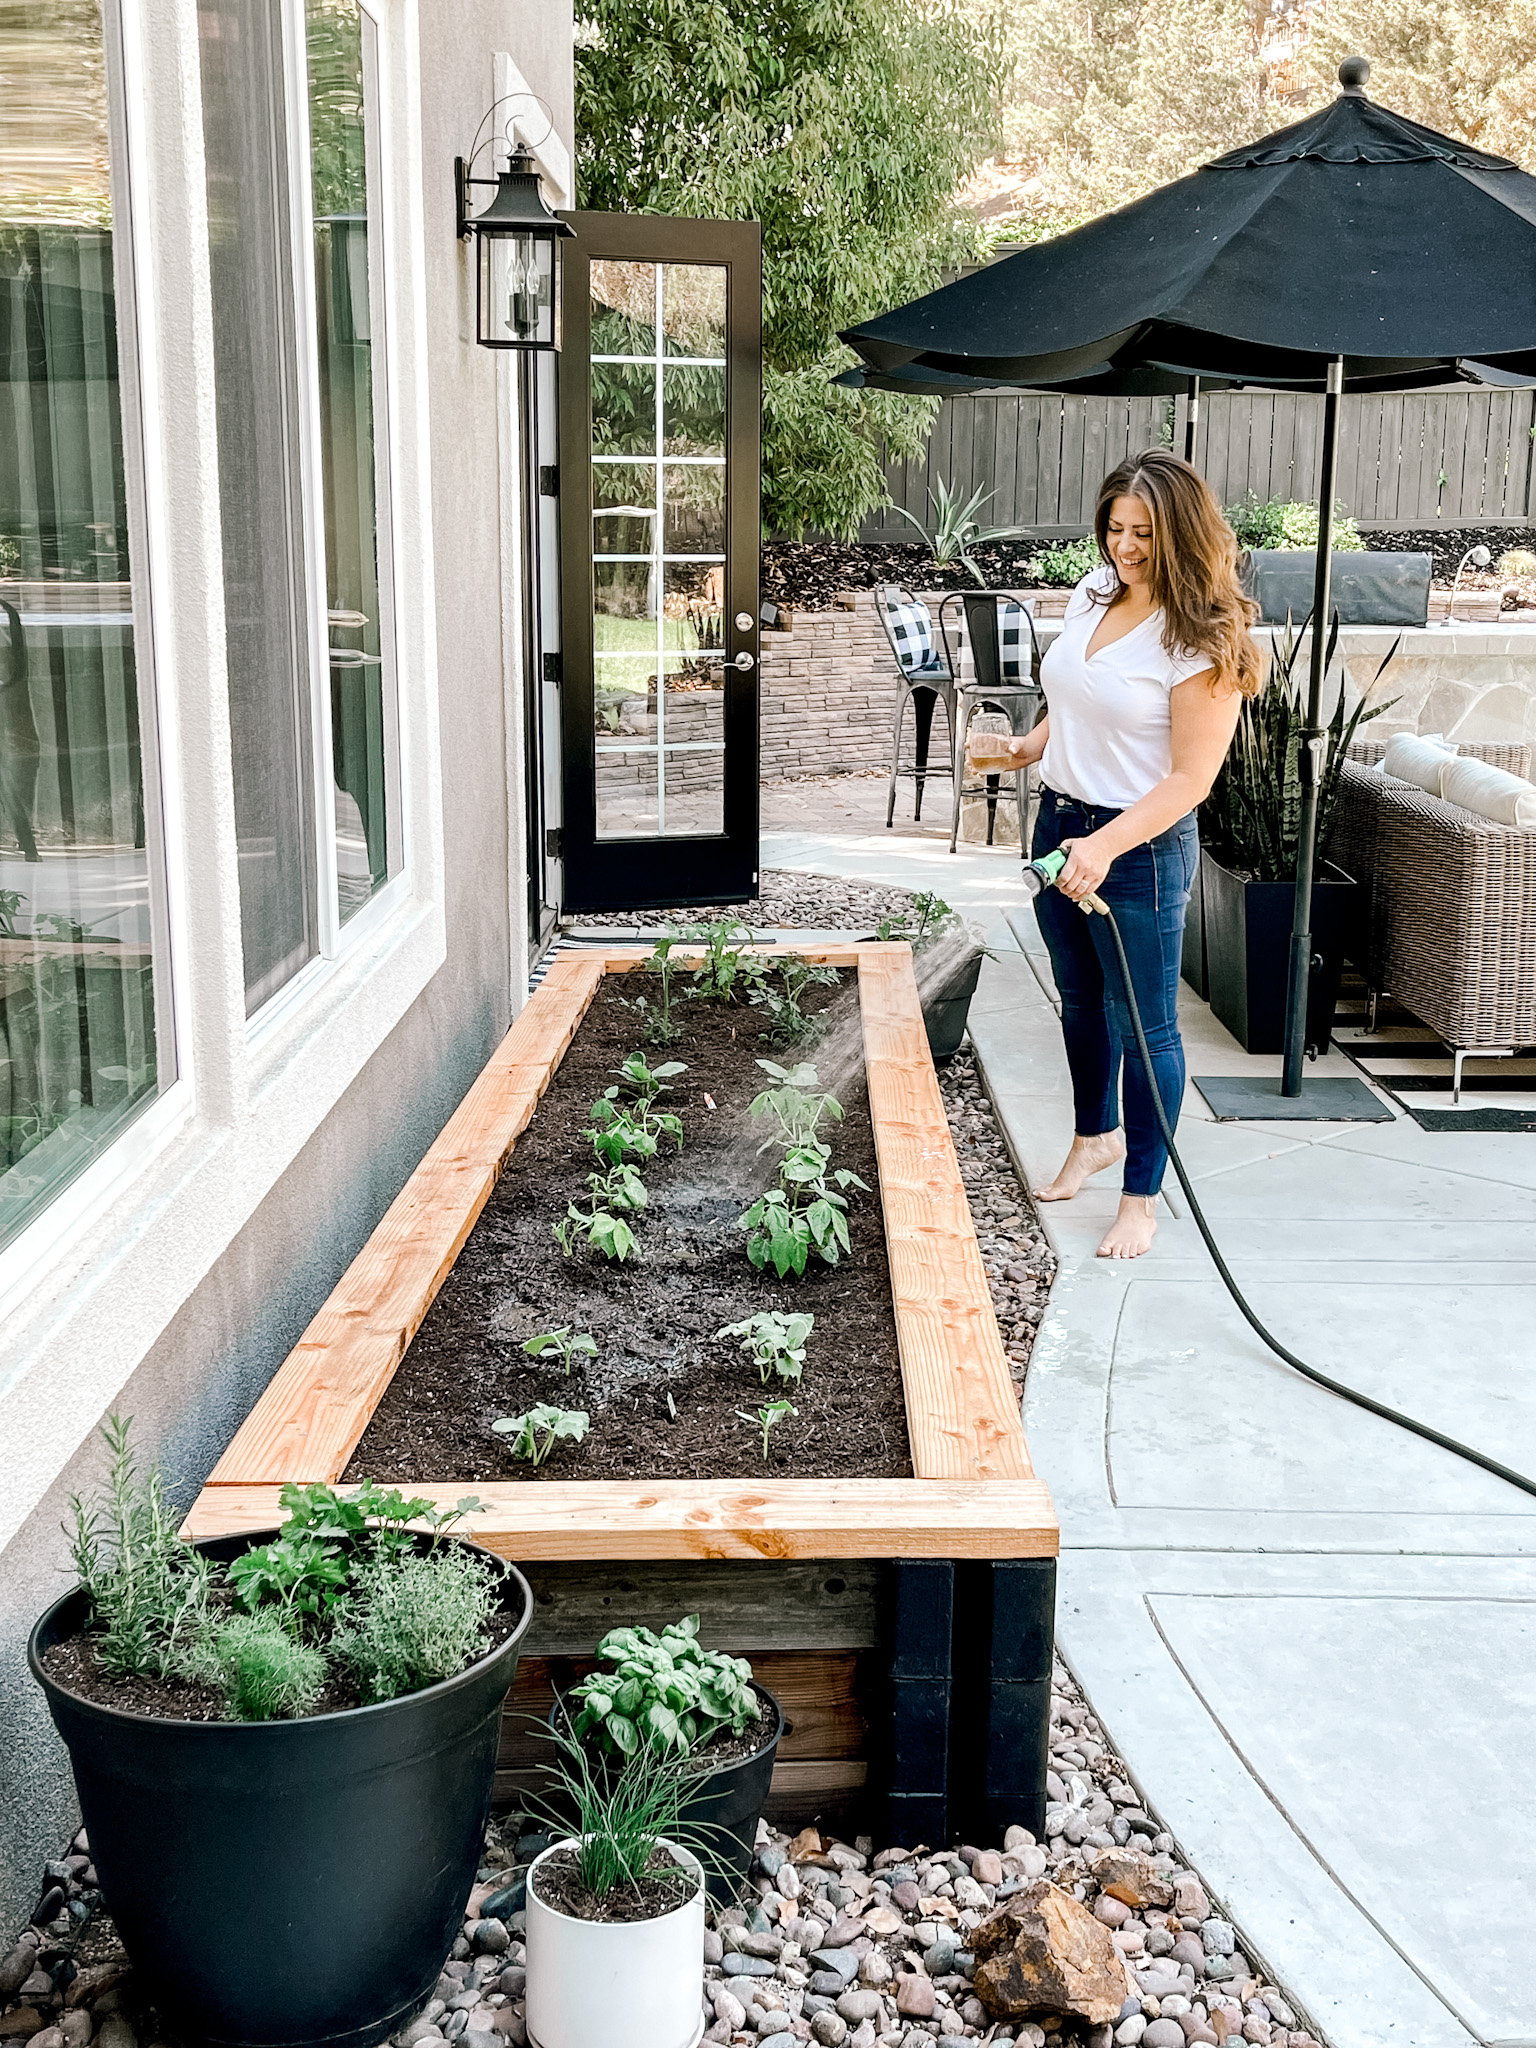
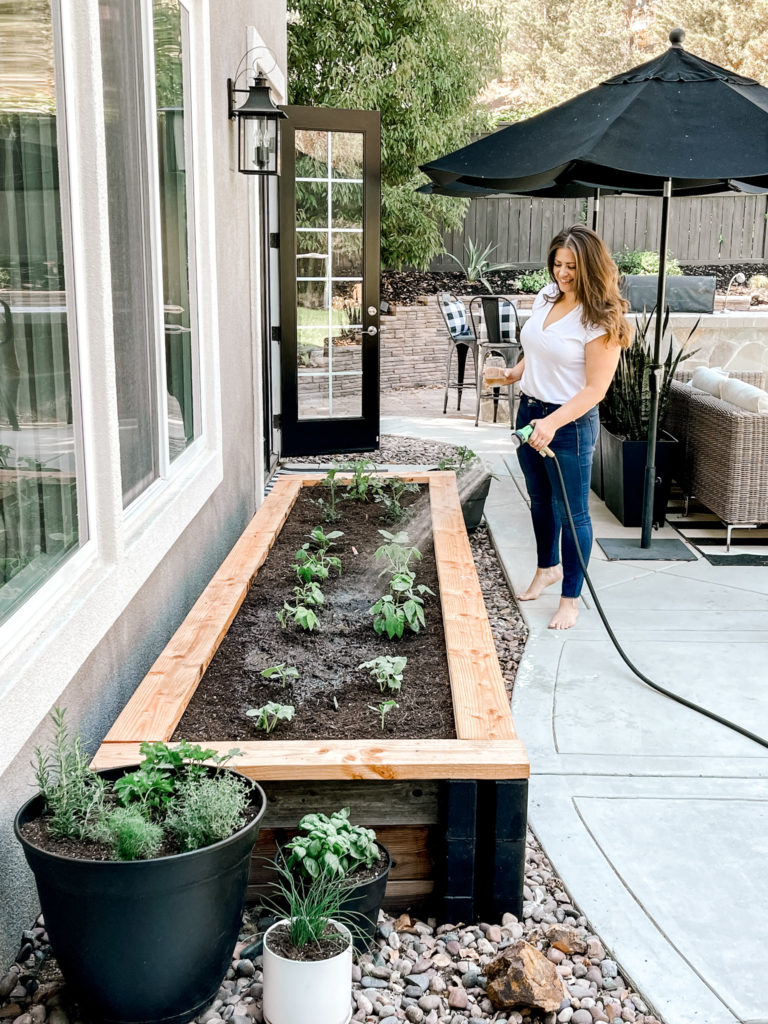
Ok…so let’s build this EASY planter box. You need cement blocks and 2″ x 6″ x (length)” wood:
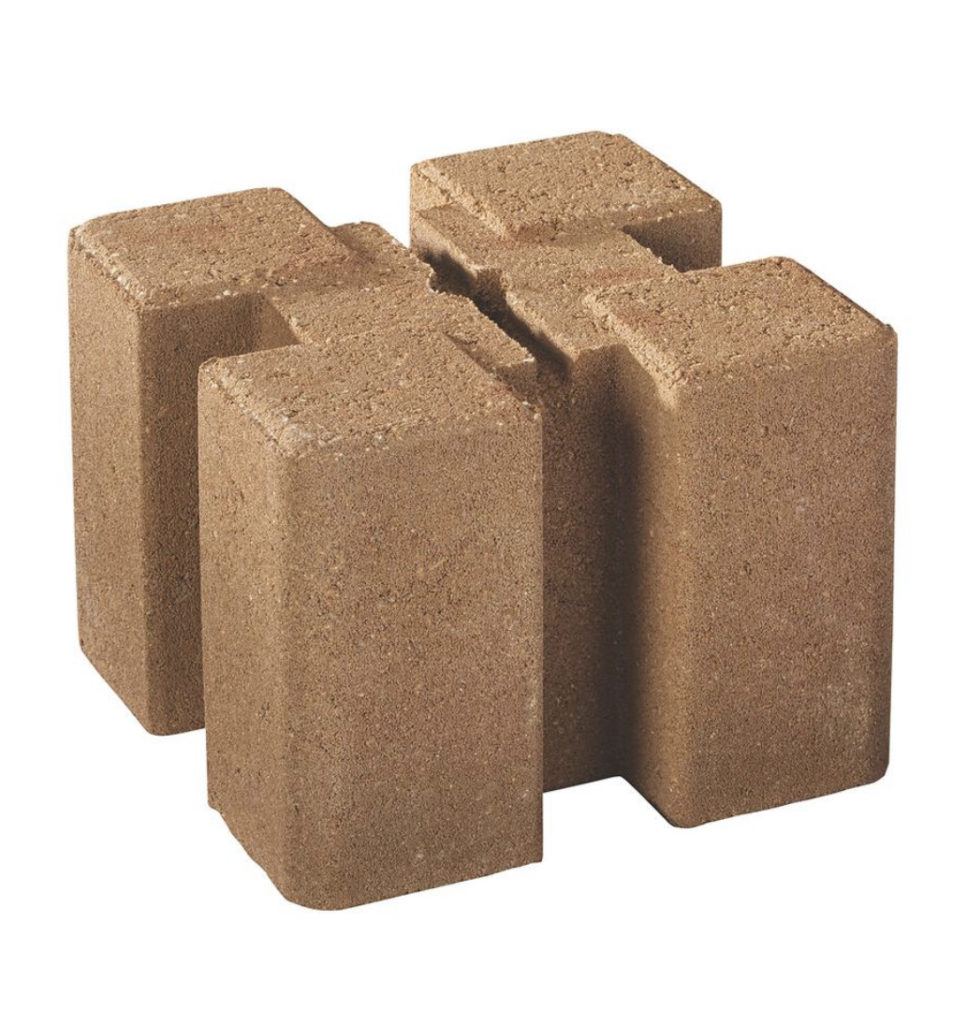
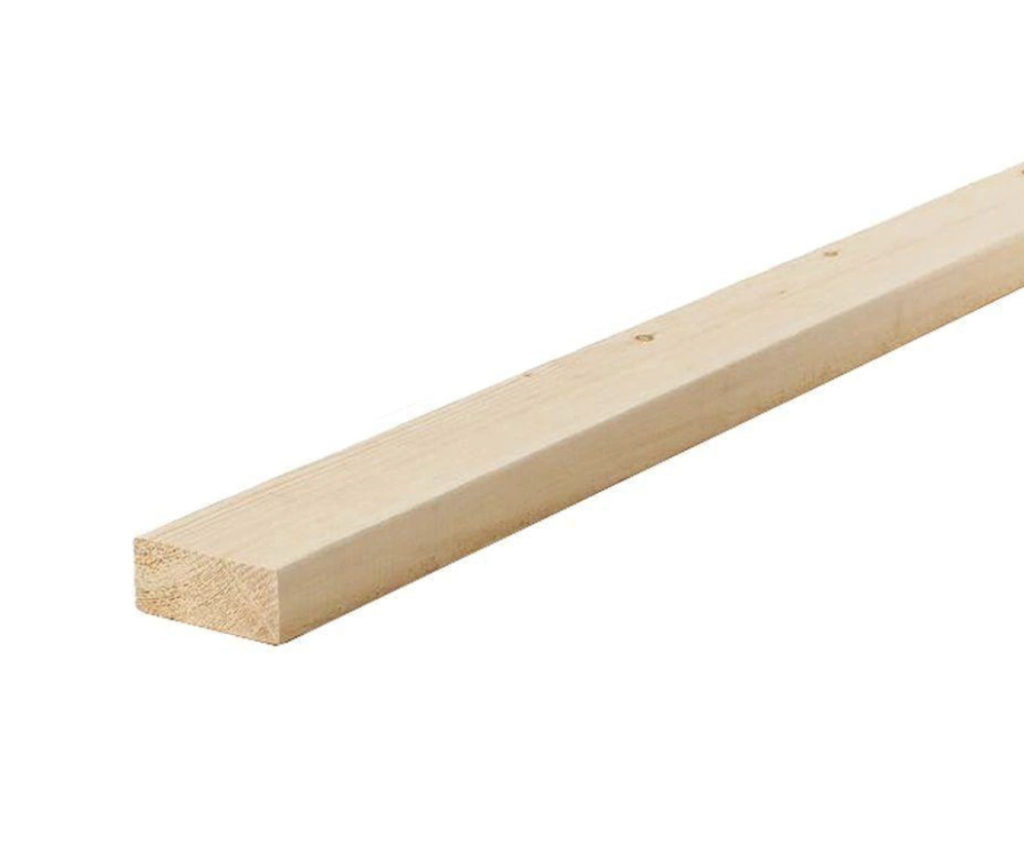
Those are the two main products you need to complete this project. The wood slides into the cut outs in the blocks to create and hold the structure of the box. It’s really that simple! You can even create an entire connected network of boxes using these blocks if your space allows.
To “fancy” it up, we changed the color of the blocks using spray paint. Originally I sprayed the blocks in a creamy white and for this refresh I painted them again, but in a matte black.

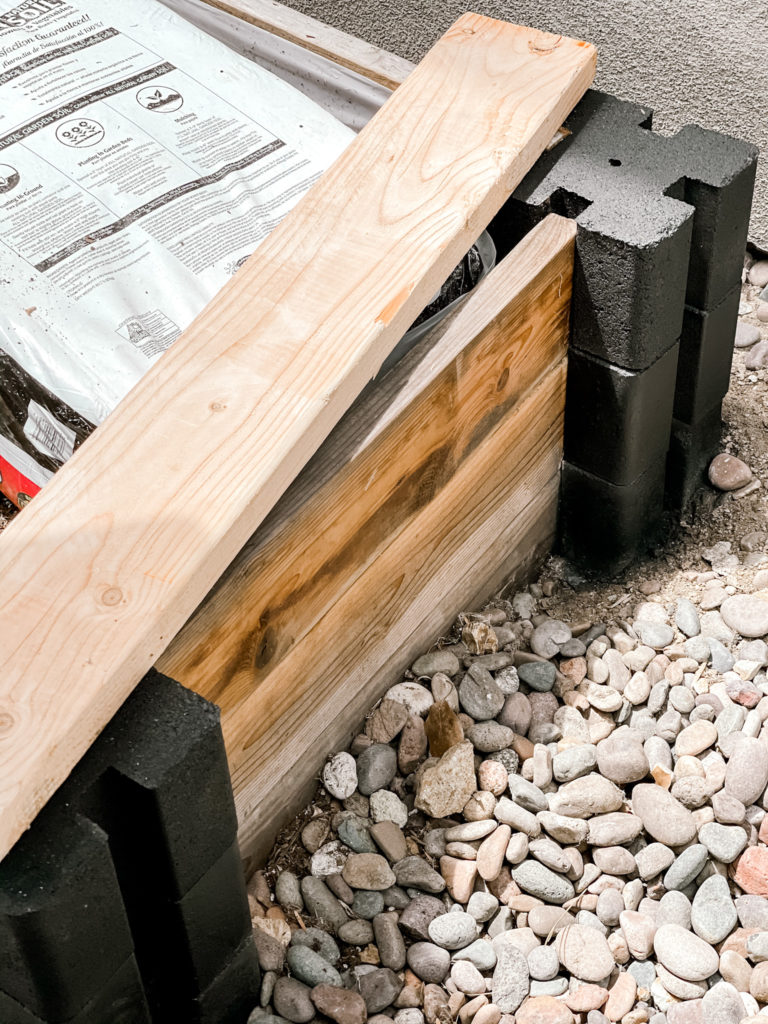
It’s as easy as cutting the wood to the desired length (which can be done in store for a small fee if you prefer) – I just used a miter saw and it took seconds to make the few cuts I needed.
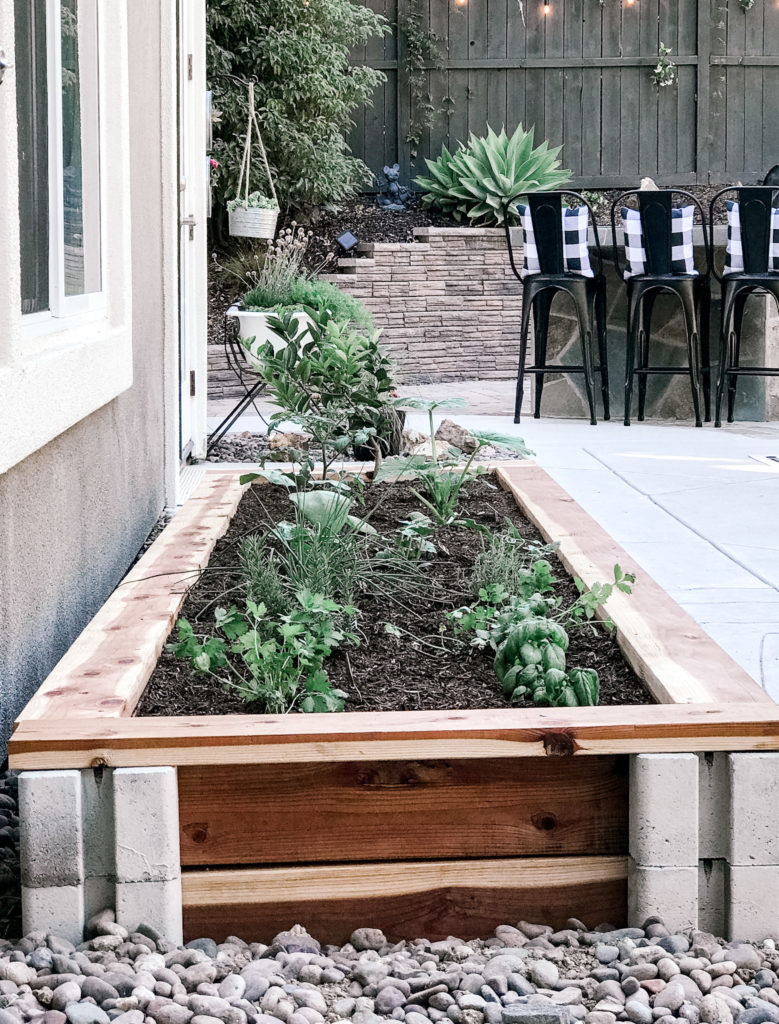
Then you slide the wood into the blocks. The blocks stack to create additional height so you can customize it to any size you need.
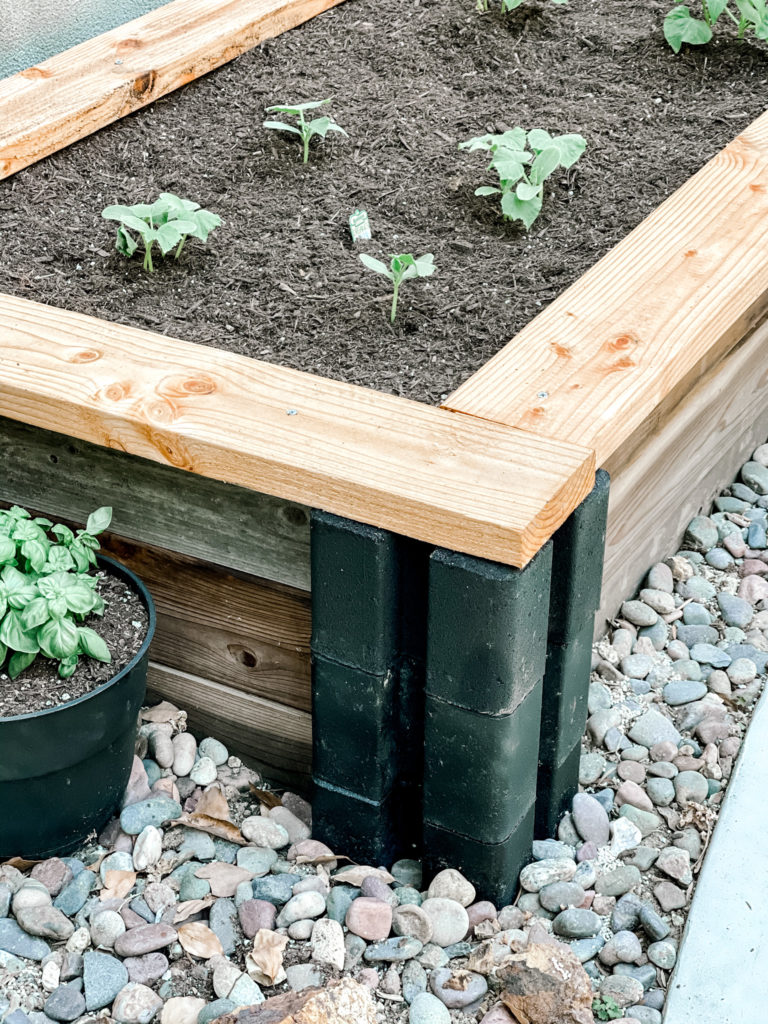
This final step is optional (but fun!). To create a more finished look, add a ledge on top of the box. Using the same 2″ x 6″ wood, lay it flat over top and attach it to the piece of wood just underneath, using 3-4″ long wood screws.
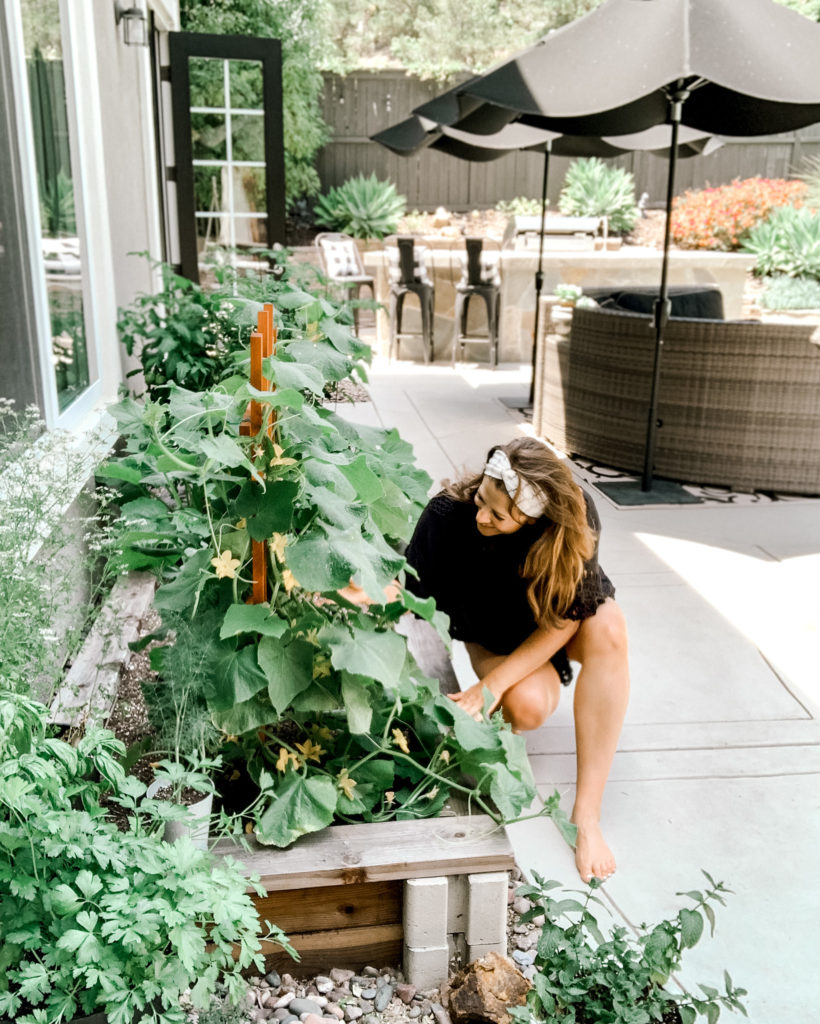
This little addition has been very helpful because it gives me a spot to step or kneel if I need to do some garden tending.
To watch a quick REEL on our updated build, click HERE.
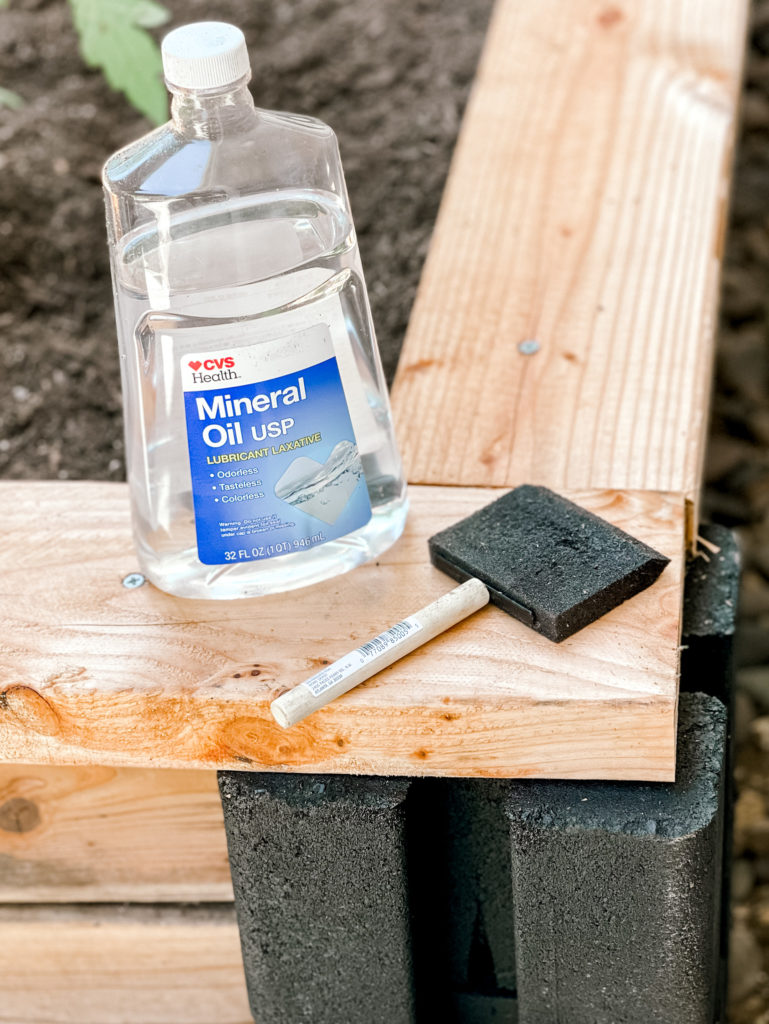
To protect the wood, I use mineral oil. It’s not “technically” rated for outdoor use but here are a few reasons why I like it for this project….
- Mineral oil brings the natural wood tone to life and I love the warmth of the raw wood.
- I live in San Diego, so the wood isn’t exposed to harsh weather.
- Mineral oil is food grade and extremely inexpensive.
- It’s easy to apply and you can reapply anytime.
That said, you can use whatever you’d like or nothing at all to protect the wood.
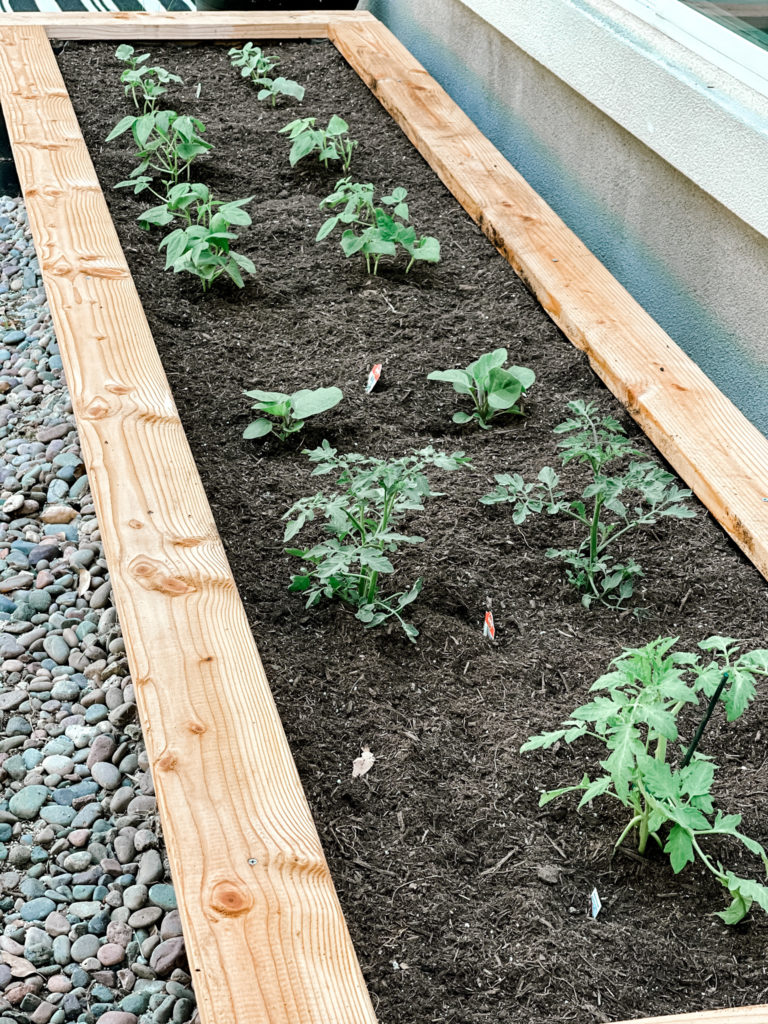
The final step…fill with soil and add your plants but we’ll stop right there ’cause that’s another topic for another post 🙂
Can’t wait to see what you create in your home. If you build this planter box, be sure to tag me on Instagram @jaclynjames.co so I can see!!
Until next time!
xoxo