

I’m so excited to share this budget friendly tutorial with you! Using this simple process to treat outdoor pine cones, I was able to use them for DIY crafting. I received lots of questions on social media after I shared that I used regular old outdoor pine cones in my fall decor so I hope this post answers all your questions.
My So Cal neighborhood is lined with pine trees. Yes…I said pine trees NOT palm tress! After pricing out large bags of pine cones for $10+ I knew I could find a less expensive fix. I collected pine cones from my neighborhood and treated them so I could use them in my decor. This process could not have been simpler. Here’s a quick tutorial on how to treat outdoor pinecones so they are clean and free from unwanted critters 🙂
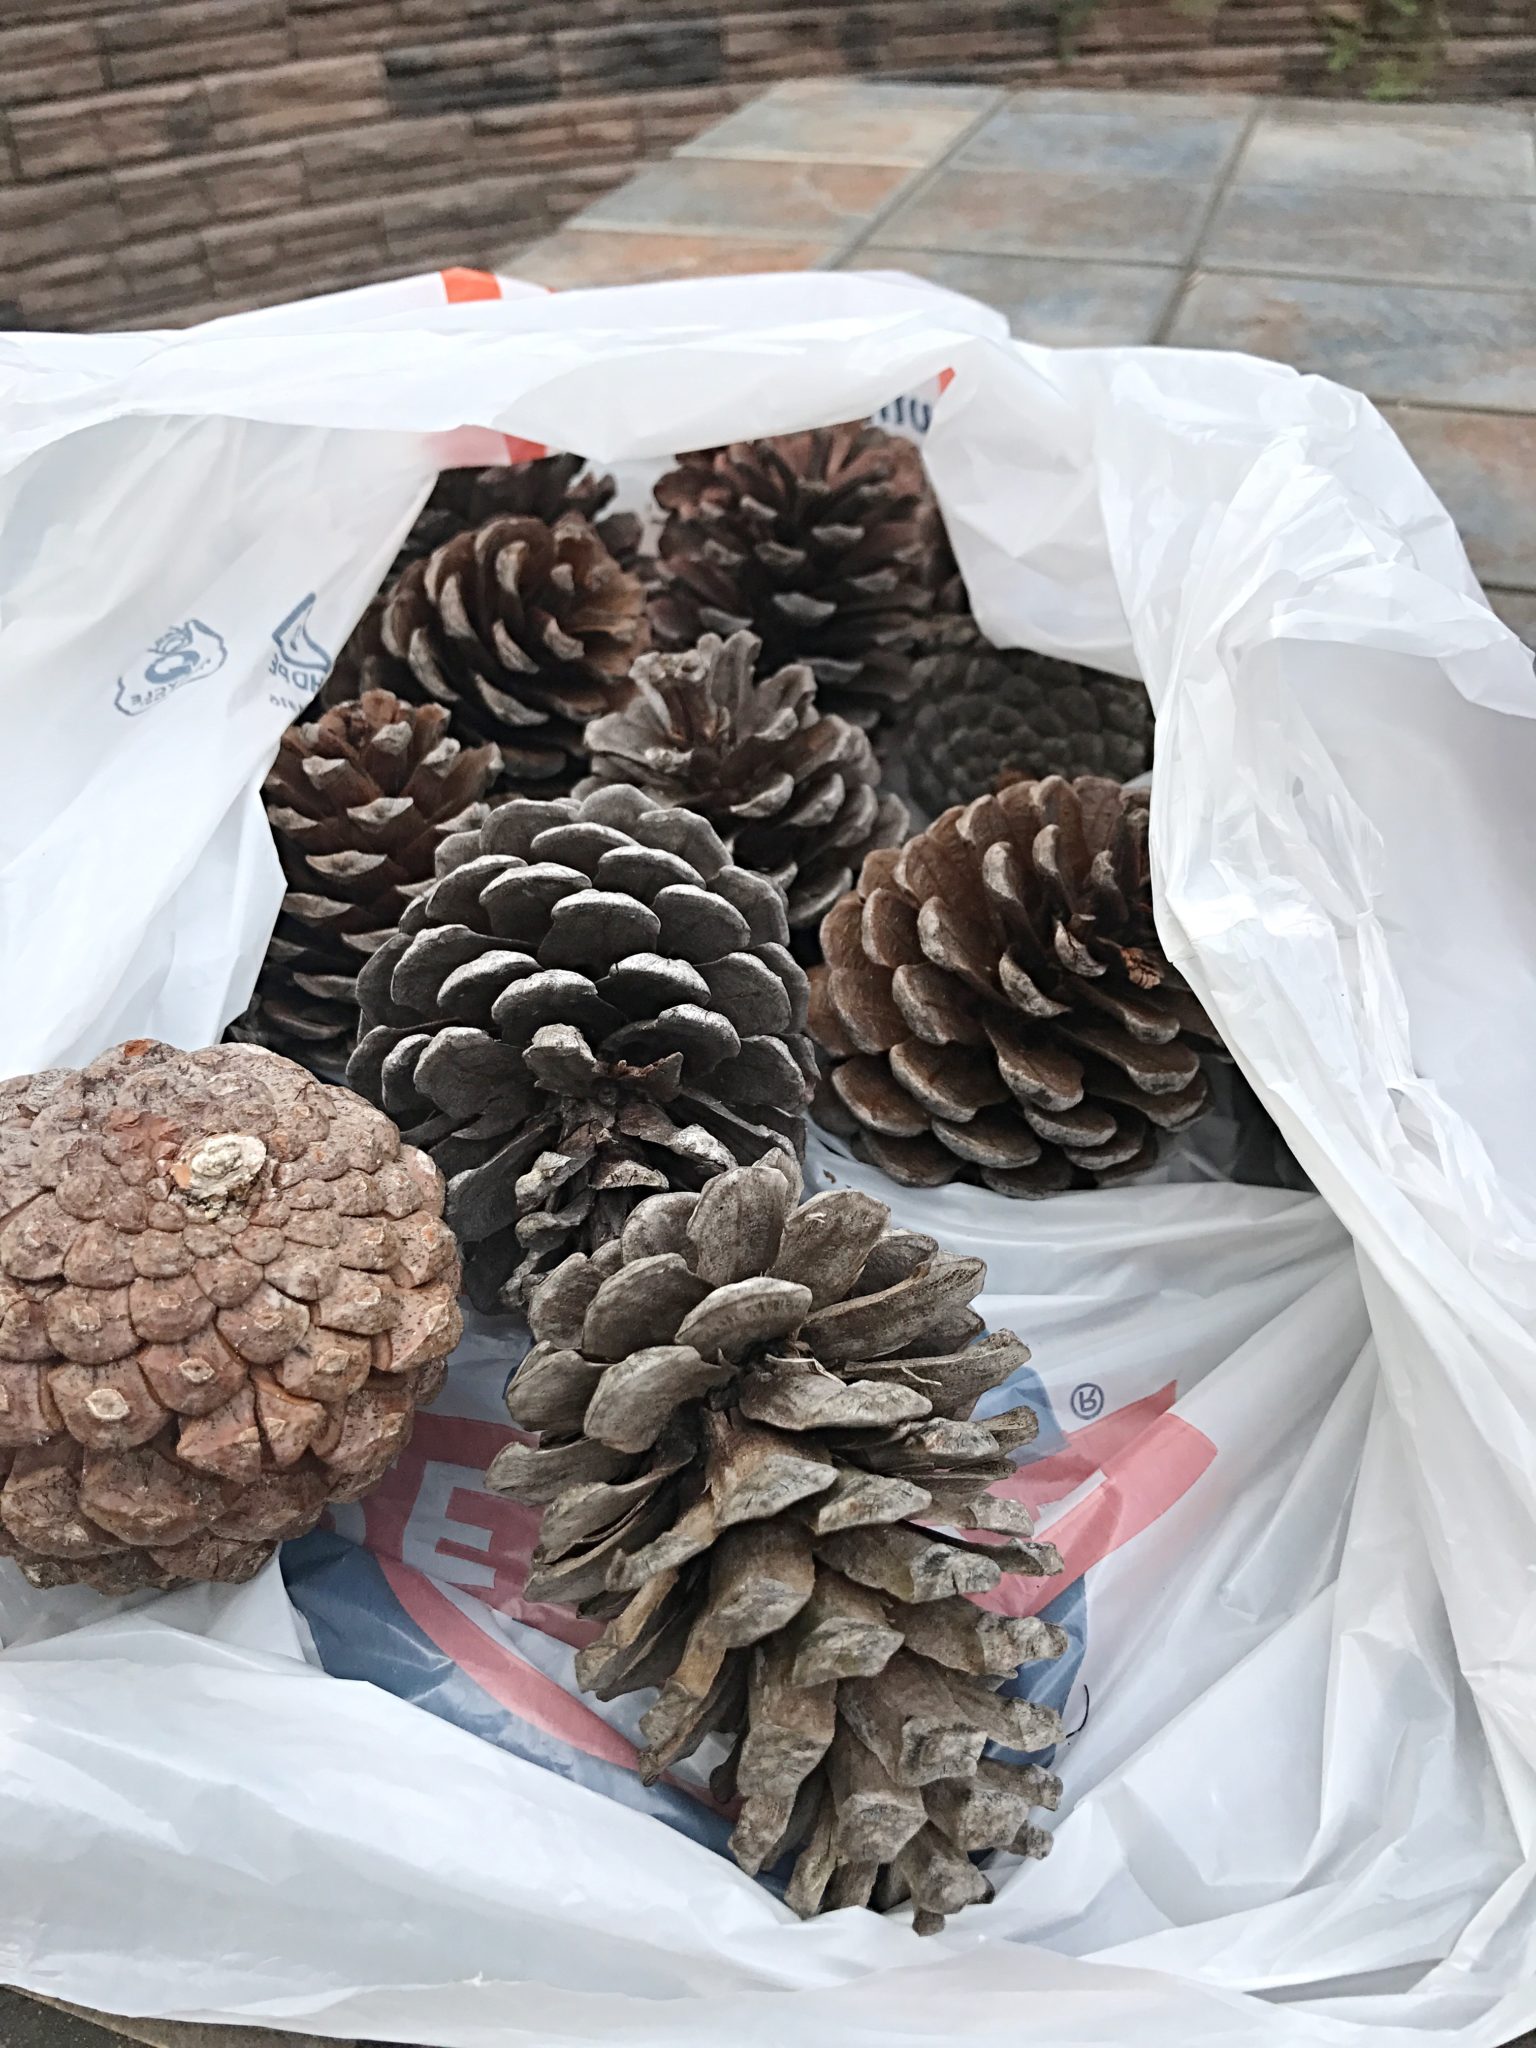
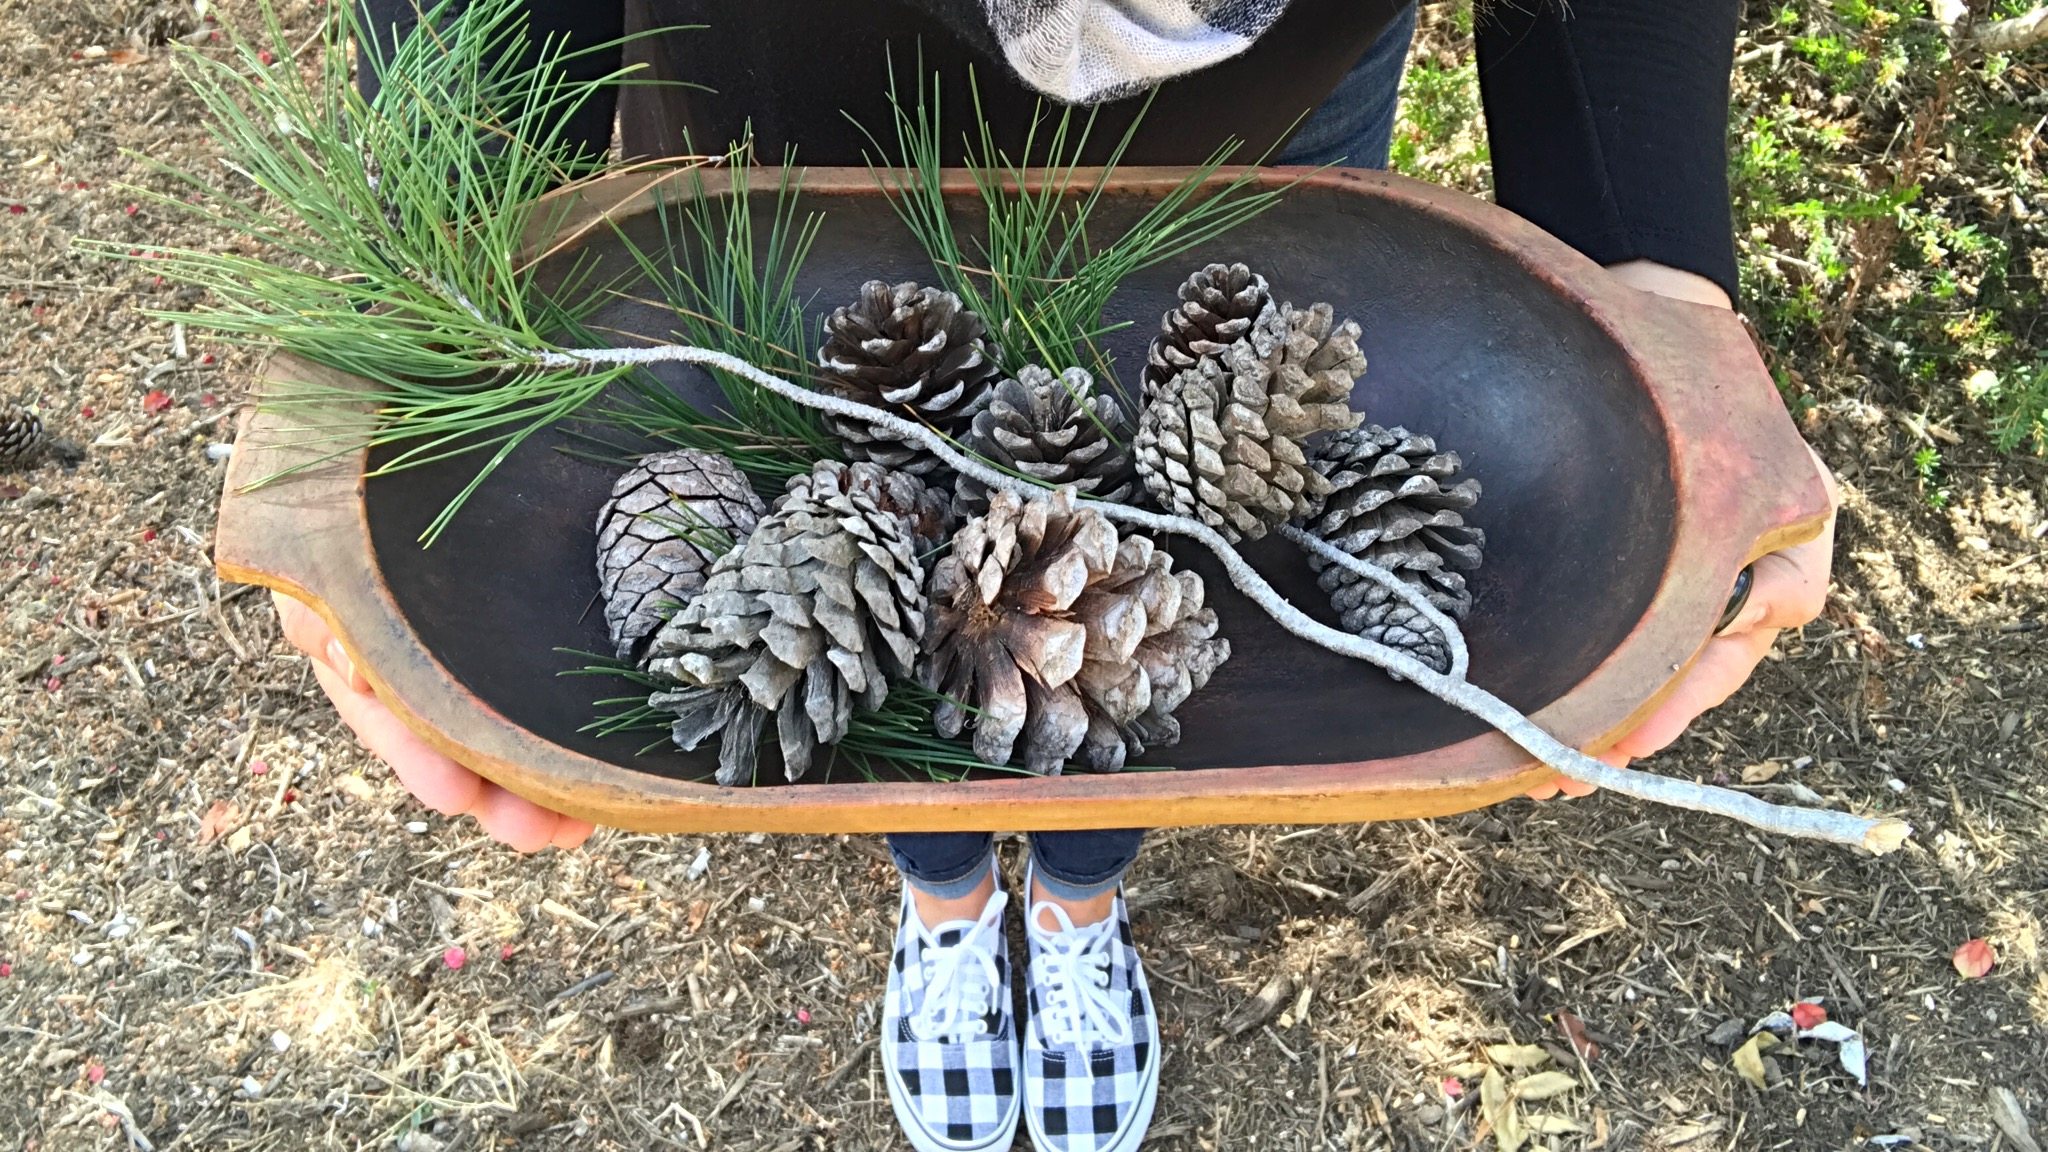
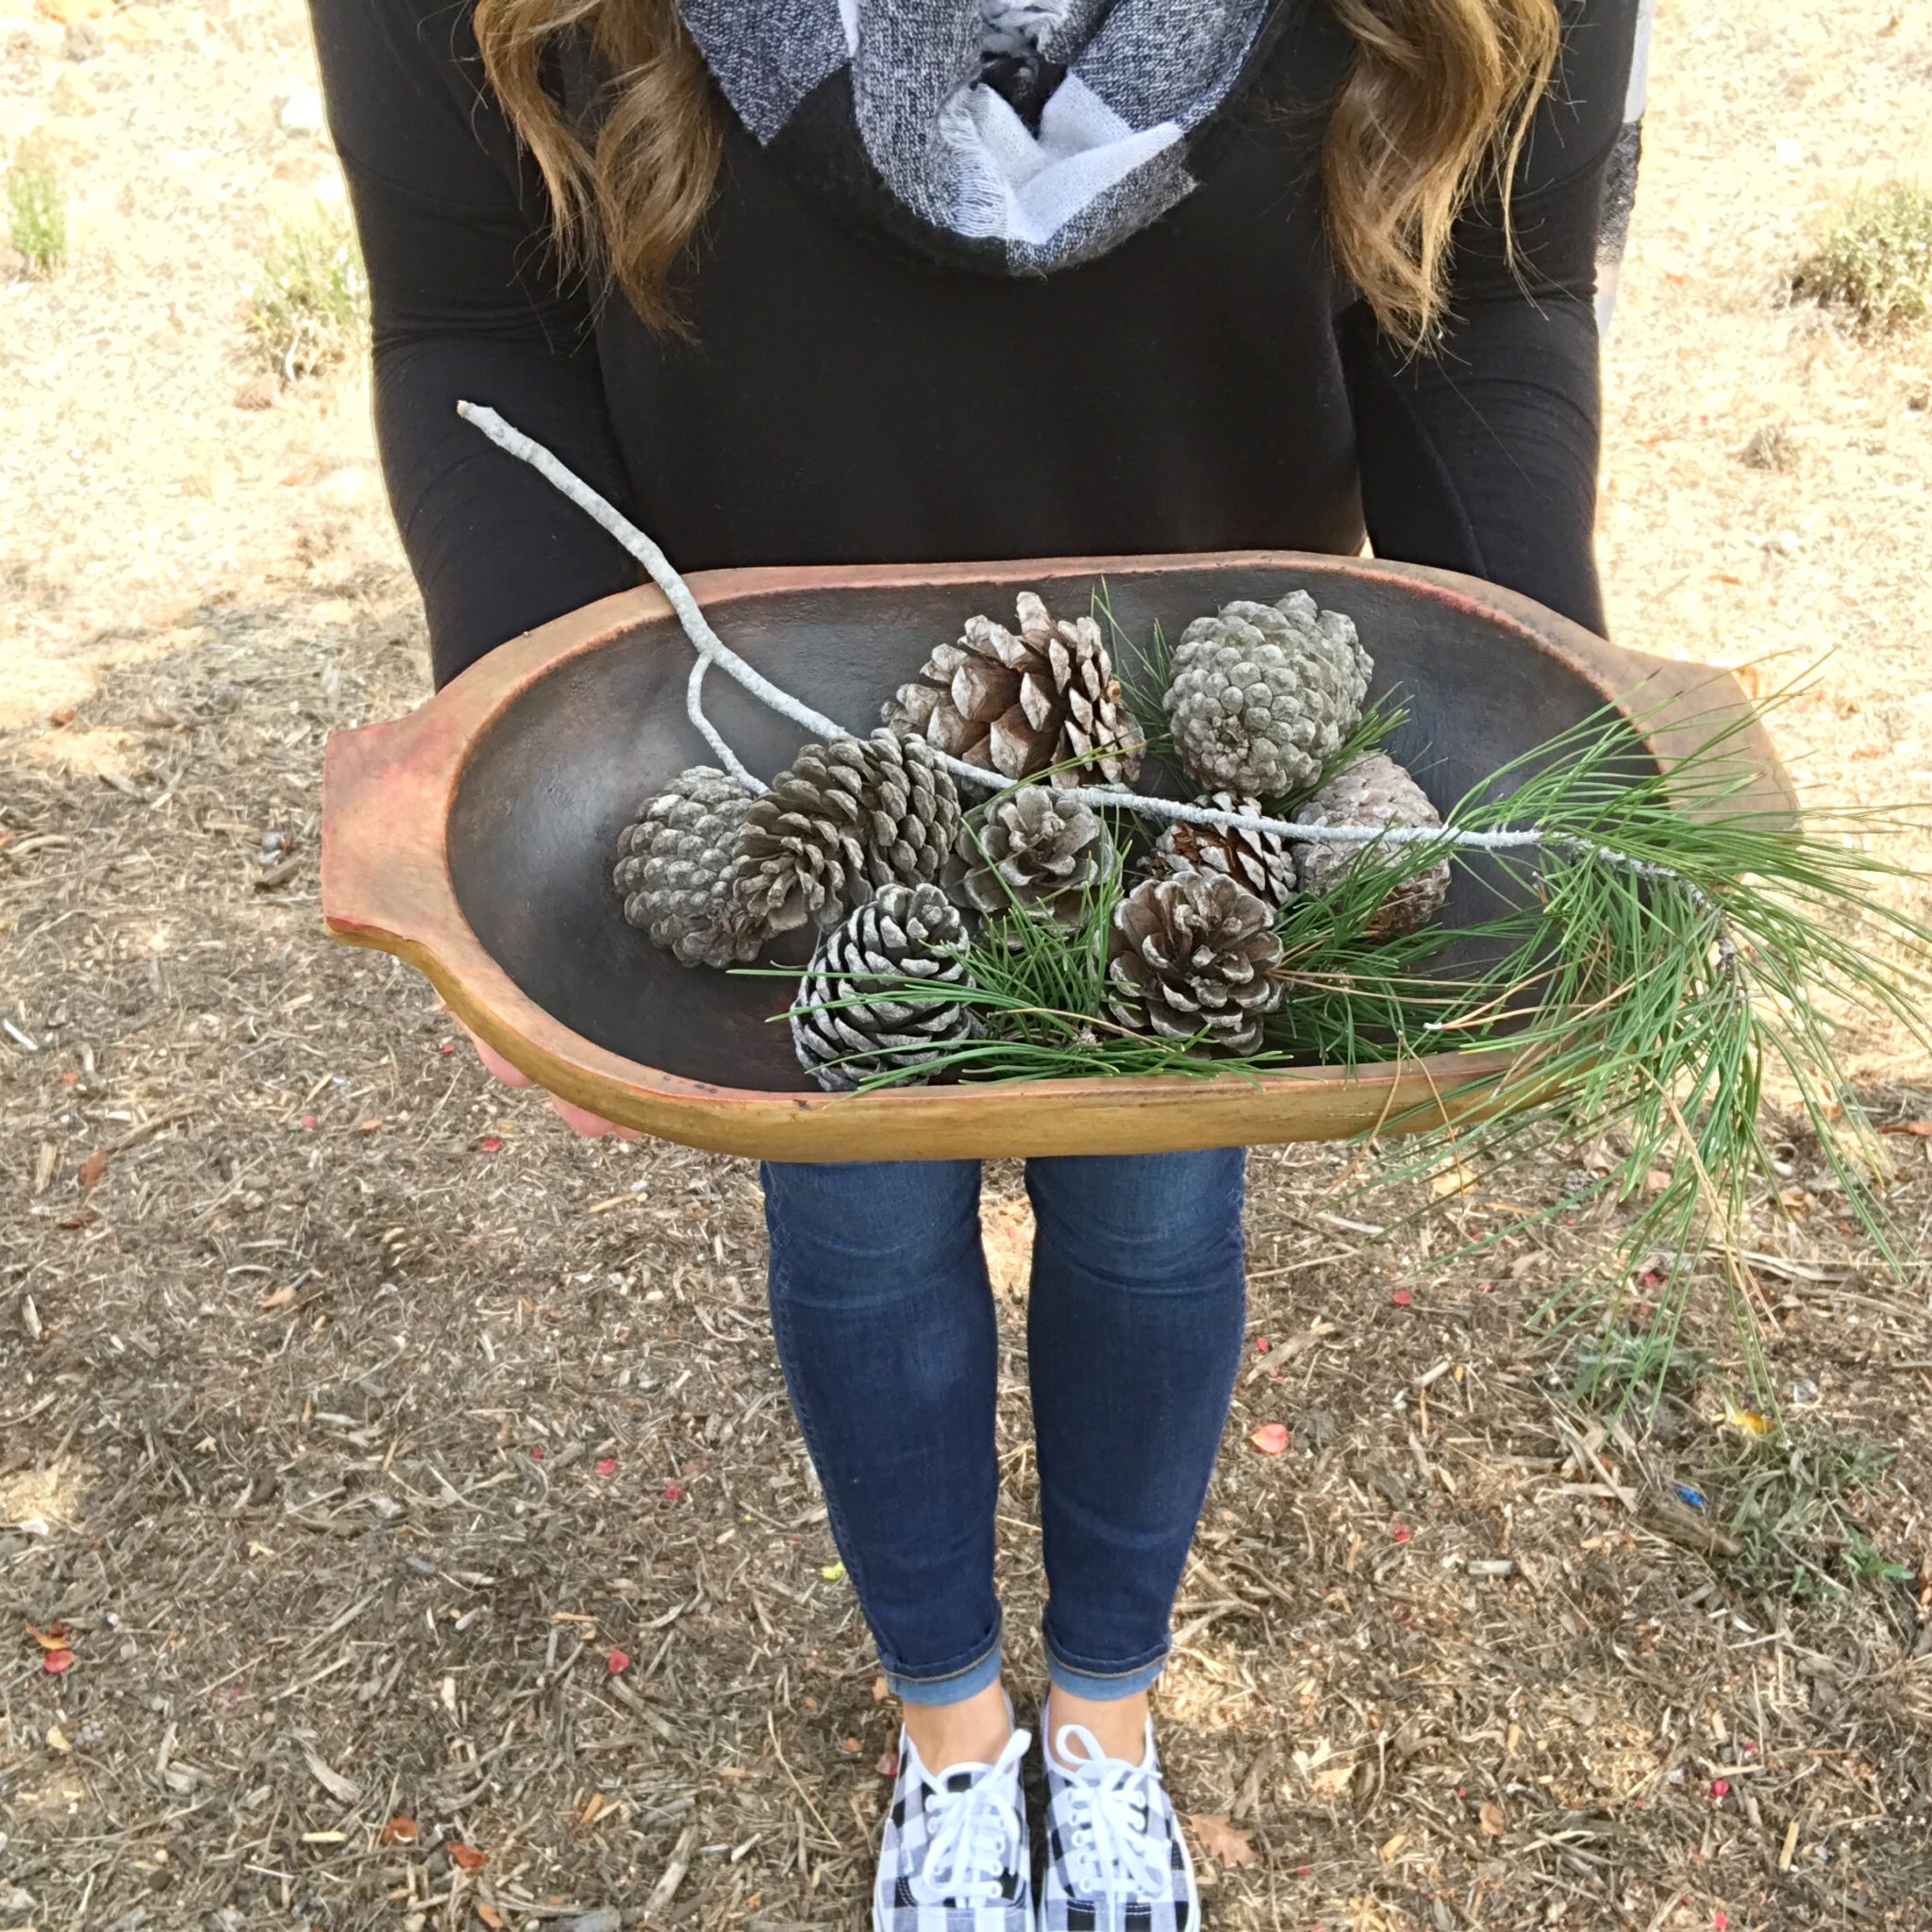
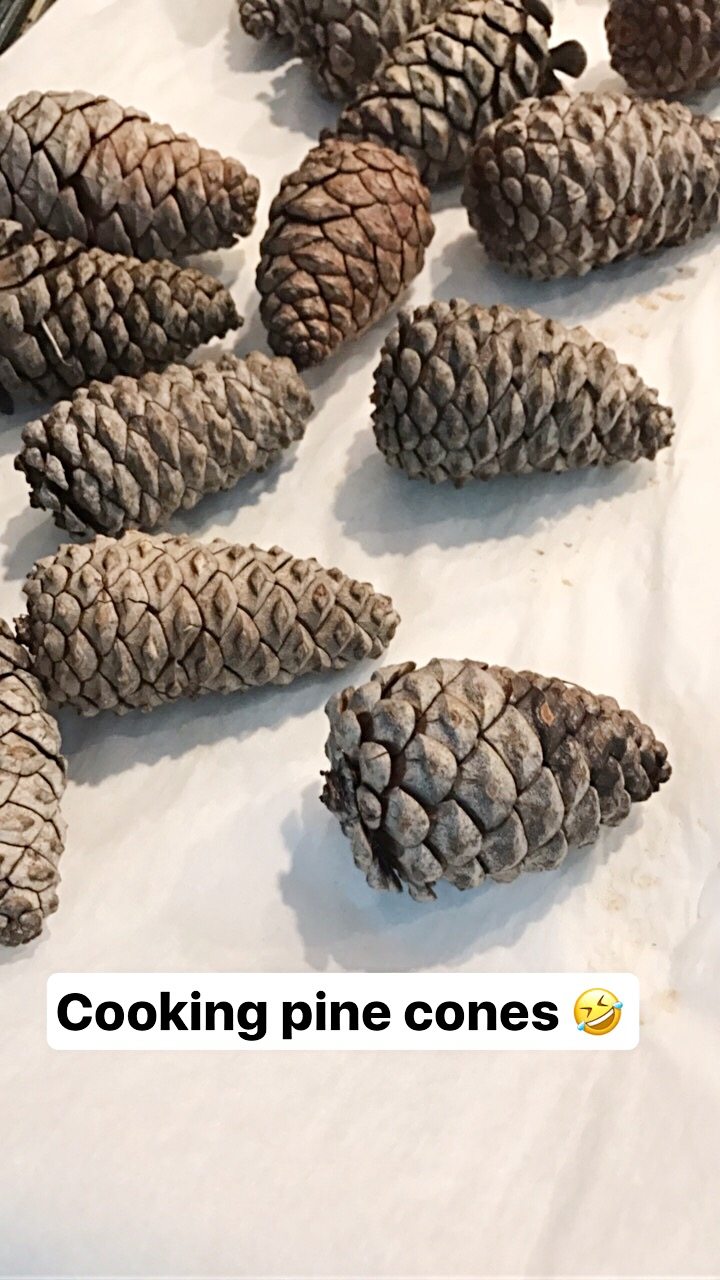
Step 1: Collect your pine cones…as many as your heart desires!
***I recommend performing Steps 2 – 4 outside your home.
Step 2: Remove any visible large debris sticking out from the pine cone scales.
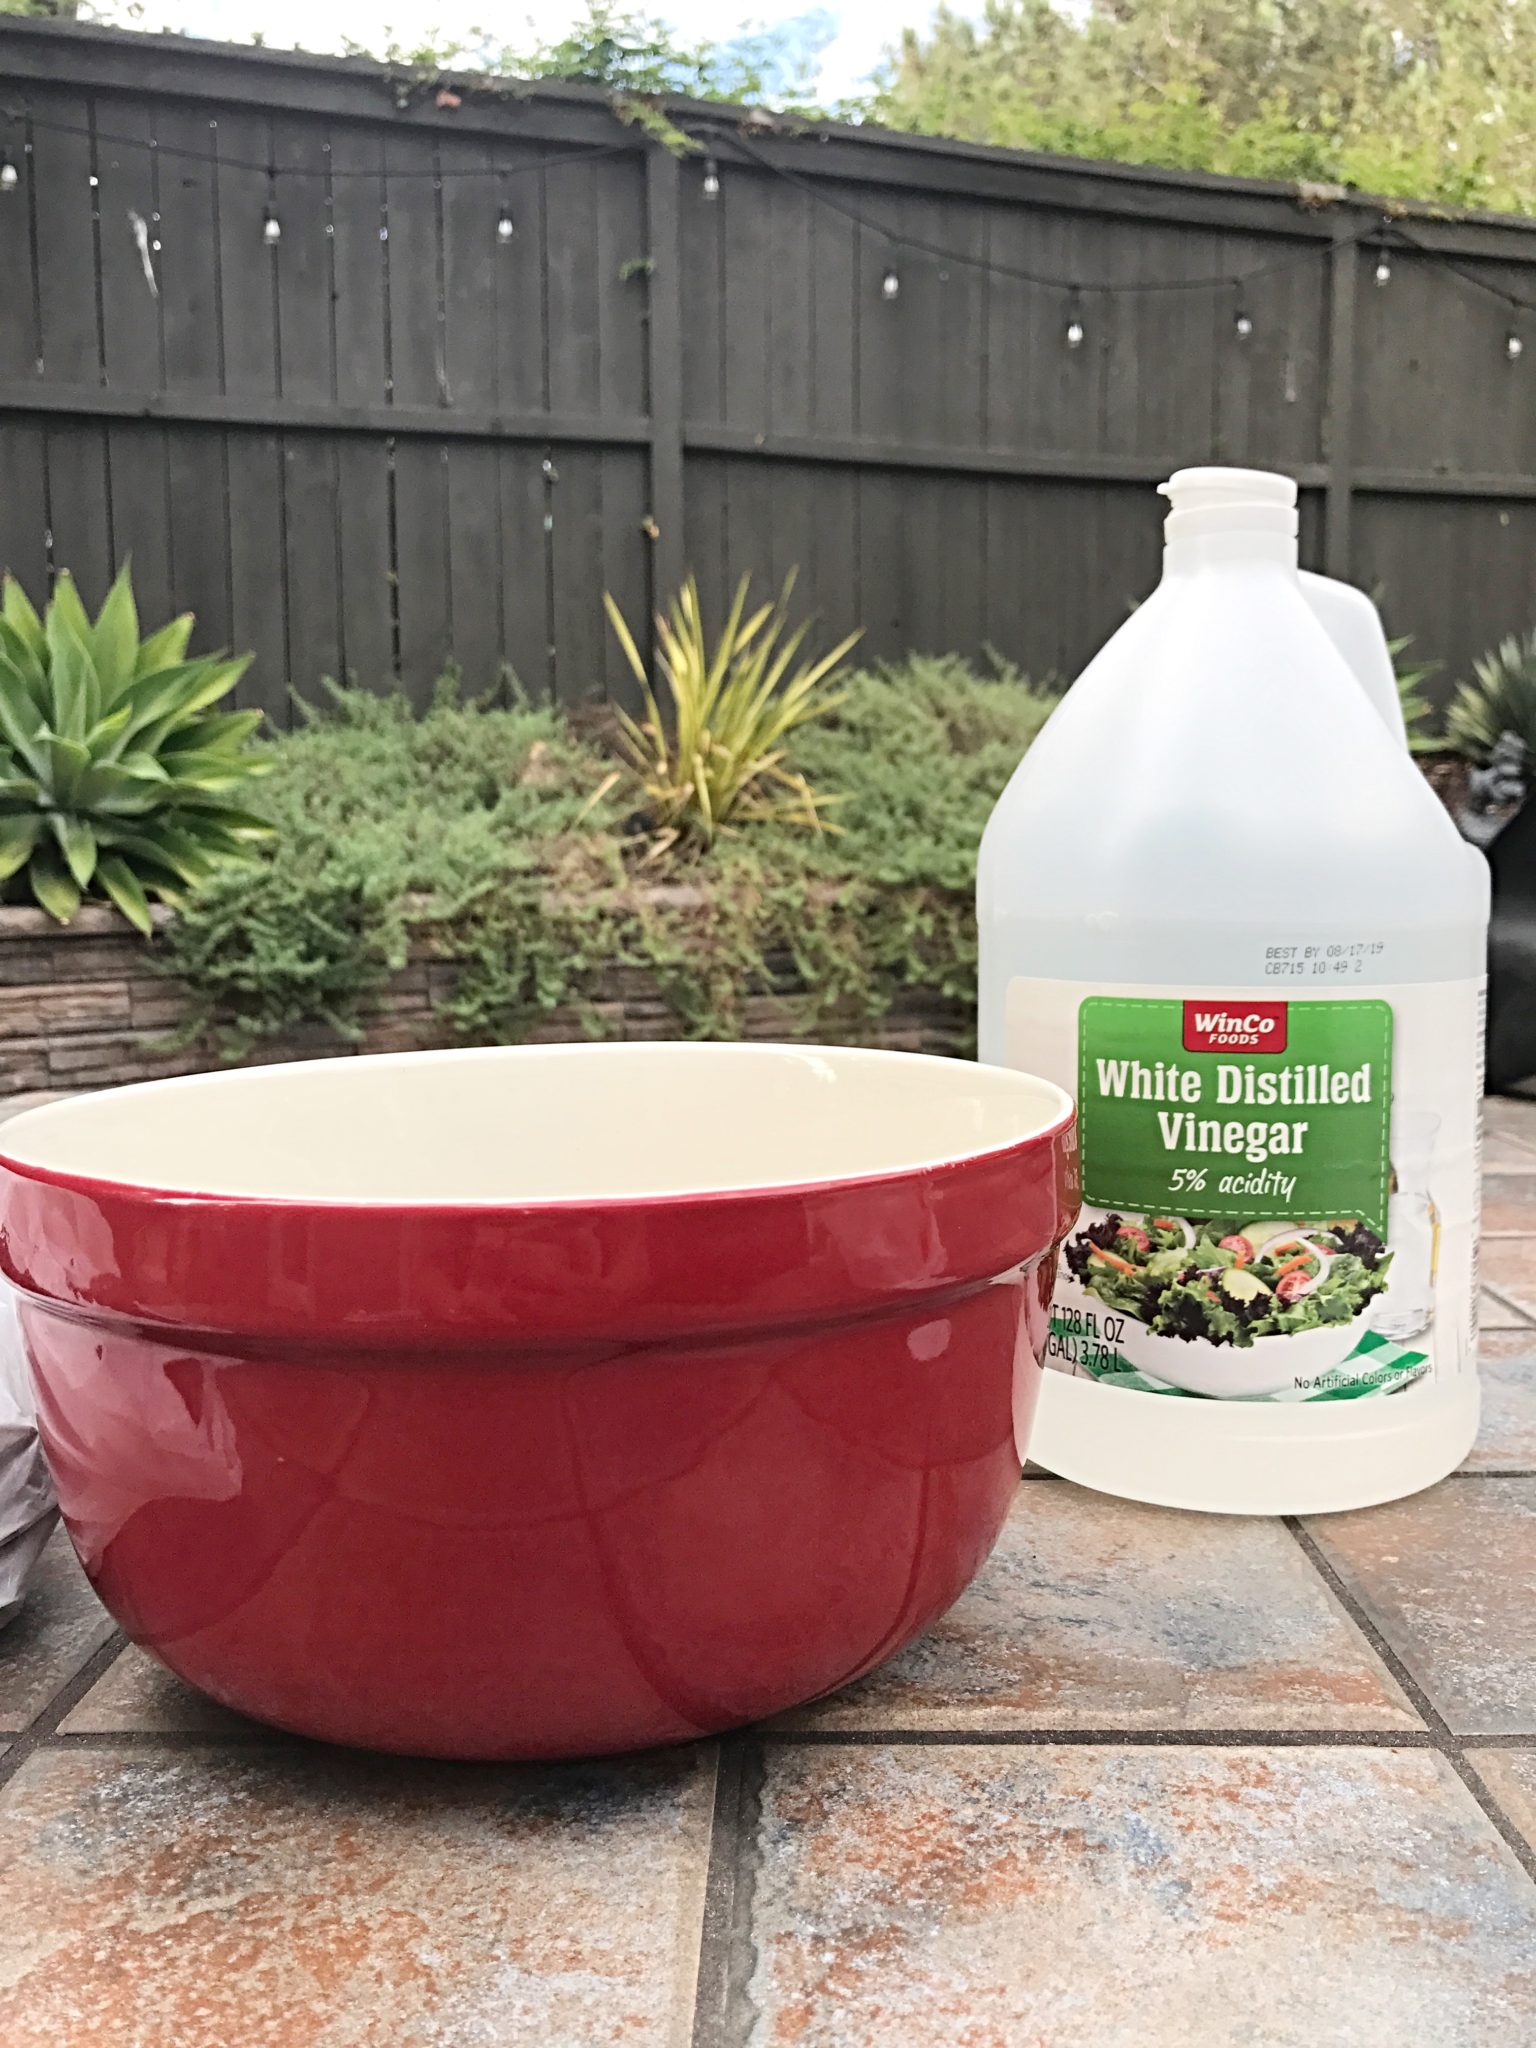
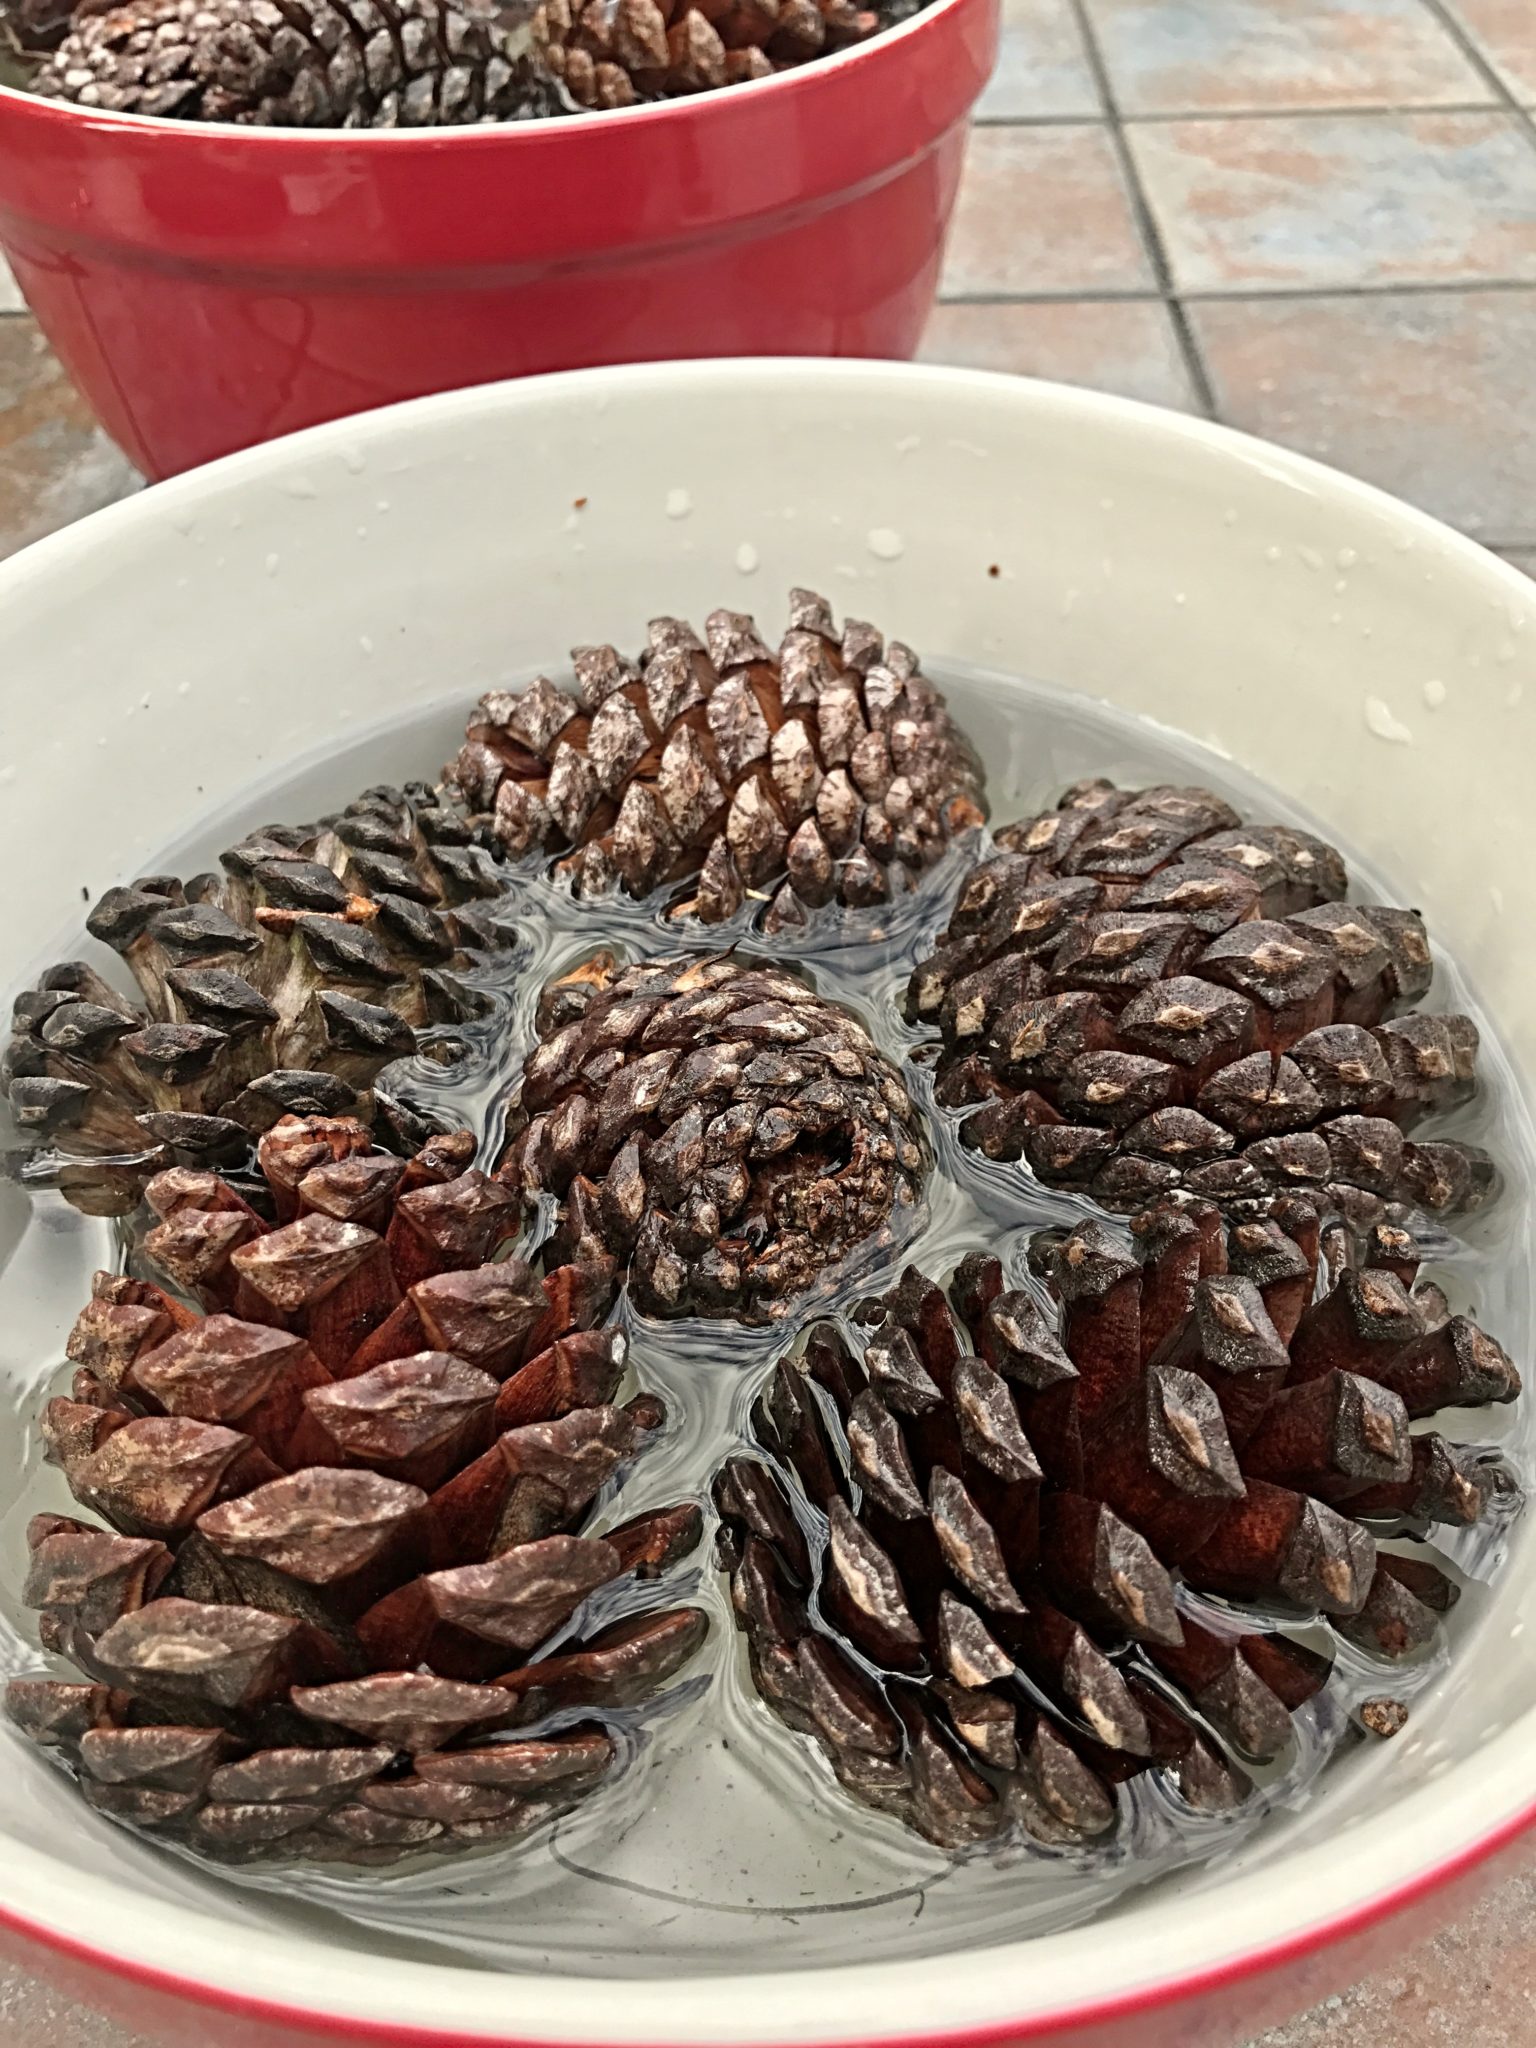
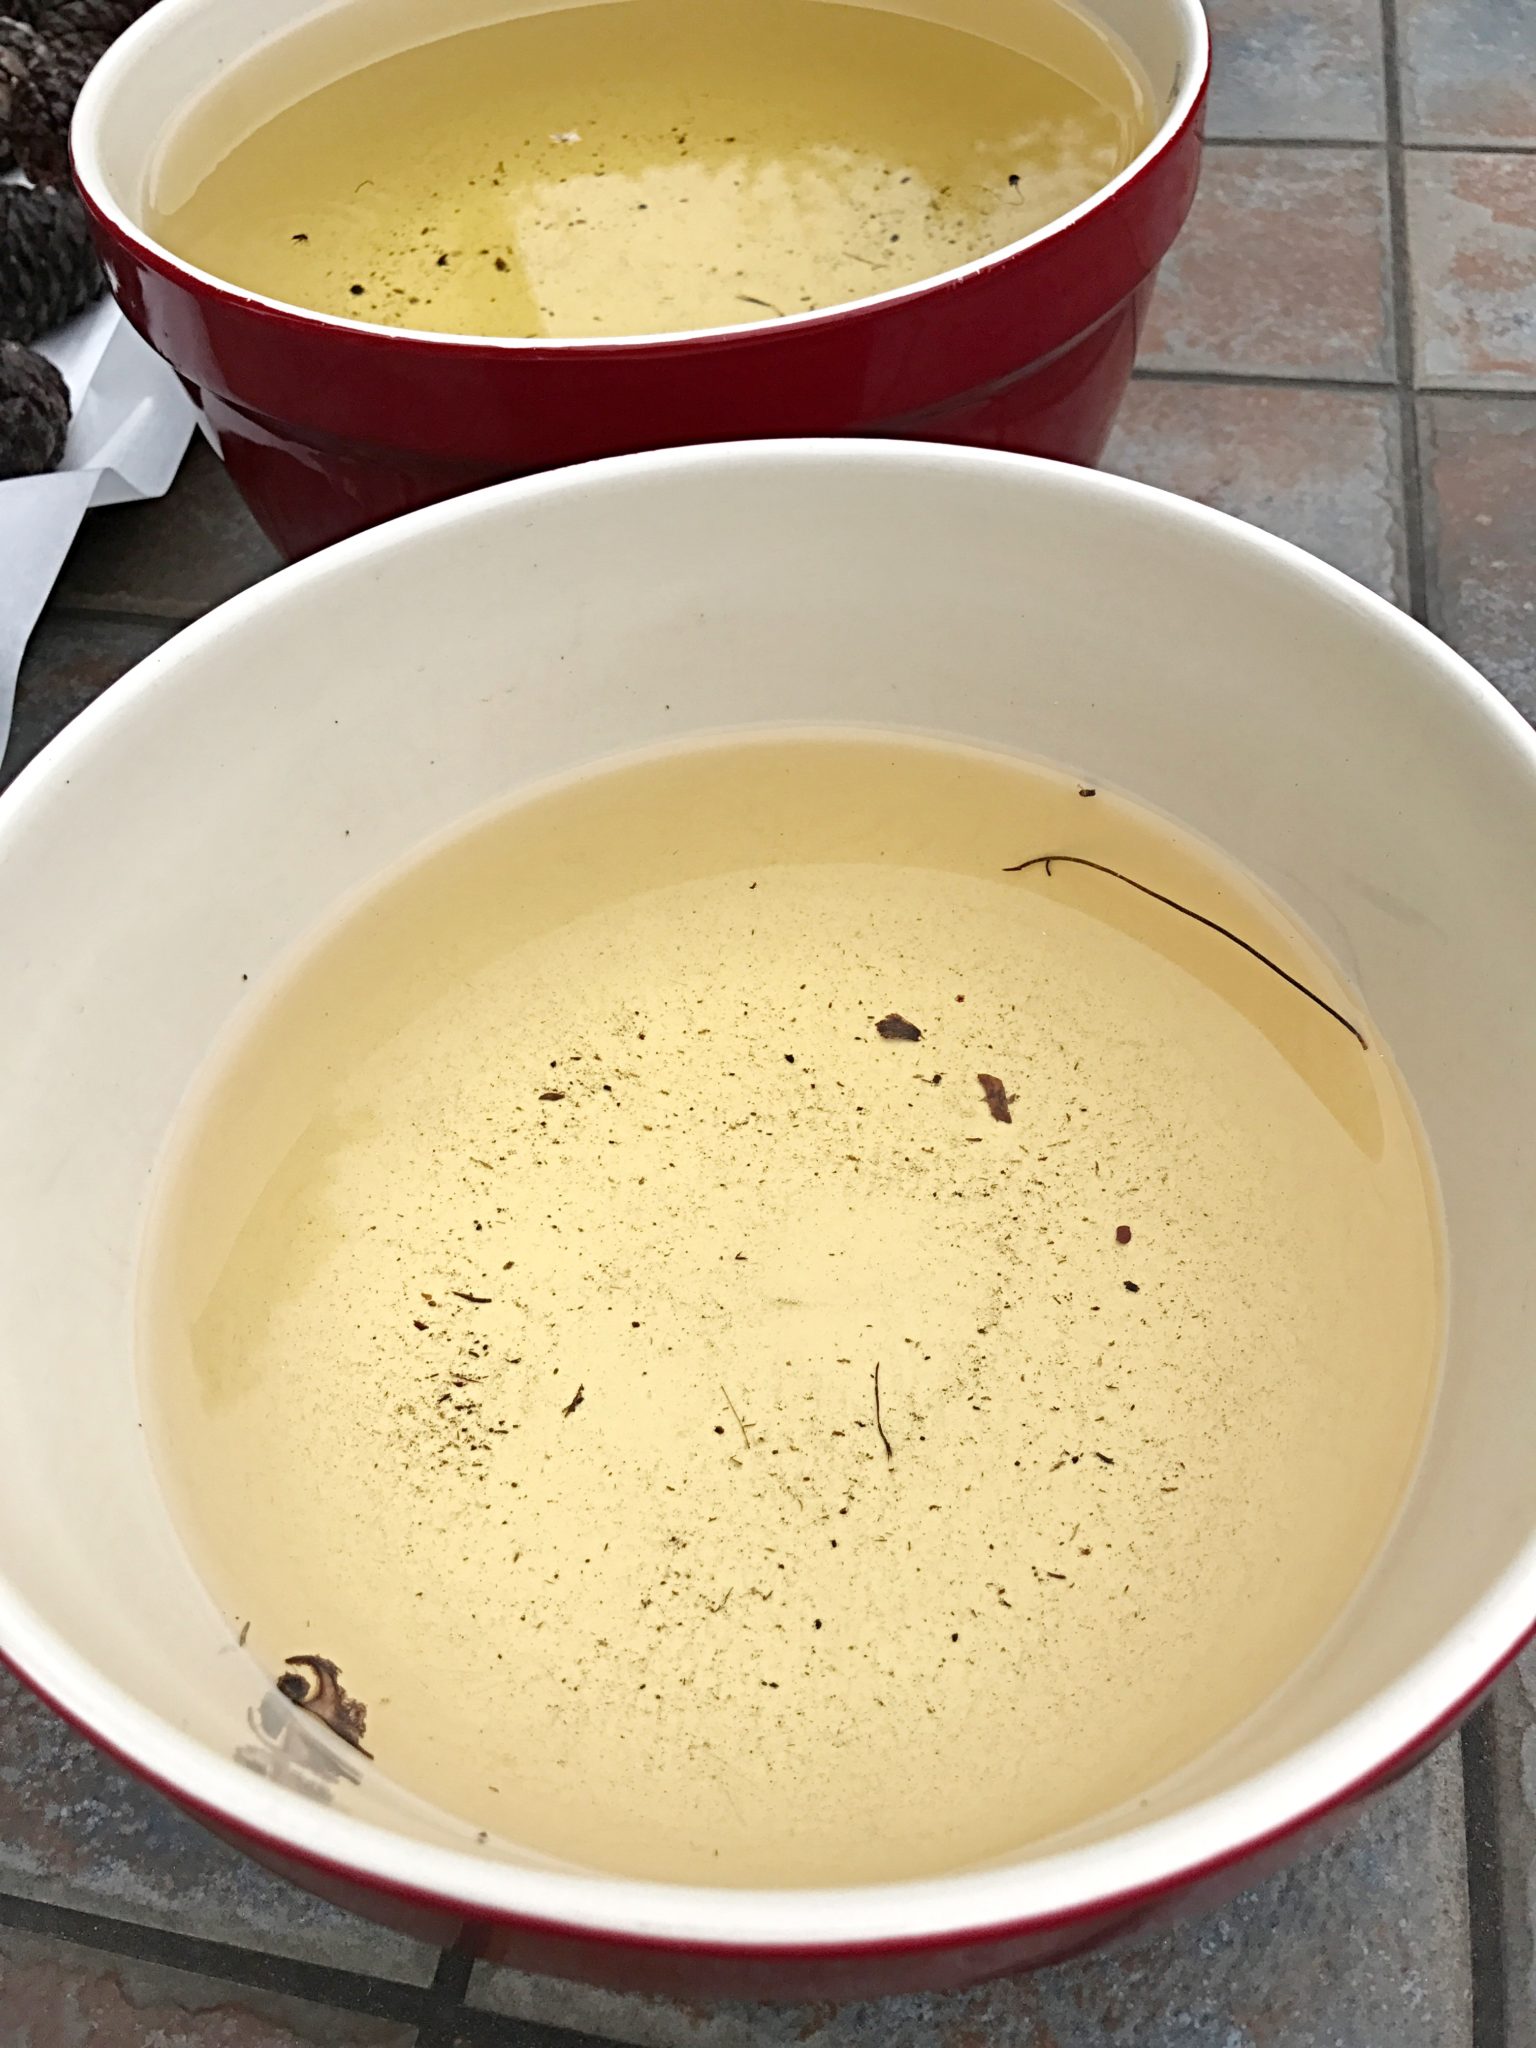
Step 3: Soak the pine cones in a white vinegar and water bath. Use a 1:1 ratio. For example – 1 cup of white vinegar to 1 cup of water. You want the pine cones well submerged in the mix. This is going to remove the bugs (EWWW) and extra dirt you can’t see.
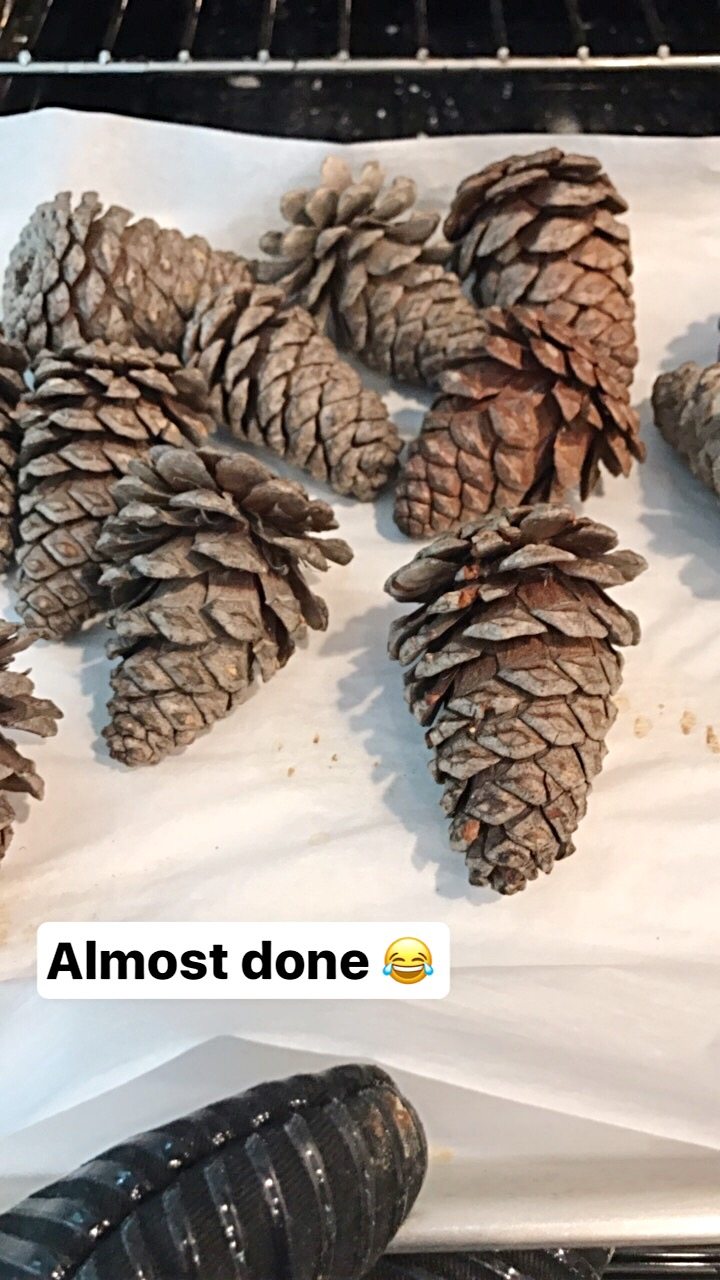
Step 4: After the pine cones soak for a few hours, remove them from the vinegar mix and put them on a baking sheet. I lined my baking sheets with parchment just incase there were any more hidden creepy critters. Bugs on my baking sheets….I don’t know it sorta “bugged” me – (pun INTENDED!) NOTE: The pine cone scales will close from soaking in water but don’t worry, they will reopen as they dry. I did my best to shake out the water as I set them on the baking sheet.
Step 5: Preheat your oven to 200 degrees on a convect setting if you have it. If not, you can raise the temperature to 225 degrees. The pine cones will take several hours to completely dry out and reopen. Just stop by the oven every 45 minutes to an hour to rotate them. This batch took about 4 hours to completely dry out.
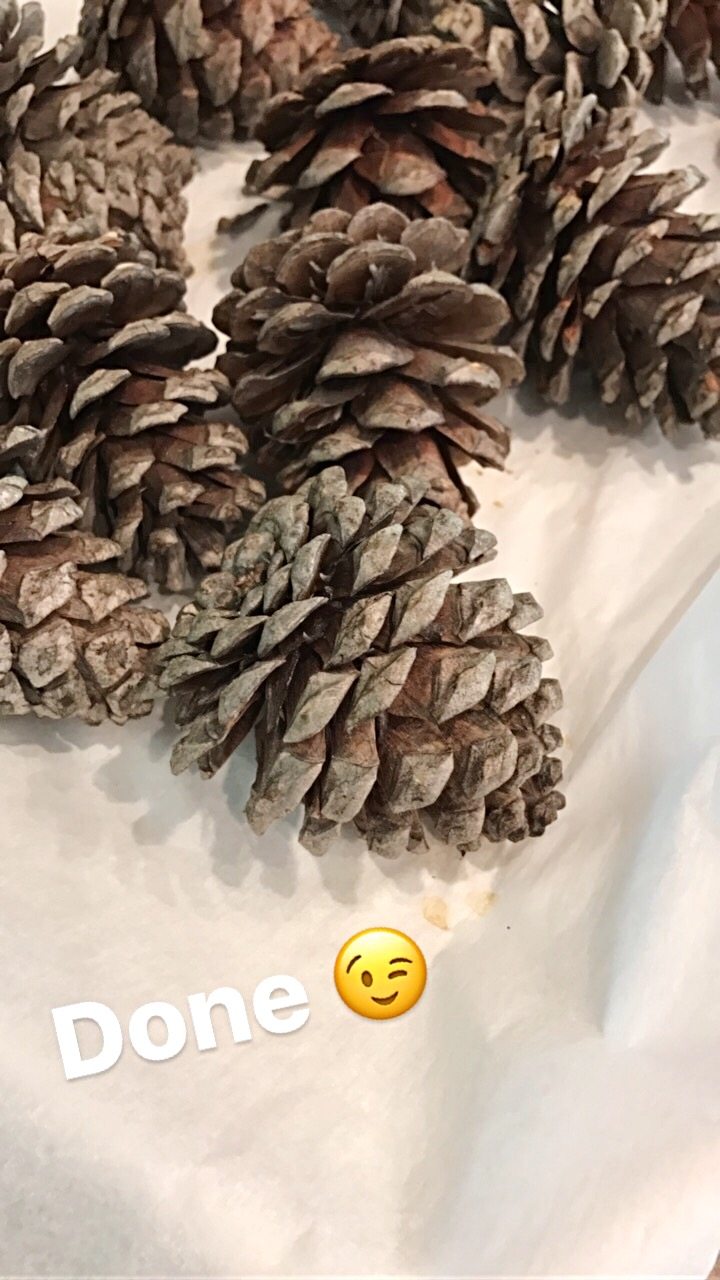
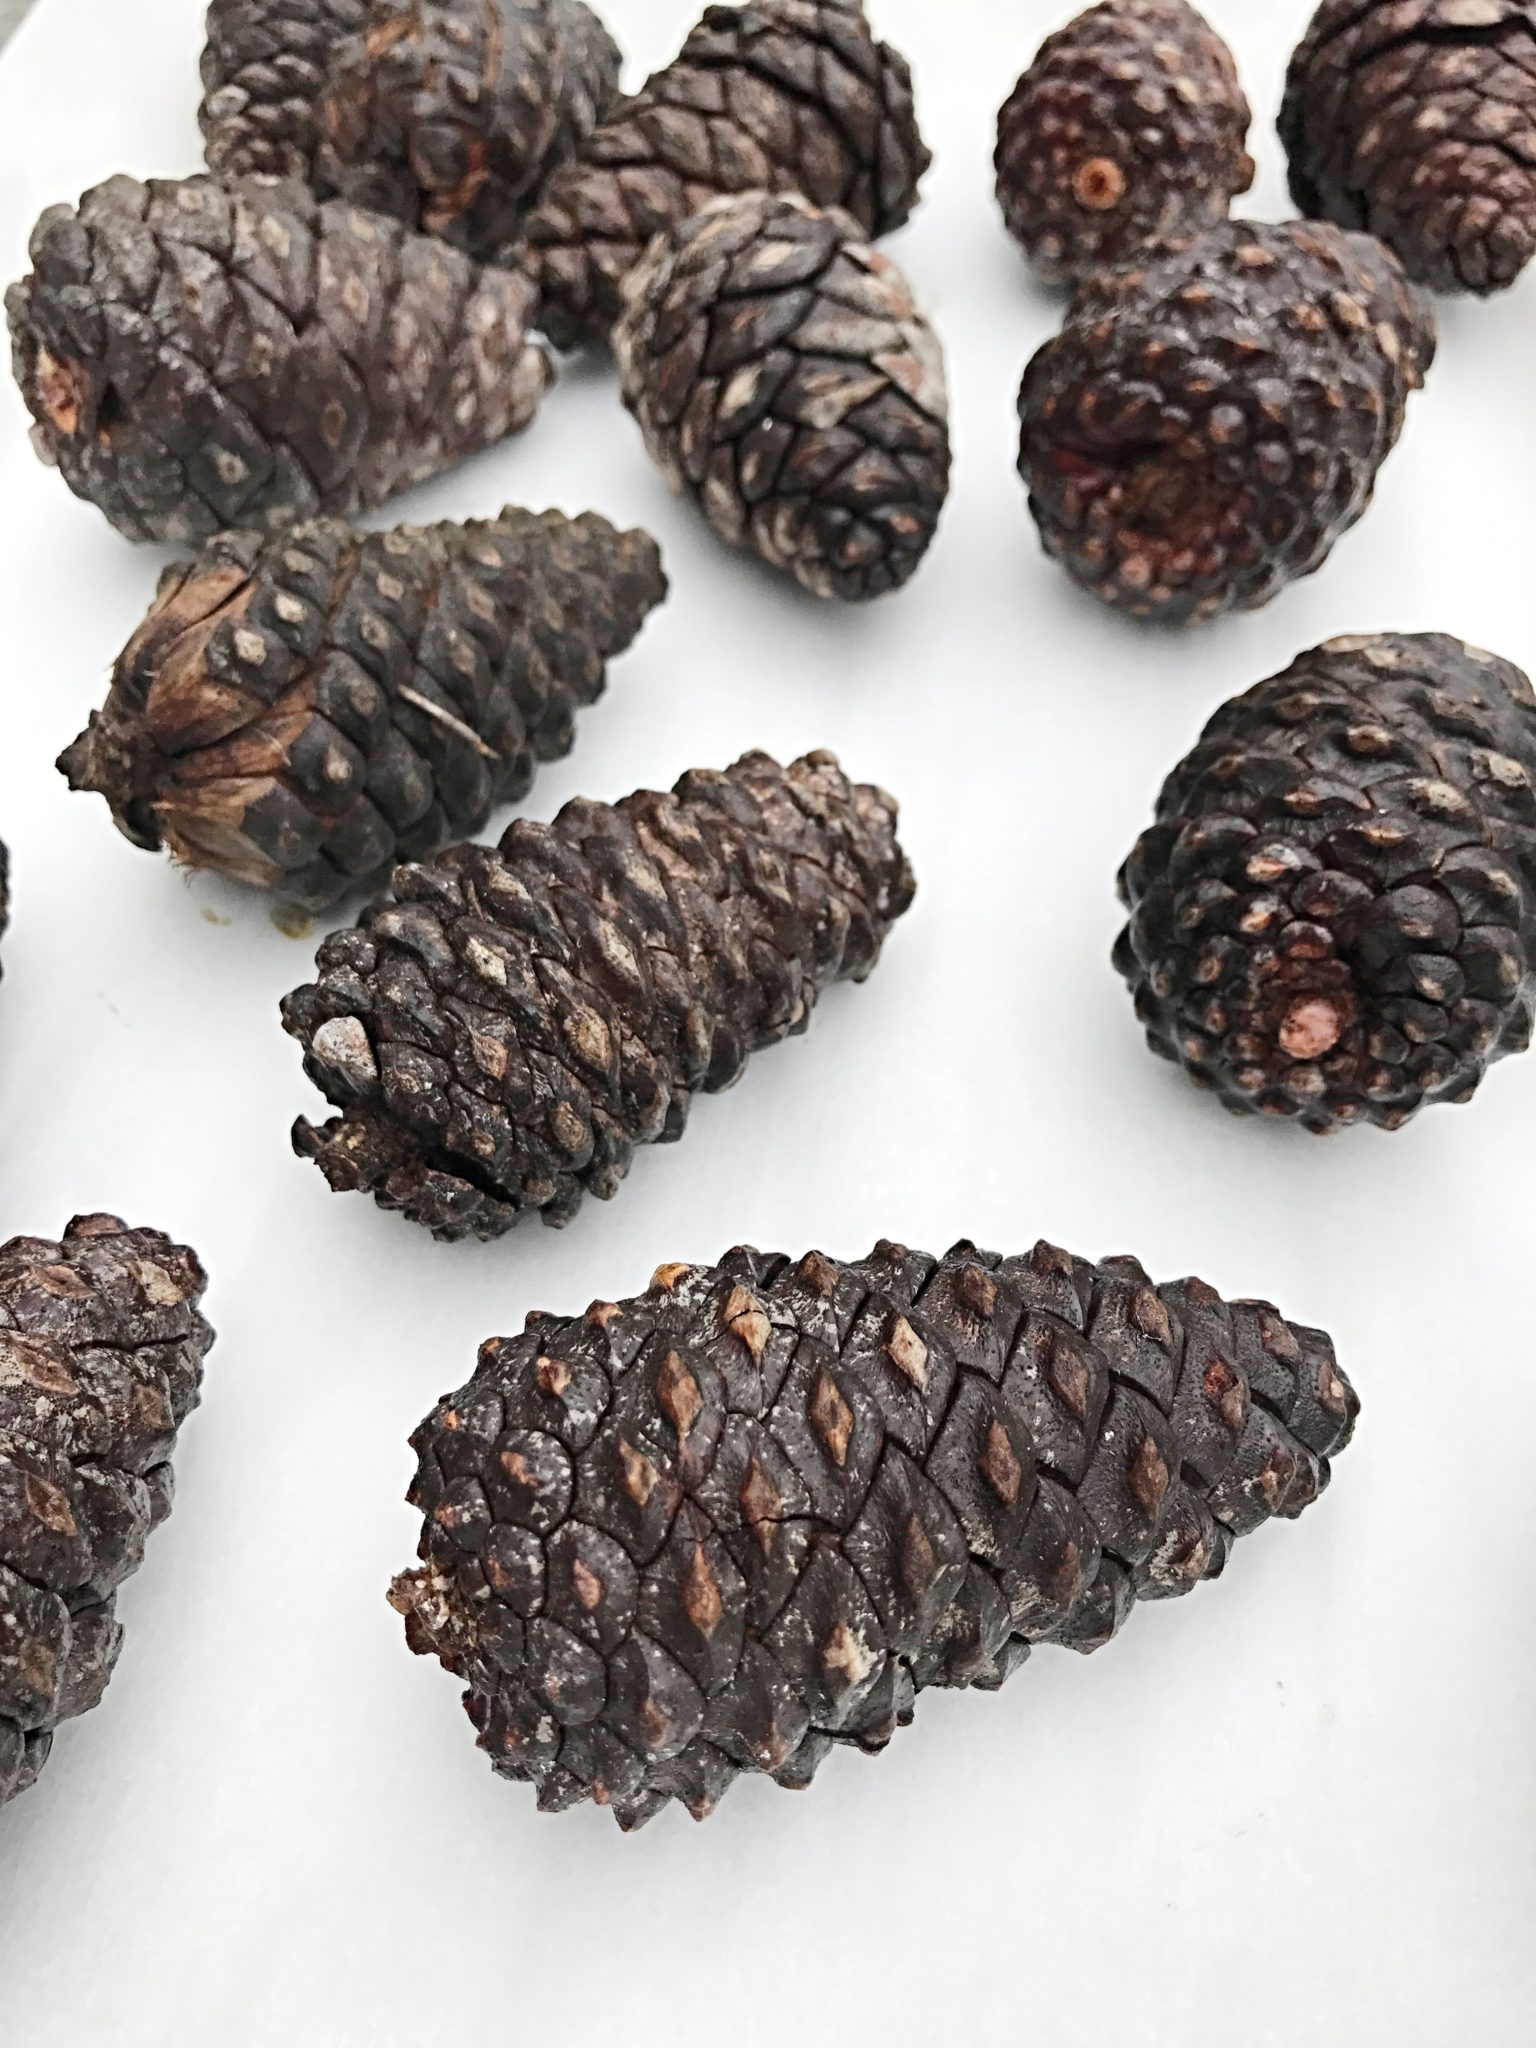
Step 6: Remove from the oven and allow them to cool completely. And you are DONE! That’s seriously it. These pine cones turned out amazing and they were free!
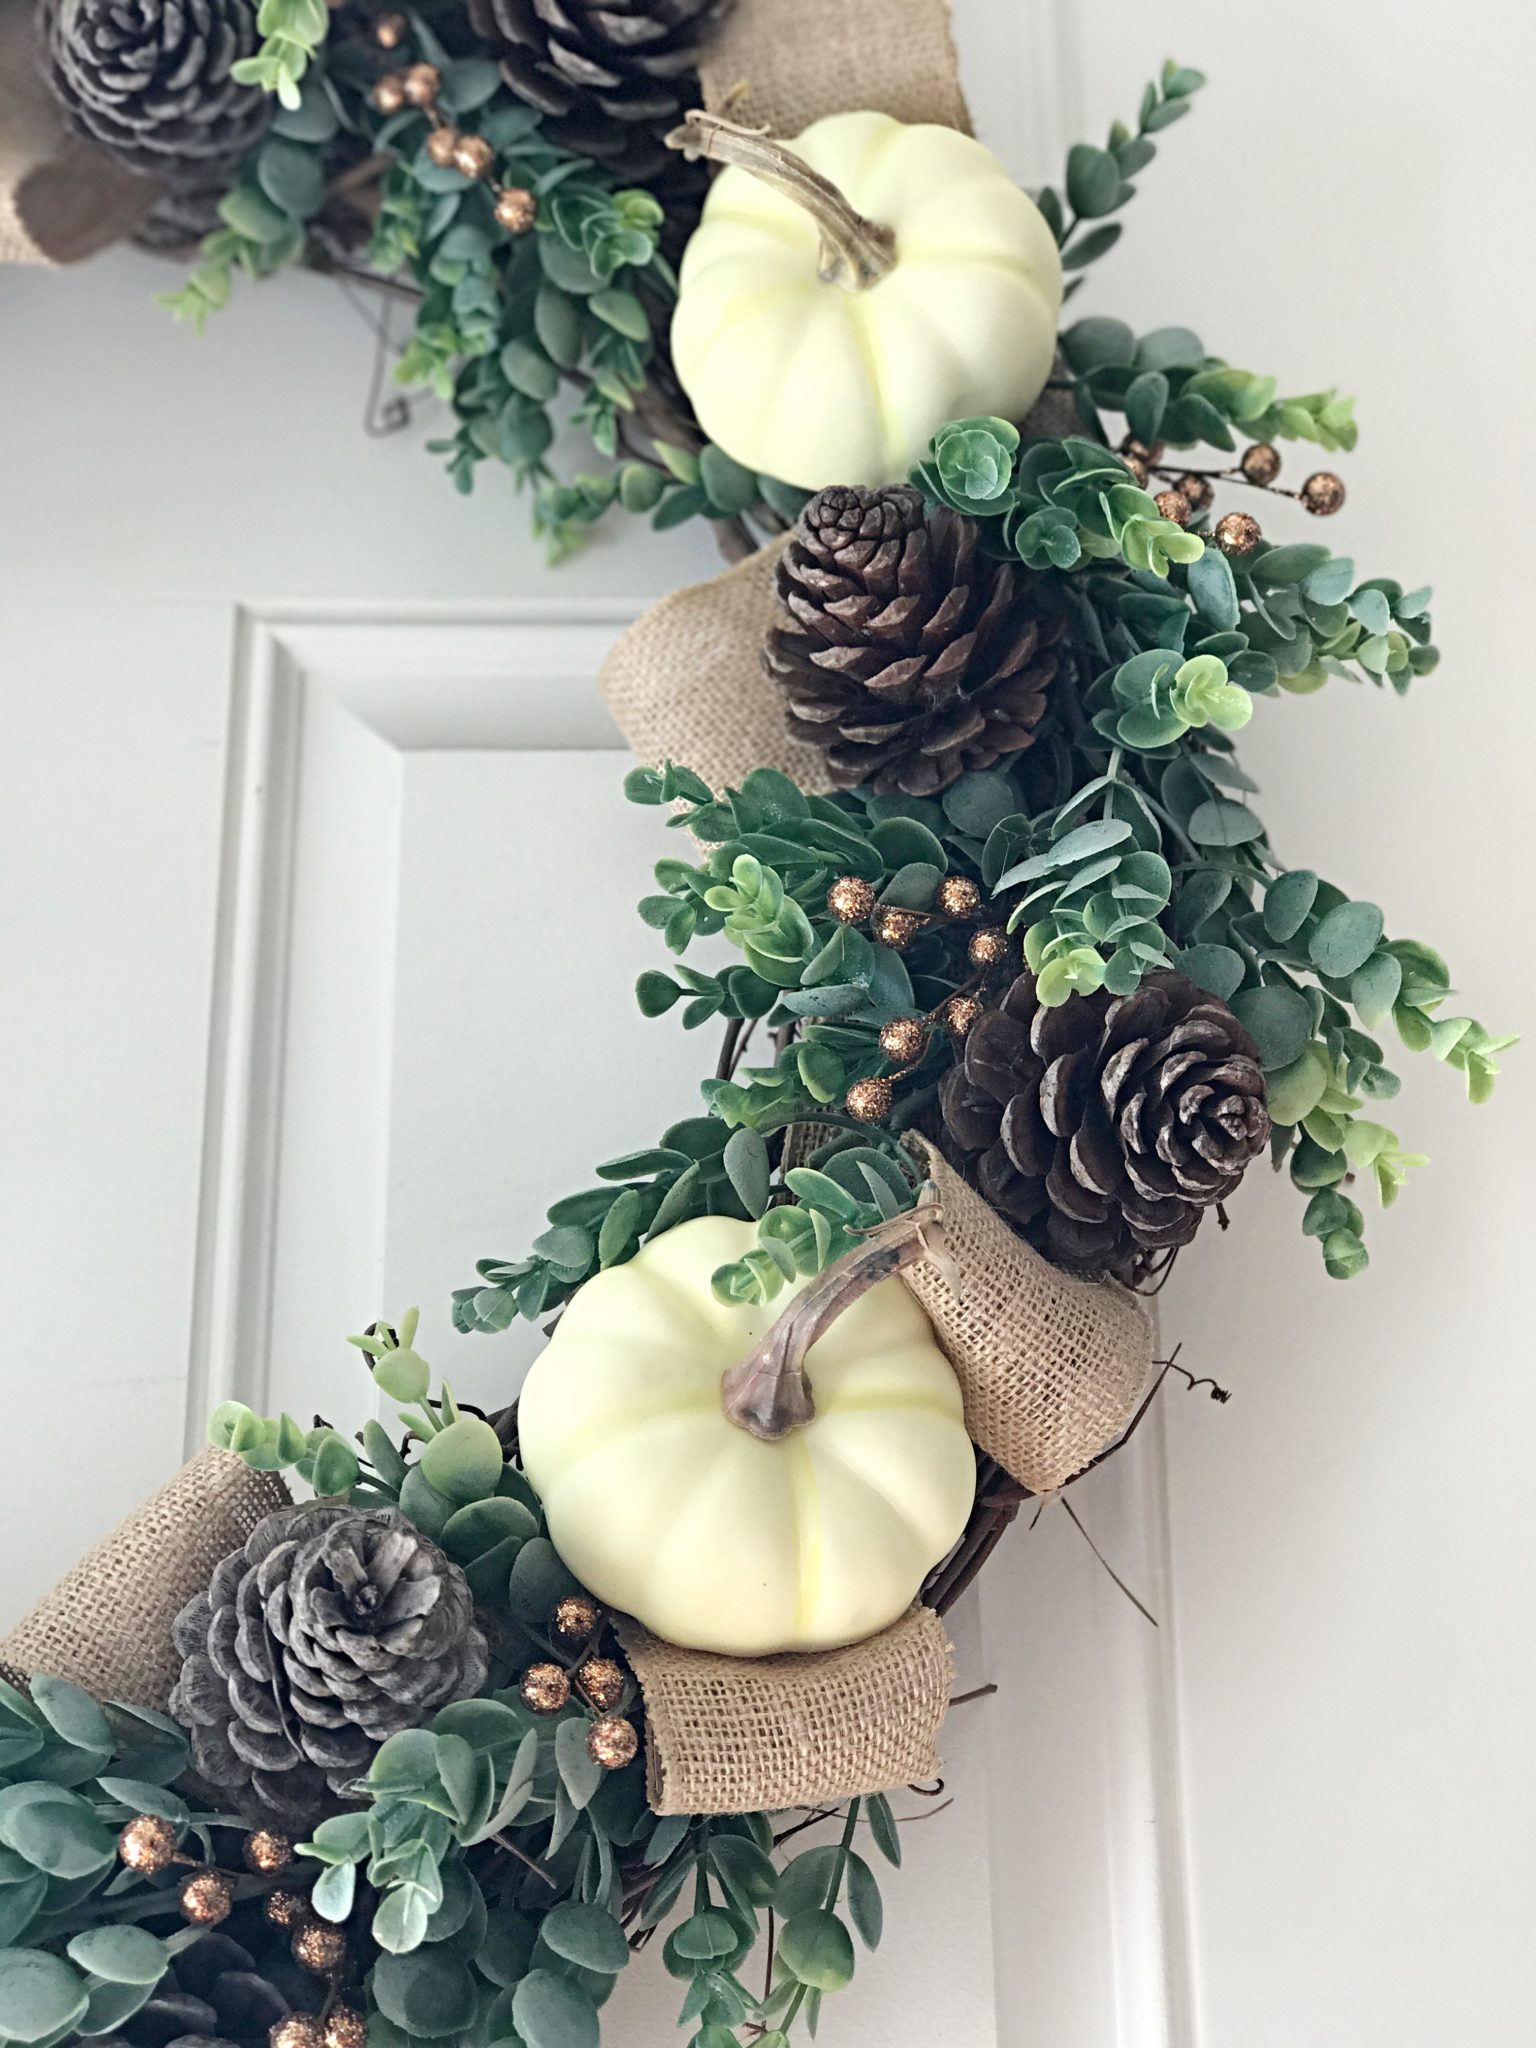
Now you have gorgeous pine cones to craft with to create fun holiday decor.