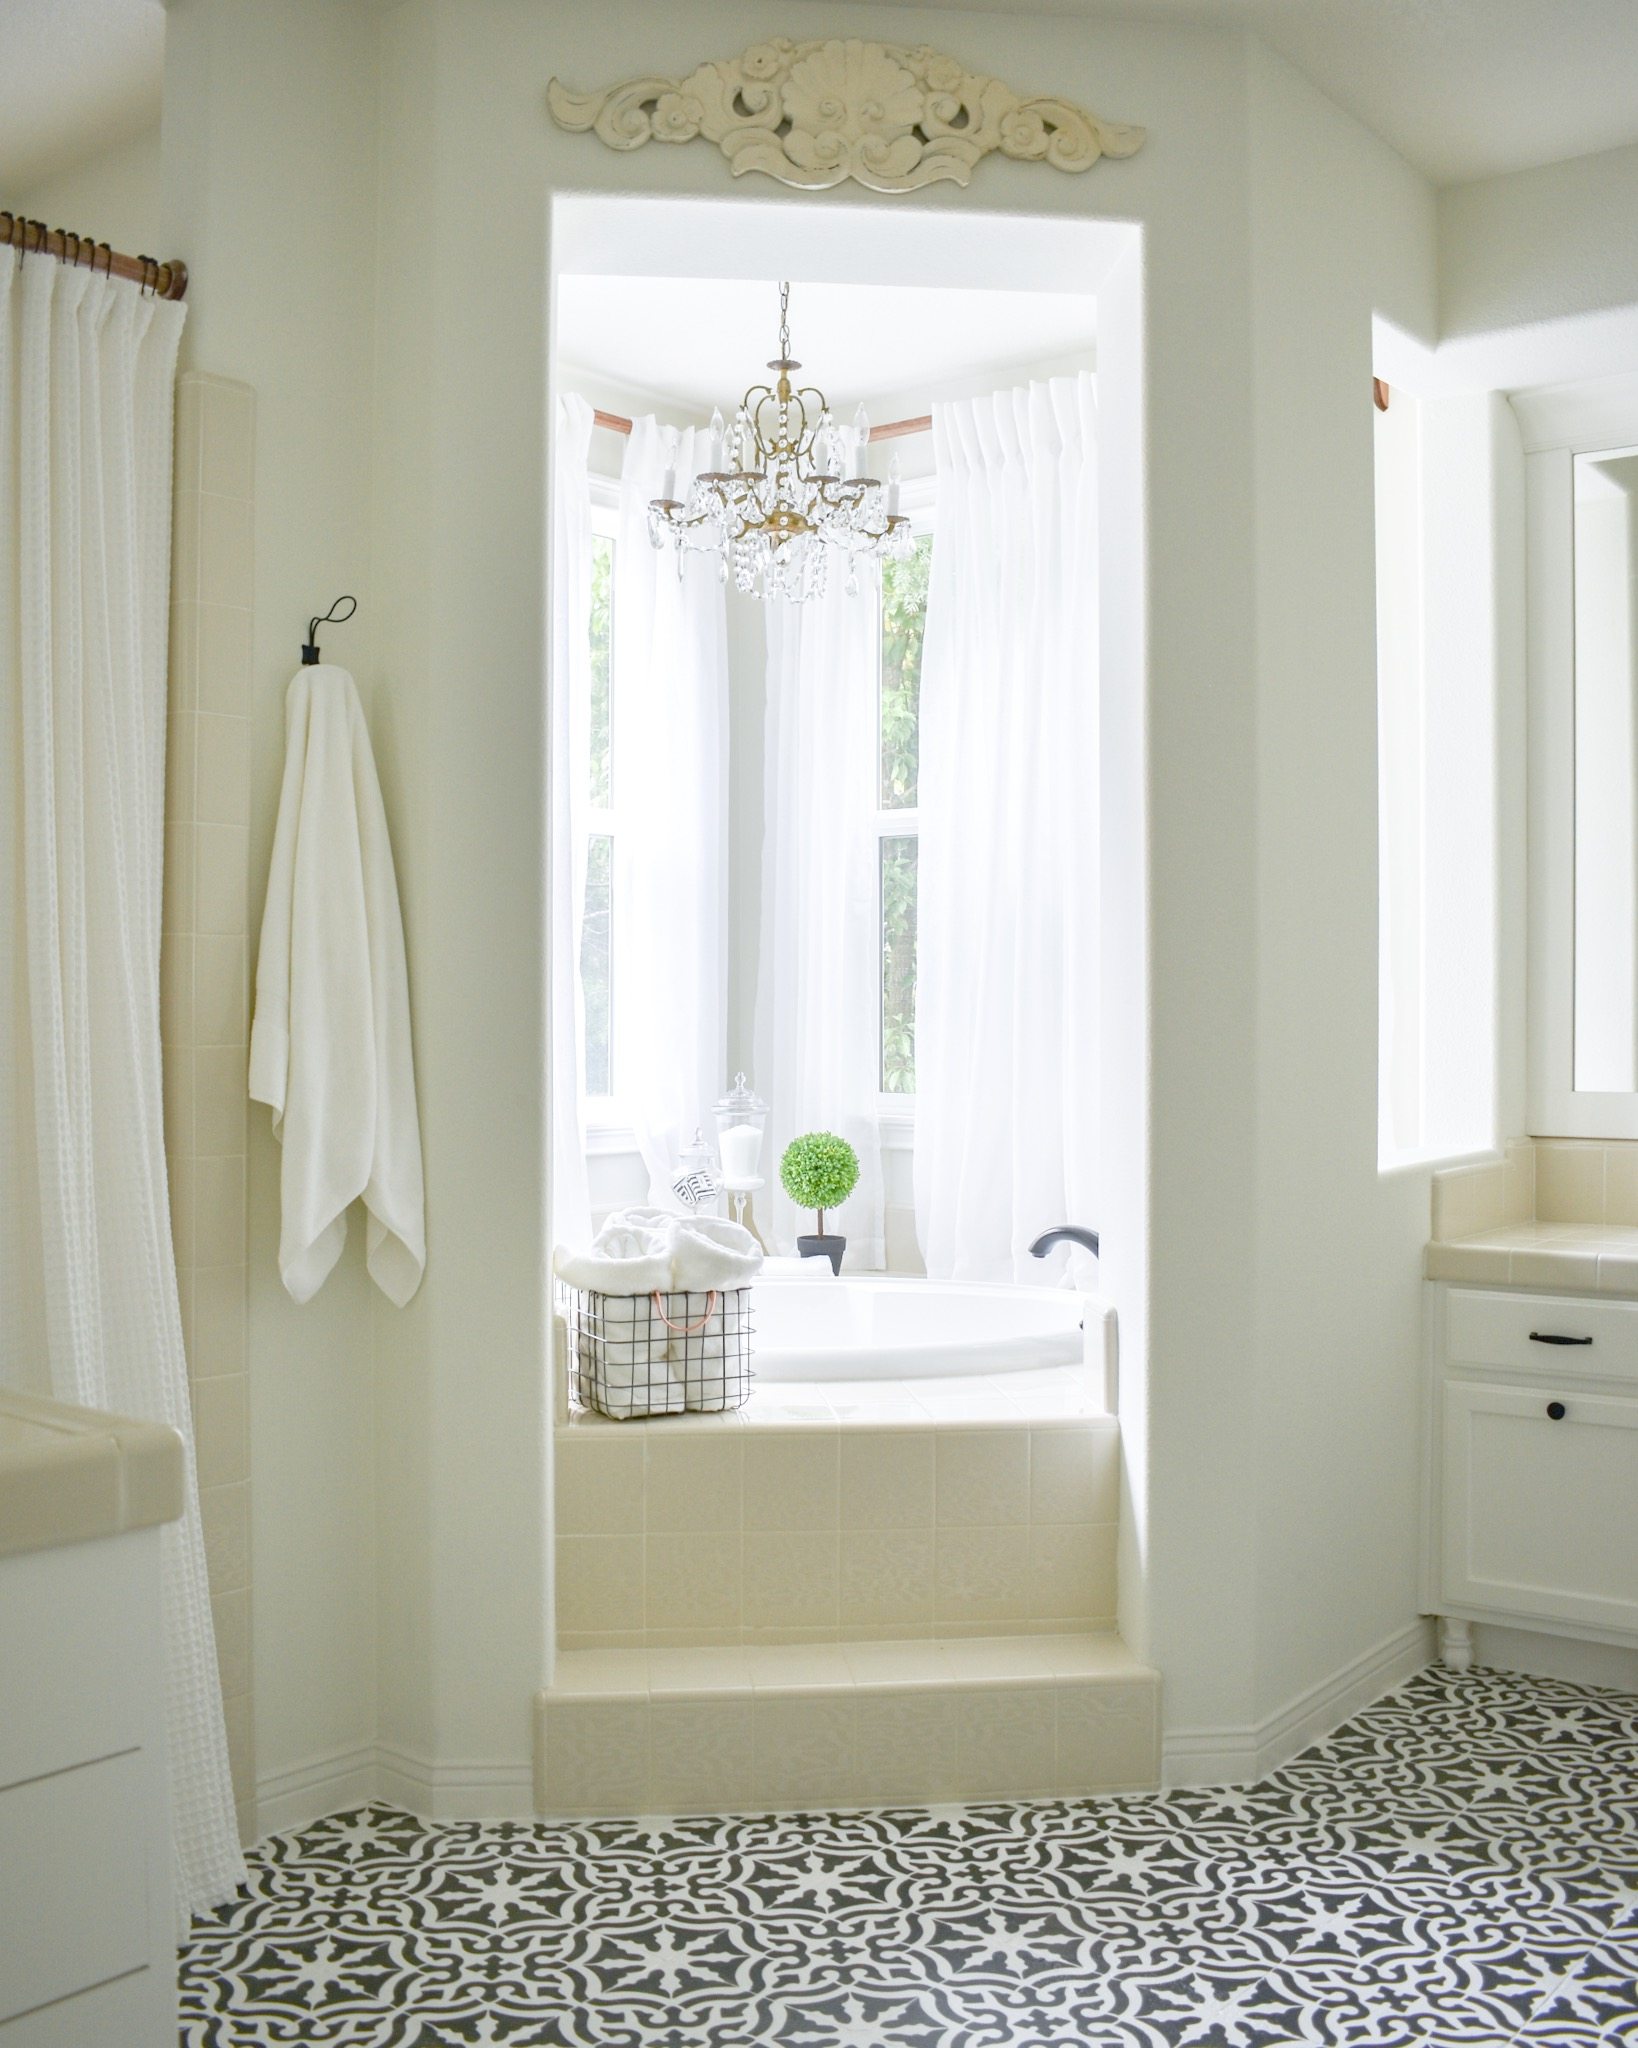

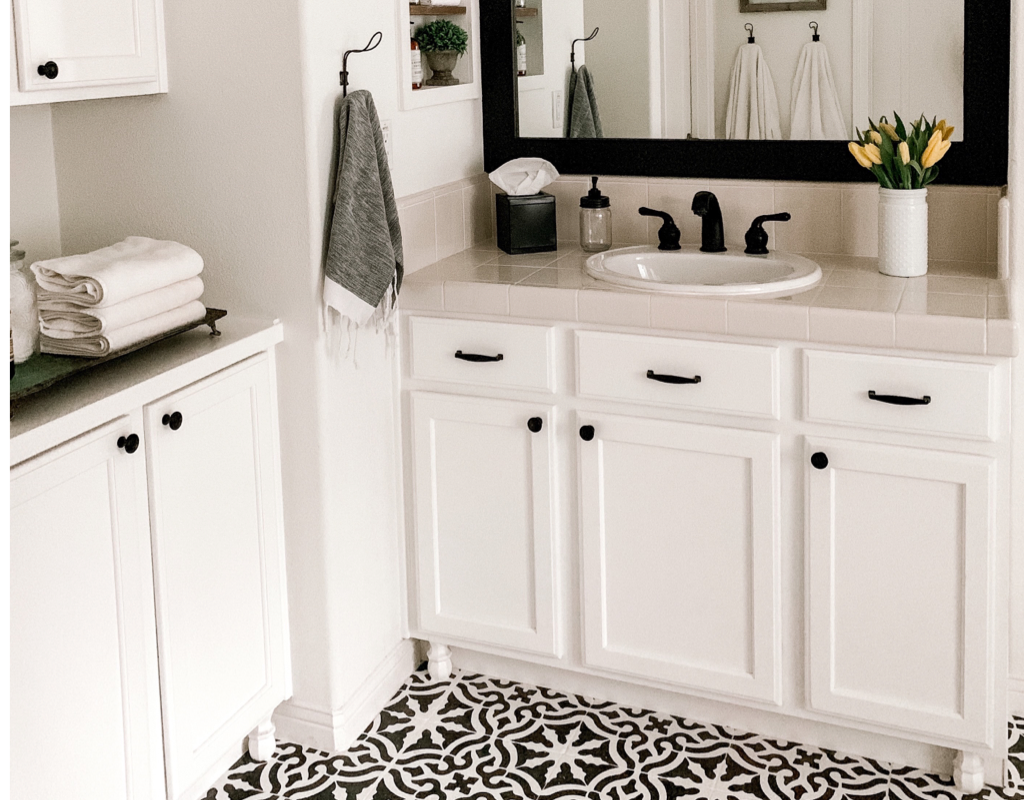
Before we even start this tutorial…can I get an AMEN for paint you guys!!!! I’m still in shock over my new stenciled floors!! If you found my tutorial and you’re currently living with “holey” travertine (or any other tile) that you just don’t like…there’s hope and a SOLUTION. My bathroom had tumbled travertine tile. I’d seen SO many stencil tutorials for vinyl, linoleum and ceramic tile. After HOURS of searching I couldn’t find a single tutorial for painting travertine and the sites I did find, said painting travertine was crazy. Welp you guys…welcome to CRAZY town. I did it and it’s fabulous!
Here’s how to do it:
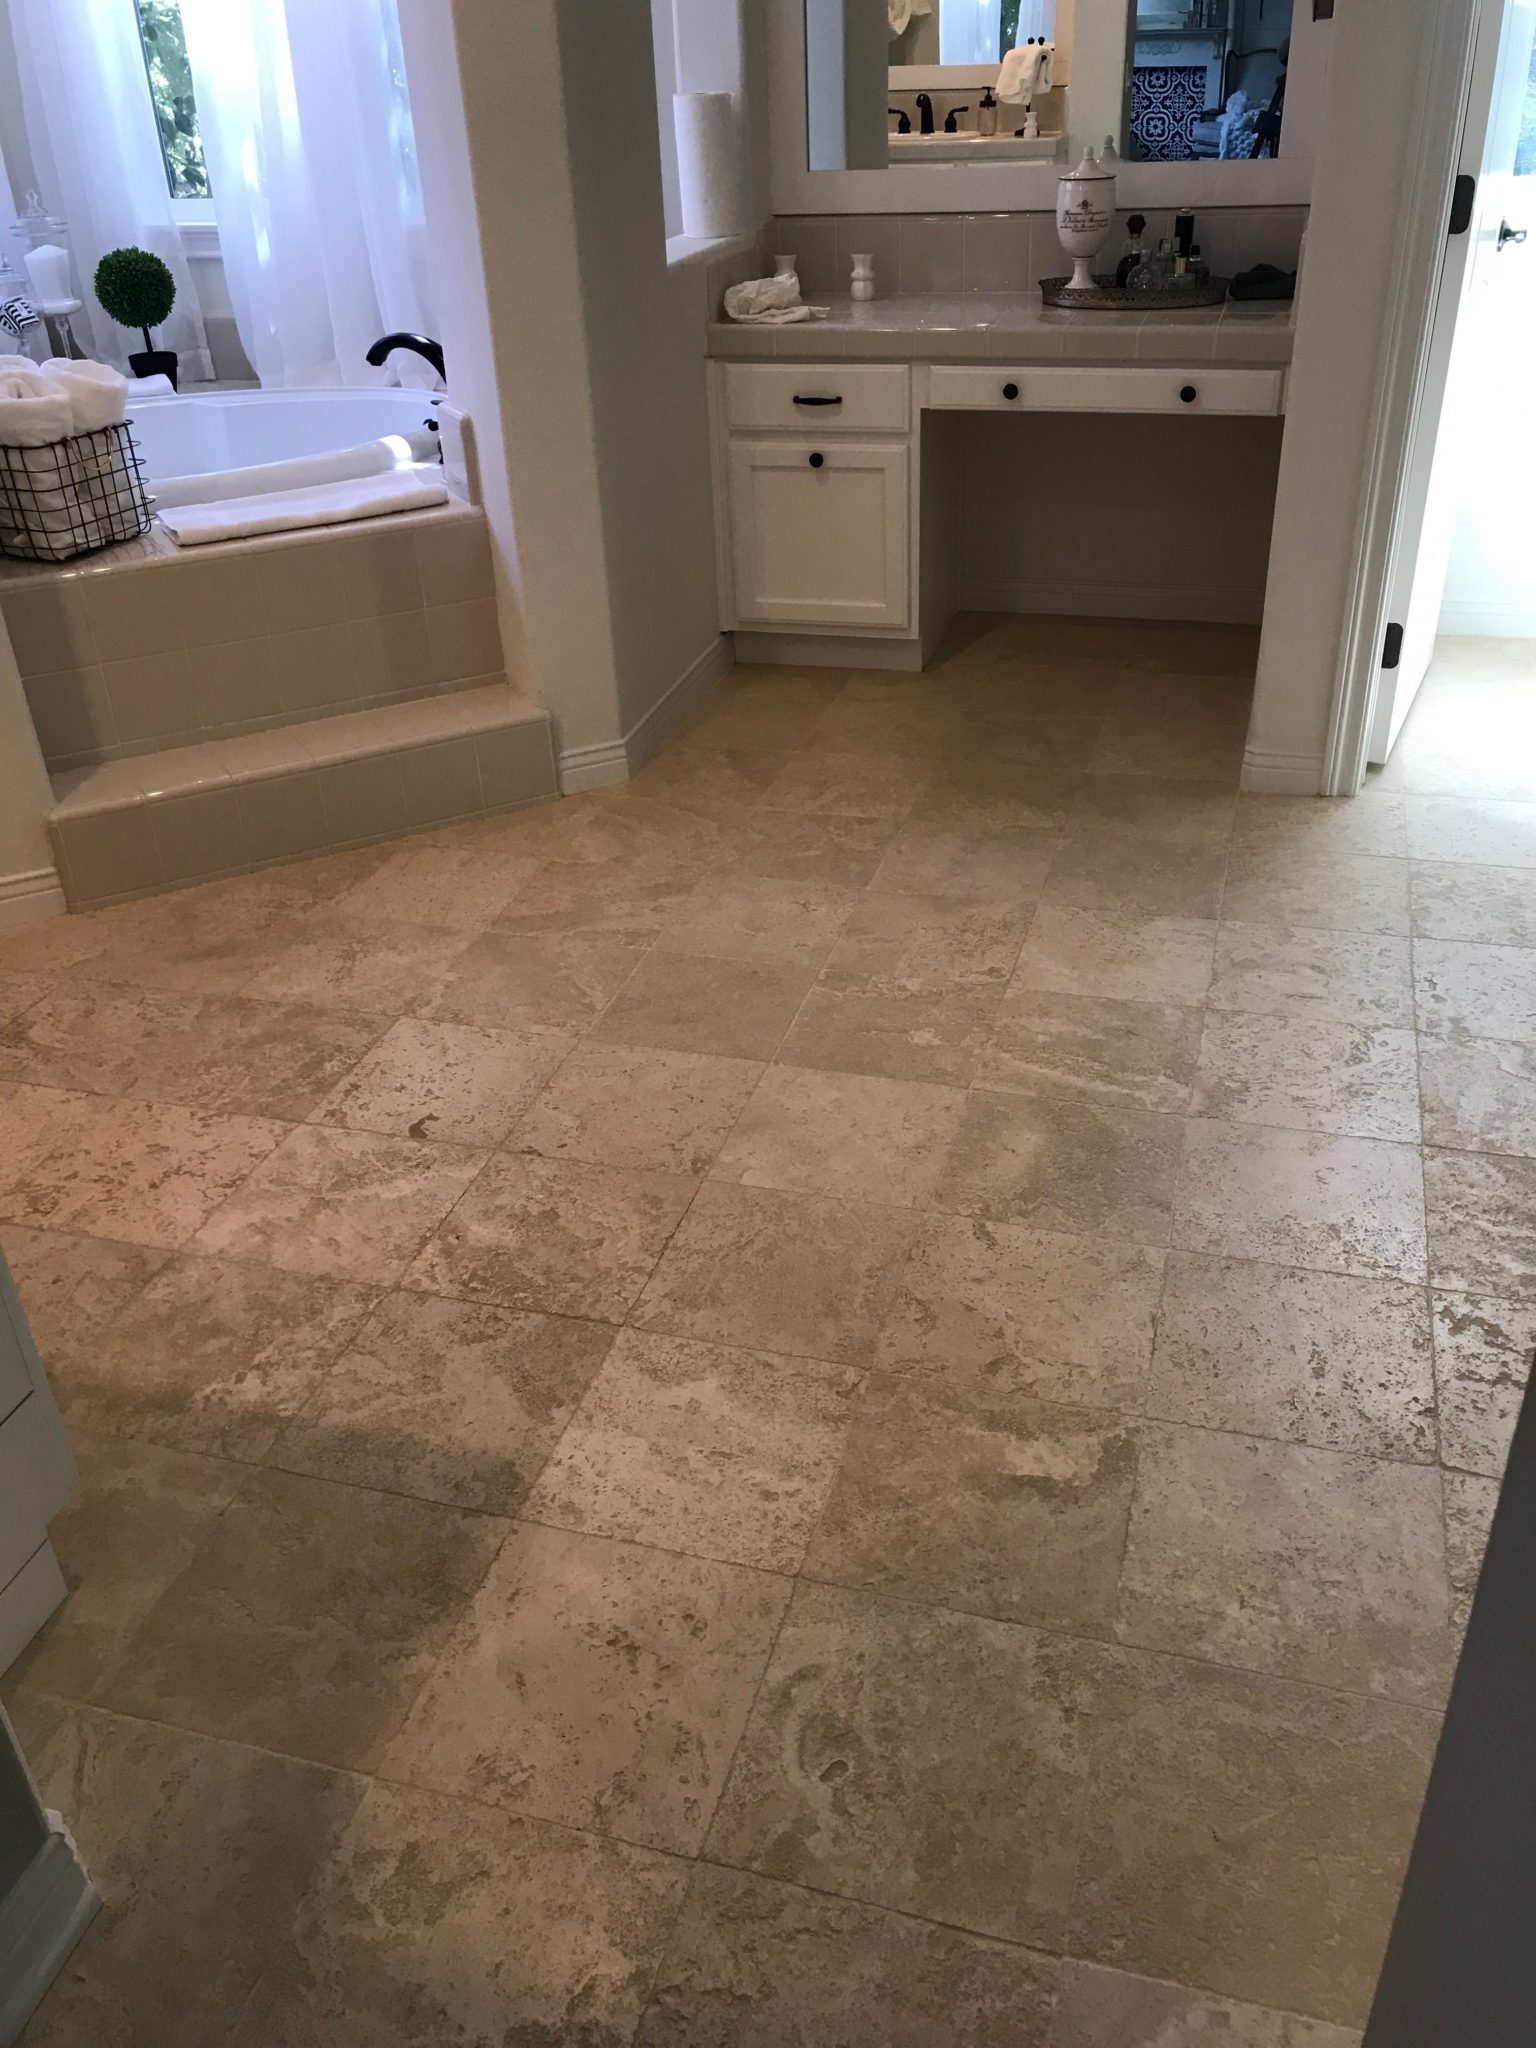
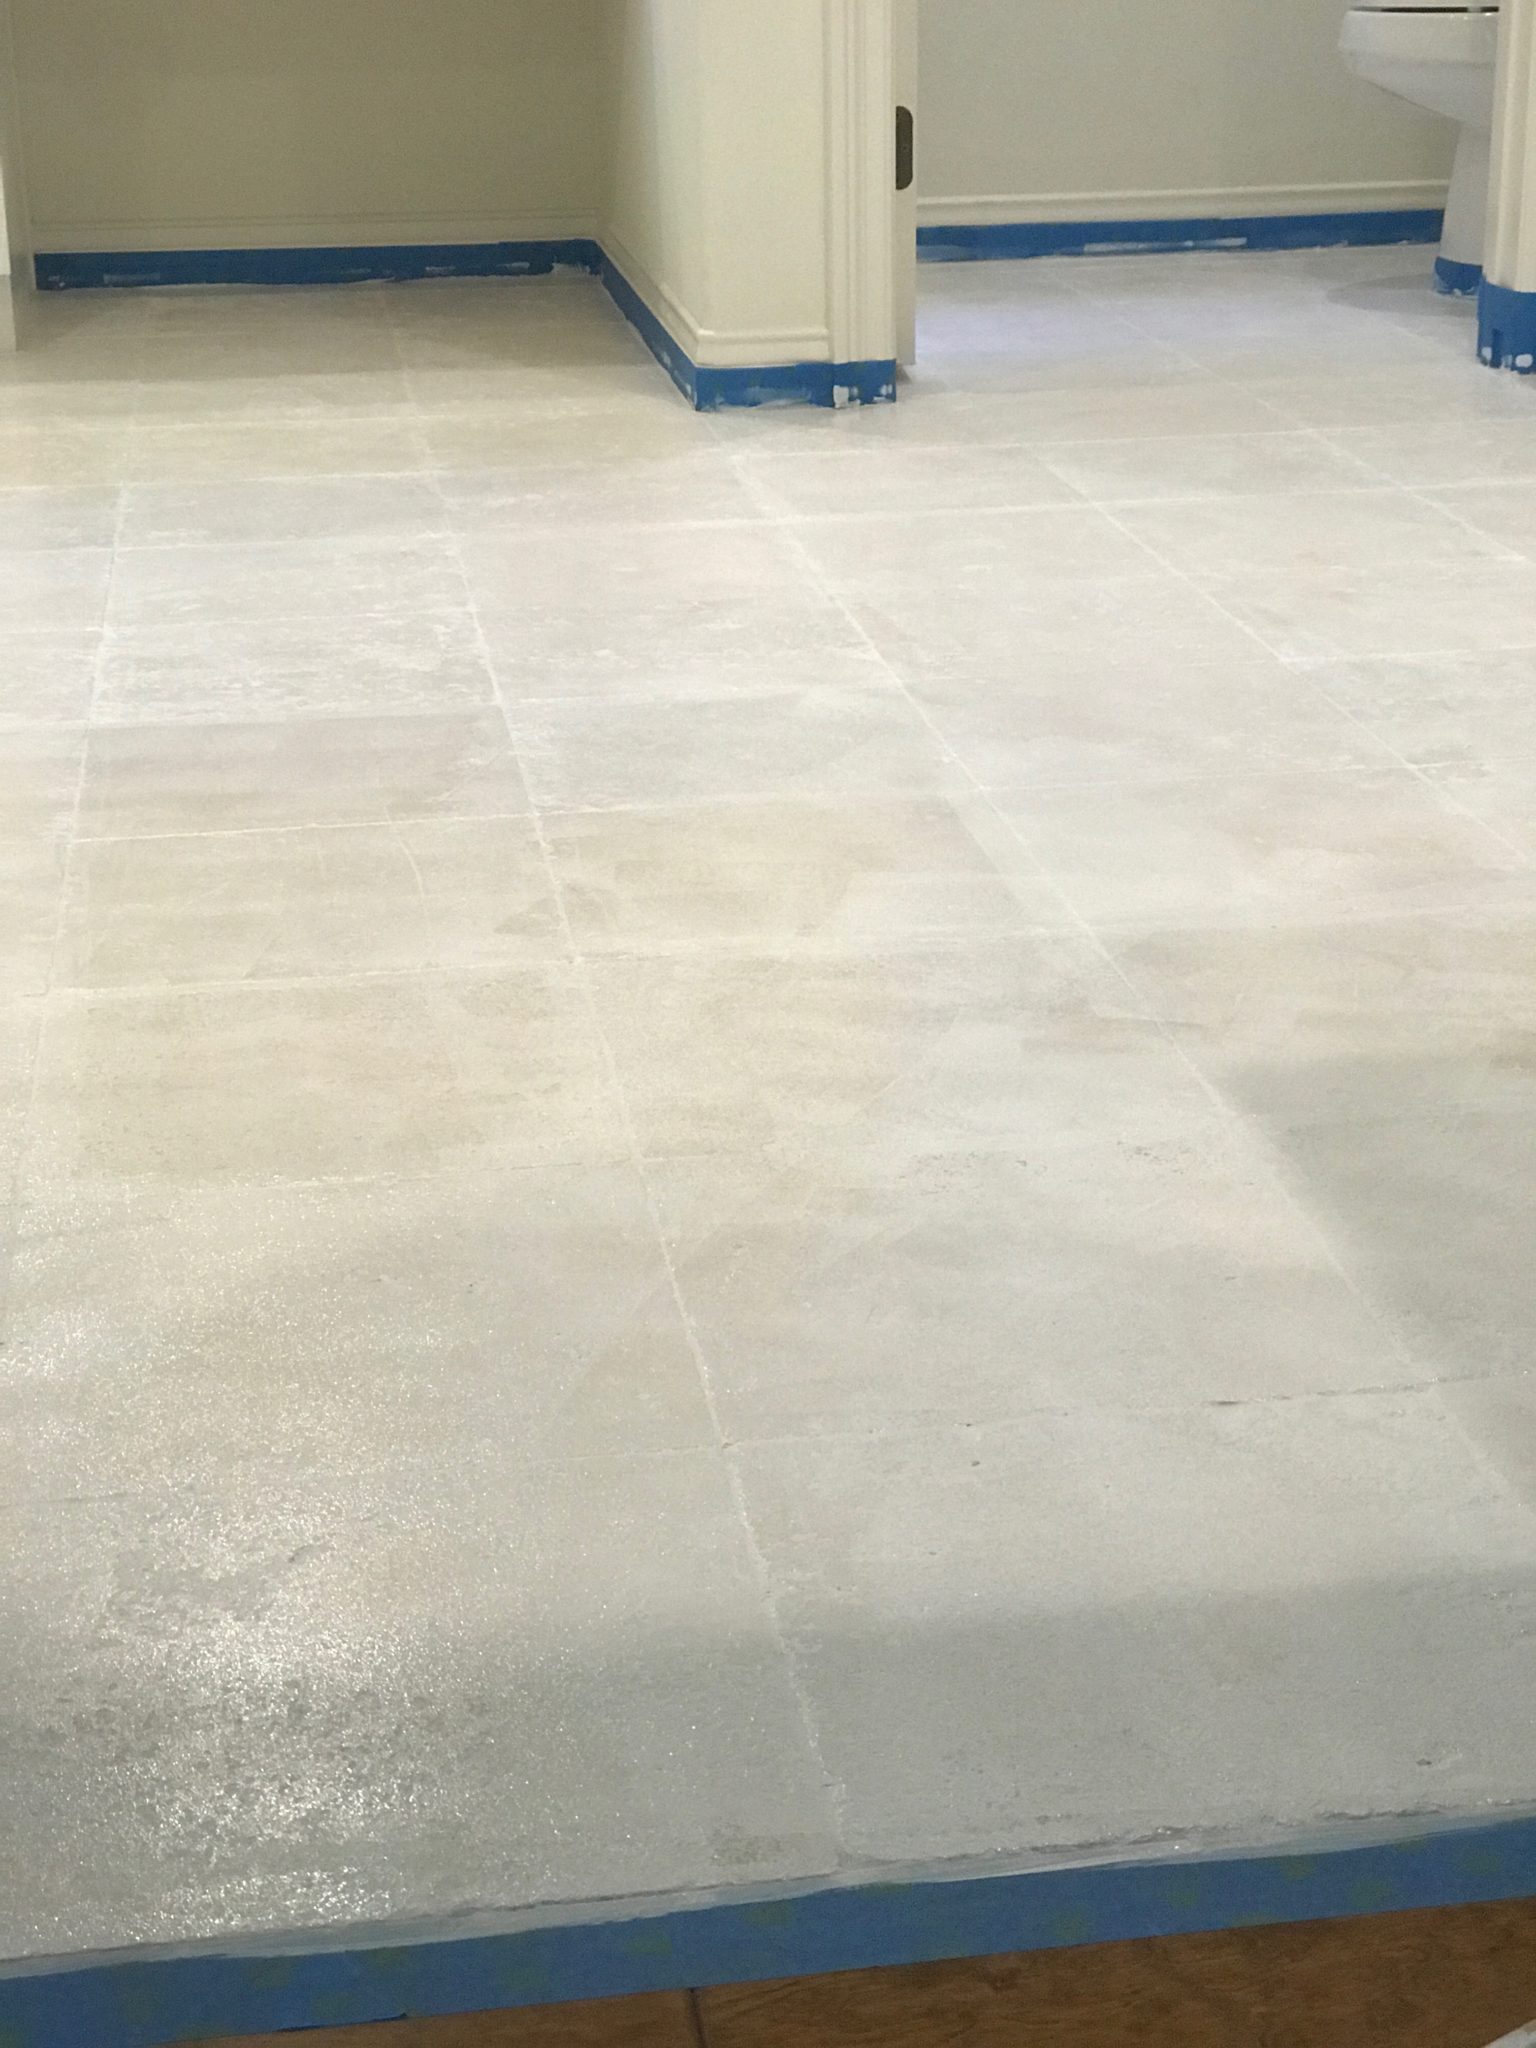
The Before…
Before I show you “how”…let’s take a minute to look at this before picture below. Can you believe this is the same floor with a little (okay a LOT) of paint overtop?!?!
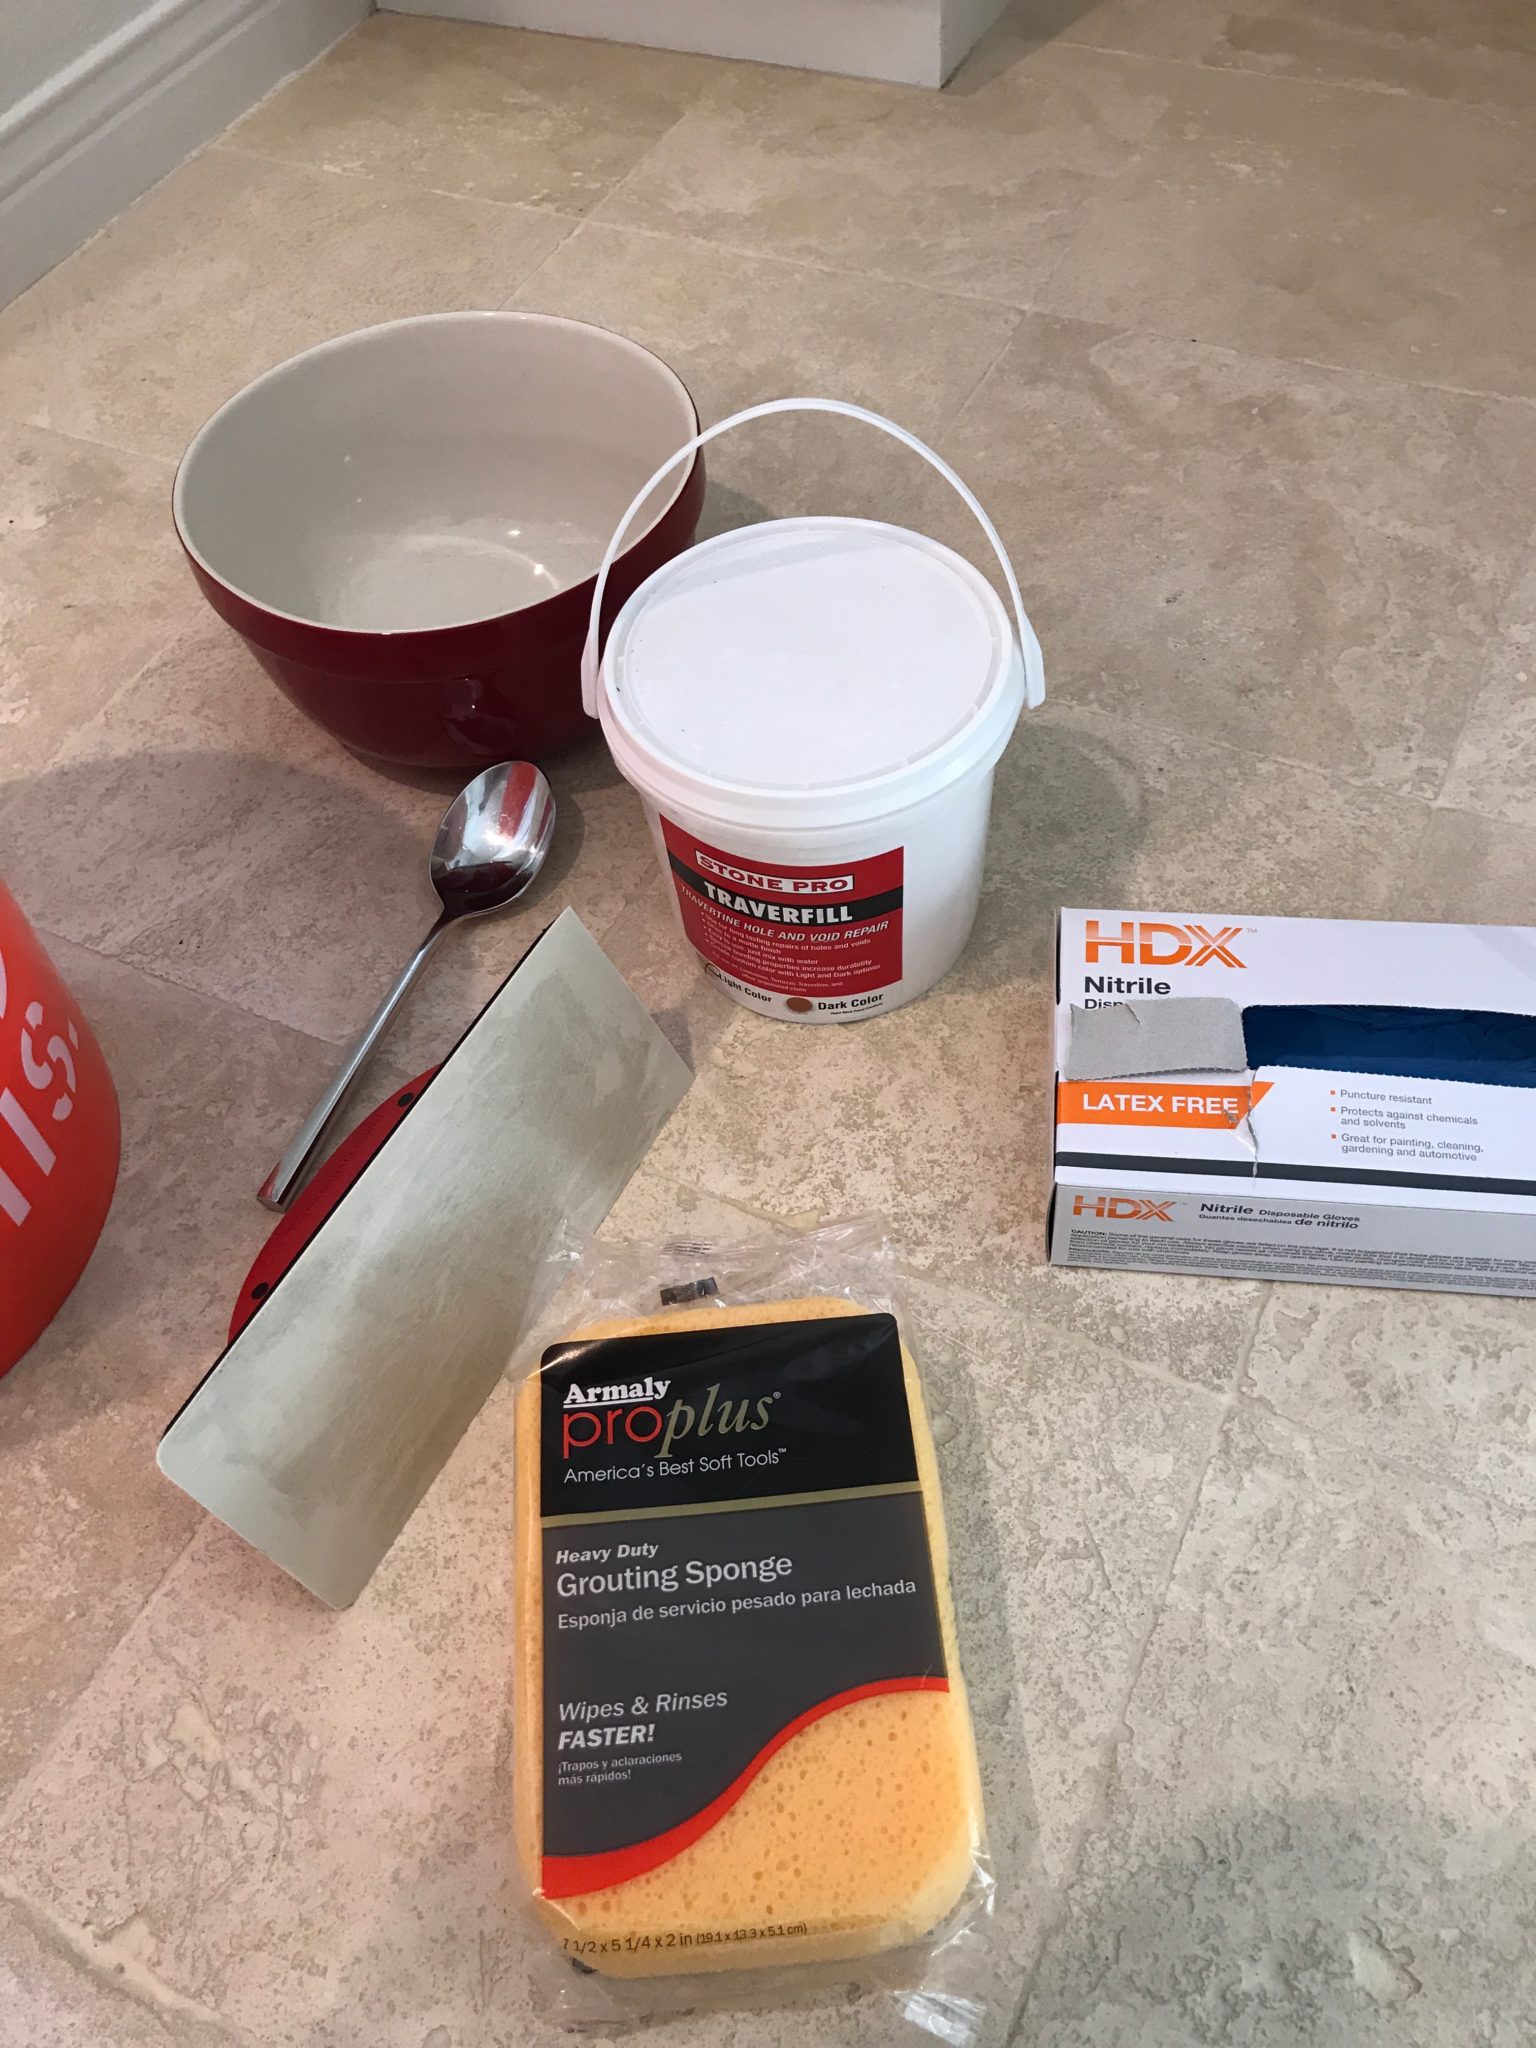
Supplies
- Microfiber clothes
- Traverfill – in light color
- Rubber Grout Float (or a putty applicator)
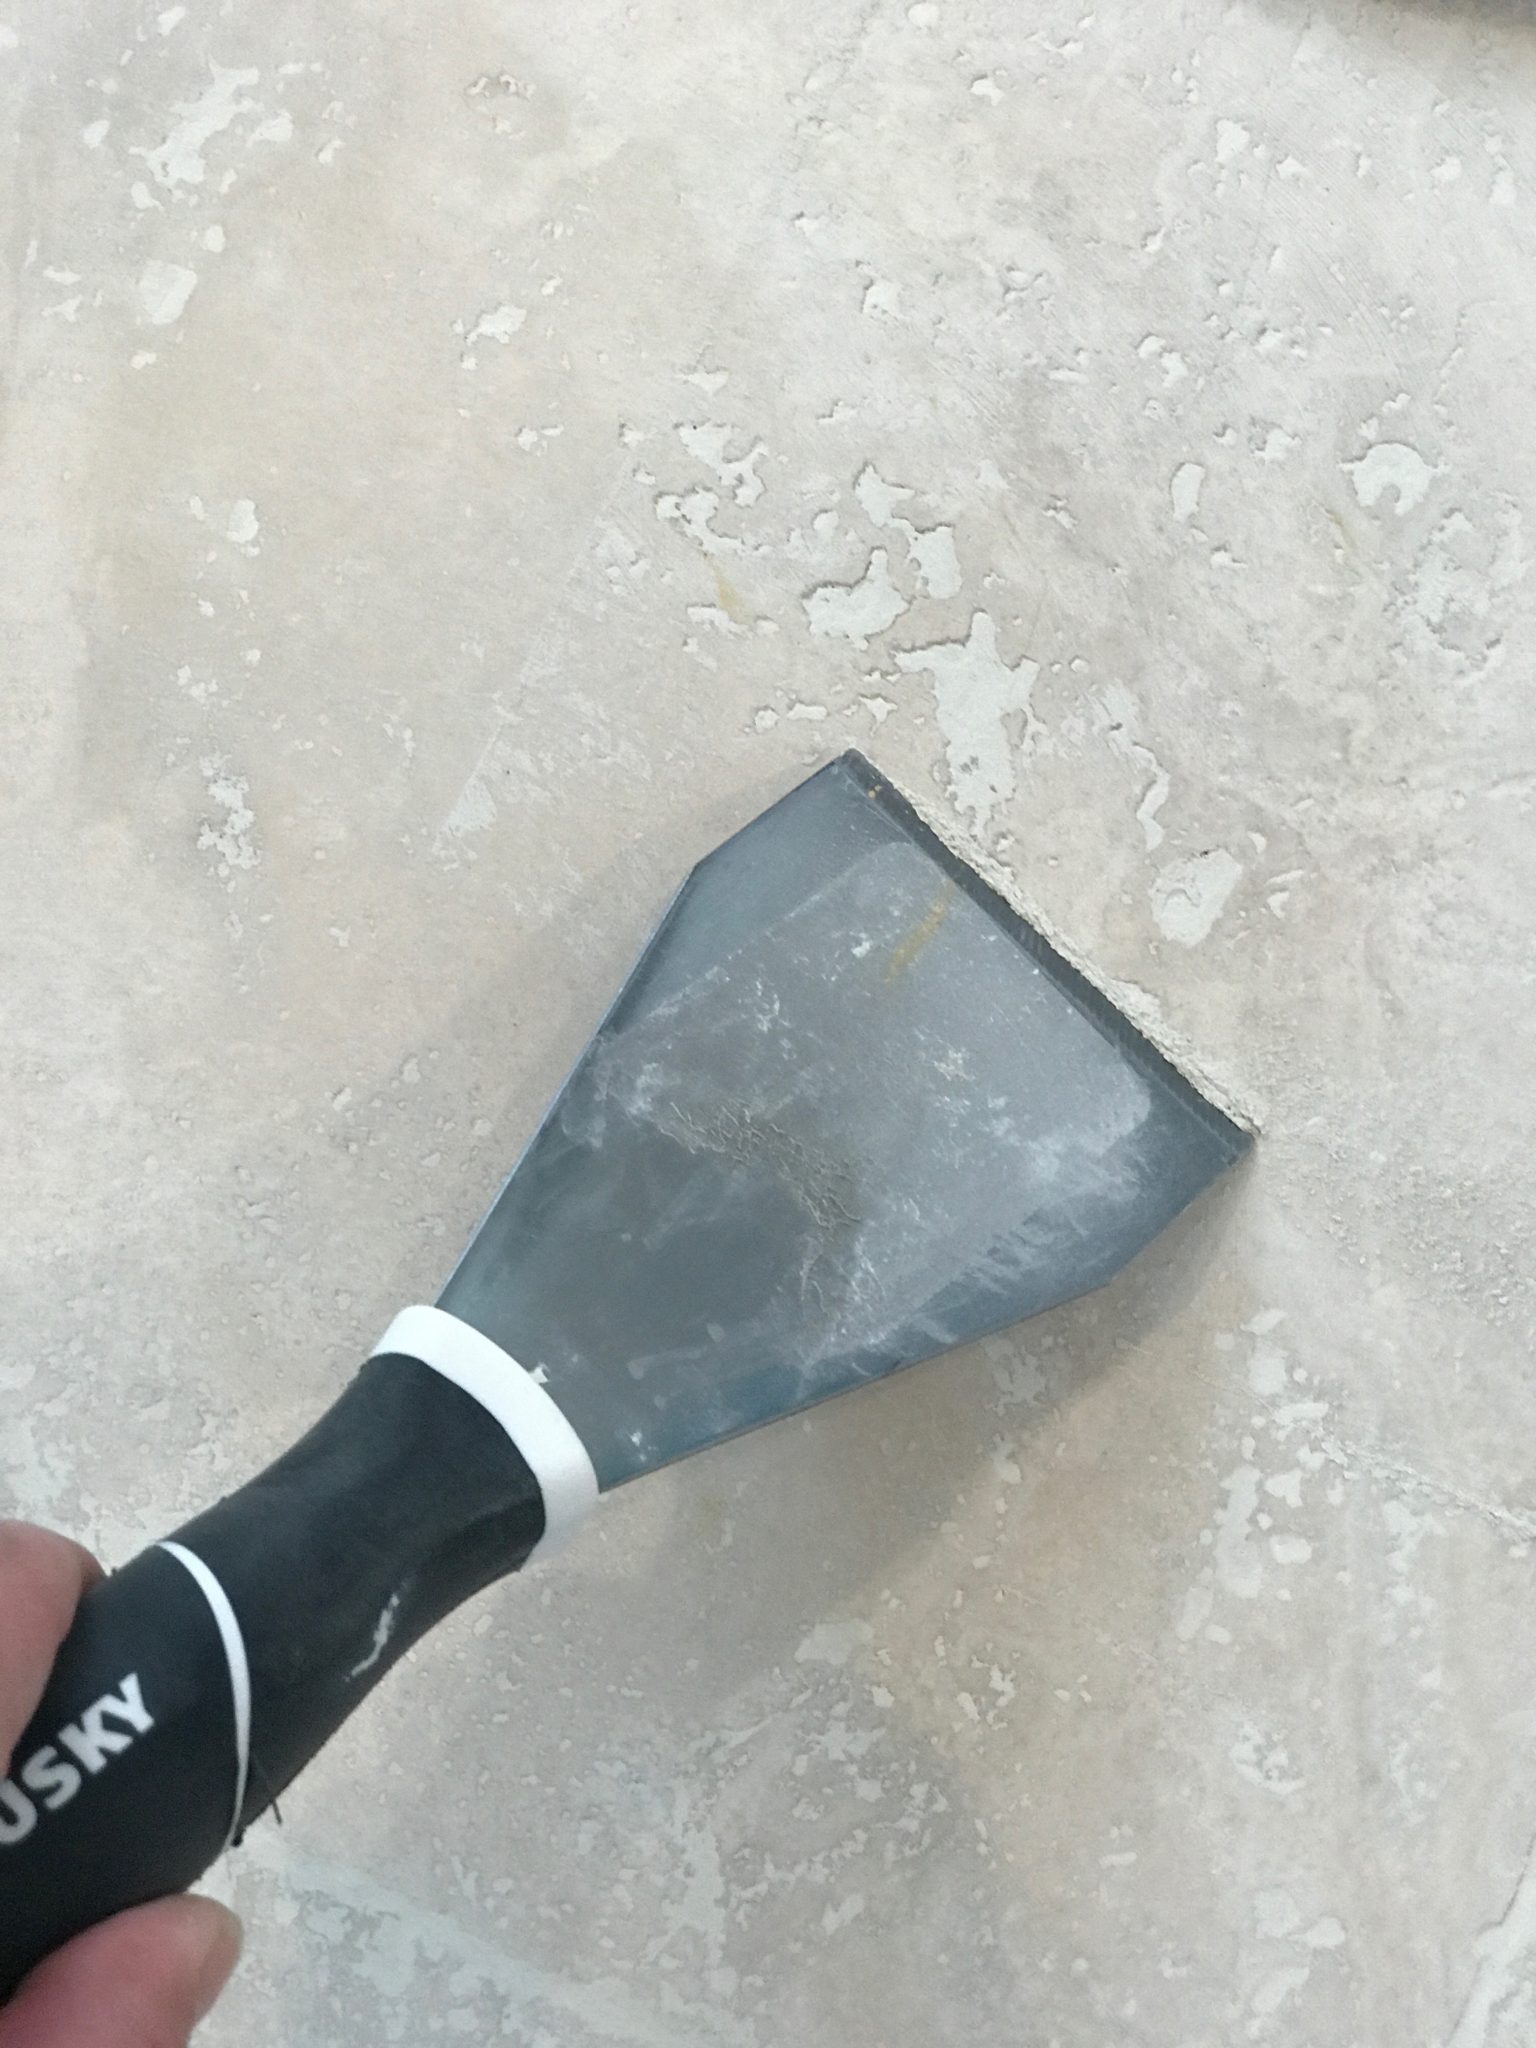
- Putty knife
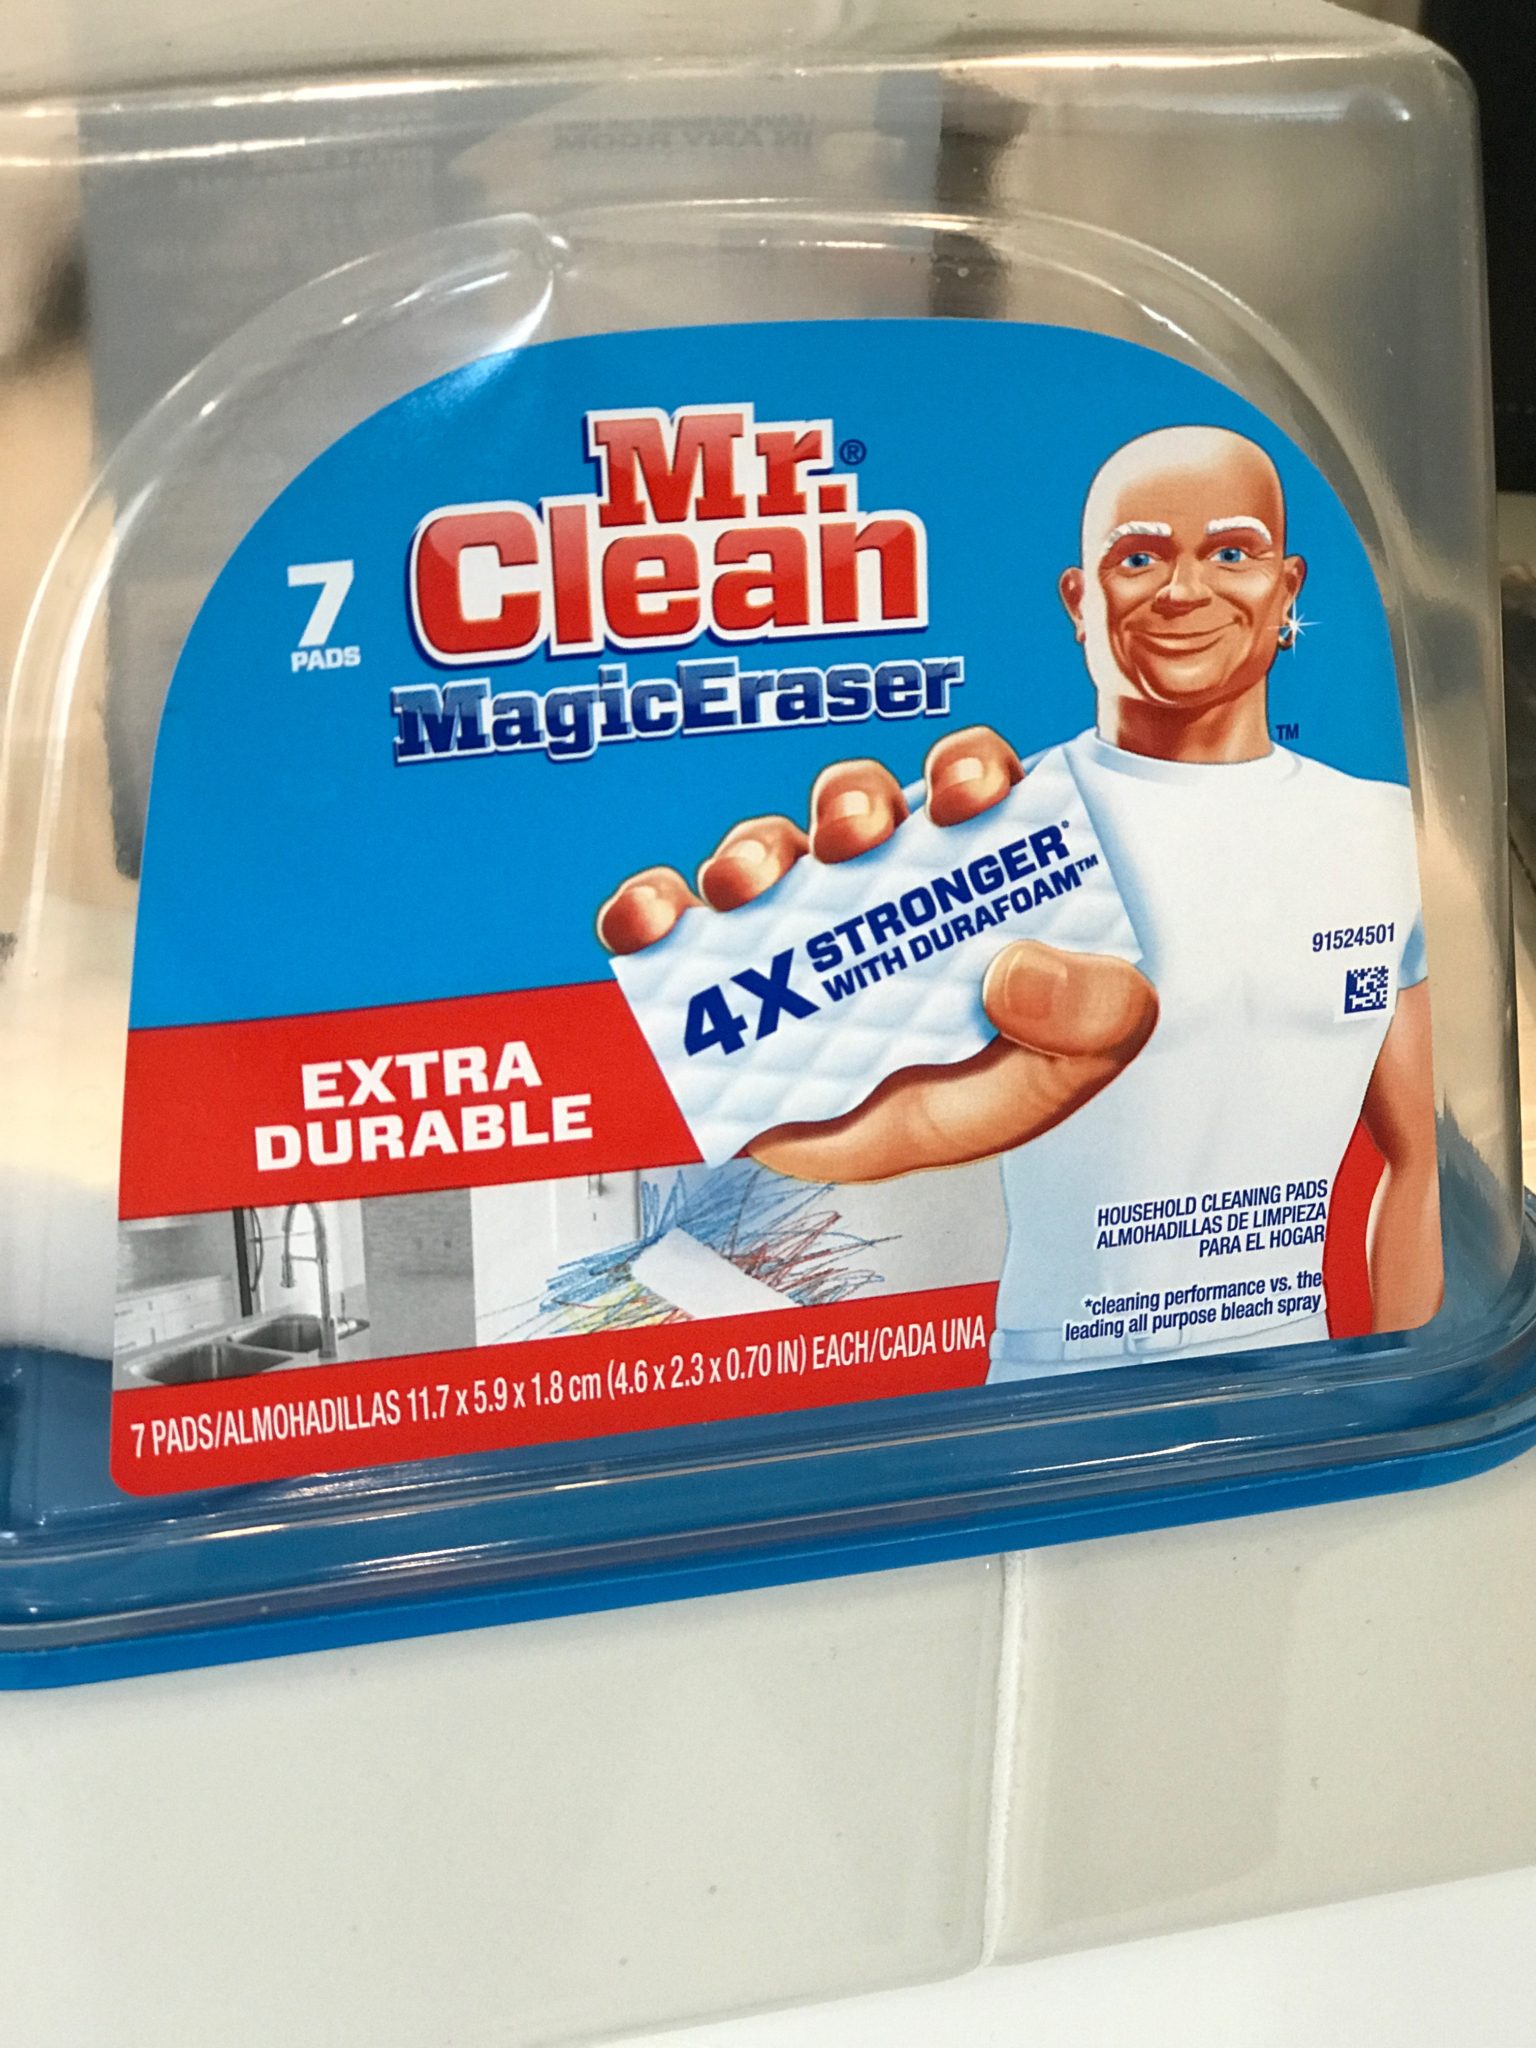
- Magic Erasers
- Painter rags
- Painters tape
- Protective gloves (especially for Traverfill portion)
- Stencil (for a larger floor I would recommend buying two)
- 1” paint brush for edges
- Foam rollers – 6” for primer and chalk paint and 2” for stenciling (get lots of rollers – I changed rollers each time I painted a second coat or started a new “stencil session”)
- Zinsser 1-2-3 Bullseye Multipurpose Primer
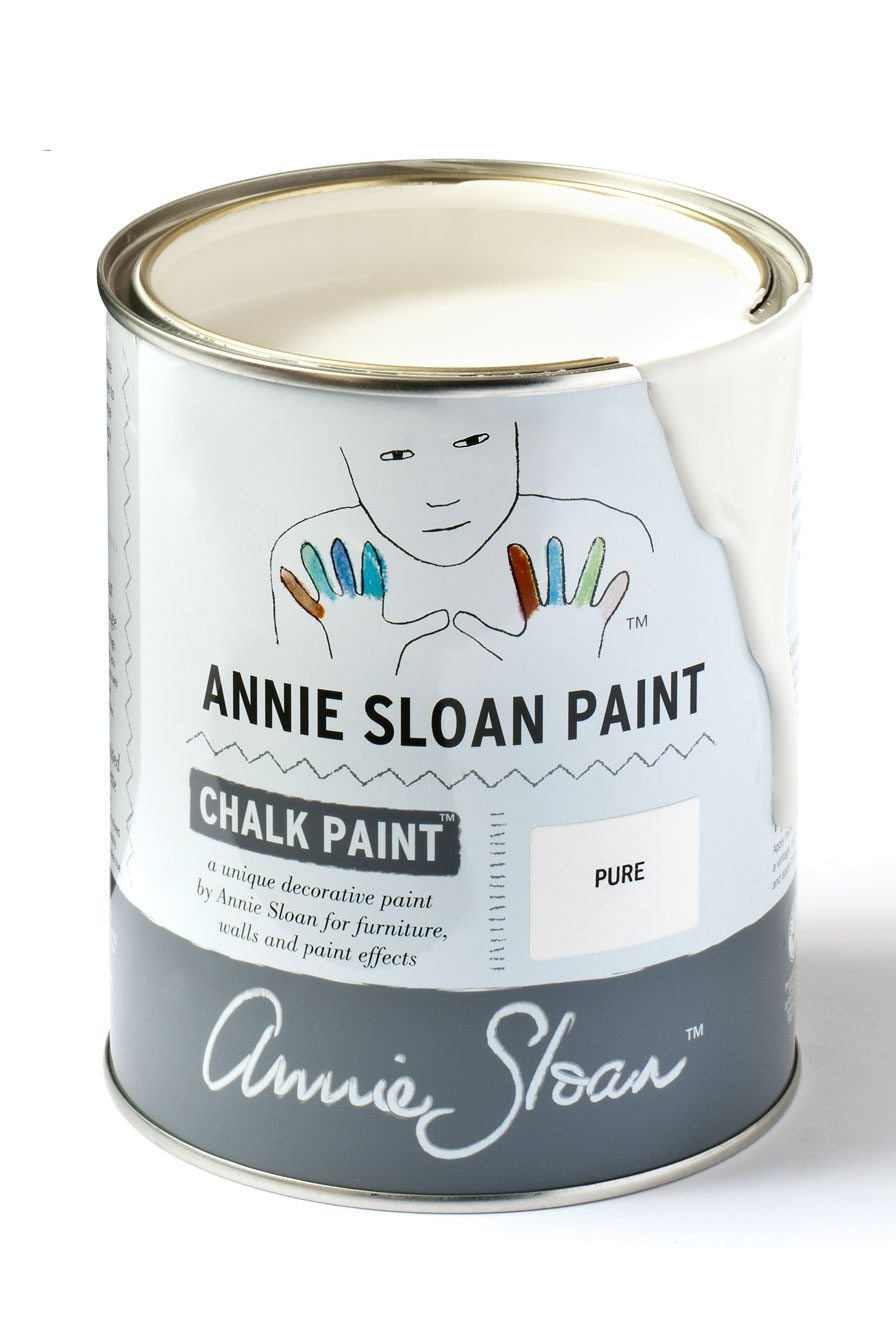
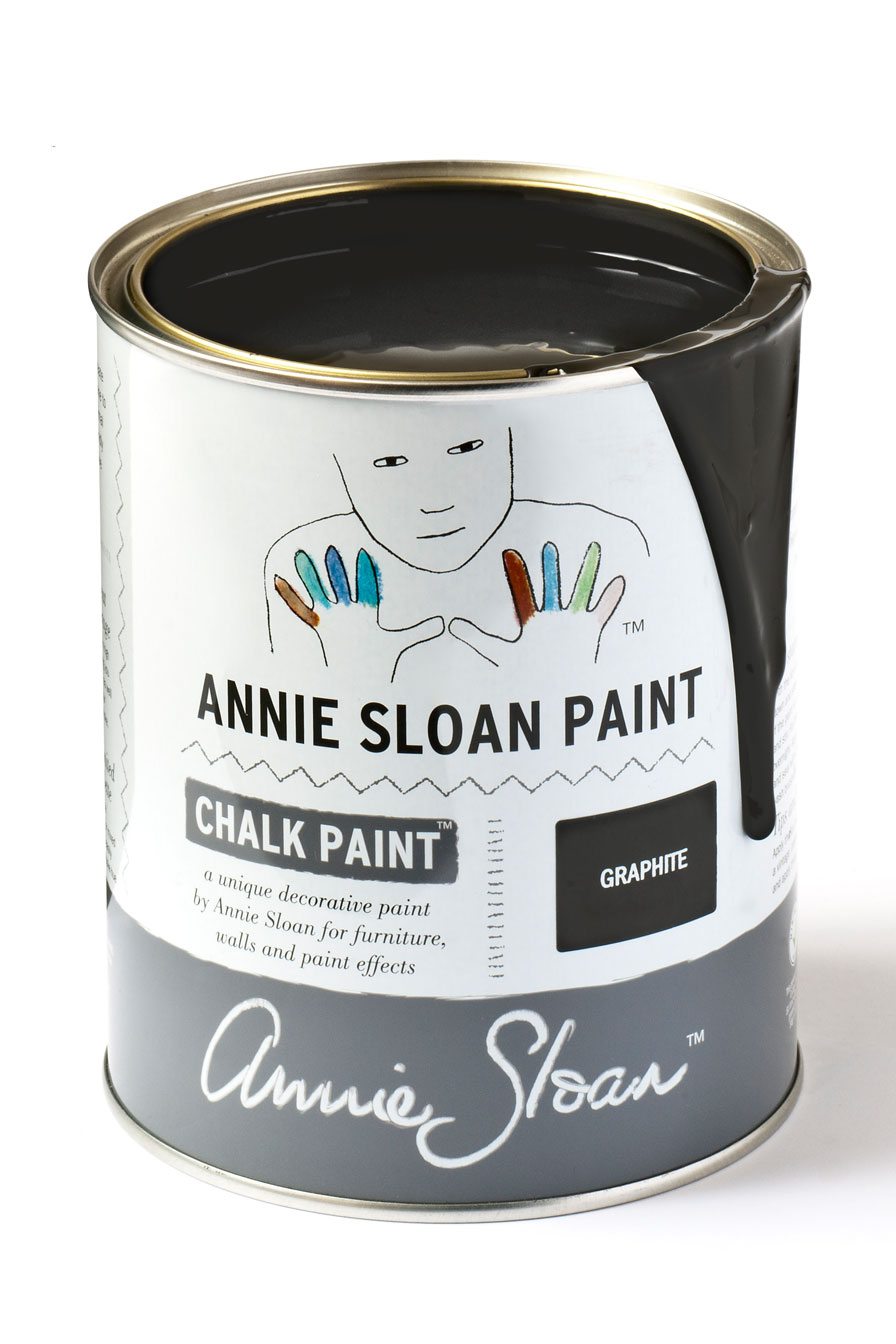
- Chalk Paint (two colors – one for the base and one for the stencil – I used these: BASE: Annie Sloan Pure White – STENCIL: Annie Sloan Graphite)
- Stencil Brush
- Artist Paint Brush for touch ups
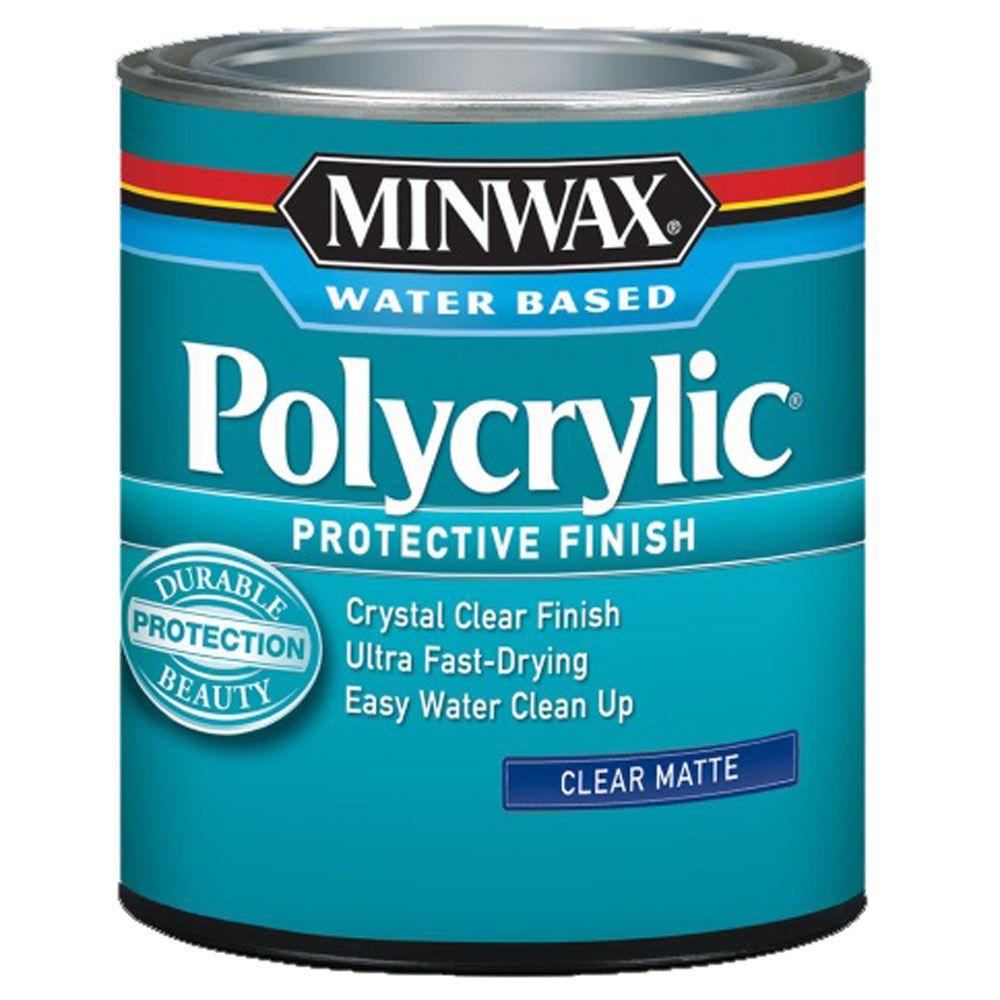
- Minwax Polycrylic in Matte
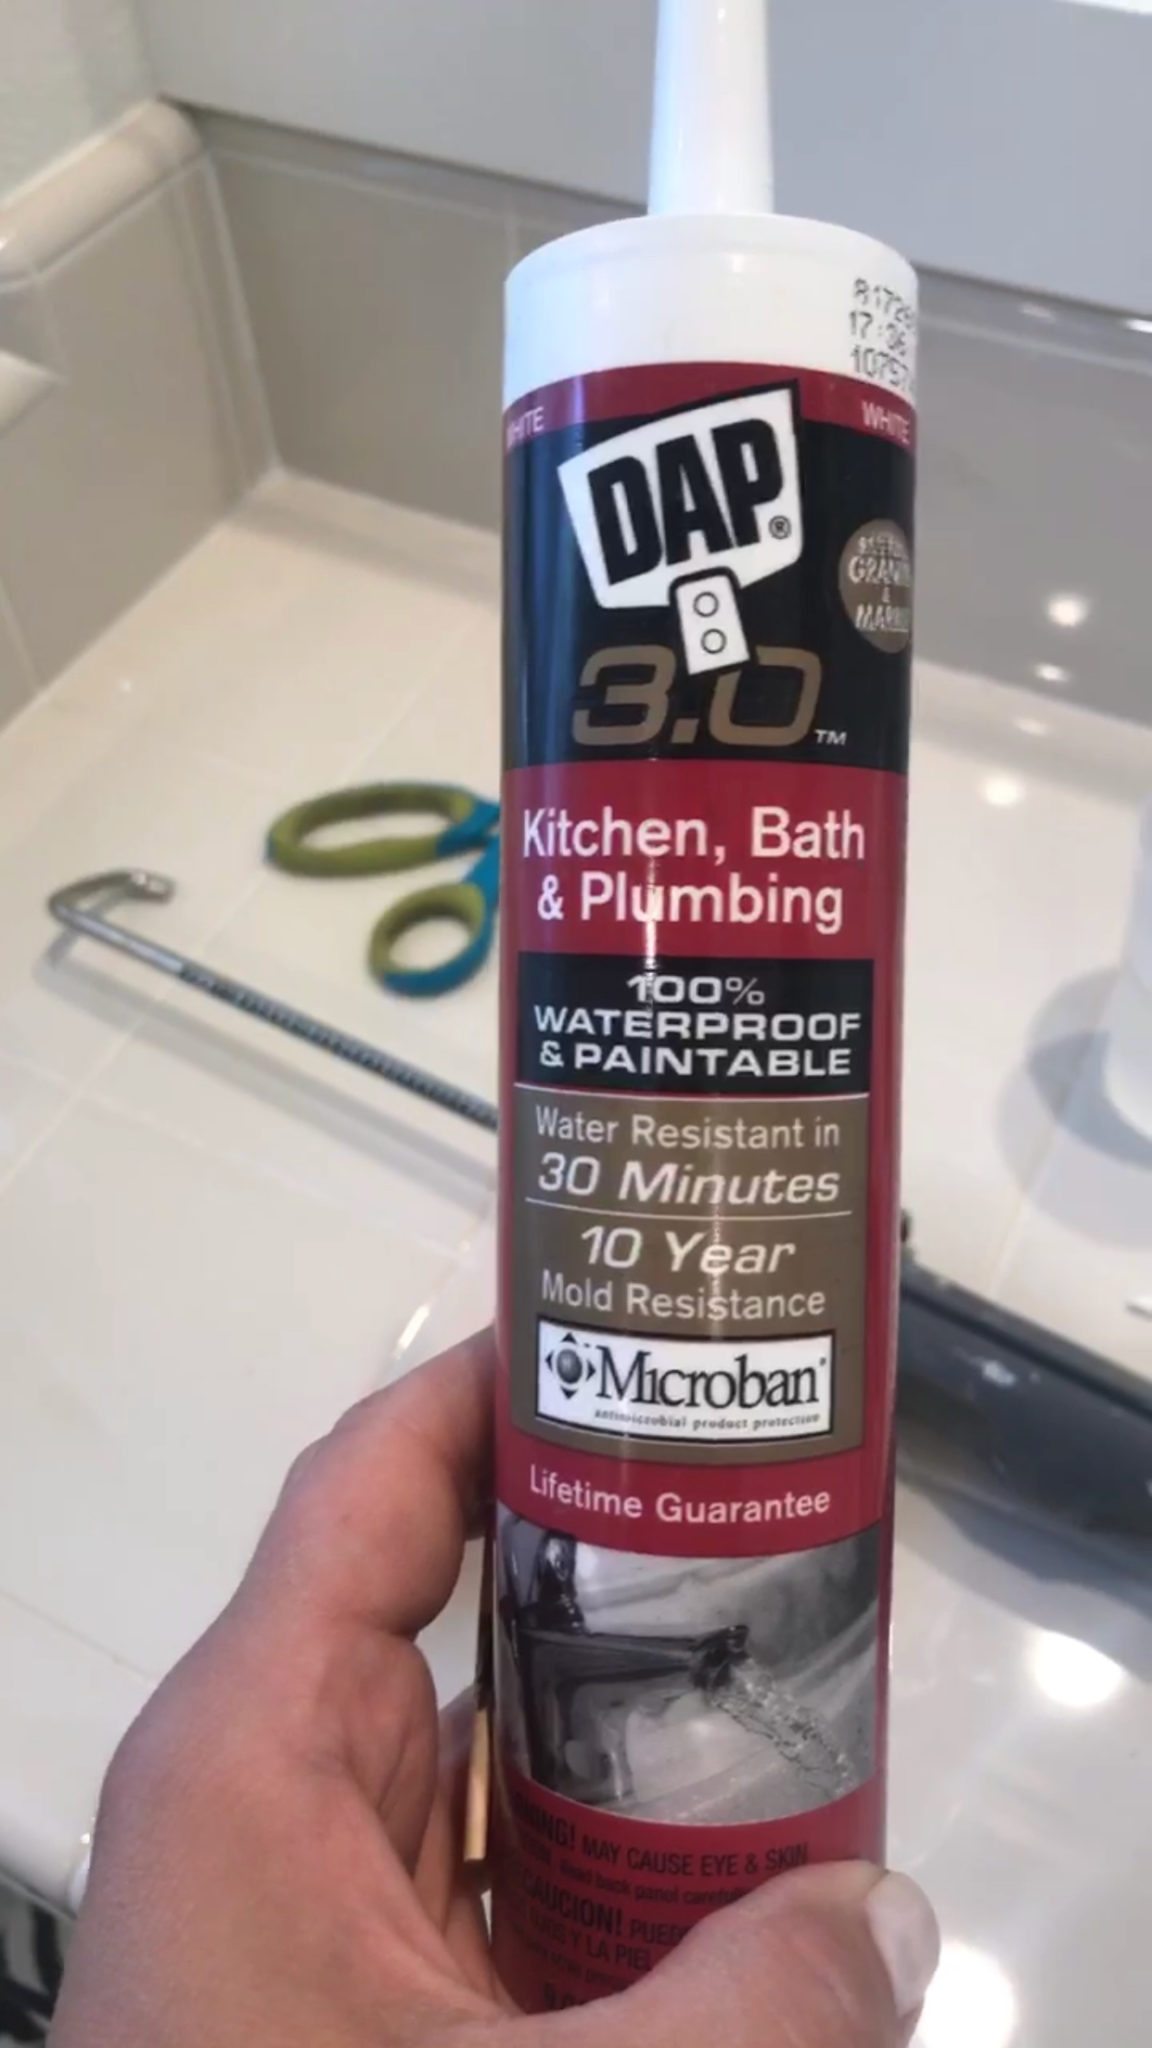
- Bathroom Waterproof Caulk in white
- Caulk gun
I shared this entire process on my Instagram stories. I’ve rounded up all of my videos and created a step by step video tutorial. There’s also written instructions below this video as well.
**If you don’t have travertine you can skip steps 3-5.
- Vacuum, vacuum, vacuum! Clean the floor removing all dust and hair and don’t forget the baseboards too!
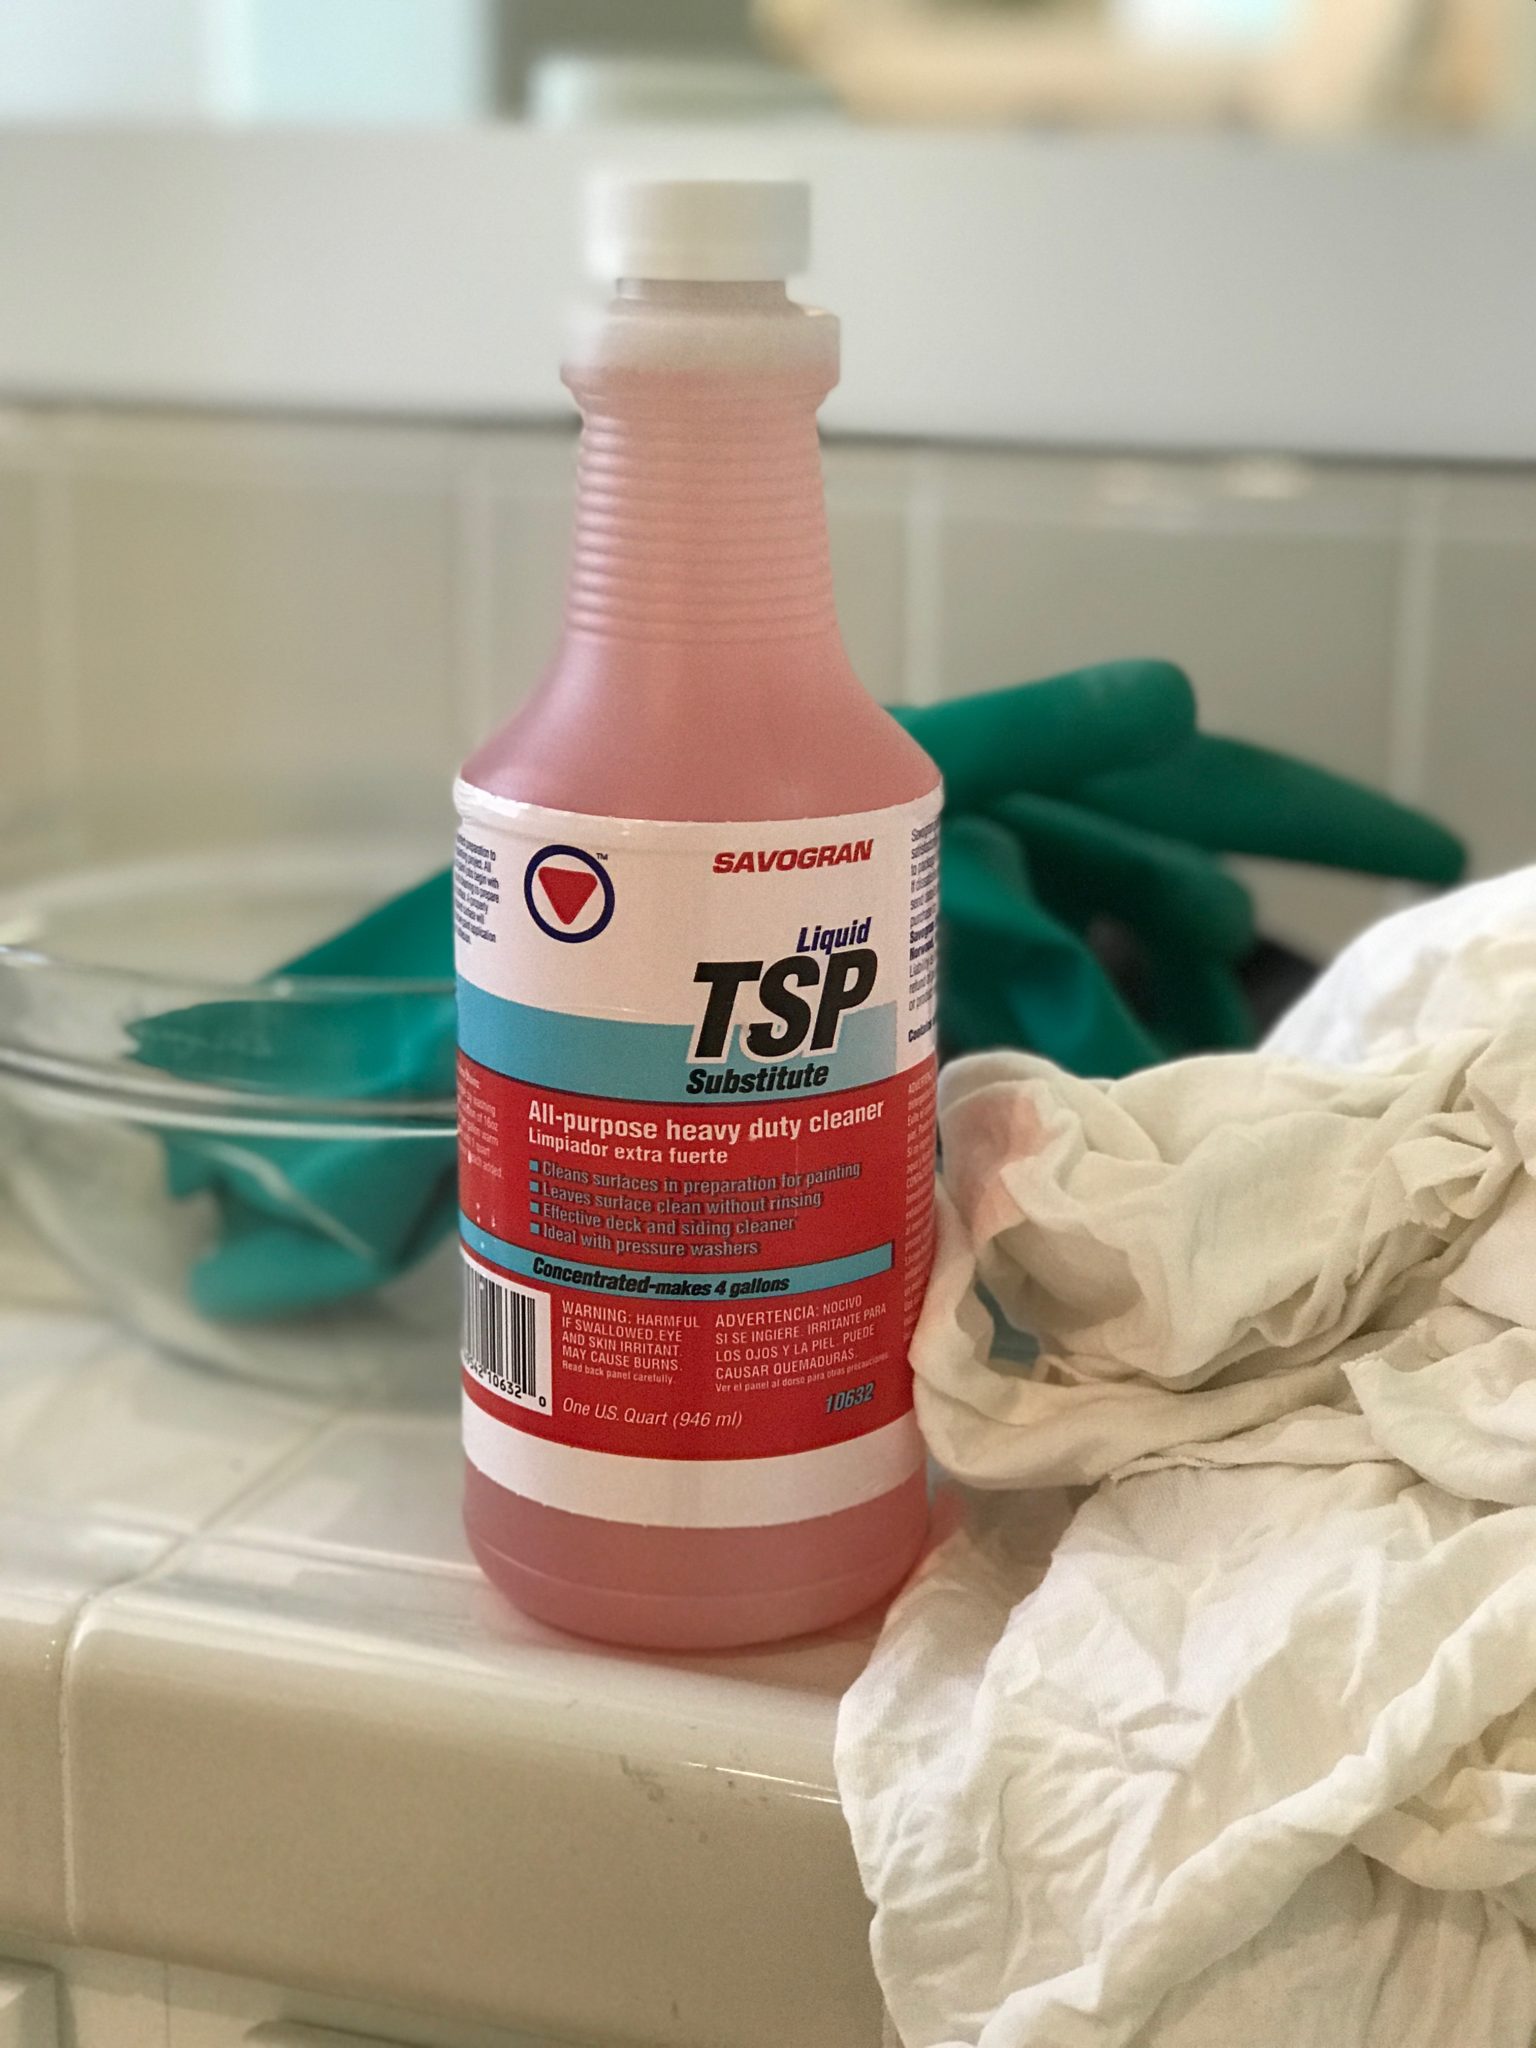
2. Using TSP Substitute – in a 1 to 1 ratio (water to concentrate), thoroughly wipe (scrub) the floors using a soft (non fiber) cloth like a painters rag. Allow the floor to completely dry.
3. Next you need to fill the holes in the floor – get ready people…this is going to take a minute! Using a product called TraverFill, mix the powder with water to create a paste like substance – you want a pudding/grout like consistency. The product doesn’t have specific powder:water ratio instructions so add water slowly until you get the consistency you want. If it gets too watery just add more powder.
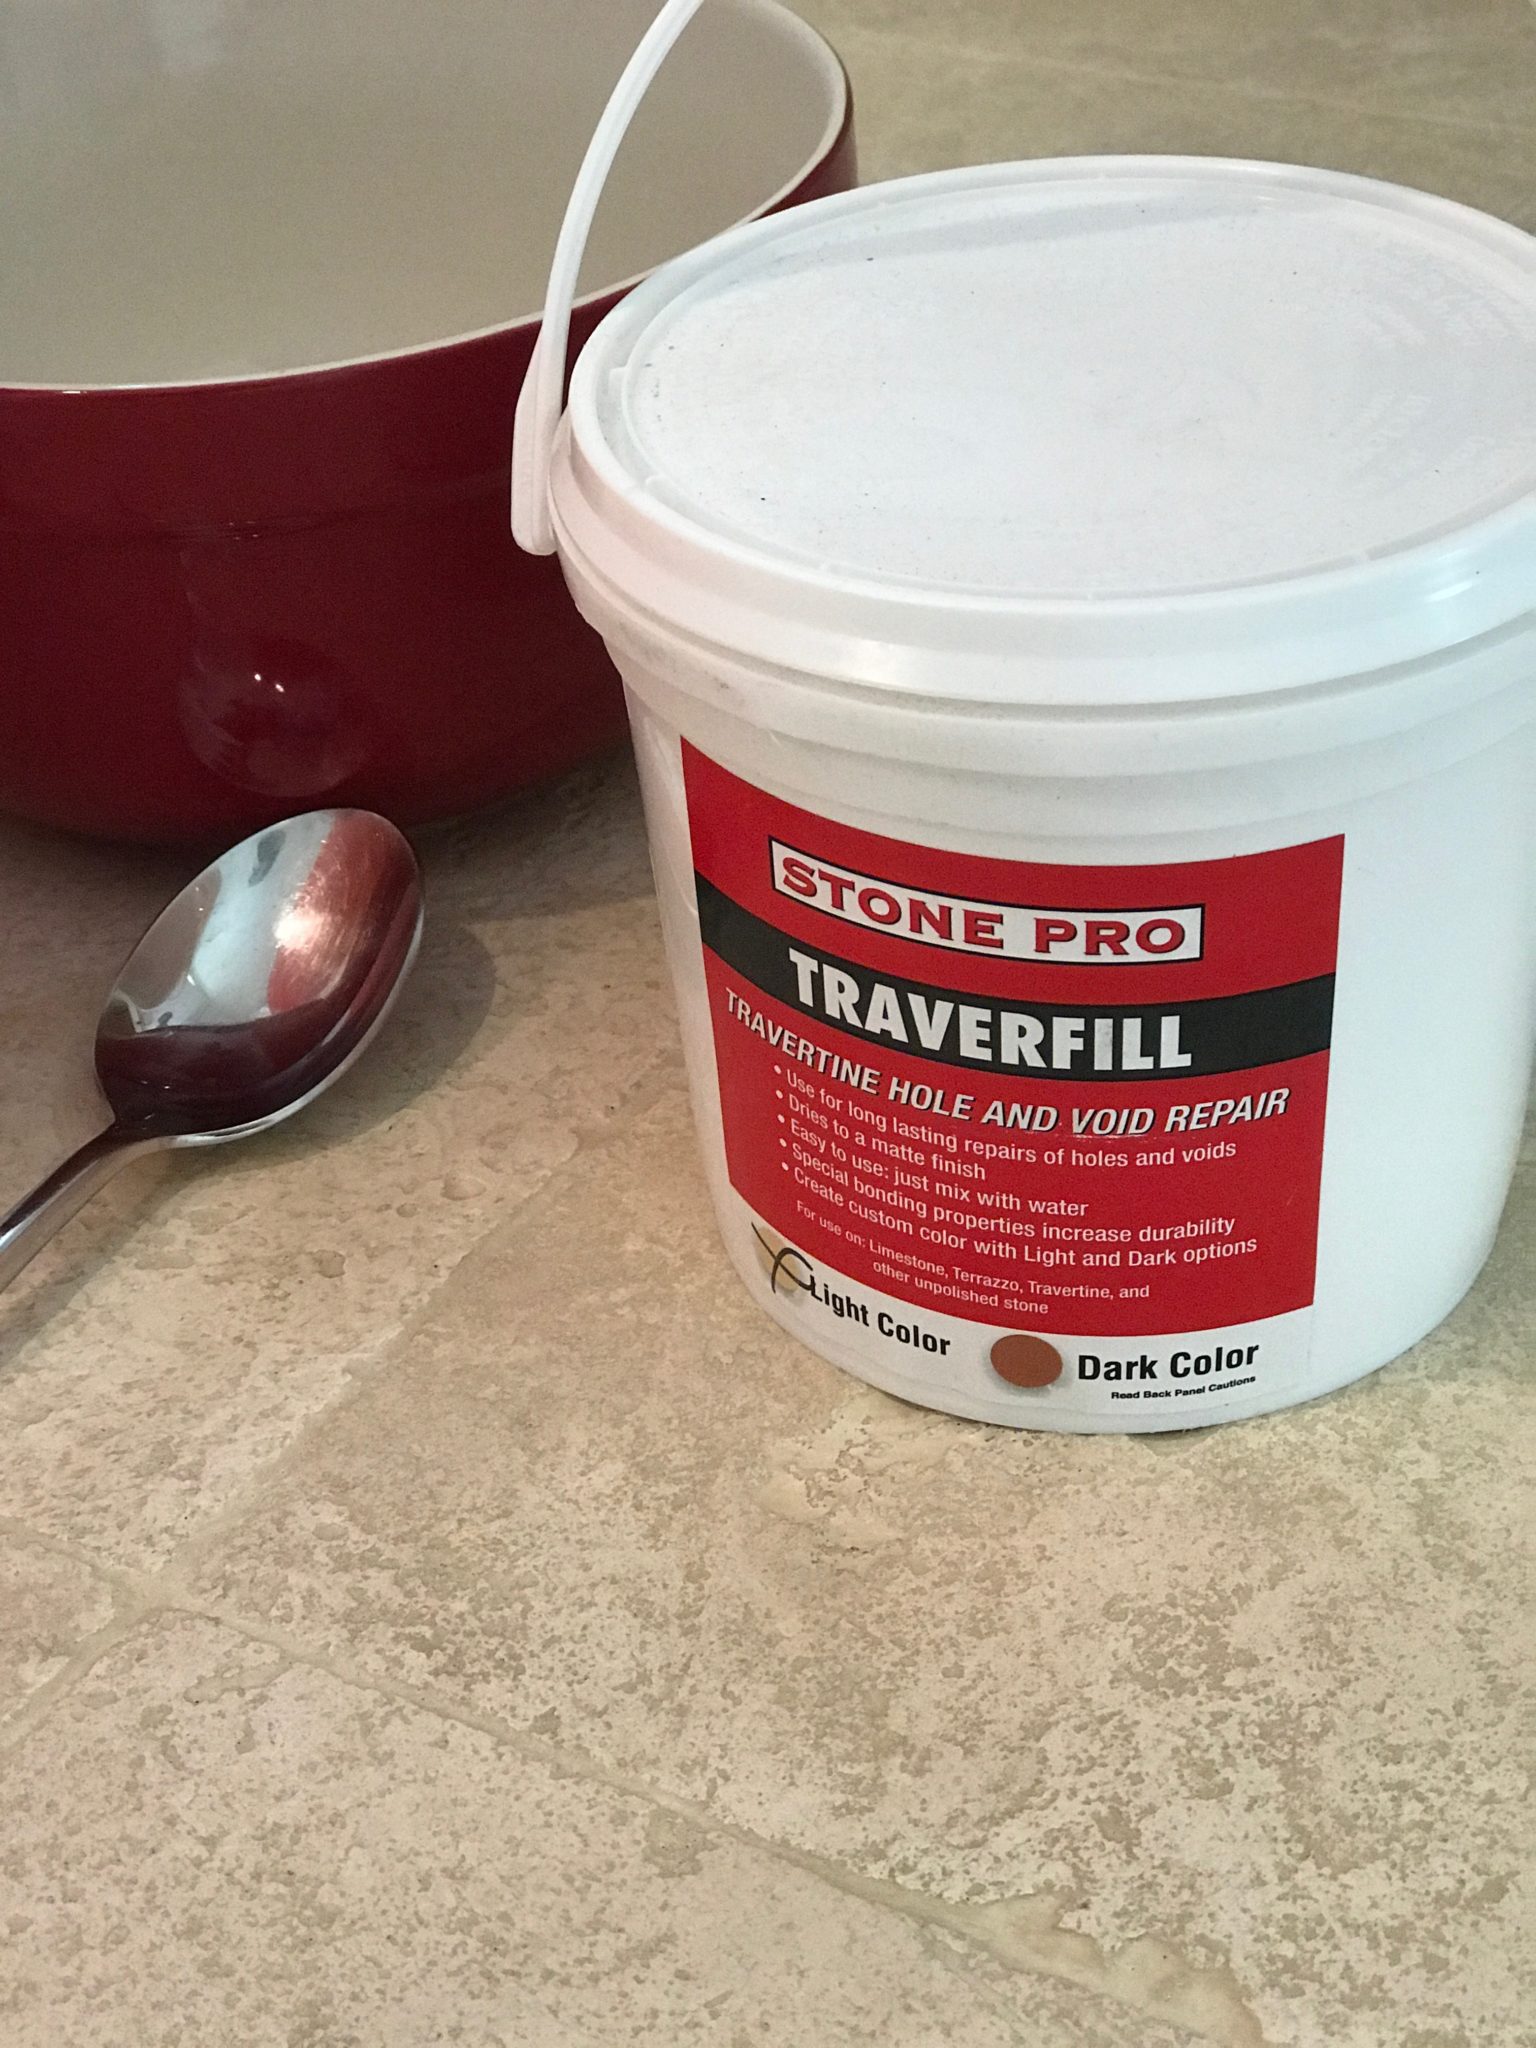
4. Using a rubber groat float, work the product across each tile to fill the holes in the travertine, especially the large ones (which may require a second pass after it’s dried). Swipe away excess. The less product you leave on the tile the less you have to clean off later. I switched to a yellow plastic putty applicator later in the process and it worked pretty well too. Don’t fill the grout lines when it can be avoided – some will be filled and that’s ok but you want to leave some grout lines as markers so you can more easily line up your stencil.
*NOTE – the holes will not be completely filled…there will still be some texture to the tile. We are filling the tile just so the stencil doesn’t look distorted by the massive holes in the tile.
5. Allow the Traverfill to dry completely. Using a putty knife, scrap across the top of the tile to remove any residual Traverfill on the tile and vacuum as you go. Use a microfiber cloth working in small sections to continue removing the film left behind by the filling. Then using a damp (well rung out) magic eraser wipe down the tiles working in very small sections, continually rinsing and ringing the eraser. Using a lint free cloth and dry the section you just “washed” down.
This section was probably the most challenging. It’s tedious and honestly a little boring to keep scrubbing the same tile over and over but you really need to get the tile as clean as possible so the paint rolls on nicely. **NOTE – I did not follow the directions on the packaging and wipe the tiles down after 10-15 min. I found that when I did, I removed too much of the product which is exactly what I wanted to avoid. I allowed it to dry completely and then scraped vs. wiped with a massive sponge. See the video for more!
6. Now prep for painting – tape off all cabinets and baseboard with painters tape.

7. Now it’s time to prime the floors. Using Zinsser Bullseye 1-2-3 Primer, work in sections, painting the edges, then grout lines and then a 6″ roller to paint the tiles. I wanted to stand and roll the paint so I didn’t have to be on the floor the entire time…but you need to be on the floor. Because of the texture, you need to really apply pressure in certain areas and work the primer into the tile. Allow the first coat to dry completely and repeat.
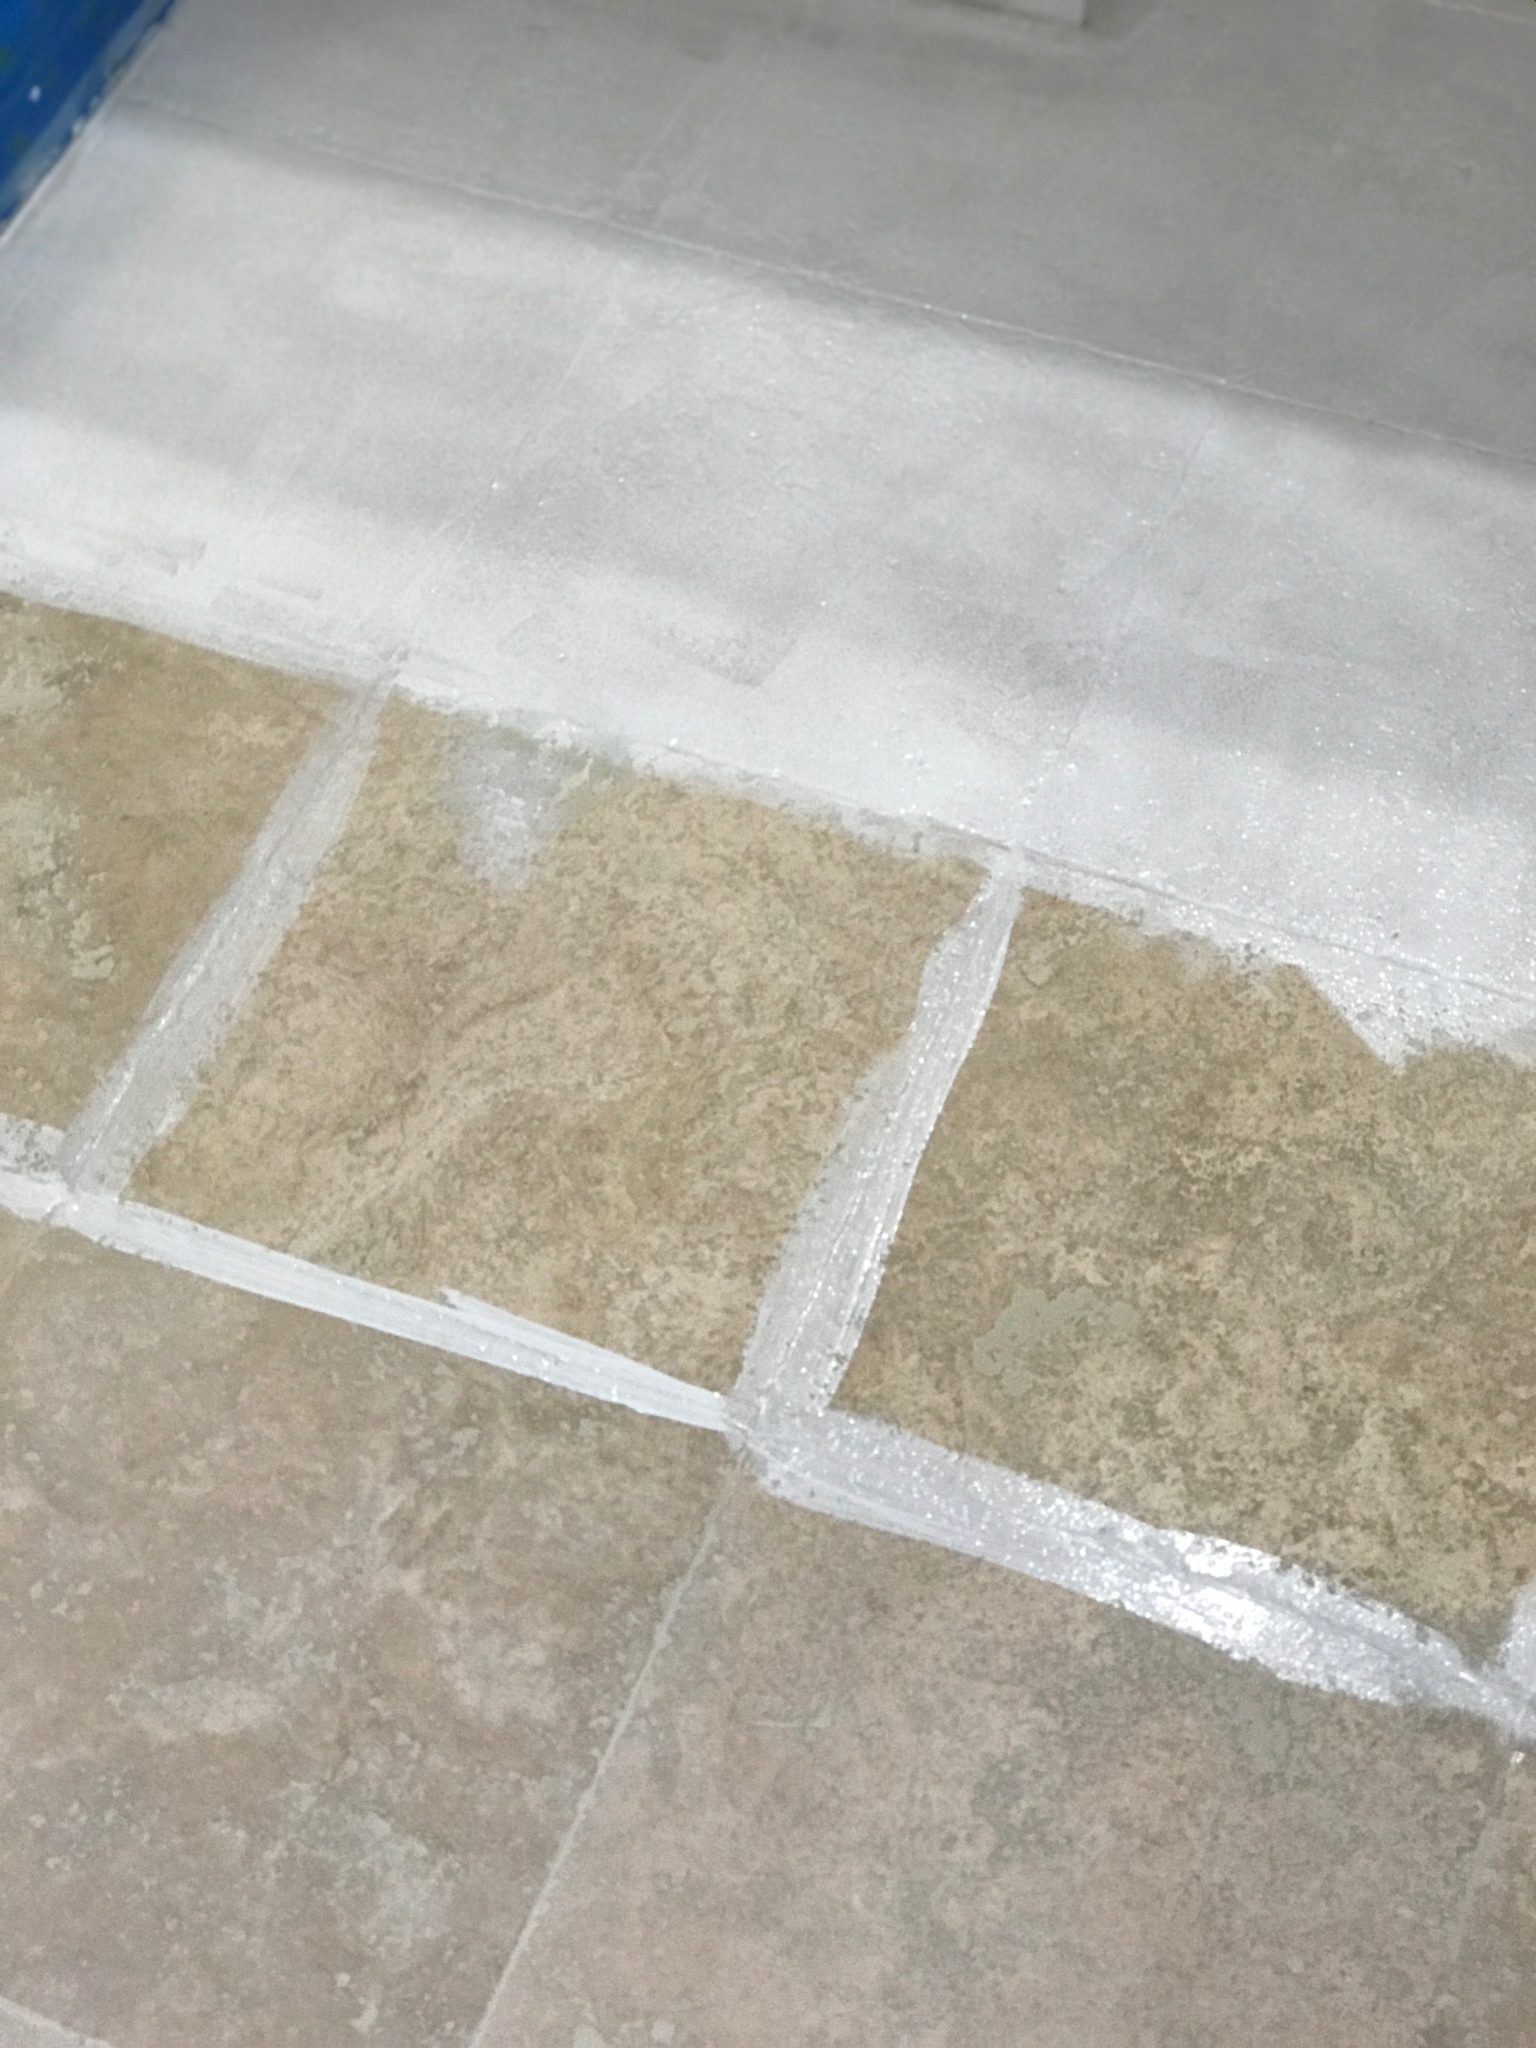
Trace the edges and grout lines, then roll the paint over the tiles.
Completed first coat of primer. Dry completely, then repeat.
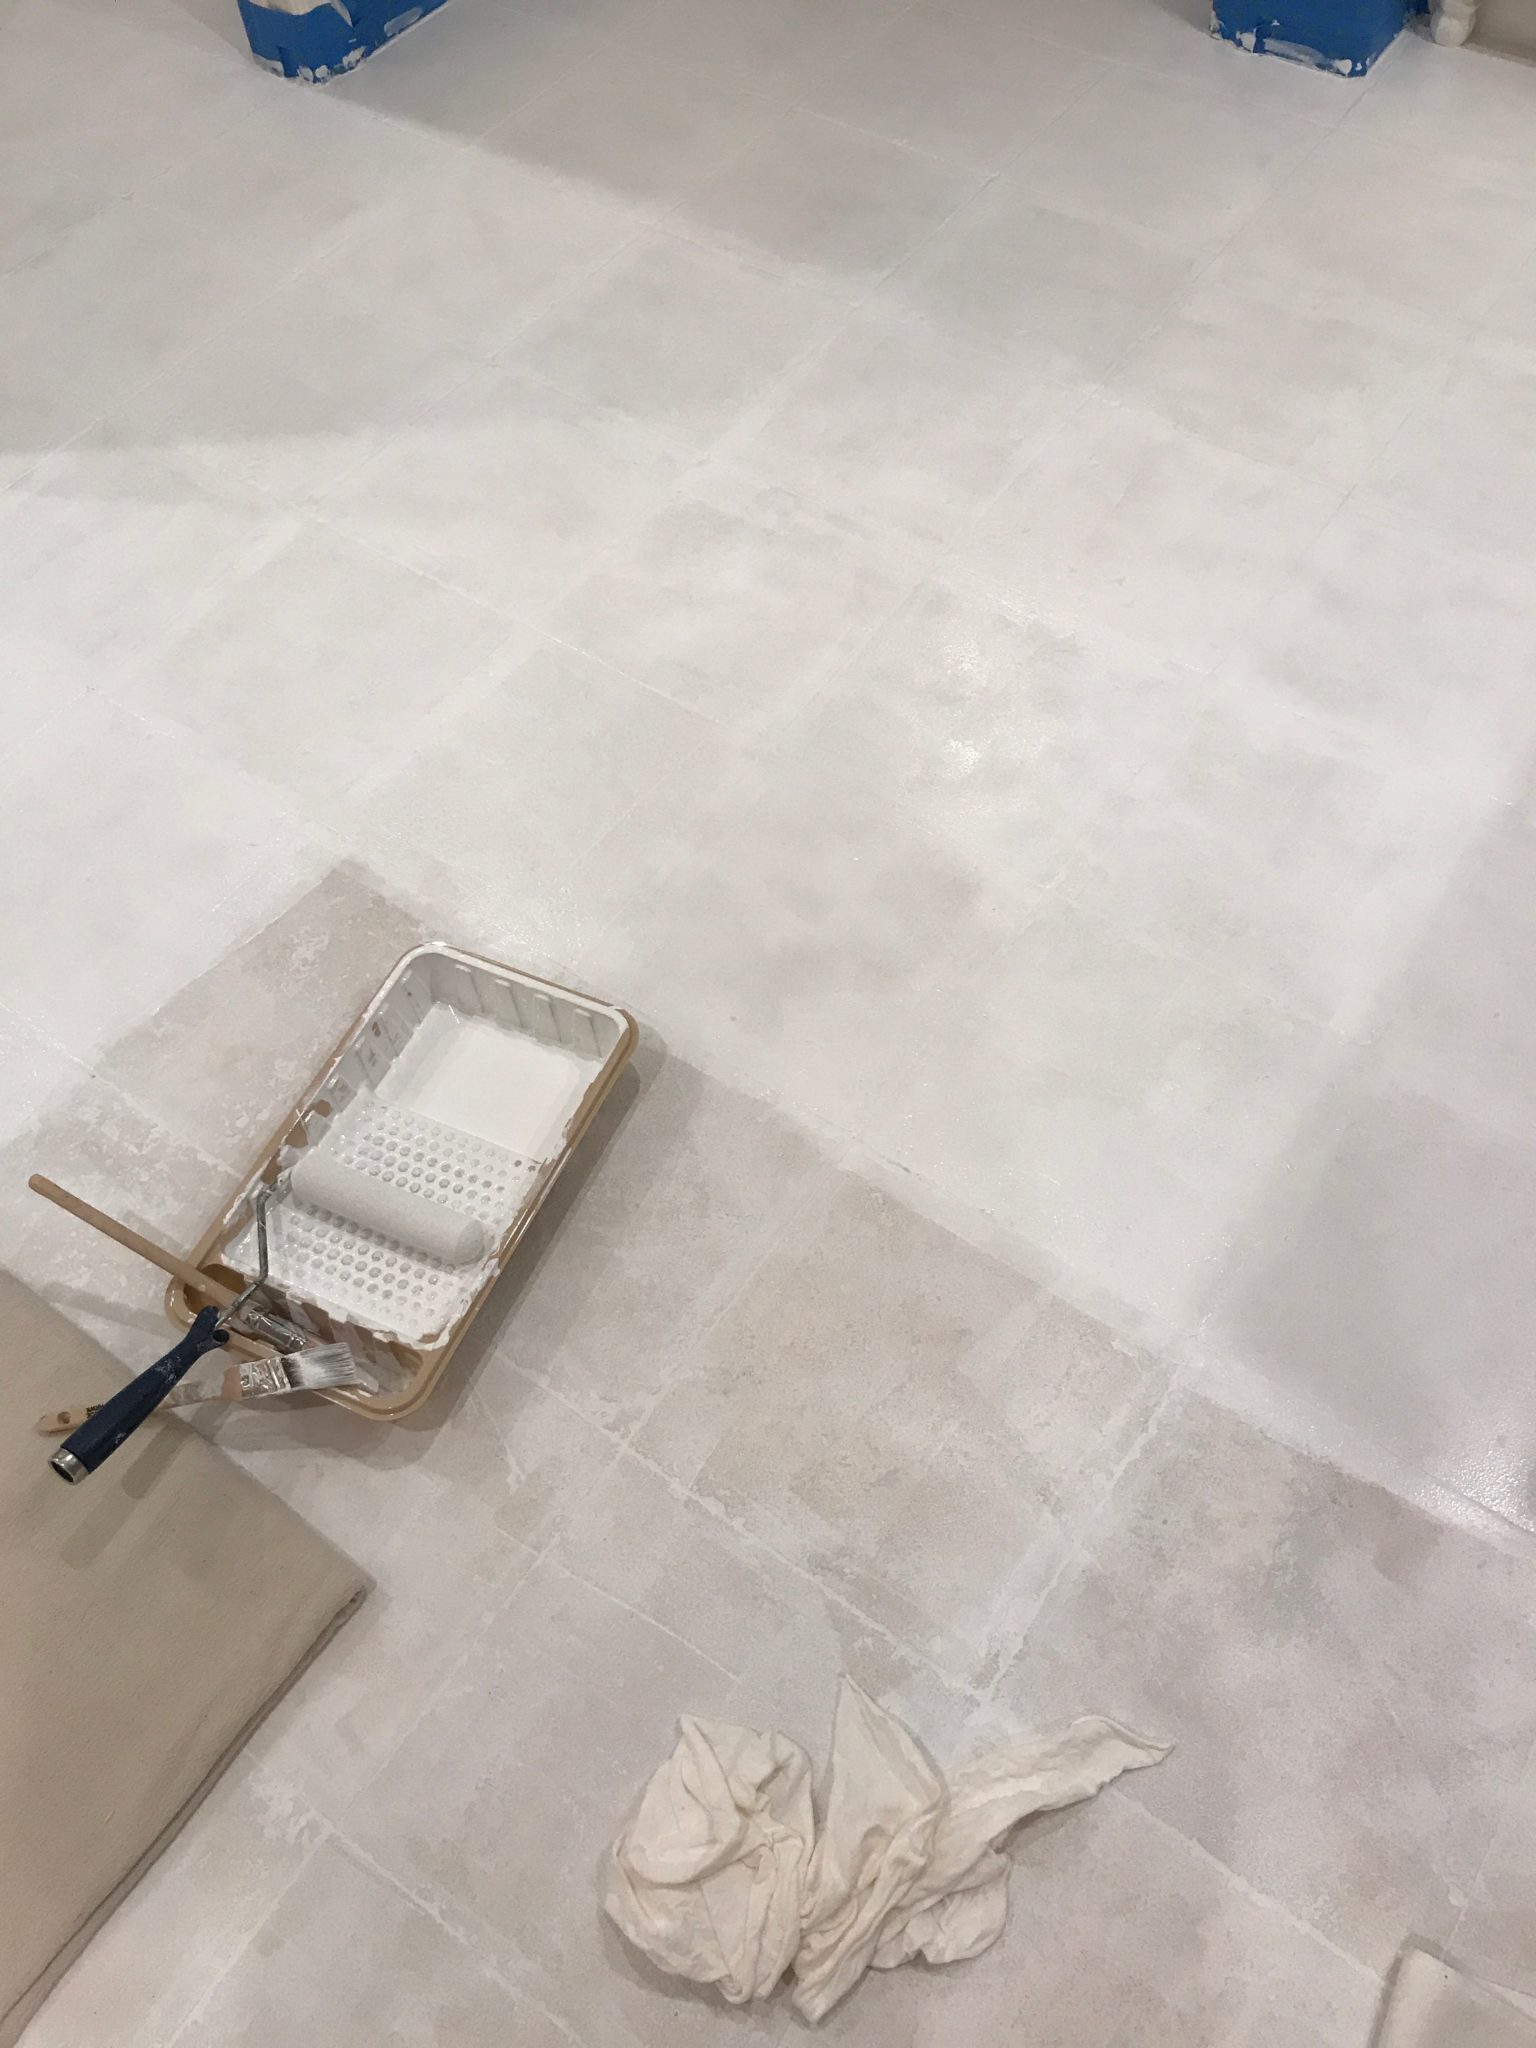
Finishing up the 2nd coat of primer.
8. Chalk paint time! I know there are a LOT of brands out there, but I almost always use Annie Sloan – it really is just my favorite and my projects always turn out great. Using Pure White, I edged the floor, then did the grout lines and then rolled the paint onto the floor. After allowing it to dry completely, I rolled one more coat onto the floor. This time I didn’t need to work the grout lines. I just did the edging and rolled! Allow this to dry completely.
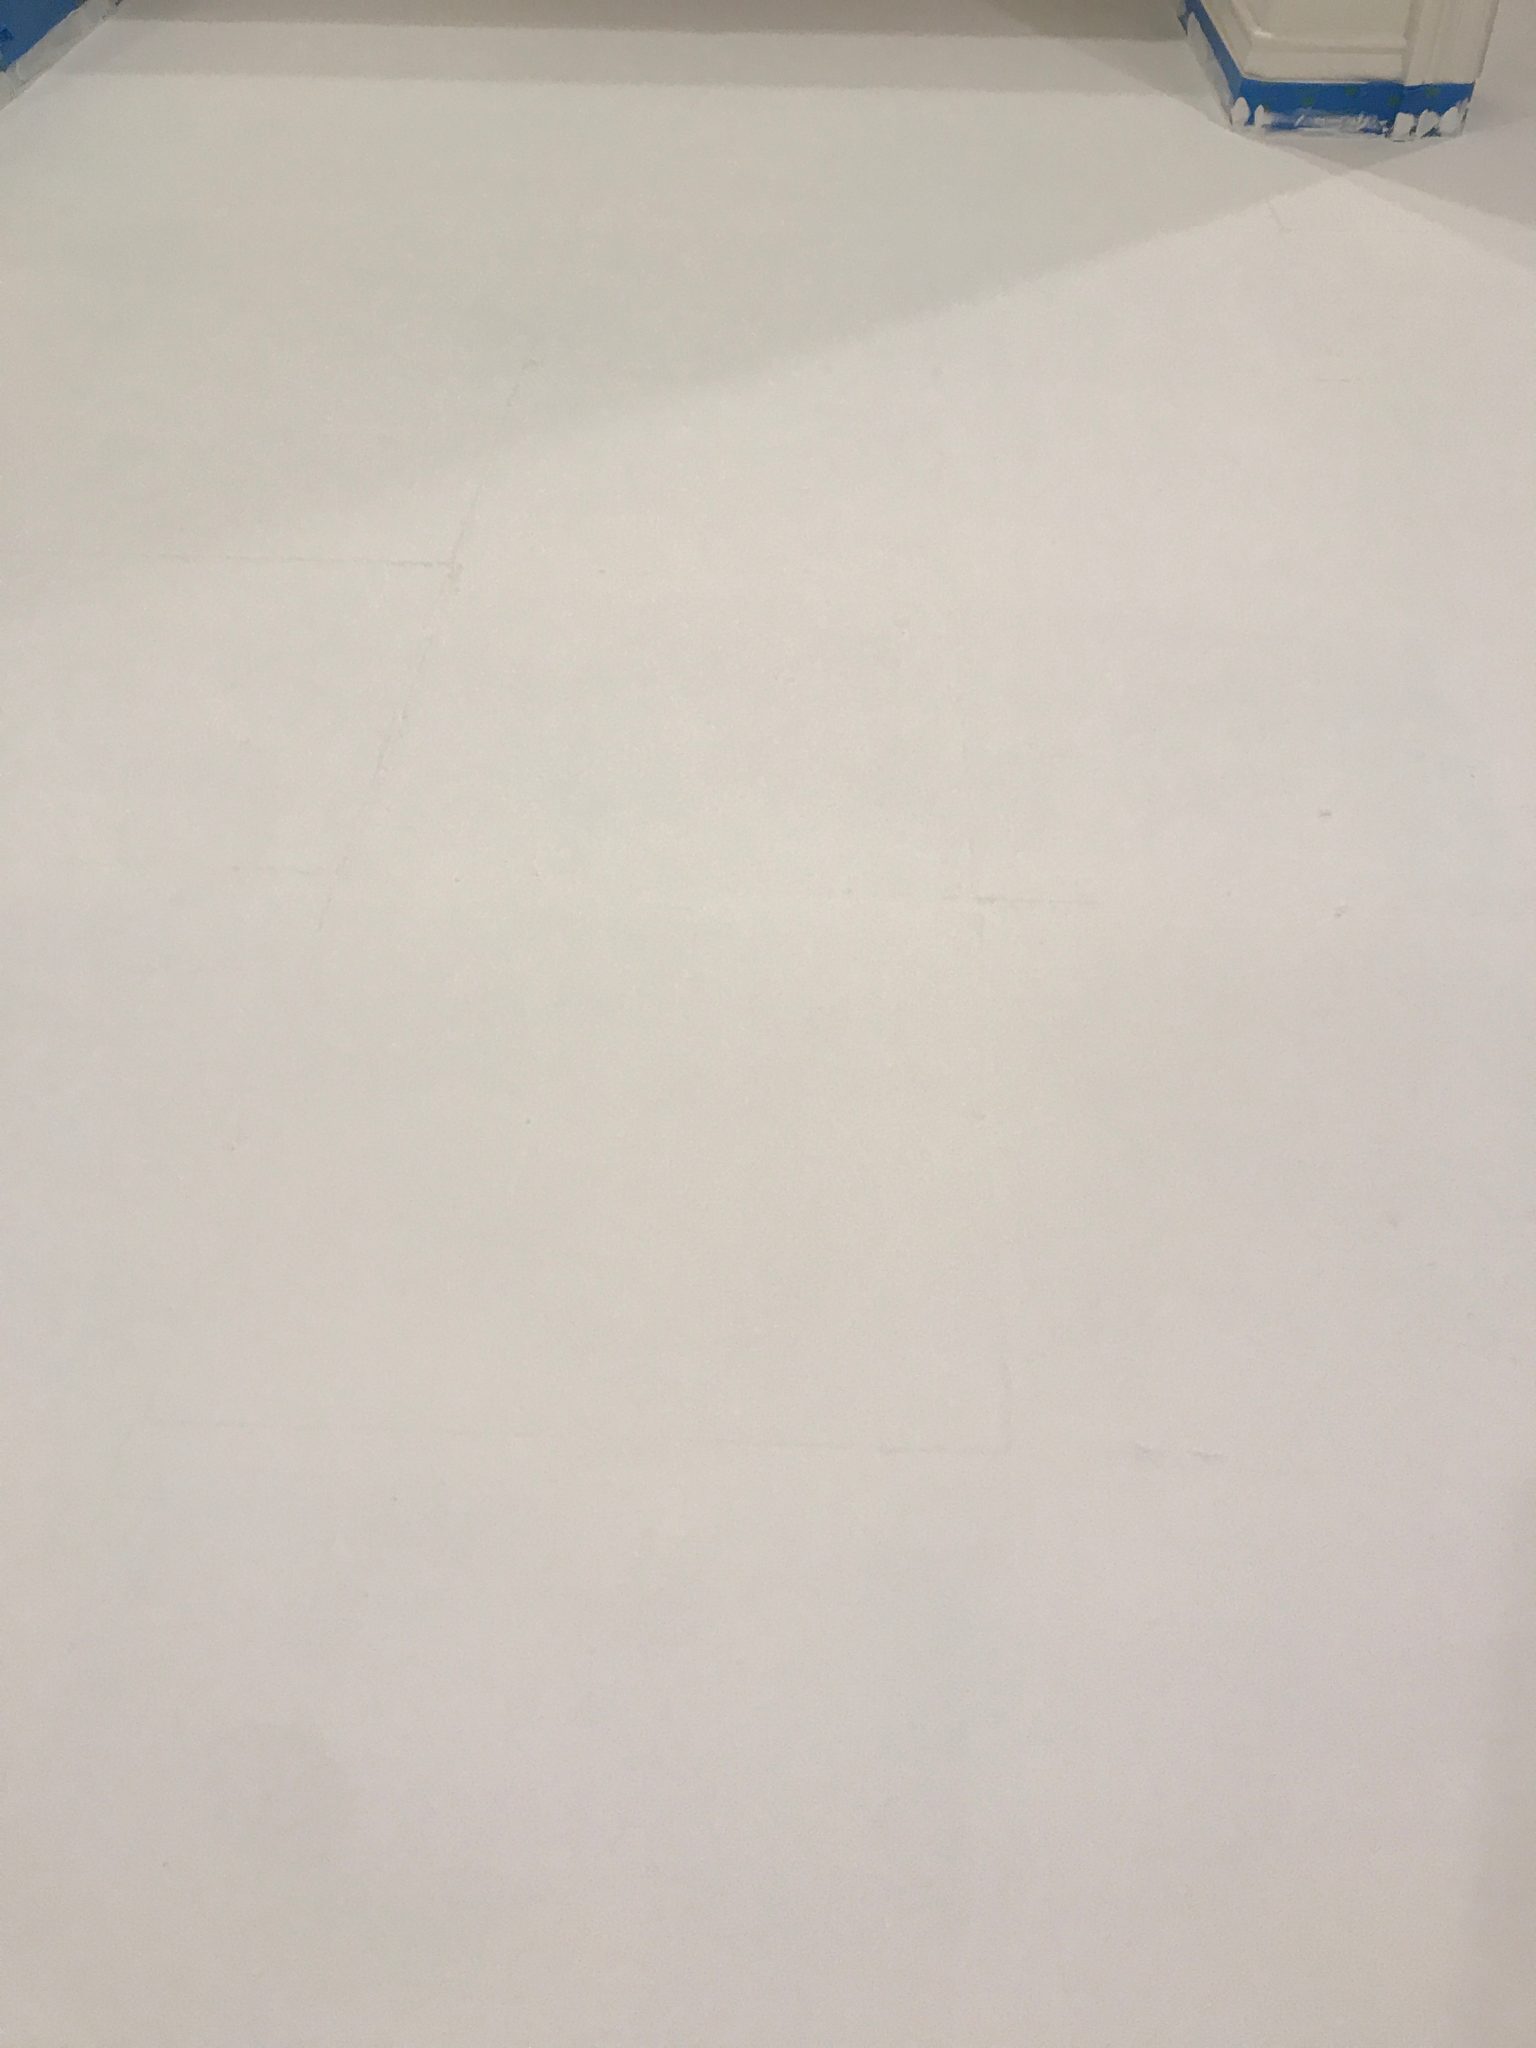
After two coats of chalk paint the floor was WHITE!!
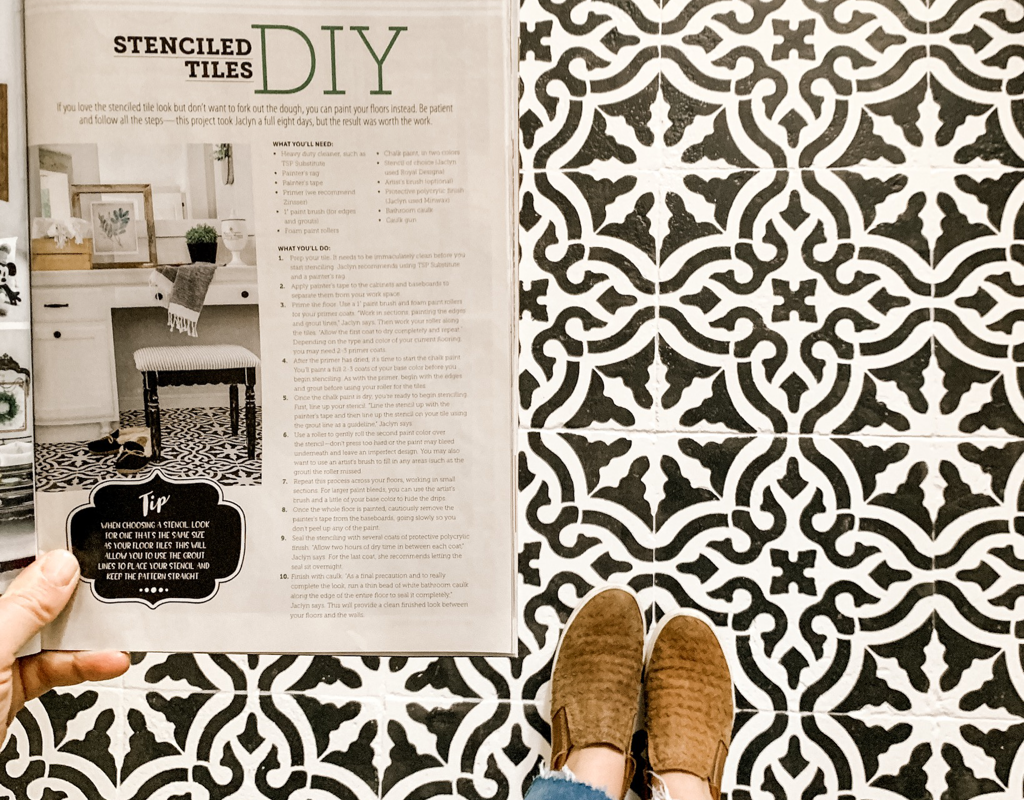
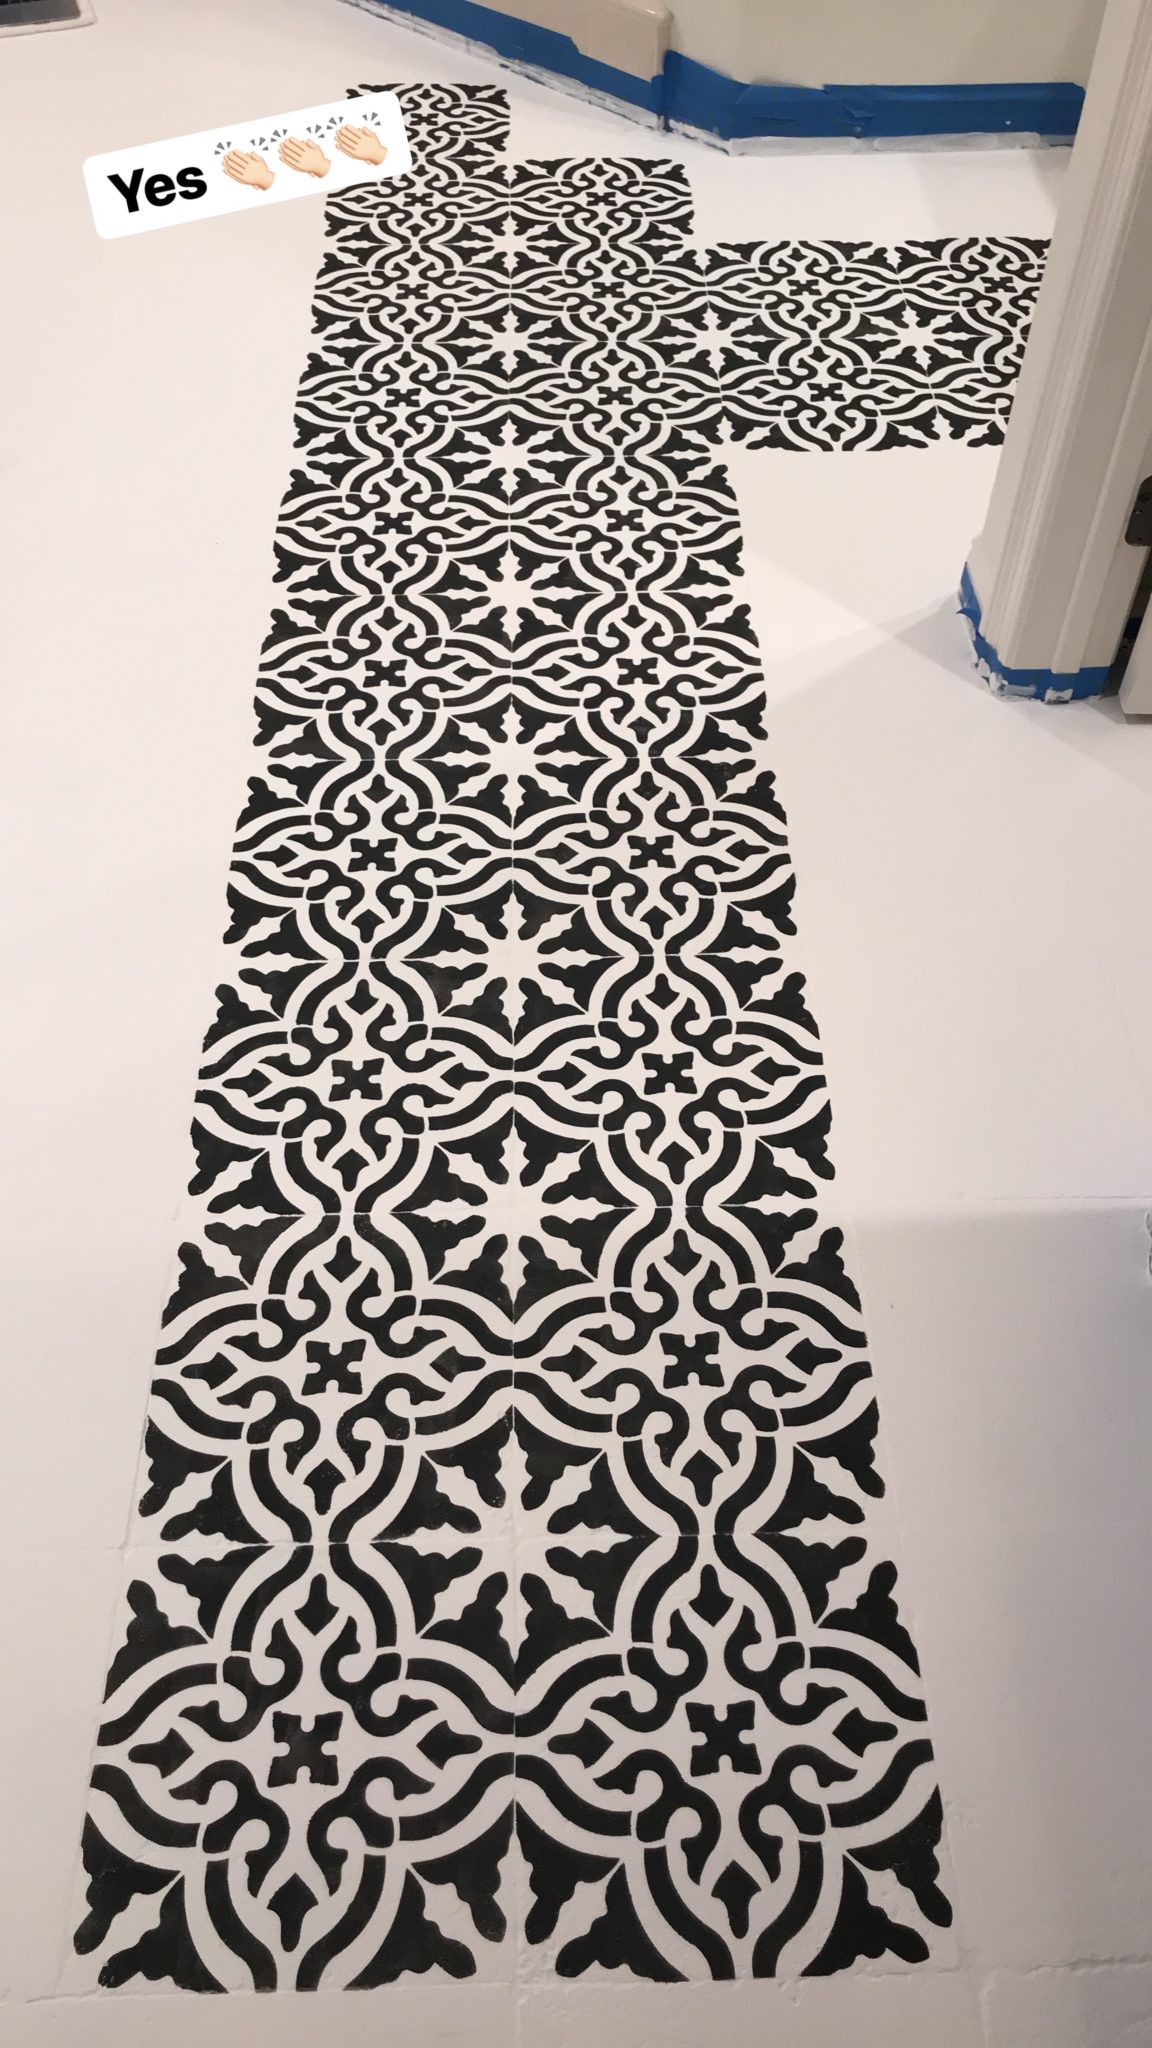
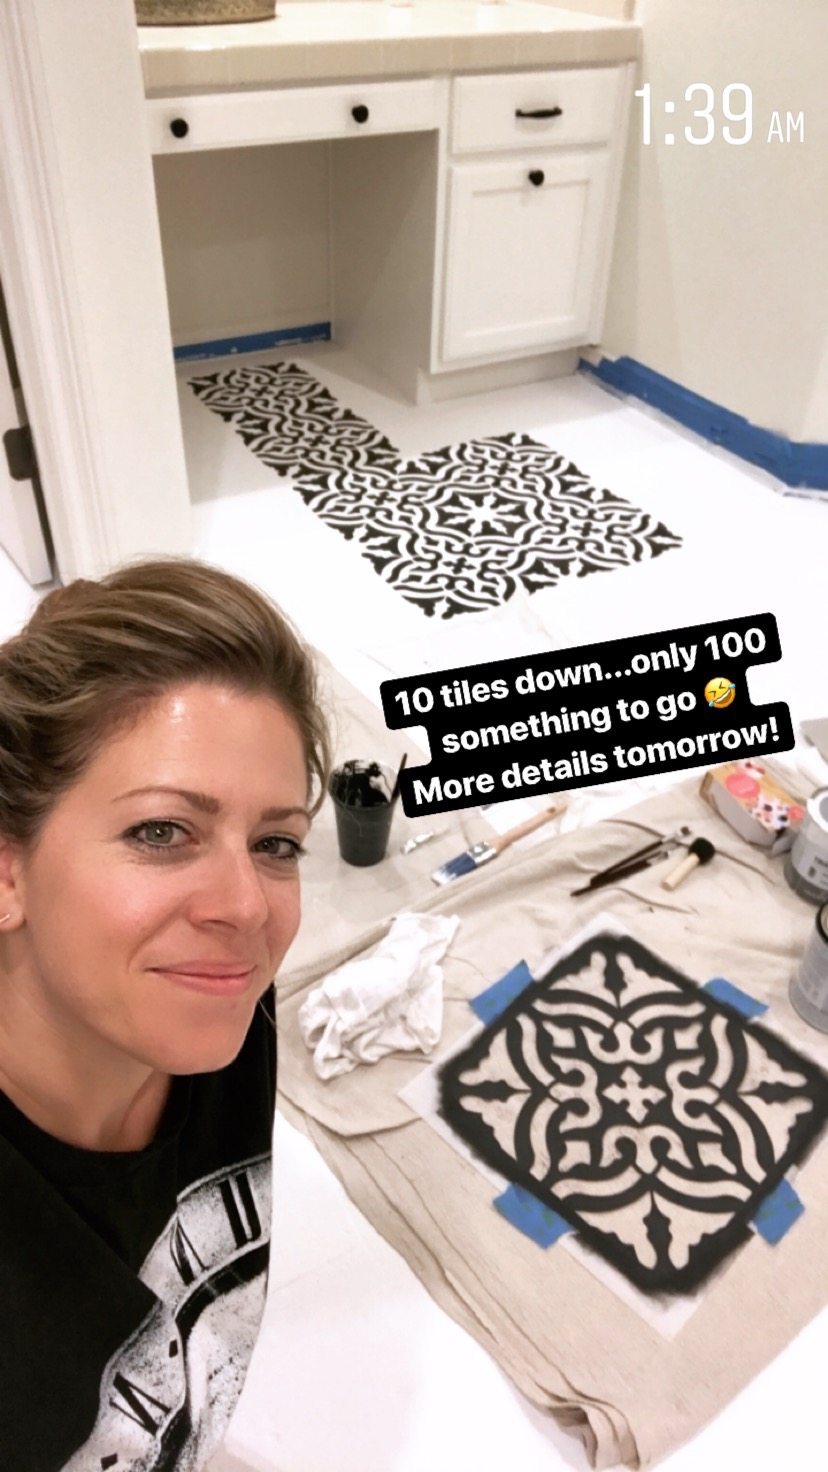
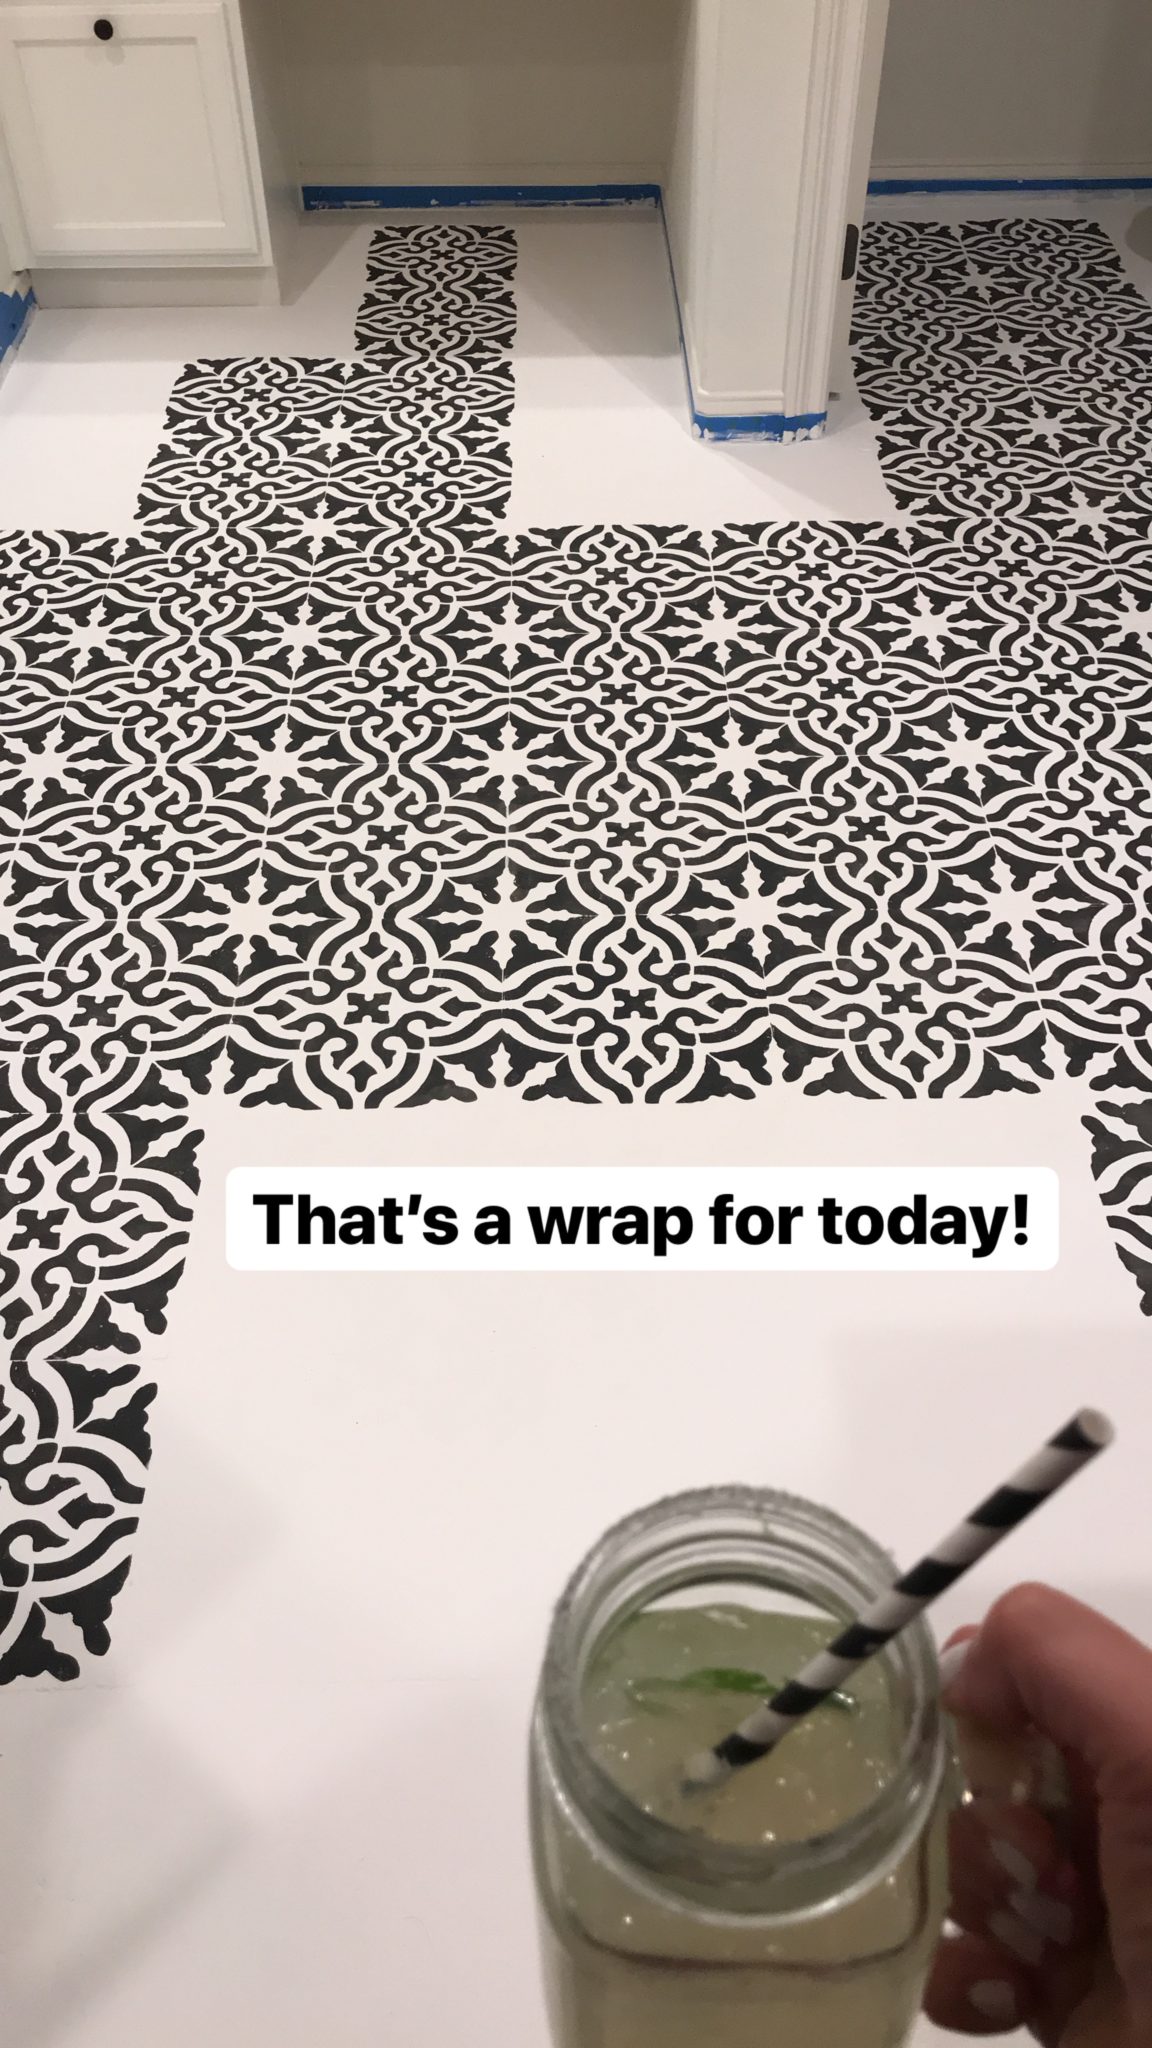
9. Stencil time! Depending on the size of your floor, this step will likely take the longest BUT it’s the most rewarding. I selected the Toledo Stencil from Royal Designs. I wanted a stencil that was the same size as my tile (12 x 12) for the most realistic finish. Line the stencil with painters tape and then line up the stencil on your tile using the grout line as your guide.
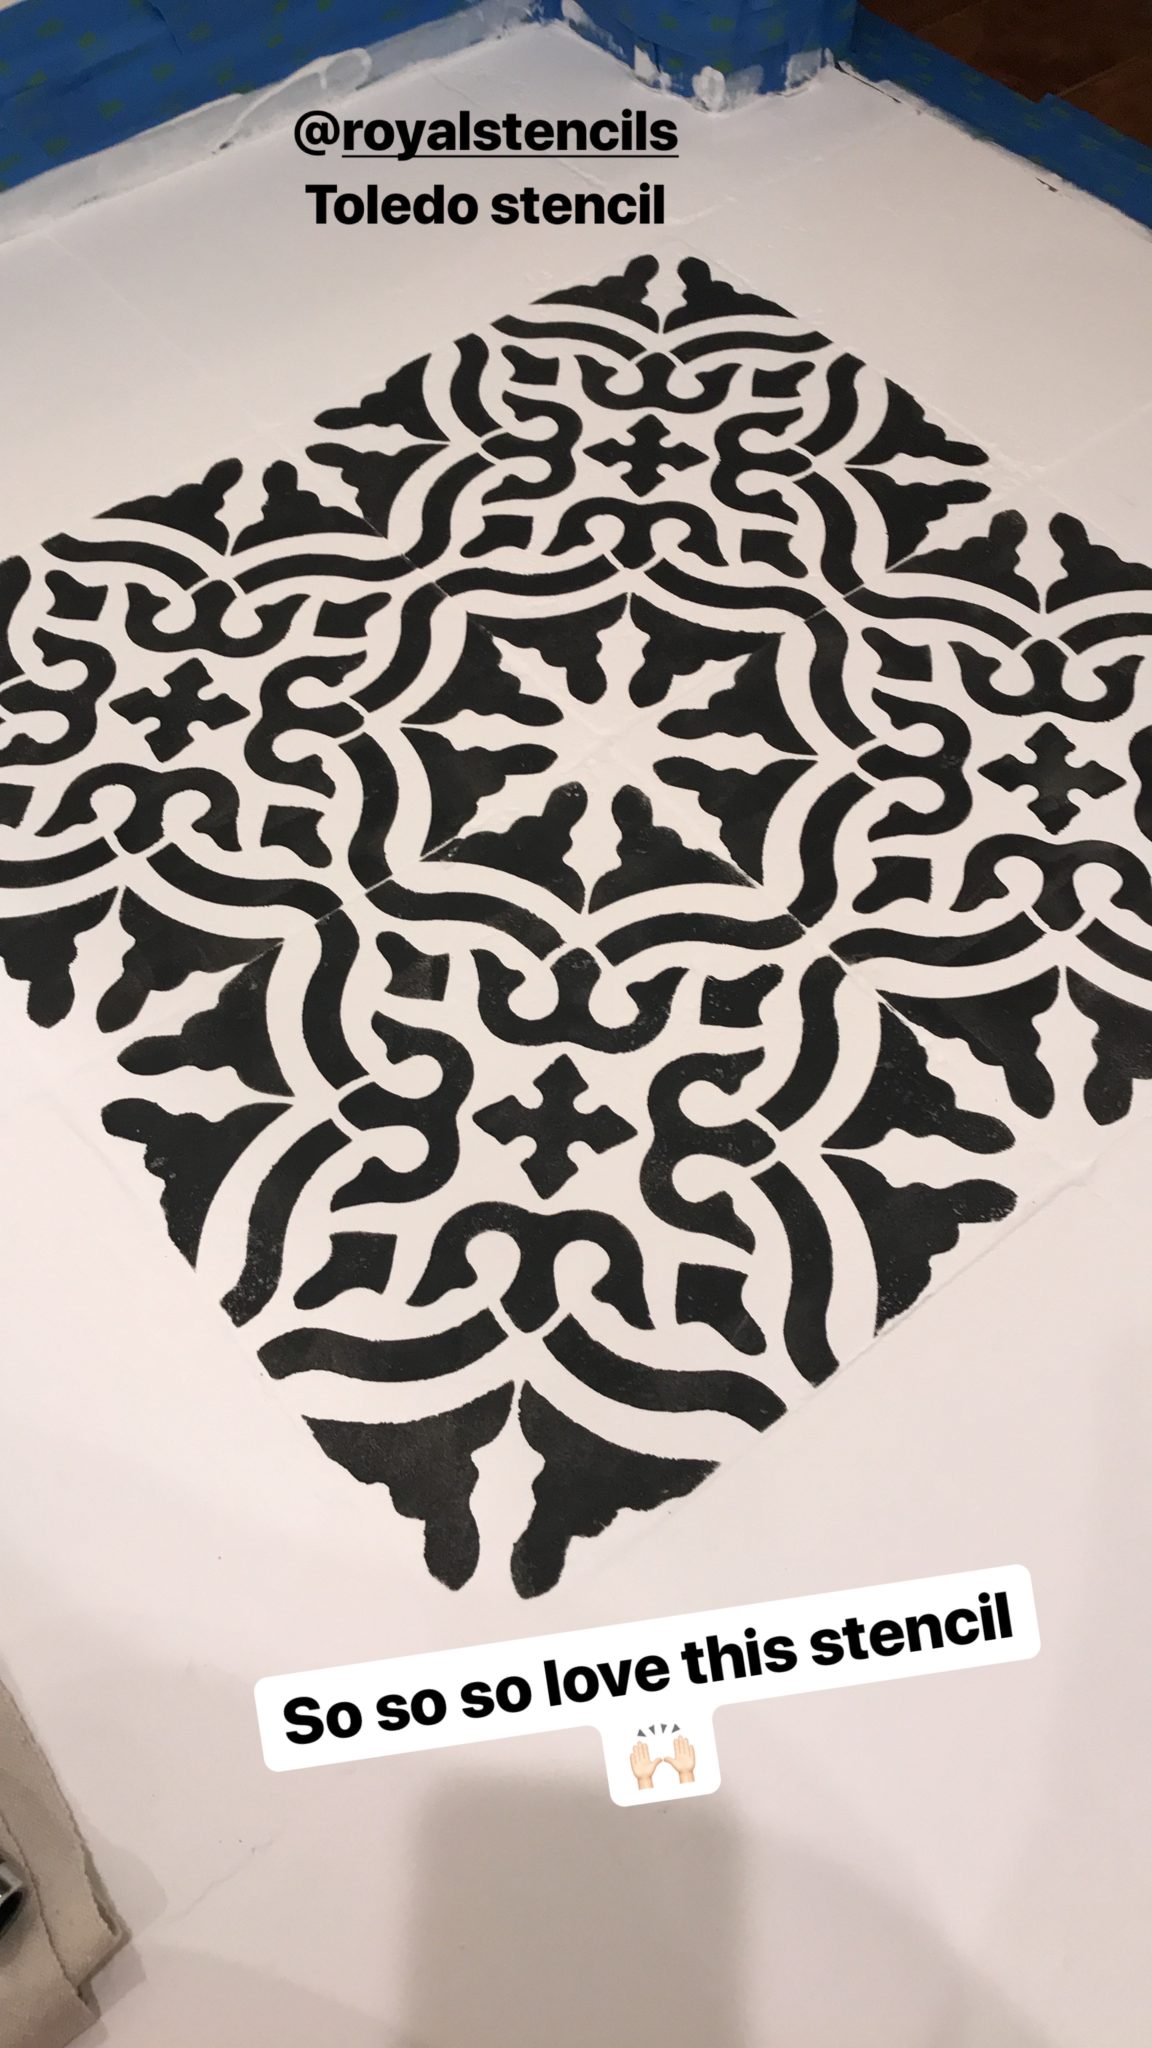
I selected Graphite by Annie Sloan for my stencil color. I used a 2” foam roller to slowly roll on the paint. Refer to my video see the process I used to get the cleanest stencil lines. I also used a small stencil brush to get into any cracks the roller couldn’t. You don’t want to apply too much pressure when rolling over your stencil because it will cause bleeds underneath and create a mess for you to clean up.
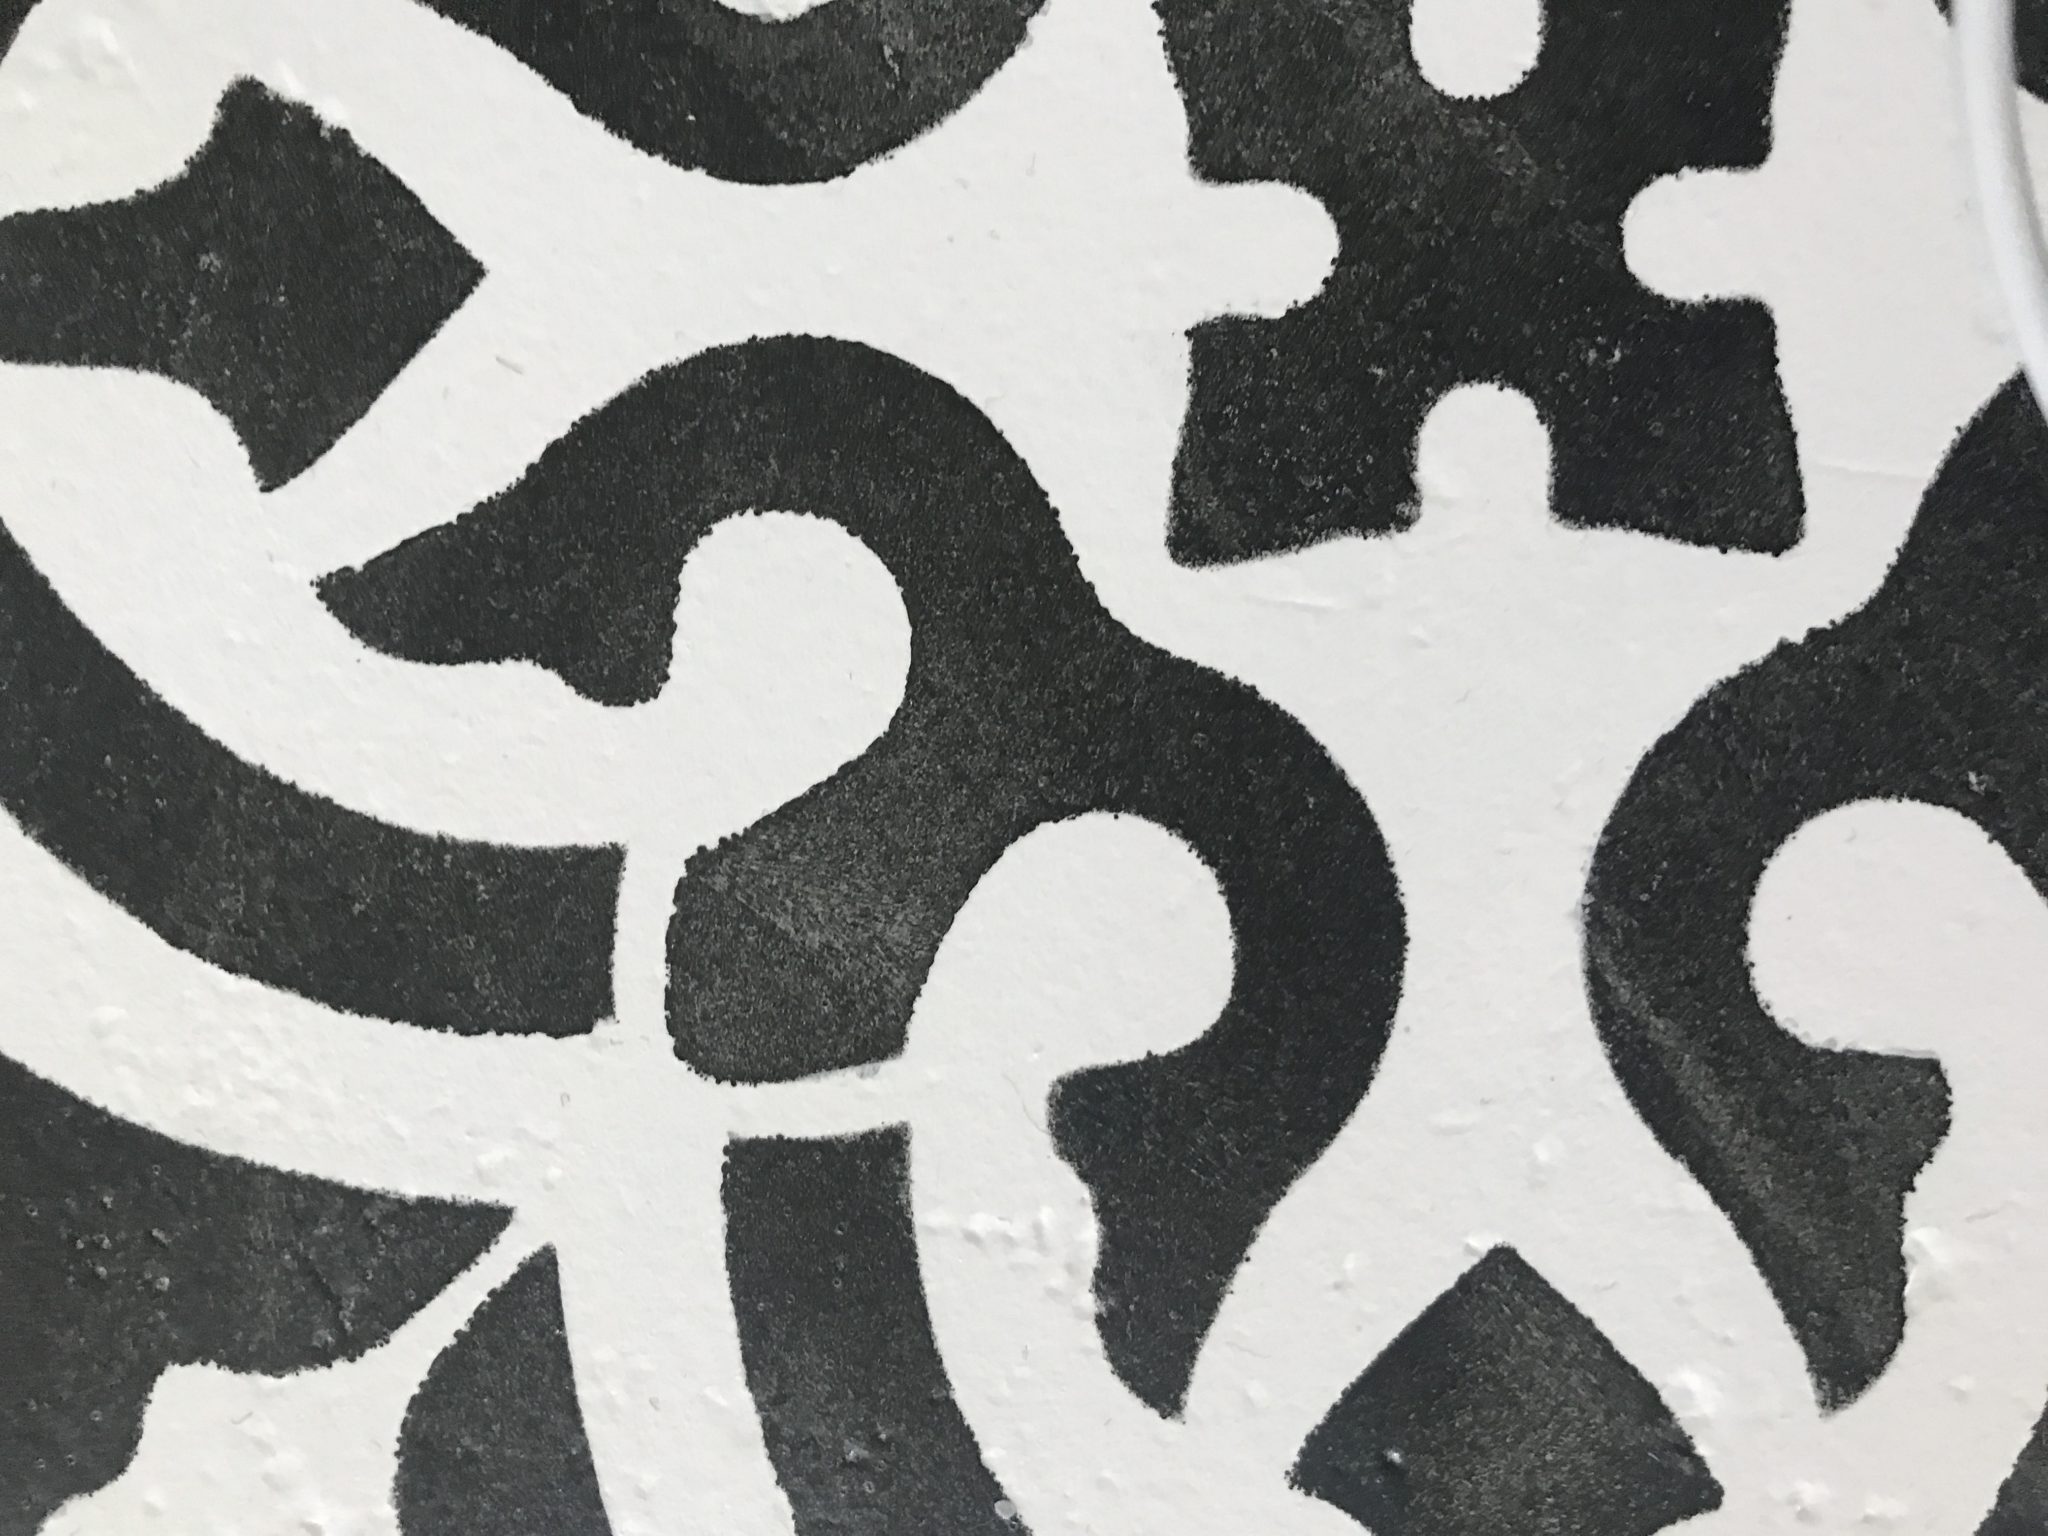
10. Touch up. After I stenciled a small section of tile, I went back with a small artist brush and my base color (Pure White) and touched up any areas where there were paint bleeds.
NOTE! You WILL have bleeds on the tile. Most will be small and add to the character but touching up the larger ones will help give you a cleaner finish. If you like the messy look you can ignore this step. Here’s a close up to show you there are still some imperfections in the lines but with a little touch up can get pretty close to perfect!

11. Remove the painters tape from the baseboards and cabinets using a razor so you don’t pull up any paint from the floor. Go SLOW…and do not rush this step. You don’t want to pull up any of the fresh paint on the floor!
12. Sealing. Using Mixwax Polycryic, a small brush and foam roller, apply the top coat. Thoroughly cover the entire floor getting all the way to the edges. You want a complete seal of the floor to prevent moisture from getting trapped between the layers of paint. (In my research for this project, I learned that’s the main reason painting tile can go “wrong” and not last!). I did 4 applications of the top coat, allowing 2 hours of dry time in between each coat. Allow the final coat to dry overnight.
13. Caulking. As one final precaution and to really completely the look, run a thin bead of white bathroom caulk around the edge of the entire floor to seal it completely. Using your finger (slightly damped) press the caulk into the edges to seal every little space between the trim, toilet, shower and cabinets and the floor.
And after all that….when it’s all done and dried. Fall down right on top of your floor! Or better yet….grab some wine and just STARE at your floor!