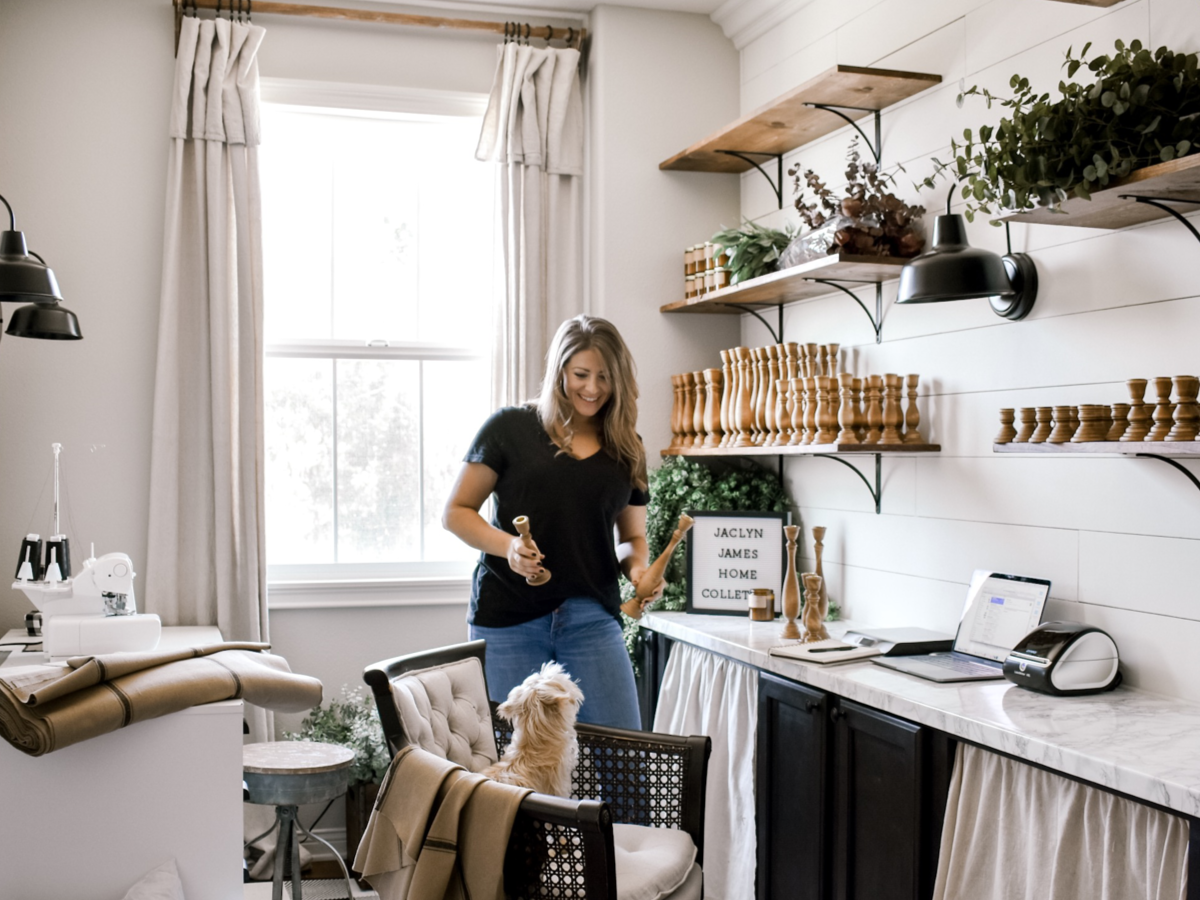
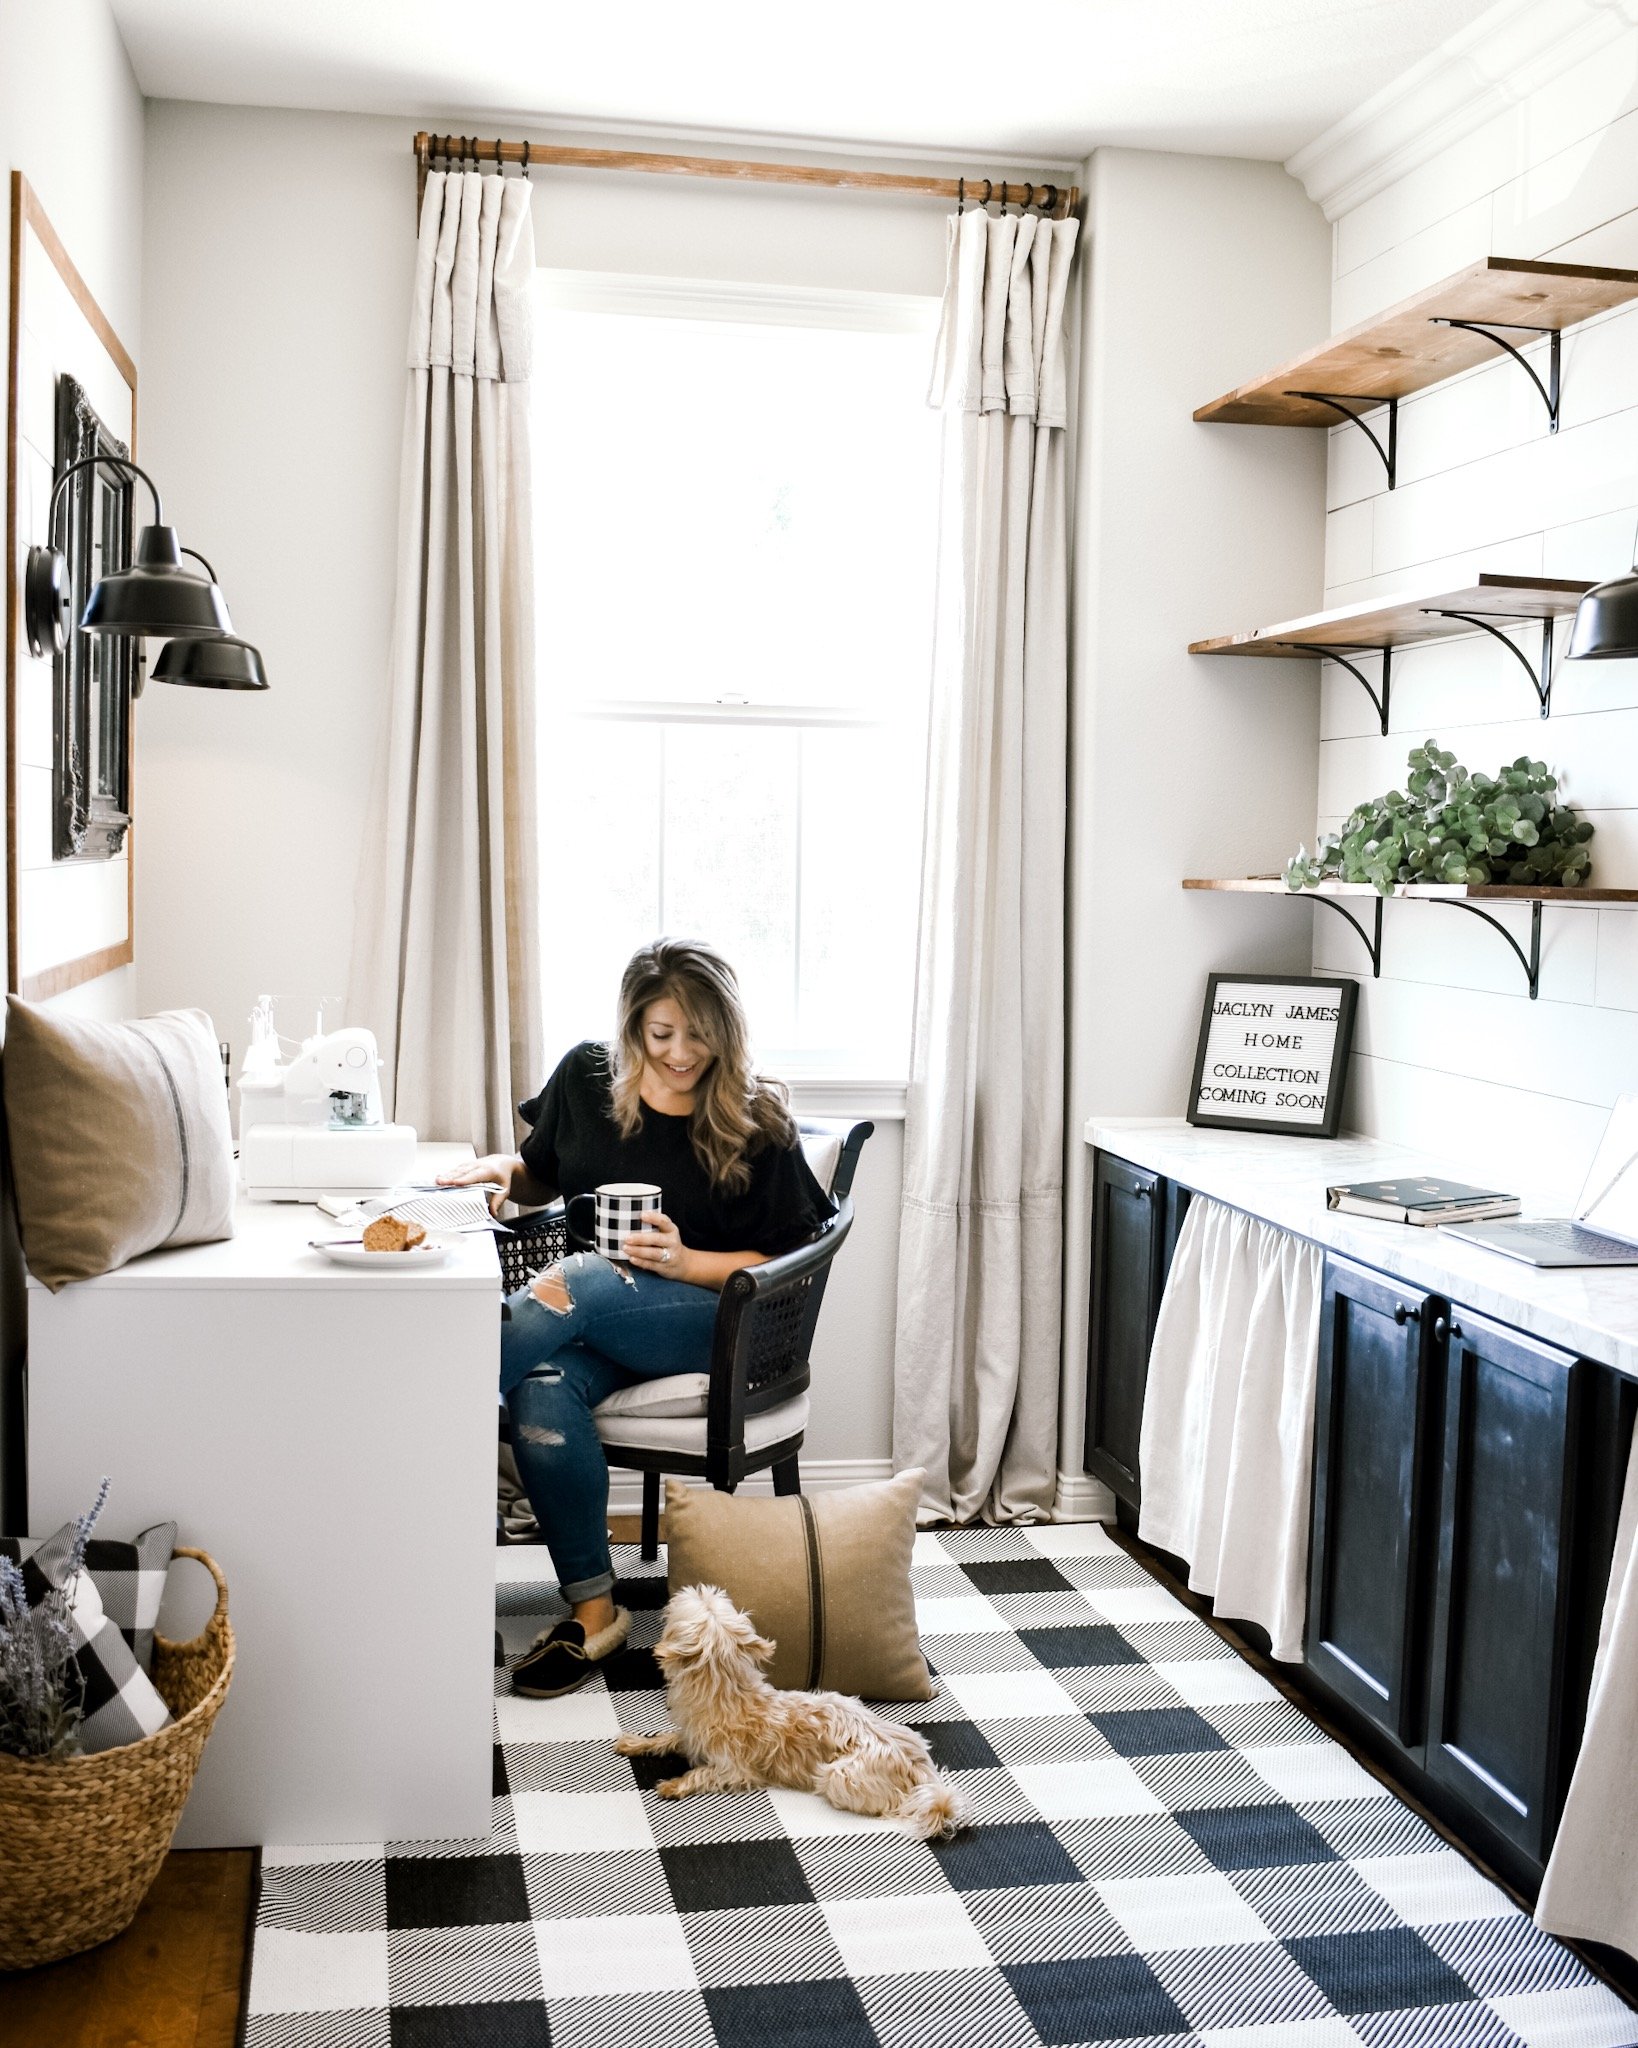
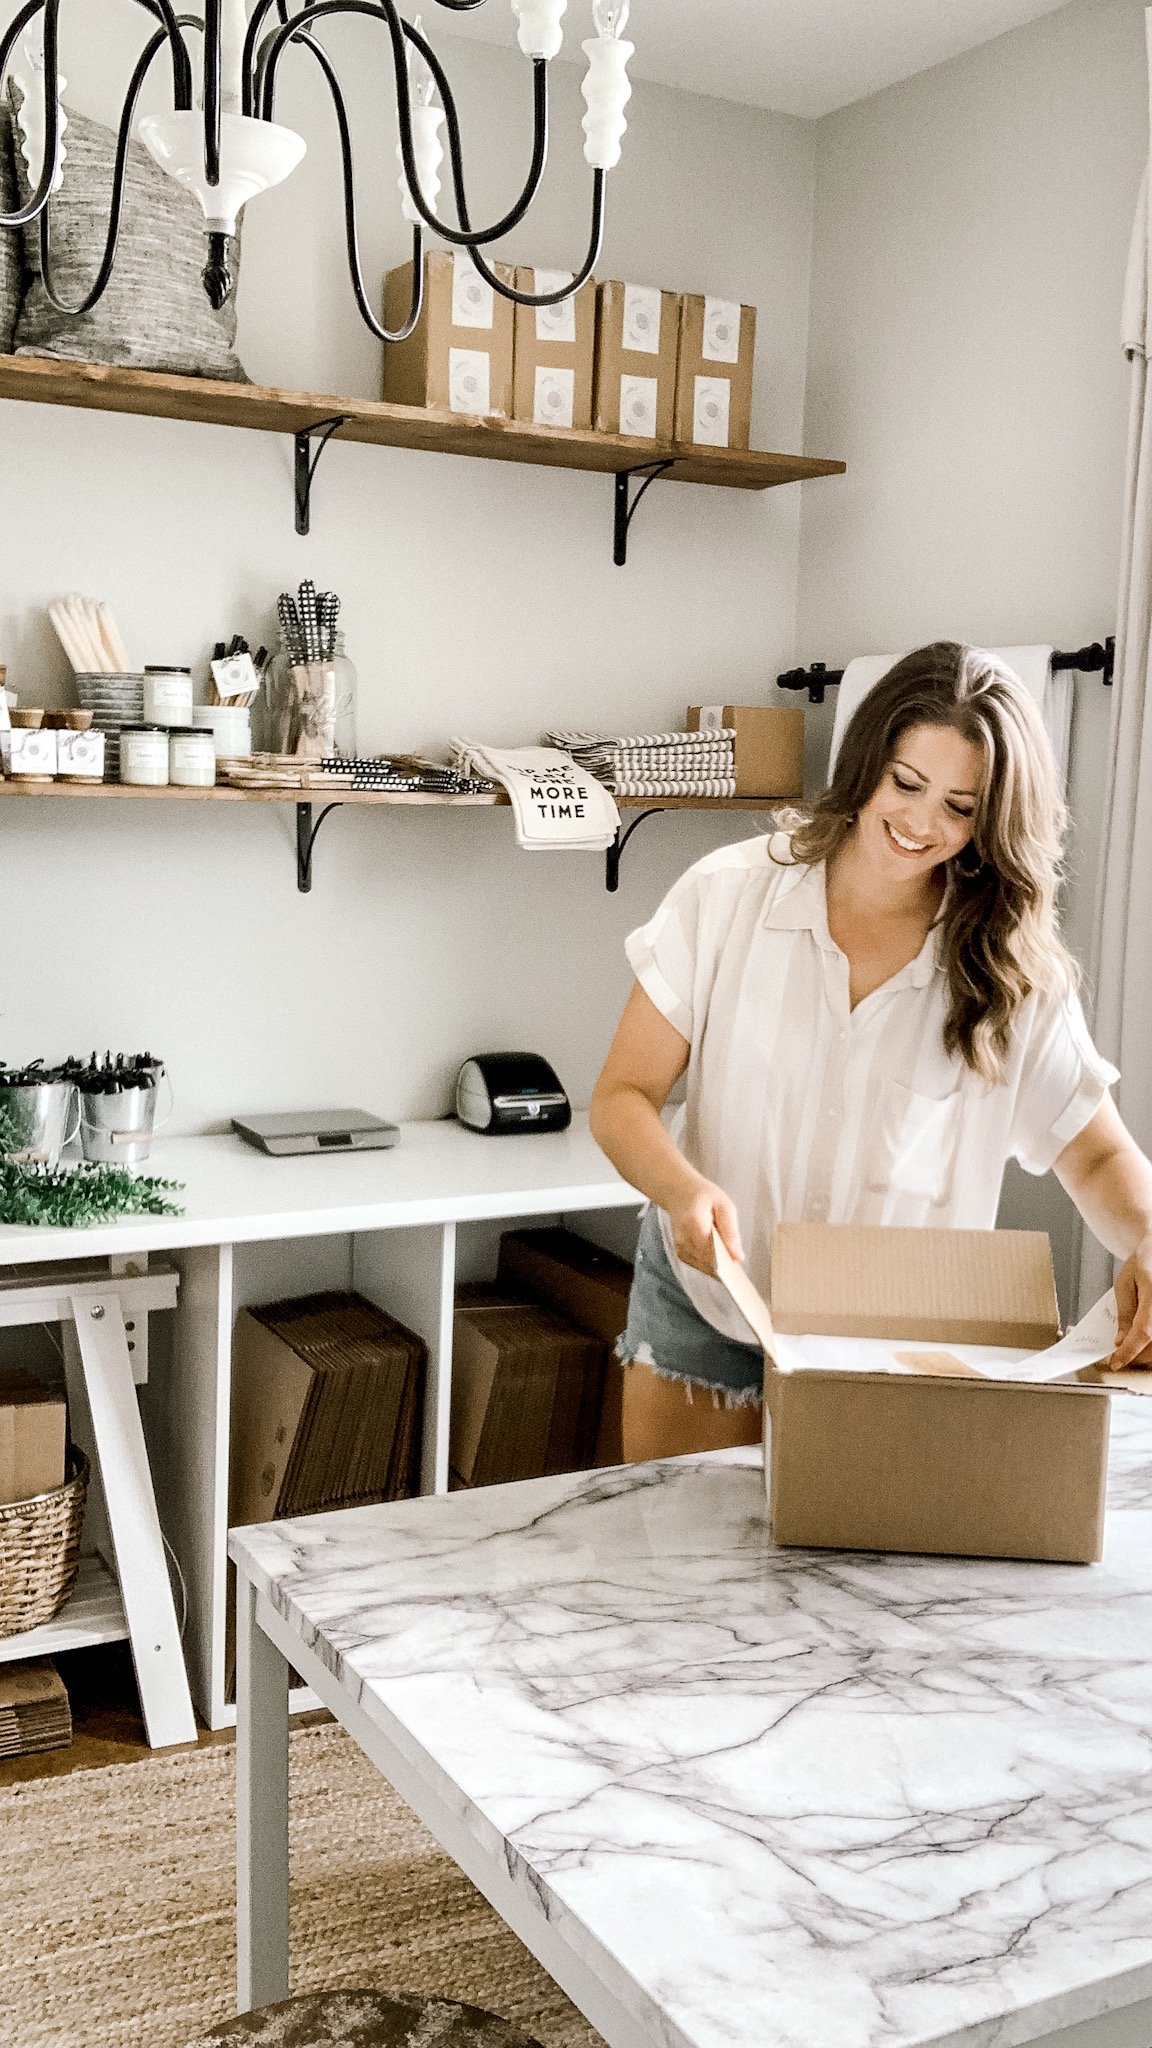
Are you ready for one of the easiest and most cost effective DIYs I’ve done? How awesome would it be to add DIY open shelving to your home, office or garage in the same day! Yup it’s that simple you guys. I’ve added shelving using this same process in both of my office spaces and my garage (which is SO not blog worth but it’s great storage!)
For a more visual explanation of this DIY watch my short IGTV video.
SUPPLIES
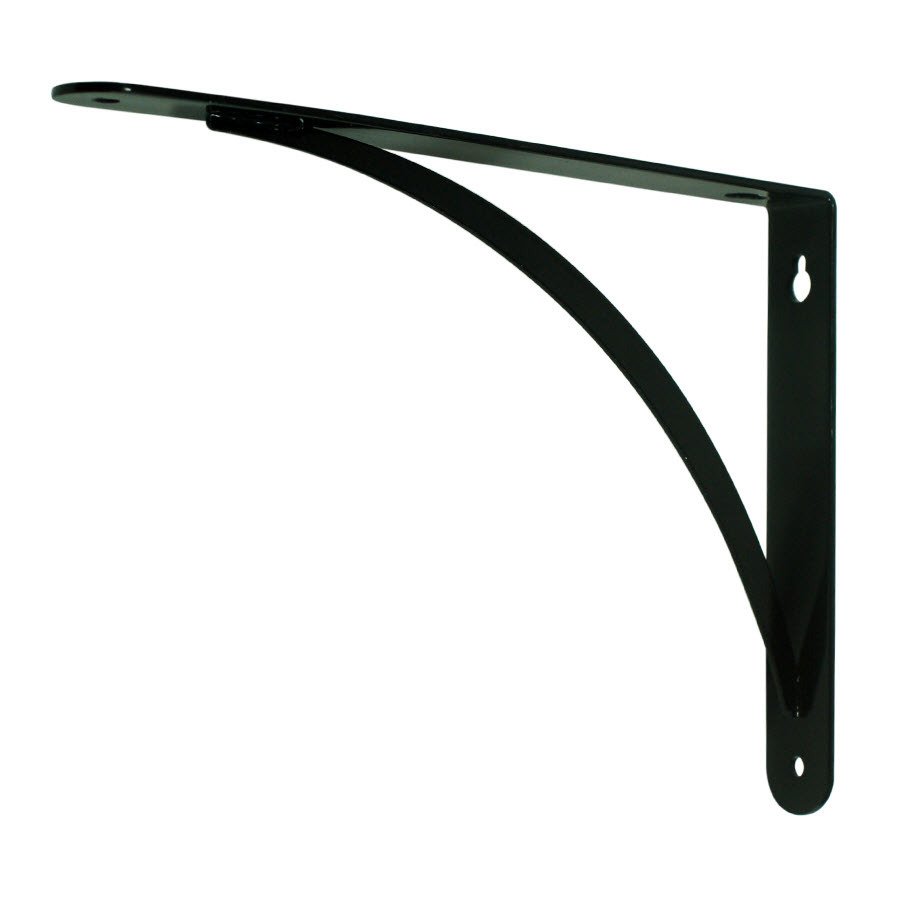
1. Brackets – these are in stock at Lowe’s. (TIP: check your local store online before you shop to make sure they have enough in stock for your project!)
2. Common Pine Board – this is available in several stock lengths at Lowe’s.
3. Stain – English Chestnut is my favorite but you can use whatever works in your home or even Danish oil!
4. Hanging hardware – the brackets do come with their own hardware but I like to swap out the anchors for something stronger. Just pop over to the hardware aisle to find the same size anchors.
5. Drill
6. Hammer
7. Long level (And I love to use a laser wall level too!)
9. Sandpaper – 120 or higher grit
10. 1/2 wood screws to secure shelves to brackets


STEPS
1. Cut wood to desired length (or you can have Lowe’s or your local hardware store do this for you). I quickly cut mine on my miter saw.
2. Sand all rough spots, especially cut edges, with a 120 fine grit sandpaper and remove any staples from the tags the store attaches to the wood.
3. Apply stain with a lint free rag and allow it a few minutes to soak into the wood. Then remove with a clean lint free rag.
4. Allow a few hours of dry time (this may vary if you live in very humid weather.)
5. Next step is to hang. I like to measure, drill and place anchors in all holes before starting to hang the brackets. Using a laser level, long level and measuring tape, I find it easier to measure and mark all holes before having hardware on the walls that gets in the way.
TIP: I don’t recommend leaving more than a 12″ overhang from the edge of the shelf to the first bracket. I like to space the brackets 2′ apart supporting the middle sections and have no more than a 12″ overhang at the ends.
6. Add 1/2 wood screws to attach shelves to bracket. (You will see the space in the bracket if you look from the underside of the shelf.)
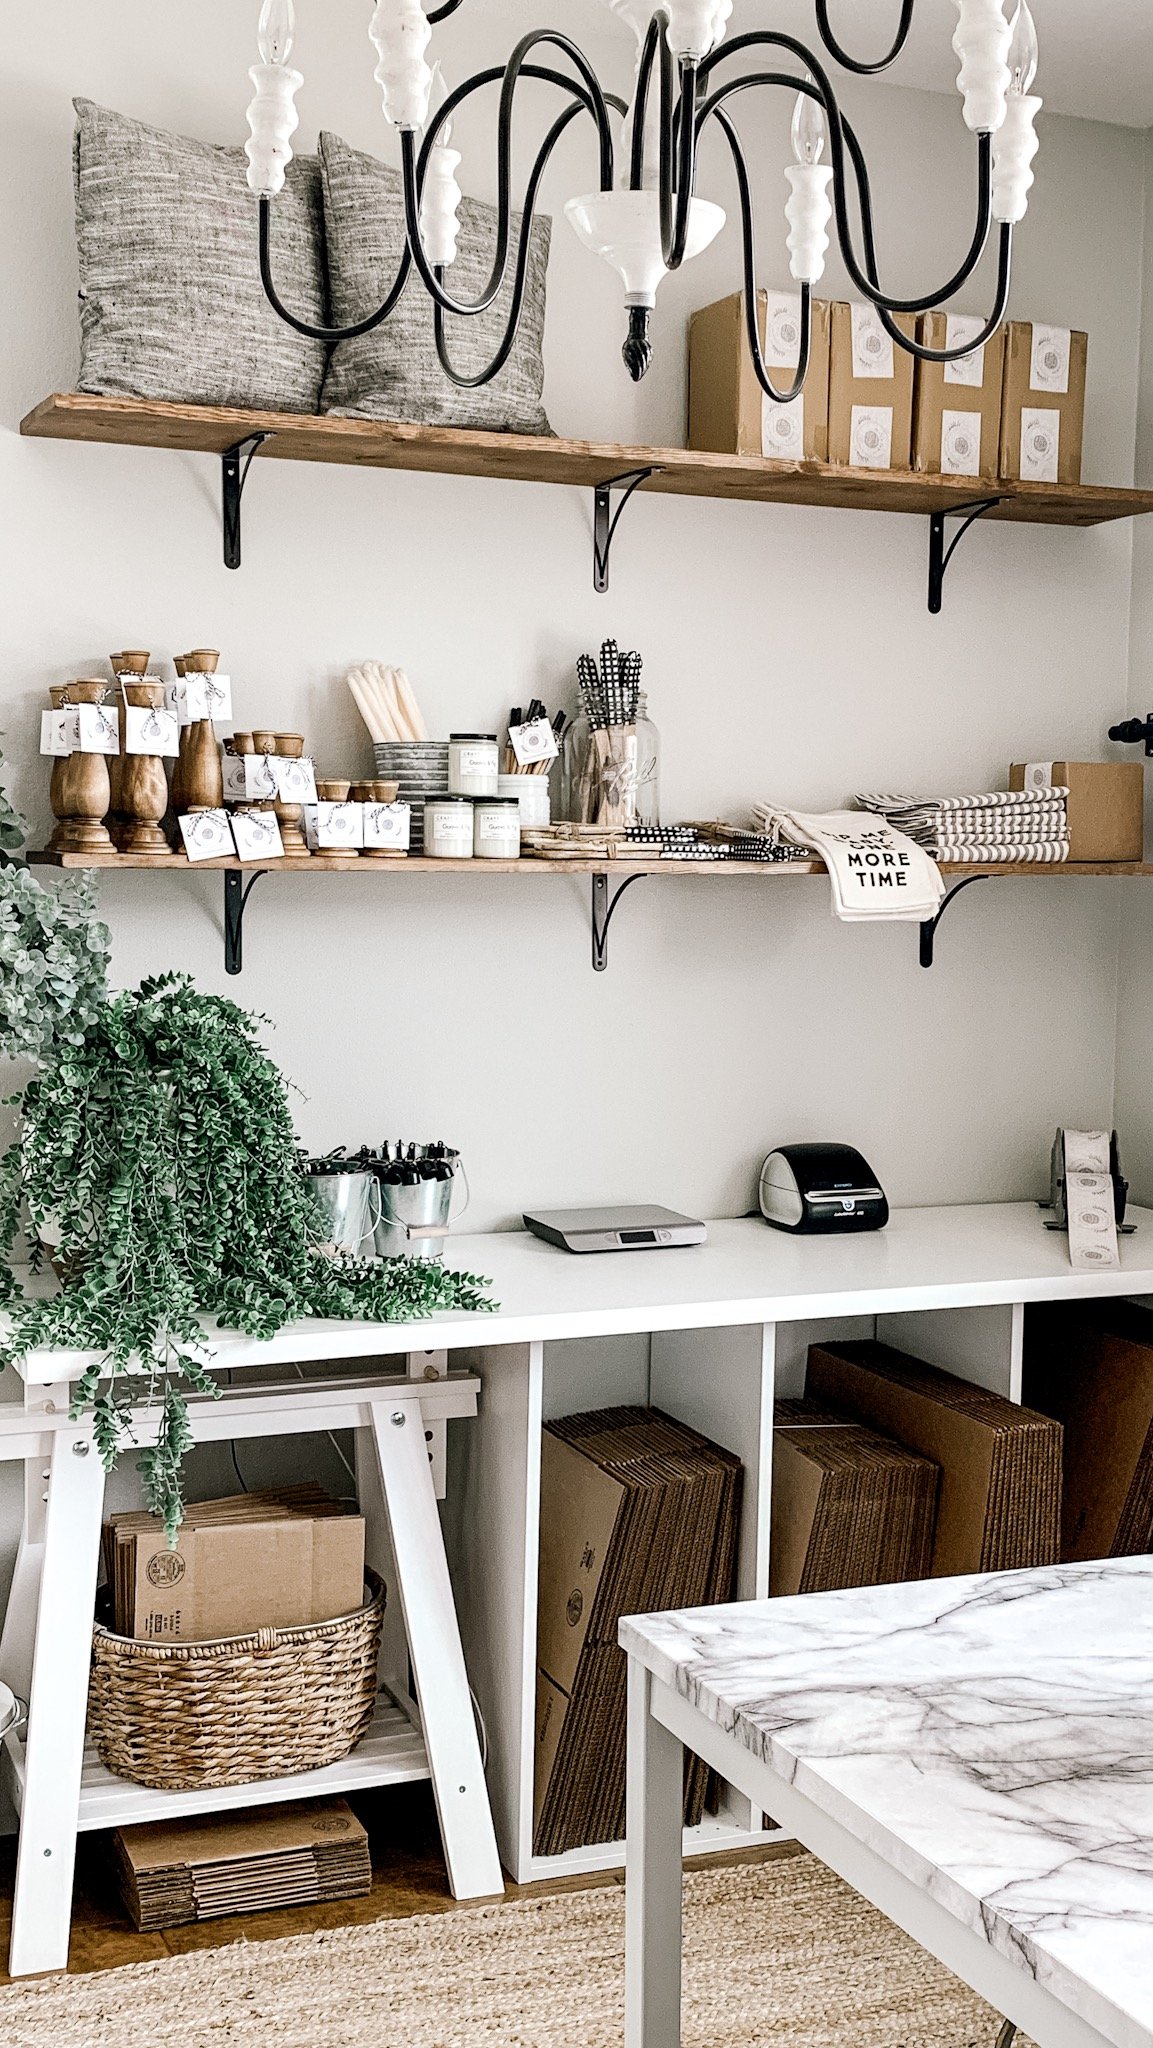
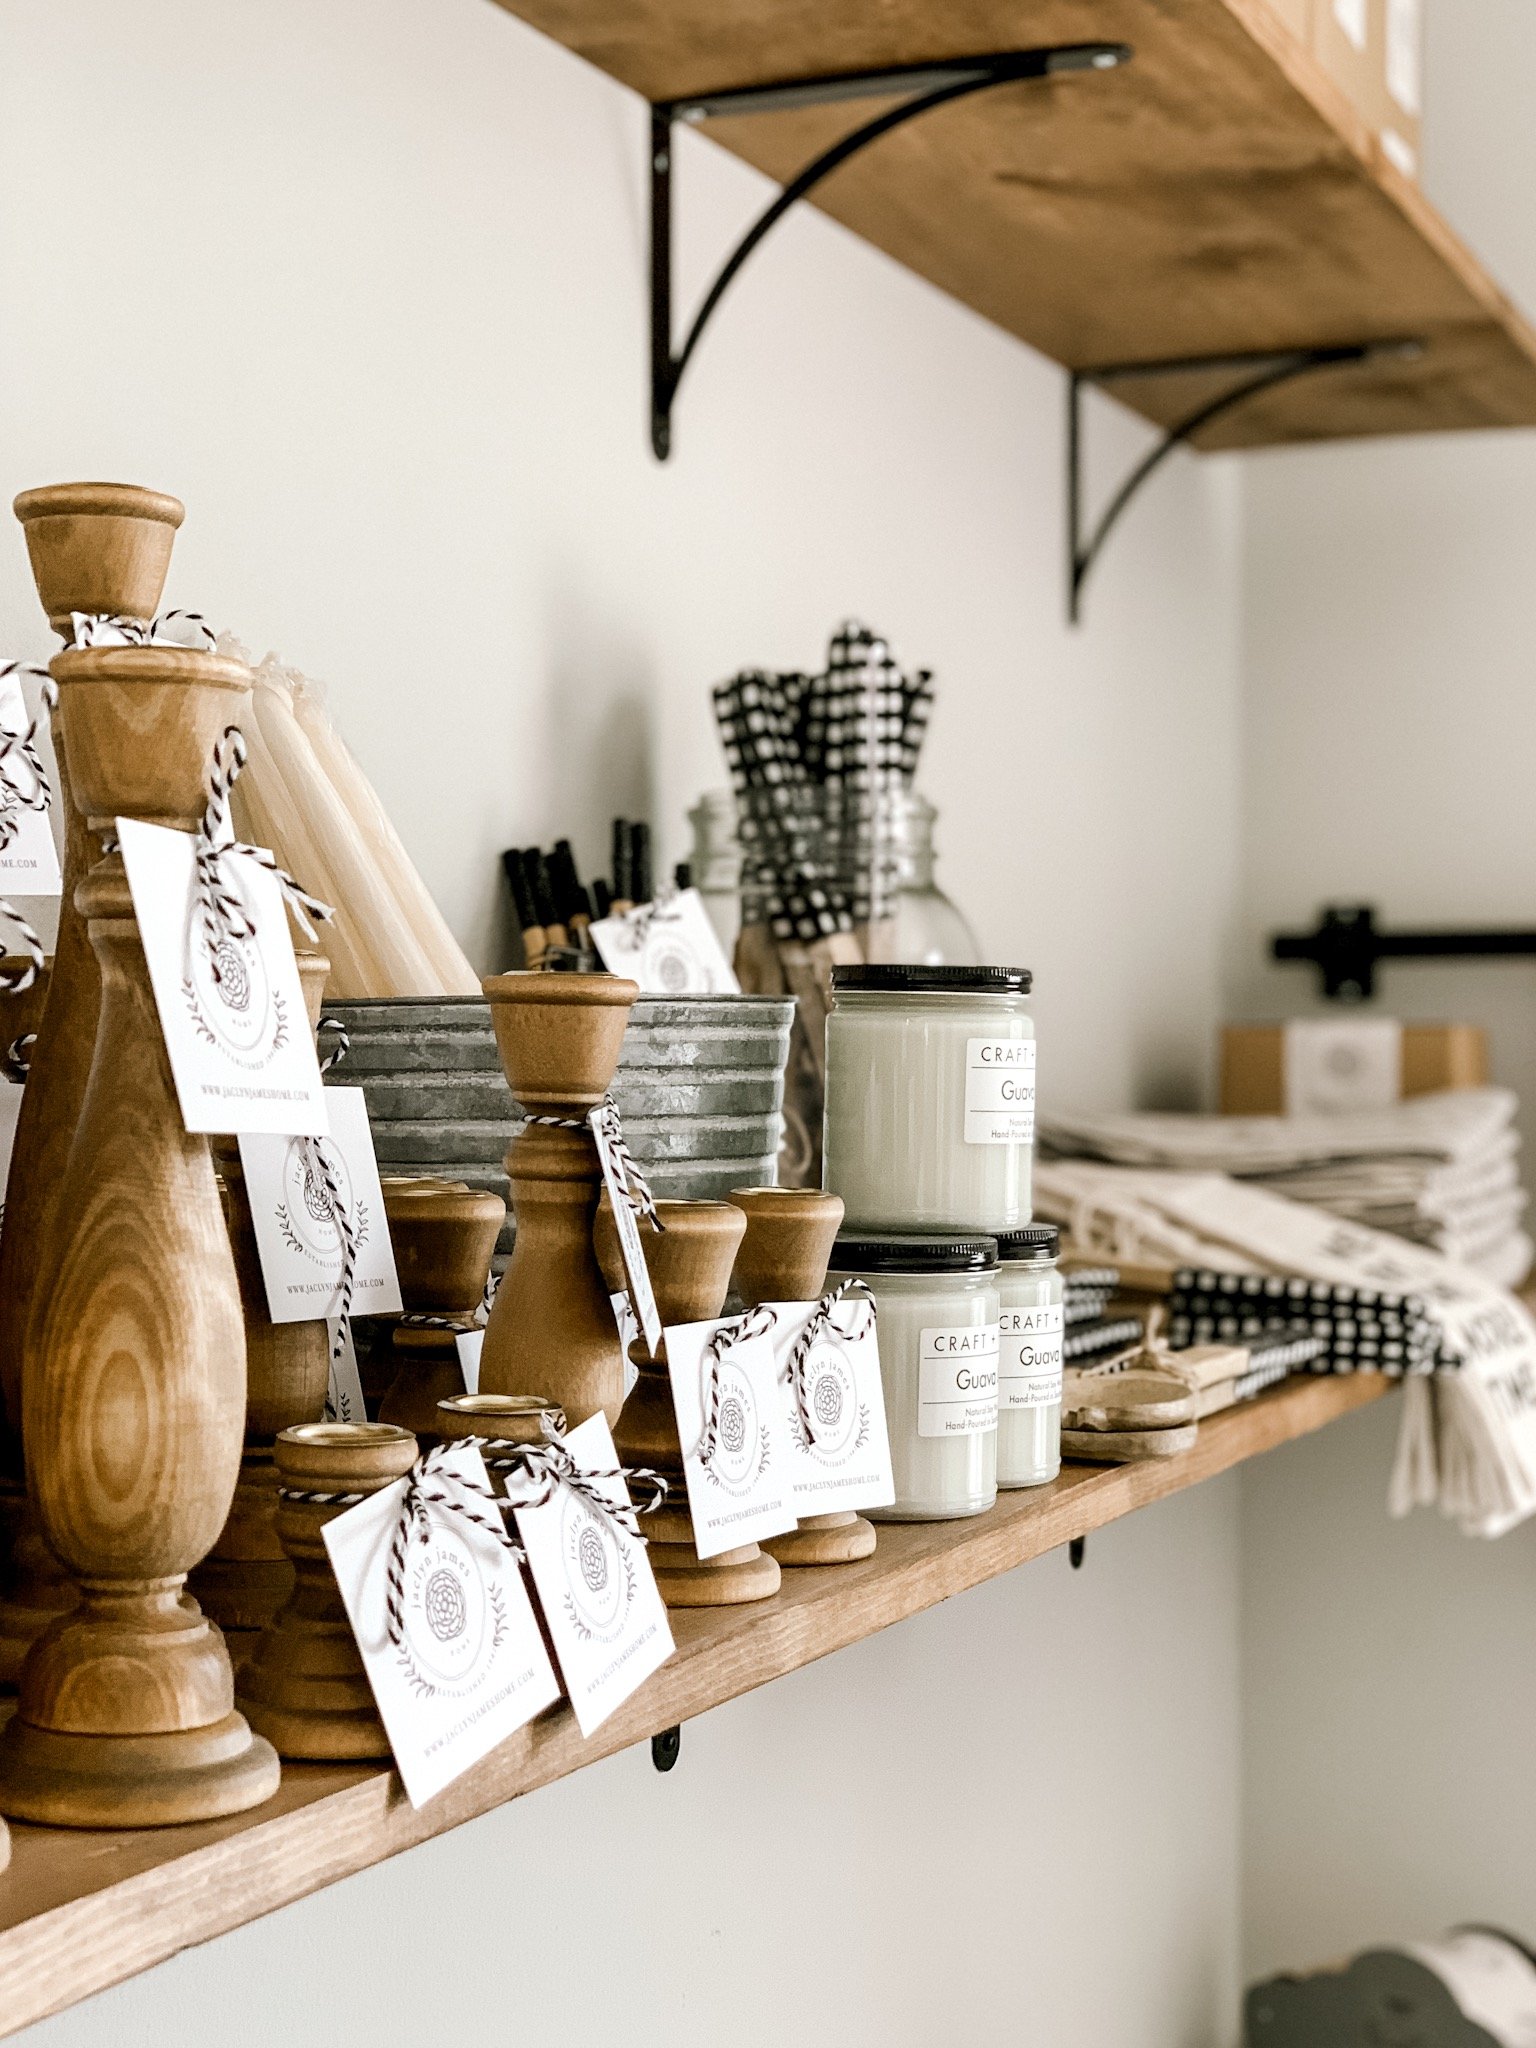
7. Style away with all your “things”!
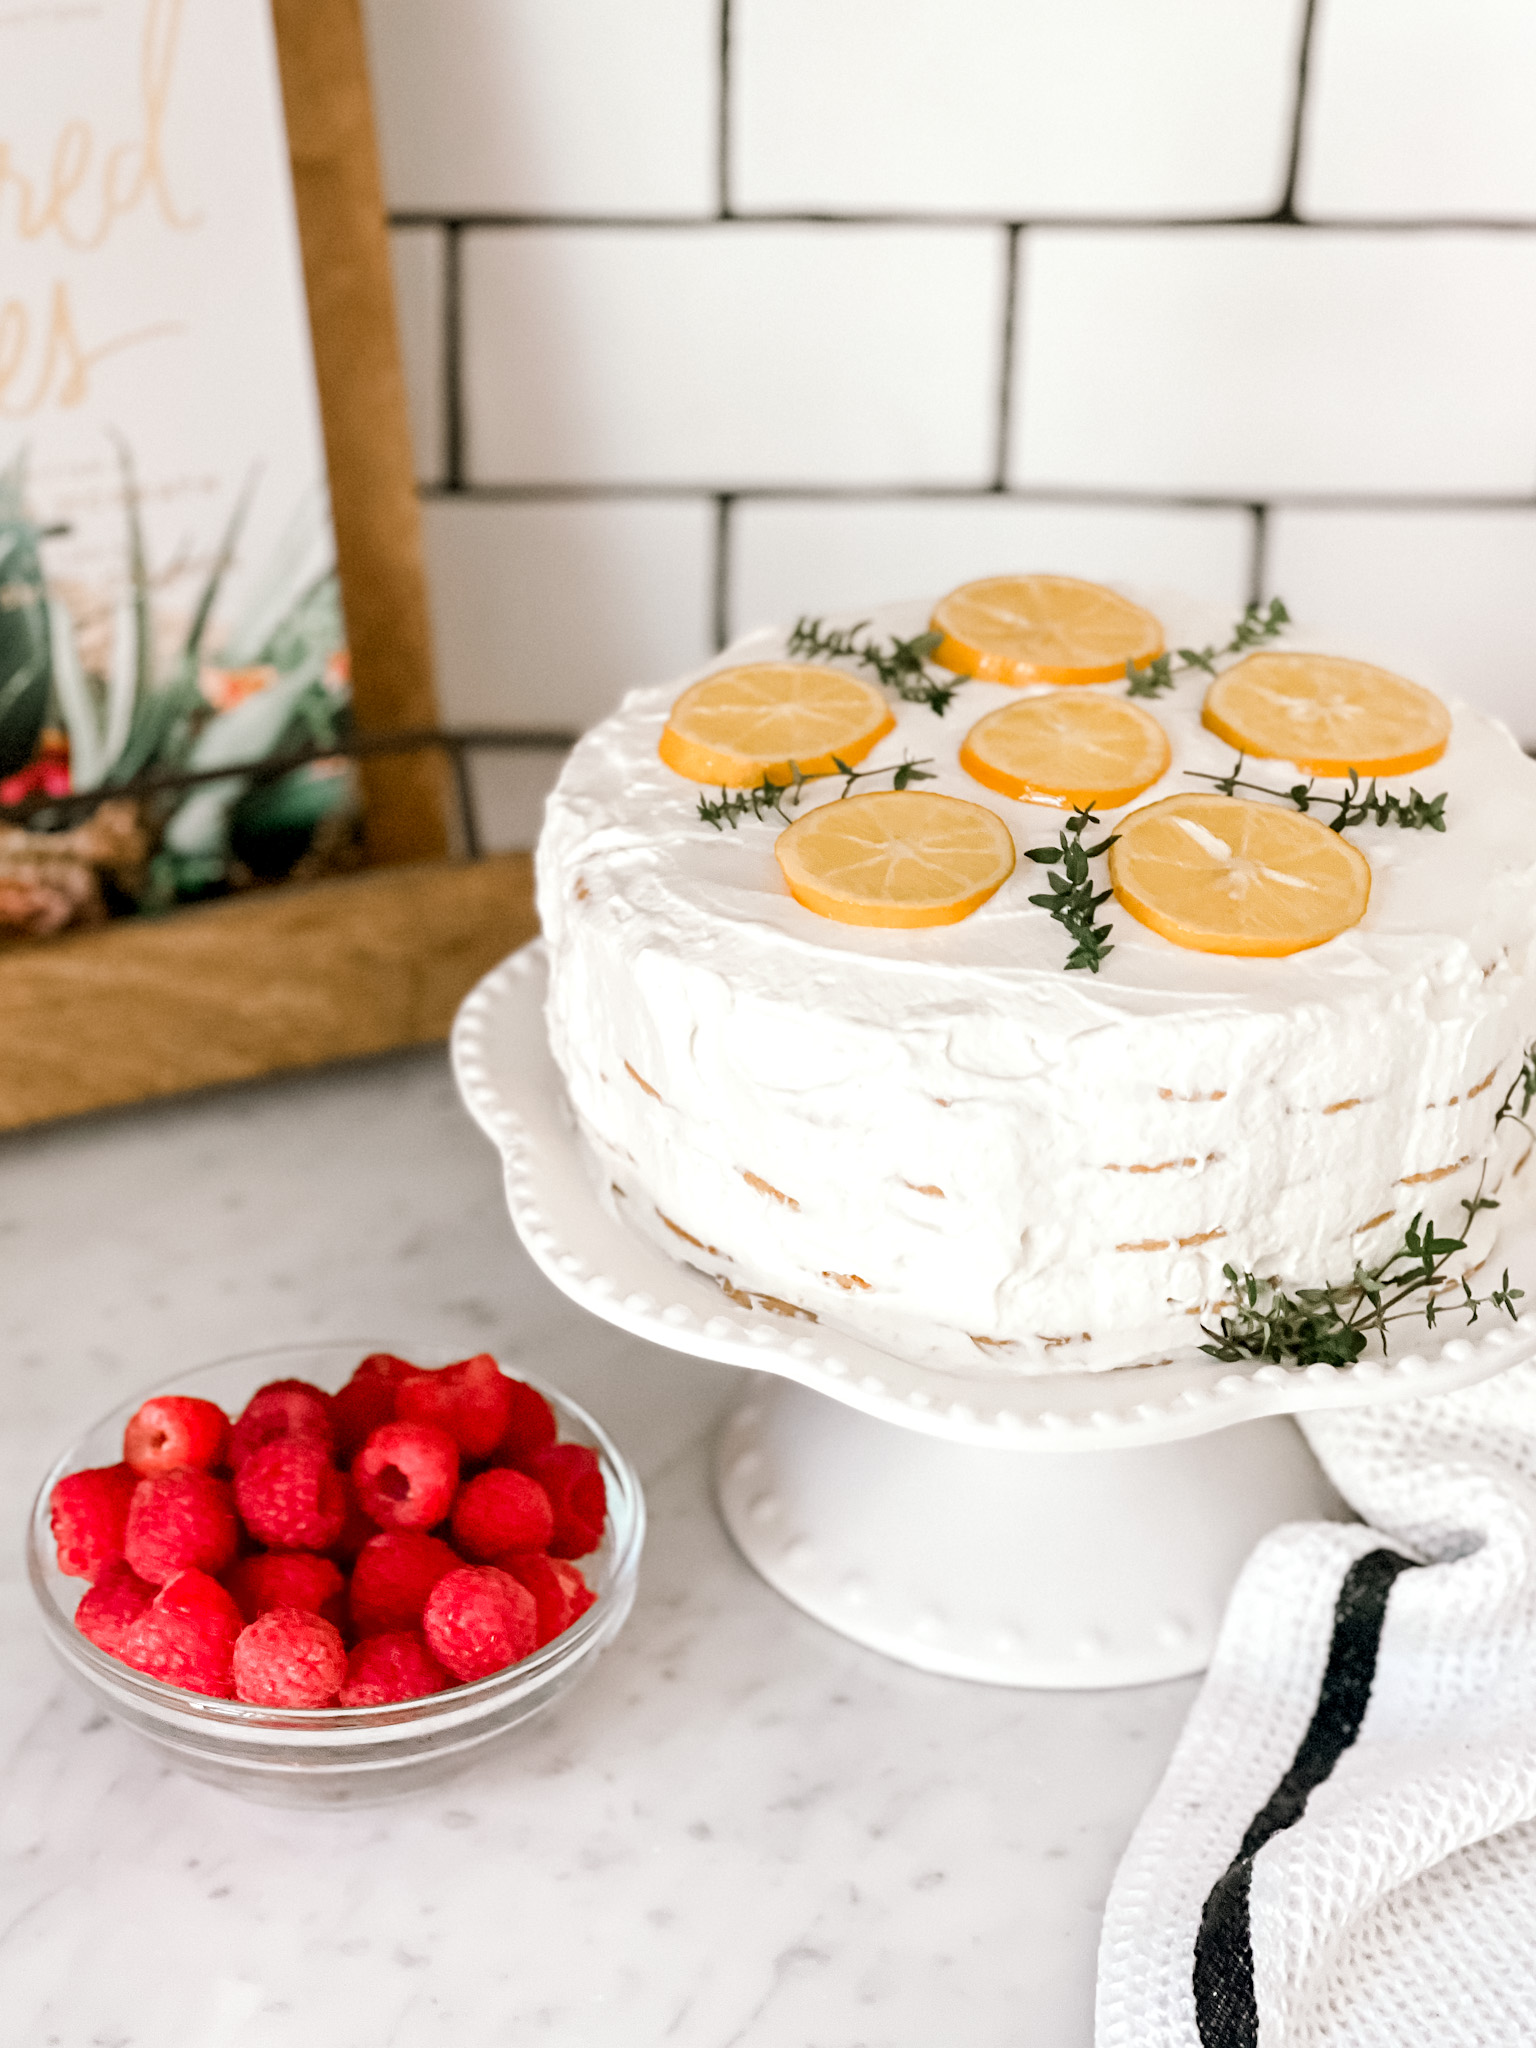
If you can believe it, it’s really that simple to add open shelving. Of course you can get “fancier” and use more expensive wood and special order brackets and I did that for areas like my kitchen. But for small spaces or adding lots of storage on a budget, these look beautiful, add warmth and are SO functional! And of course the quick turnaround helps too!
And that’s a wrap buddies! I hope this is helpful. Be sure to share and tag me on Instagram if you re-create this DIY in your home. You can find me @jaclynjameshome or #jaclynjameshome.
xoxo