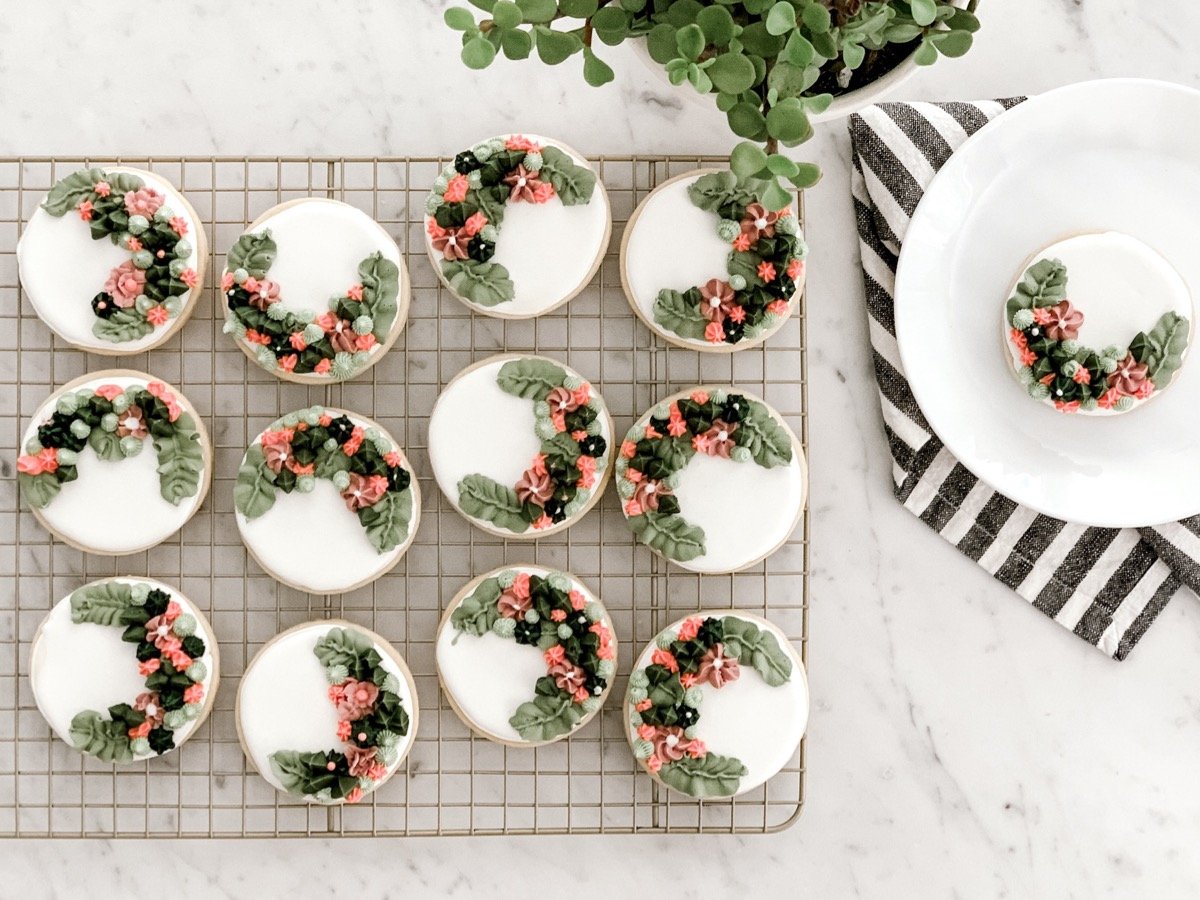
I can’t believe this is our sixth bake already! Are you feeling ready for the big event yet?? And by that I mean Christmas baking 🙂 Incase you forgot, that’s what all this practice is for. We’ve got 4 more “fancy” cookie practice sessions before December hits!
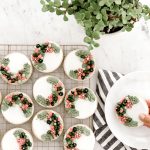
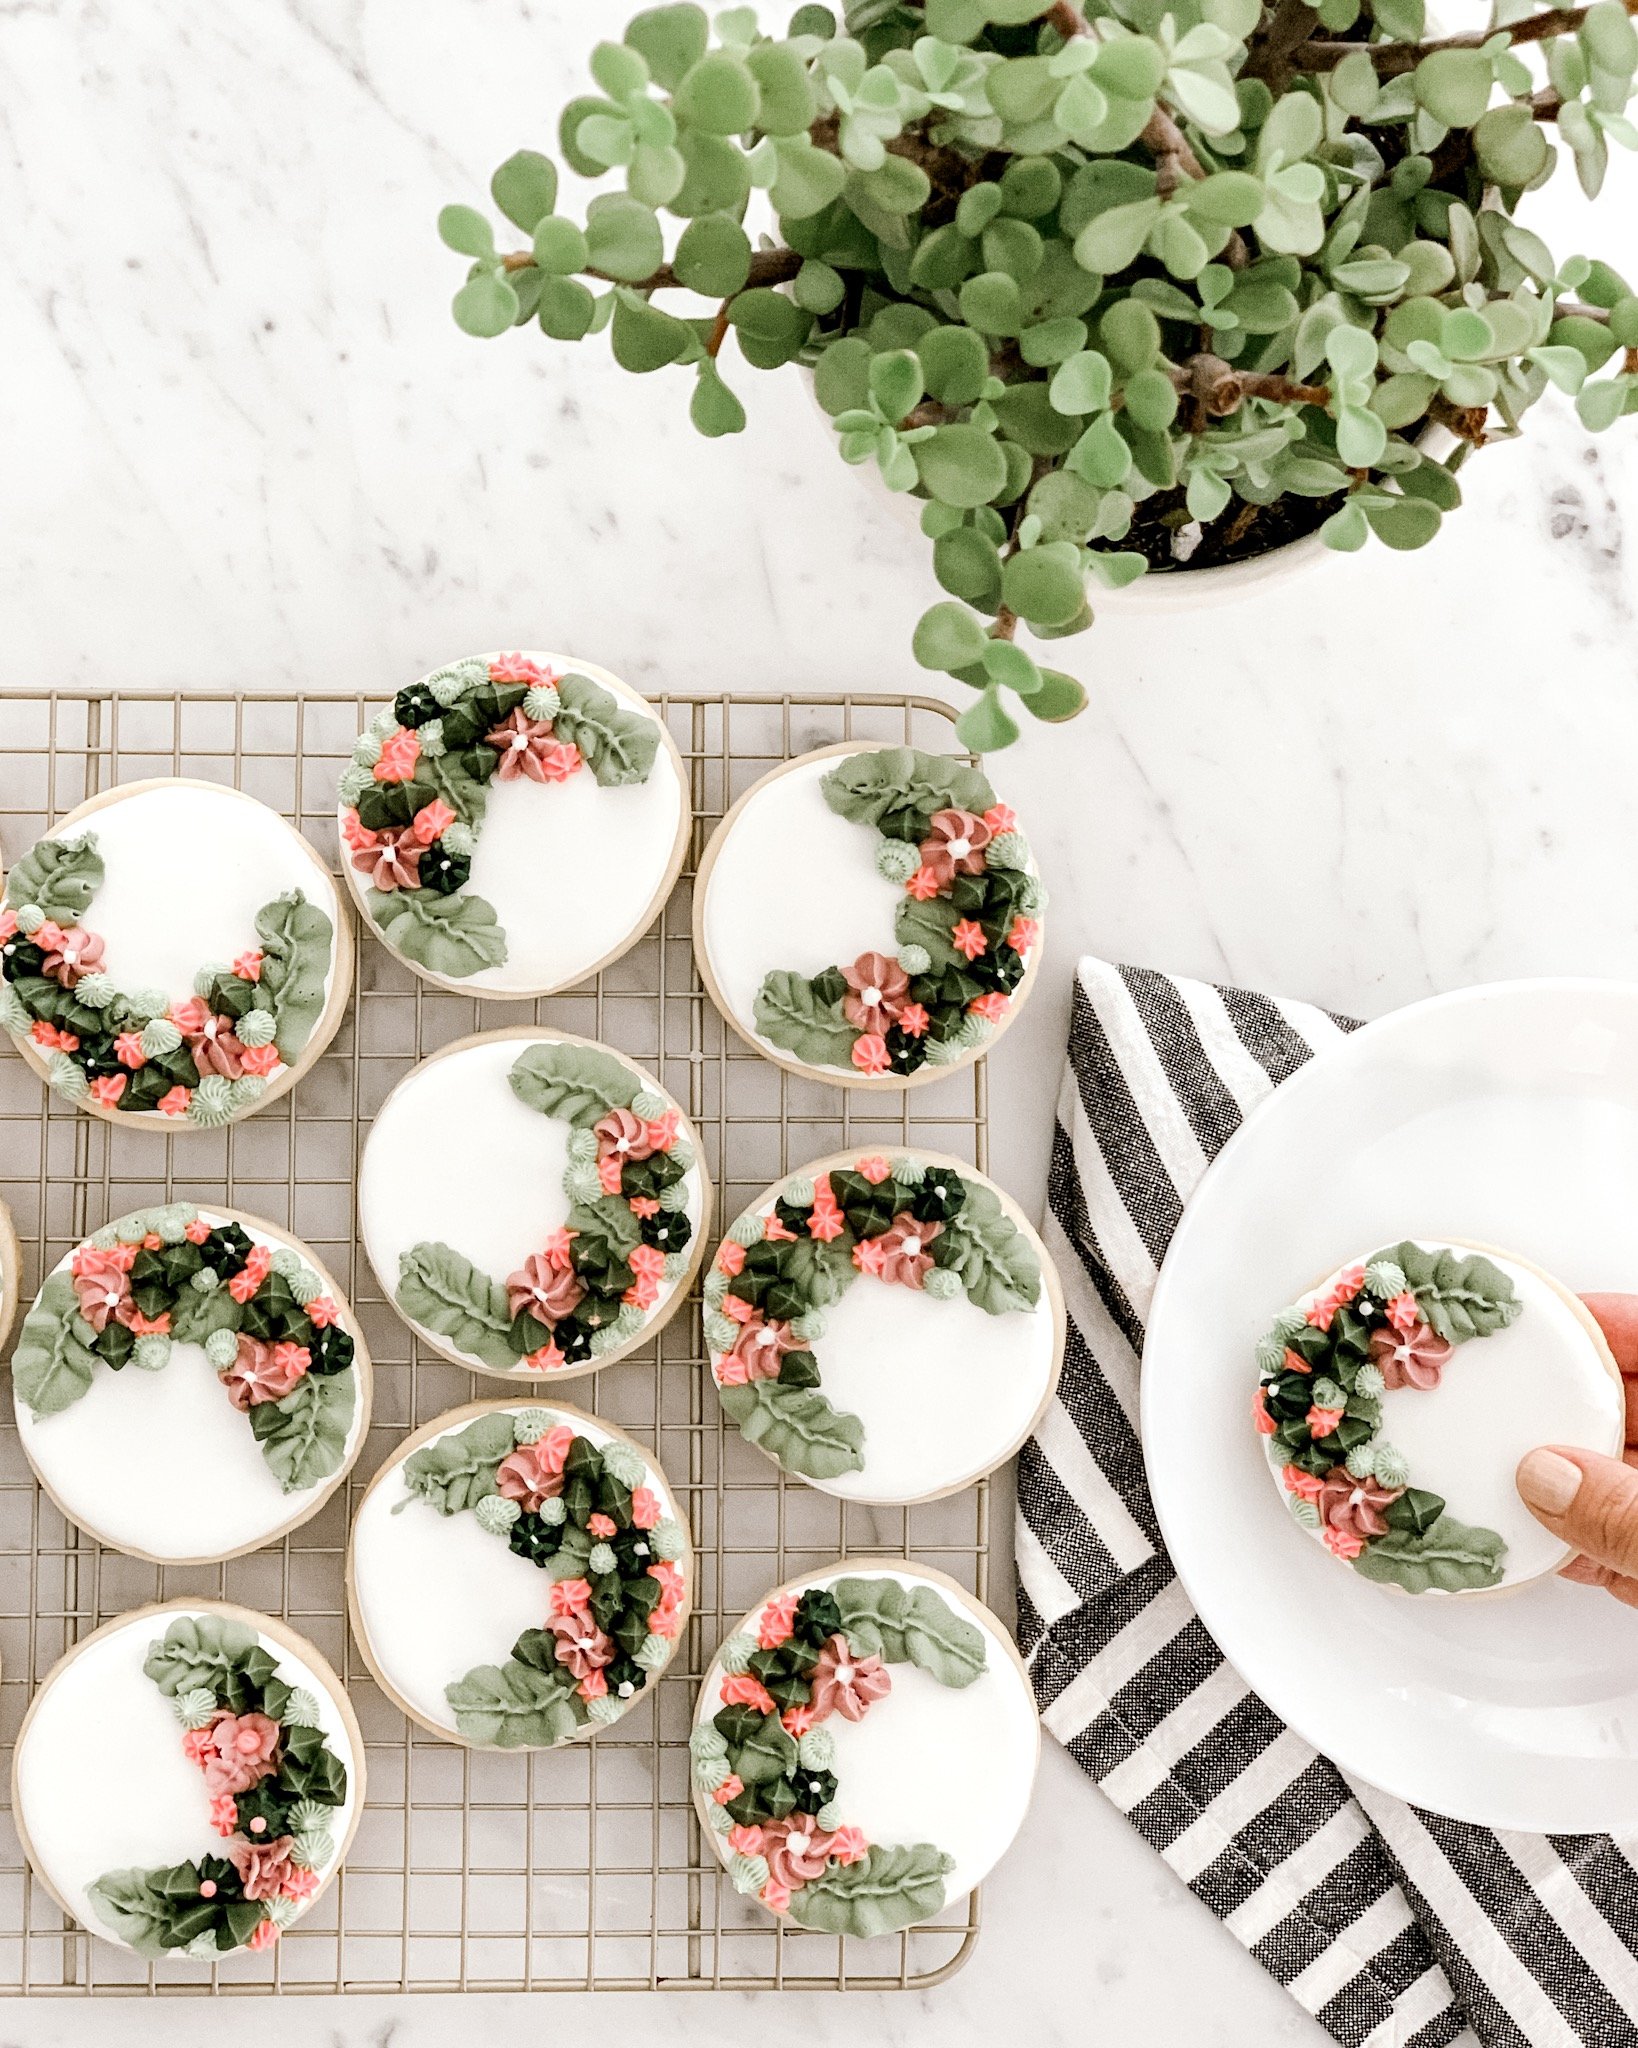
I think this bake was one of my favorites. Most of the cookies we’ve decorated together have been very “stuctured” and similar. Decorating these succulent sugar cookies was so much fun because it was essentially free handed. I was intimidated when I started but it turned out to be much easier then I thought. The decorating process takes on a life of it’s own once you start going.
Each cookie is unique if you look closely and I think that’s what makes them so much fun when grouped together.
To make the cookie shape, I used a simple 3″ round cookie cutter. I have a set of graduated cutters that I love and use all the time! The set has 12 different sizes and it’s a great staple to have in the kitchen.
Recipes
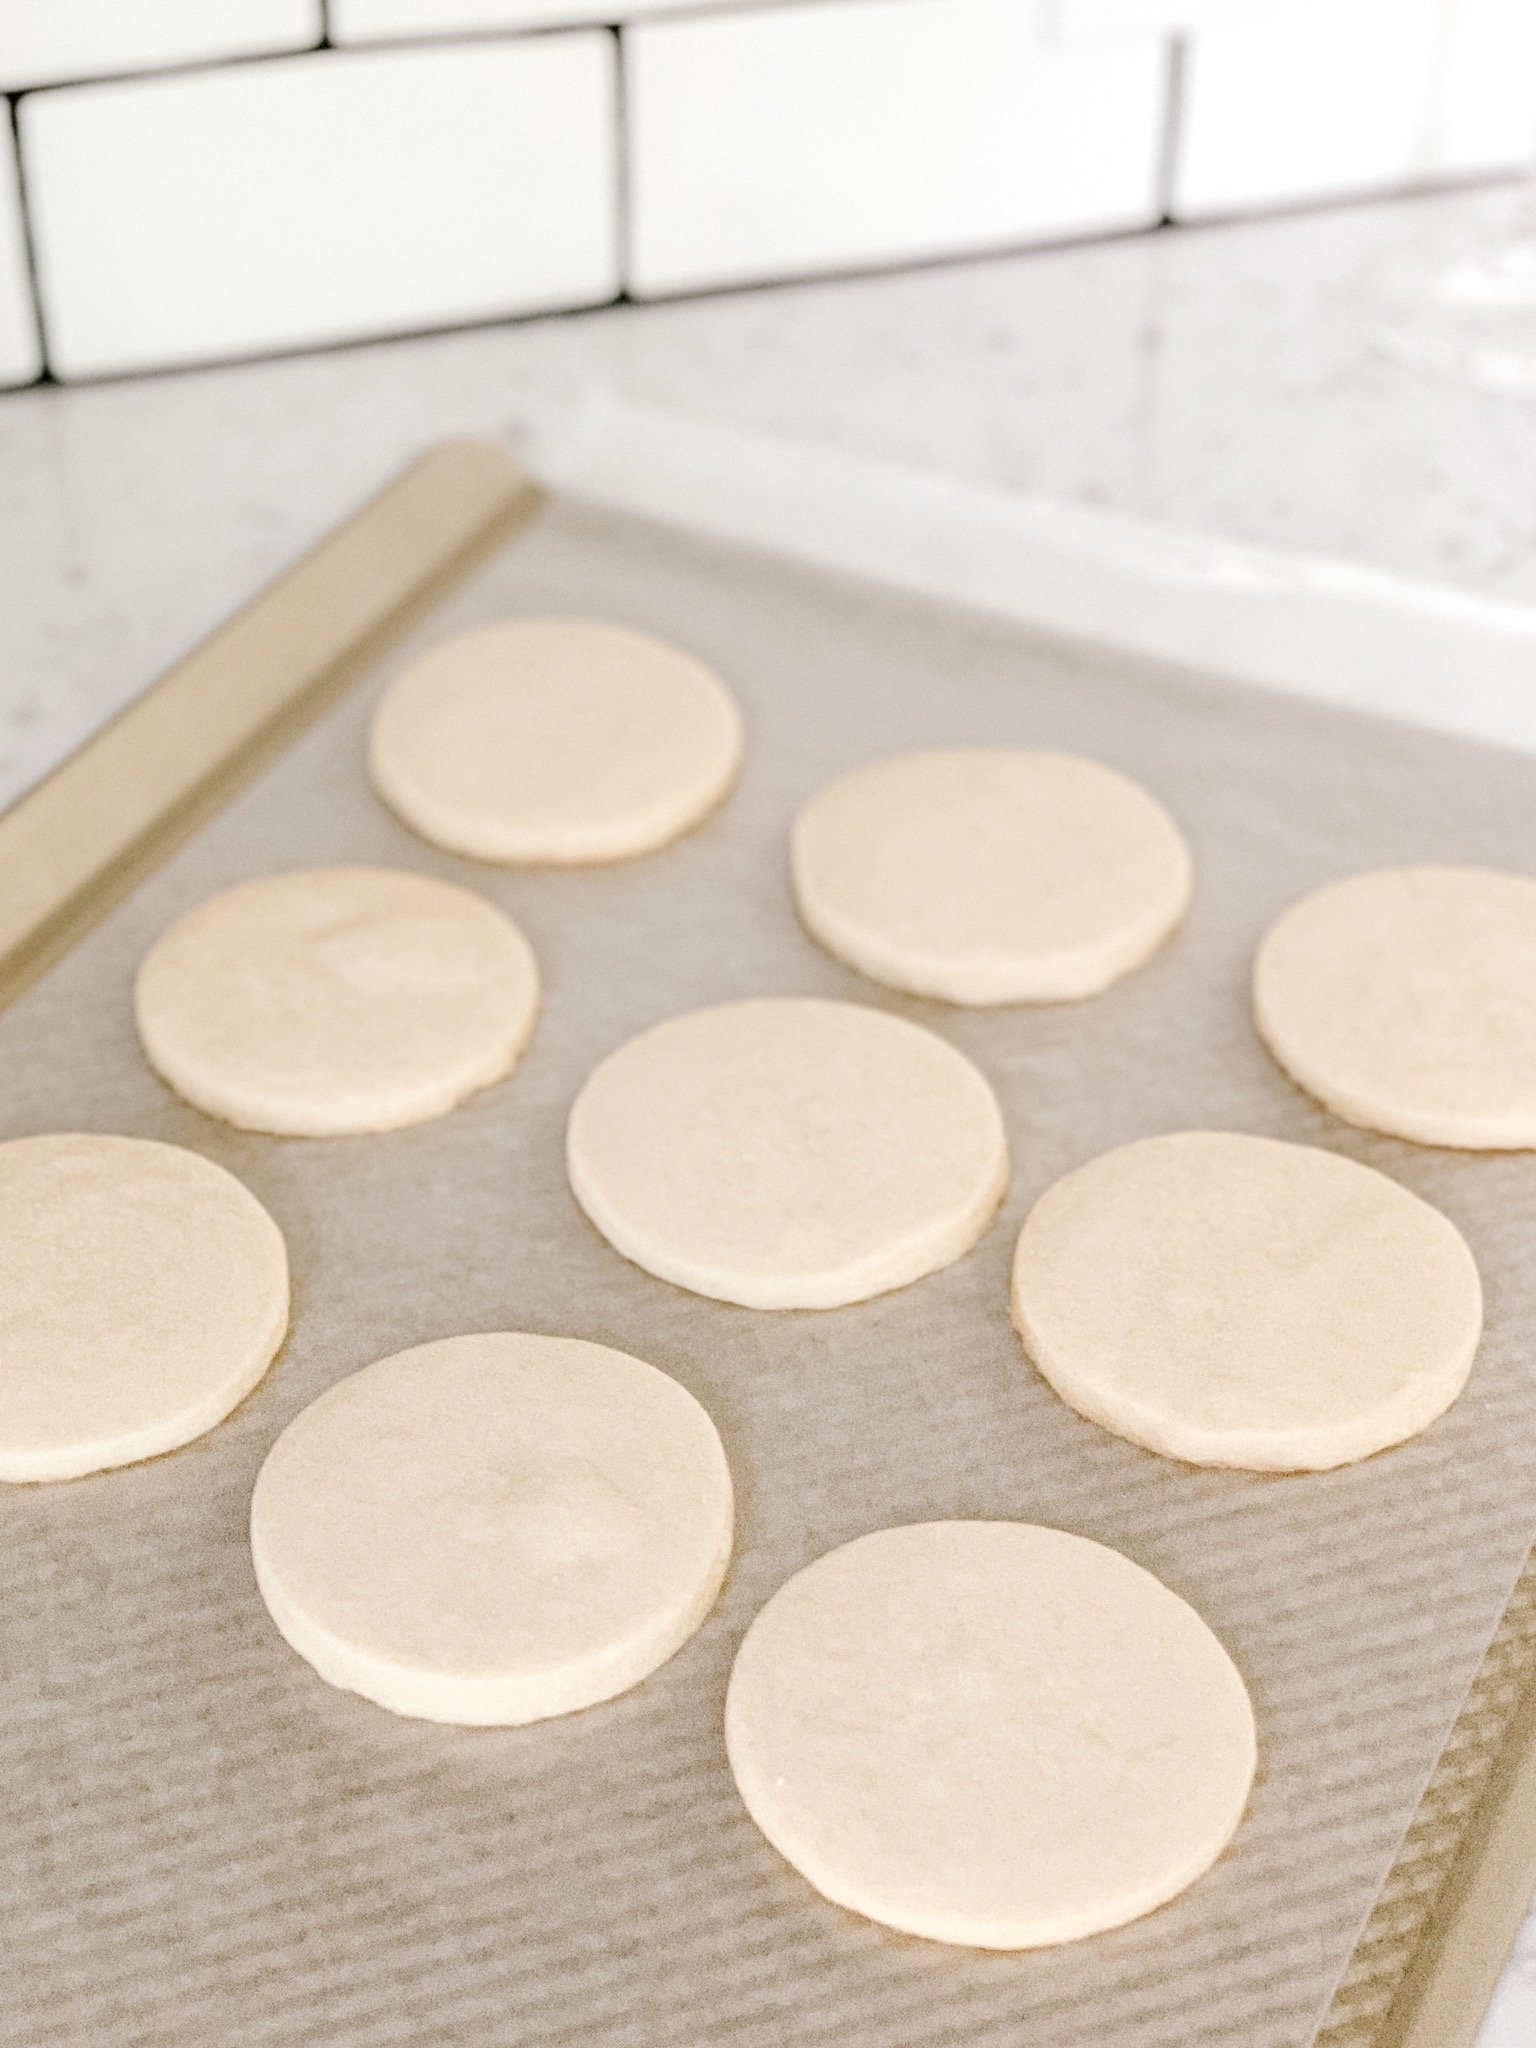
Click HERE for the Better Homes & Gardens recipe that I follow to make my sugar cookie. This recipe is technically for a shaped cookie but I refrigerate and roll the dough instead. I just love the flavor of this cookie because it’s not overly sweet so I find it balances out the sweetness of the royal icing nicely.
I follow the mixing instructions of the recipe, refrigerate for 1hr, then roll the dough between two pieces of wax paper. Once it’s about 1/4” thick, I use my cookie cutter and place on a baking sheet. You know the cookie is done when it’s just barely golden. Don’t let the edges get brown.
For the royal icing, HERE is the recipe I’m currently following from Sweet SugarBelle and had great success with last month!

I think the most difficult part of this bake was mixing up all the different colors! I used two colors for the 4 green options and I varied how much color I added to create a lighter and darker shade.
For the pink colors, I used a touch of rose from Wilton and then made dusty rose using the traditional McCormick colors. Click the buttons below to shop each color I used.
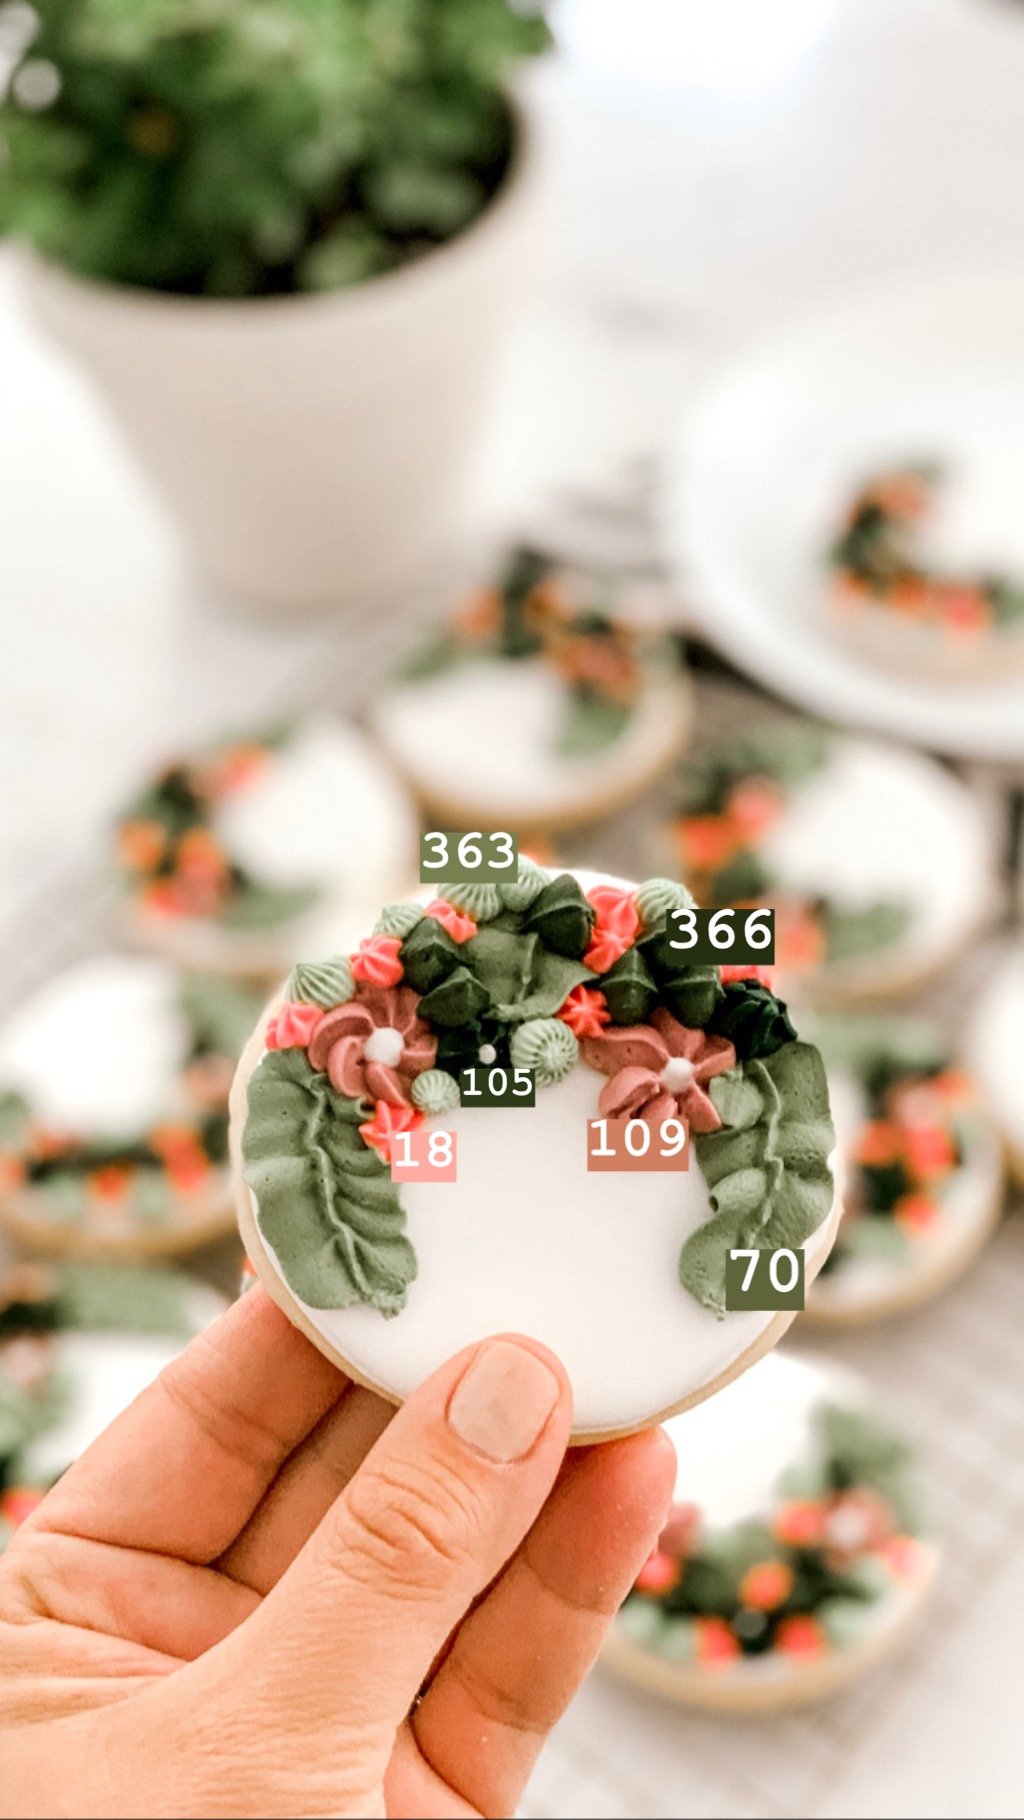
To create the various succulent and floral shapes, these are the decorator tips I used. While I love to use the piping bottles to flood and outline cookies, for this detailed work, using pastry bags allowed me more control. Once you have all the colors set up and bagged, the process went so quickly!

Shop my baking essentials

And that’s a wrap on bake #6! Hope you love these and give them a try. They can so easily be modified for any event or occassion. And you could even add an initial or name to it for a baby shower or similar event.
As always..happy baking buddies! Be sure to share your creations with me on Instagram using #bakingwithjaclynjames.
Until next month 🙂

xoxo
