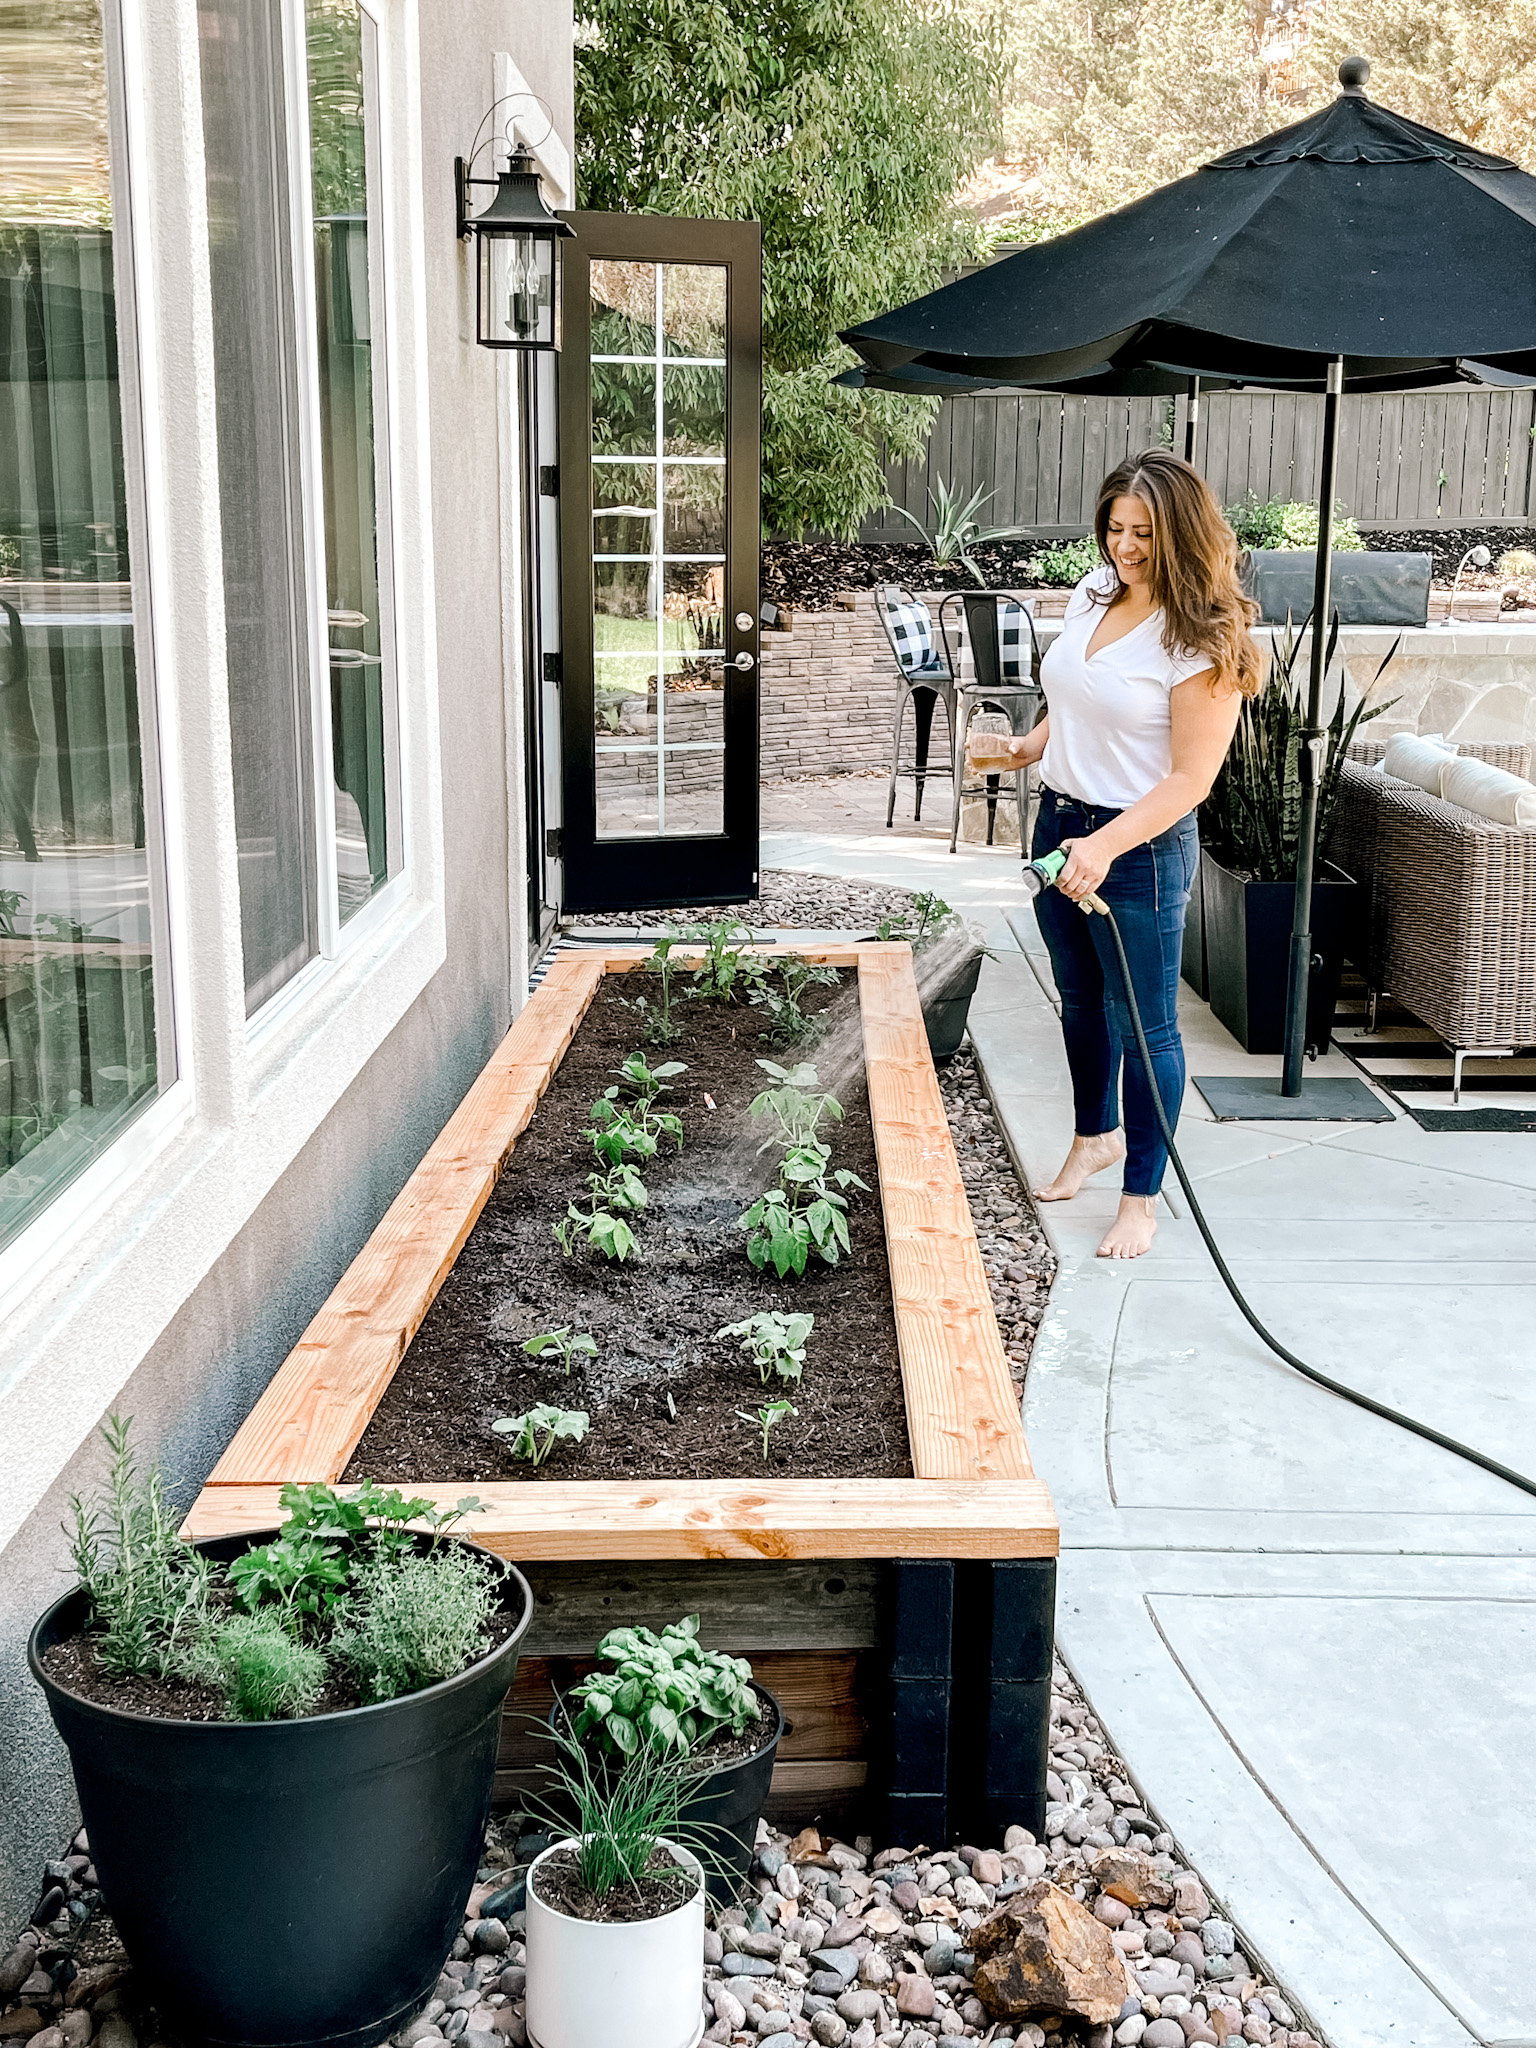
How many times have you read through a DIY tutorial and thought …hmm…I don’t have any of those tools so forget it. Or, you read it and thought, I have ZERO idea how to use those tools so forgot it. I can 100% tell you I said and thought both of those things and I was so wrong to limit myself that way.
When we moved into our house last November knowing we would have to tackle some of the remodeling and updating ourselves (BOO for budgets!)
After swooning over so many shiplap walls that other people had created themselves, I decided that the hubby and I were going to tackle a shiplap wall (having zero experience with using any of the necessary tools and not even owning any of those tools). Click HERE to read more about our shiplap wall.
So to everyone out there that feels like you can’t or you shouldn’t tackle DIY projects…you CAN!!! And you SHOULD!! It’s so rewarding to sit back and admire your handy work. With each new project we attempt, our confidence and skills grow by leaps and bounds and it truly becomes addicting.
To get you started on your way, I want to share some information on the tools I purchased and why I selected each one. I did some research and asked a TON of questions during my many trips to Home Depot. Below are some details on what I learned and what I picked. Hopefully that helps you get the ball rolling! I decided to spring for more expensive items in some areas and less expensive in others. Hope my (cray-cray) logic helps you in your future purchases.
PS – this post is in NO WAY sponsored by anyone or any companies 🙂
Brand
I decided to go with Ryobi for all the items I purchased (because I am a crazy person and I need them all to match.) But more importantly in my research, I read that Ryobi is a perfect brand in terms of quality and ease of use for homeowners.
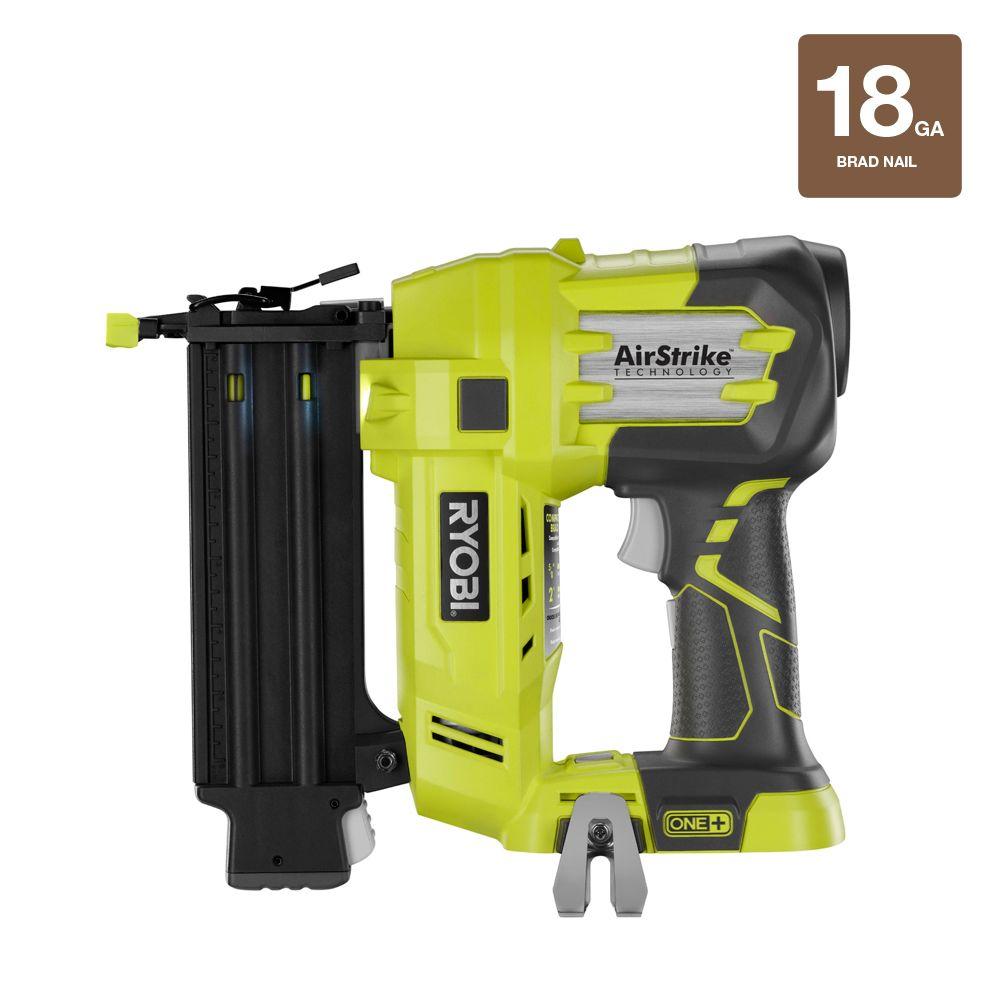
Nail Gun
I purchased for this gun which is in the mid to lower price range. Here are a couple of reasons why this was my choice: #1: it operates on battery power so I don’t have to worry about carting an air compressor around the house (I didn’t see that going well on the curved stair case!) and #2 it allows me to use a wide variety of nail sizes so that I would be covered for projects that I have yet to dreamed up.
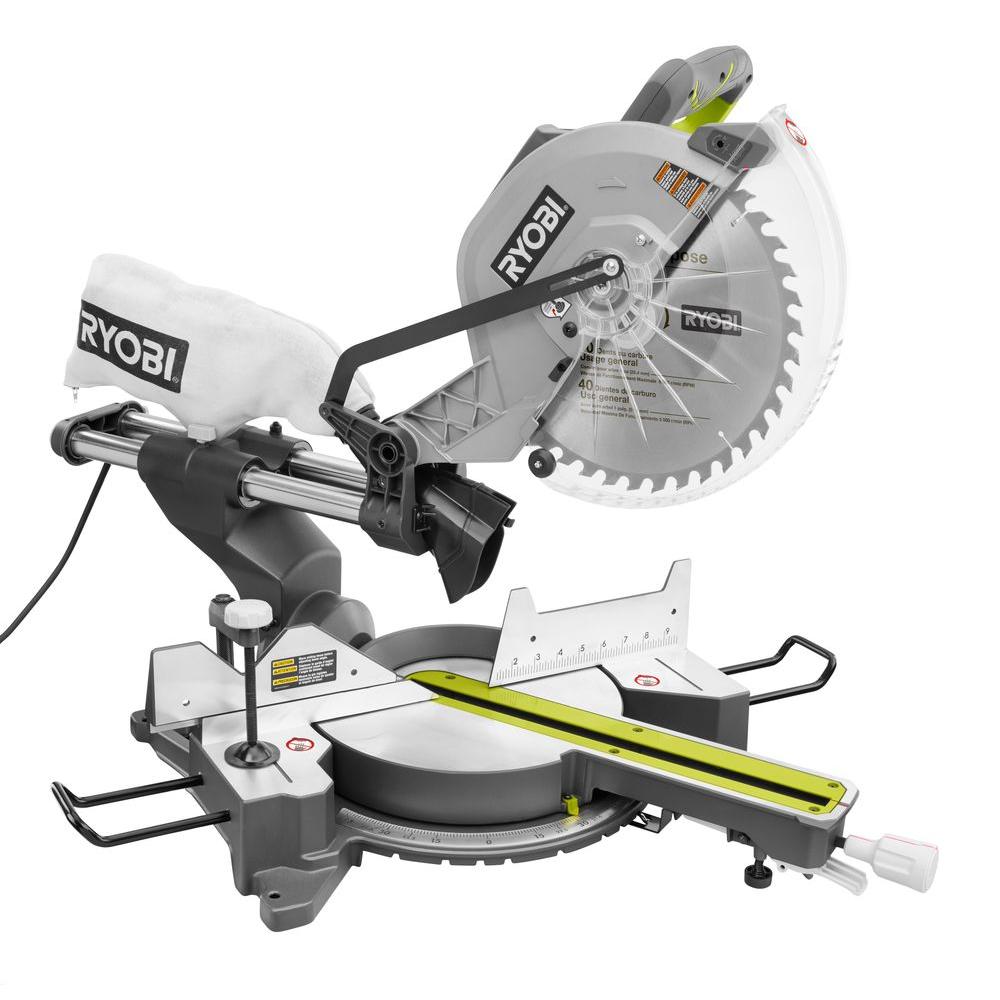
Miter Saw
There were so many options but this saw was my fav! (OMG – did I just say “my fav” about a saw….see…just wait…this is totally going to happen to you when you start DIYing!!) Anyways…crown molding is one MAJOR item on my do-to list, so I wanted a saw that could handle larger width cuts. Having a sliding miter vs. one that doesn’t slide, allows you to cut larger pieces of wood. And let’s talk laser….that is 100% a MUST!!! Having a red laser beam that shows me exactly where the cut will be is the #1 reason my projects have been successful. When I purchased the miter saw, I opted for the more expensive version because I knew it would pay off down the road and that I would likely make the most use out of this particular piece of equipment. Since I purchased it, I have used the miter saw for window trim, curtain rod dowels and various other small projects – I highly recommend it. It made miter and bevel cuts SO simple for this newbie!
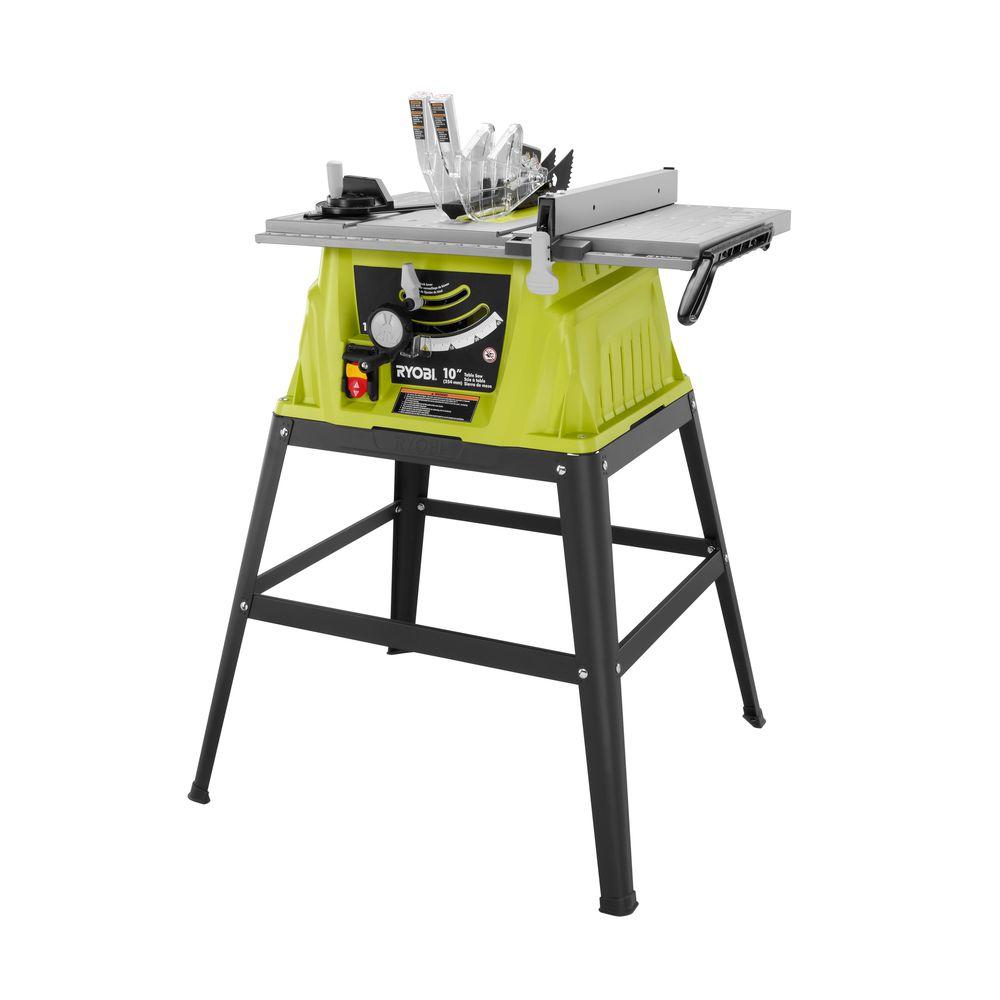
Table Saw
I decided to purchased the least expensive (but still good quality) table saw. For any major projects, I will have my wood pre-milled at a shop to save on time and MESS. So for now, I knew our table saw use will be pretty limited and would only be for random cuts here and there. This saw had perfect reviews for the few times I knew we would put it to use.
I hope this helps any newbies out there looking to get started on some home projects!
And for tips on how to properly use and operate each of these items, I highly recommend going to YouTube and watching a video or two. That was all we did to get ourselves comfortable using the equipment.
Until next time Fancy Friends!

xoxo
