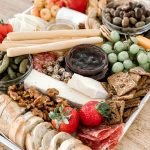

Building a massive cheese board is always my entertaining go-to. It’s hands down my favorite appetizer to throw together and it only takes a few minutes. You can fit TONS of food onto one platter, minimze your clean up and kill it on your presentation! While it may look imtimidating at first glance…when you break it down…is so easy if you follow my #1 trick. You can apply this to ANY cheese board or platter and it will completely elevate the presenation. So…let’s build the ultimate cheese board!

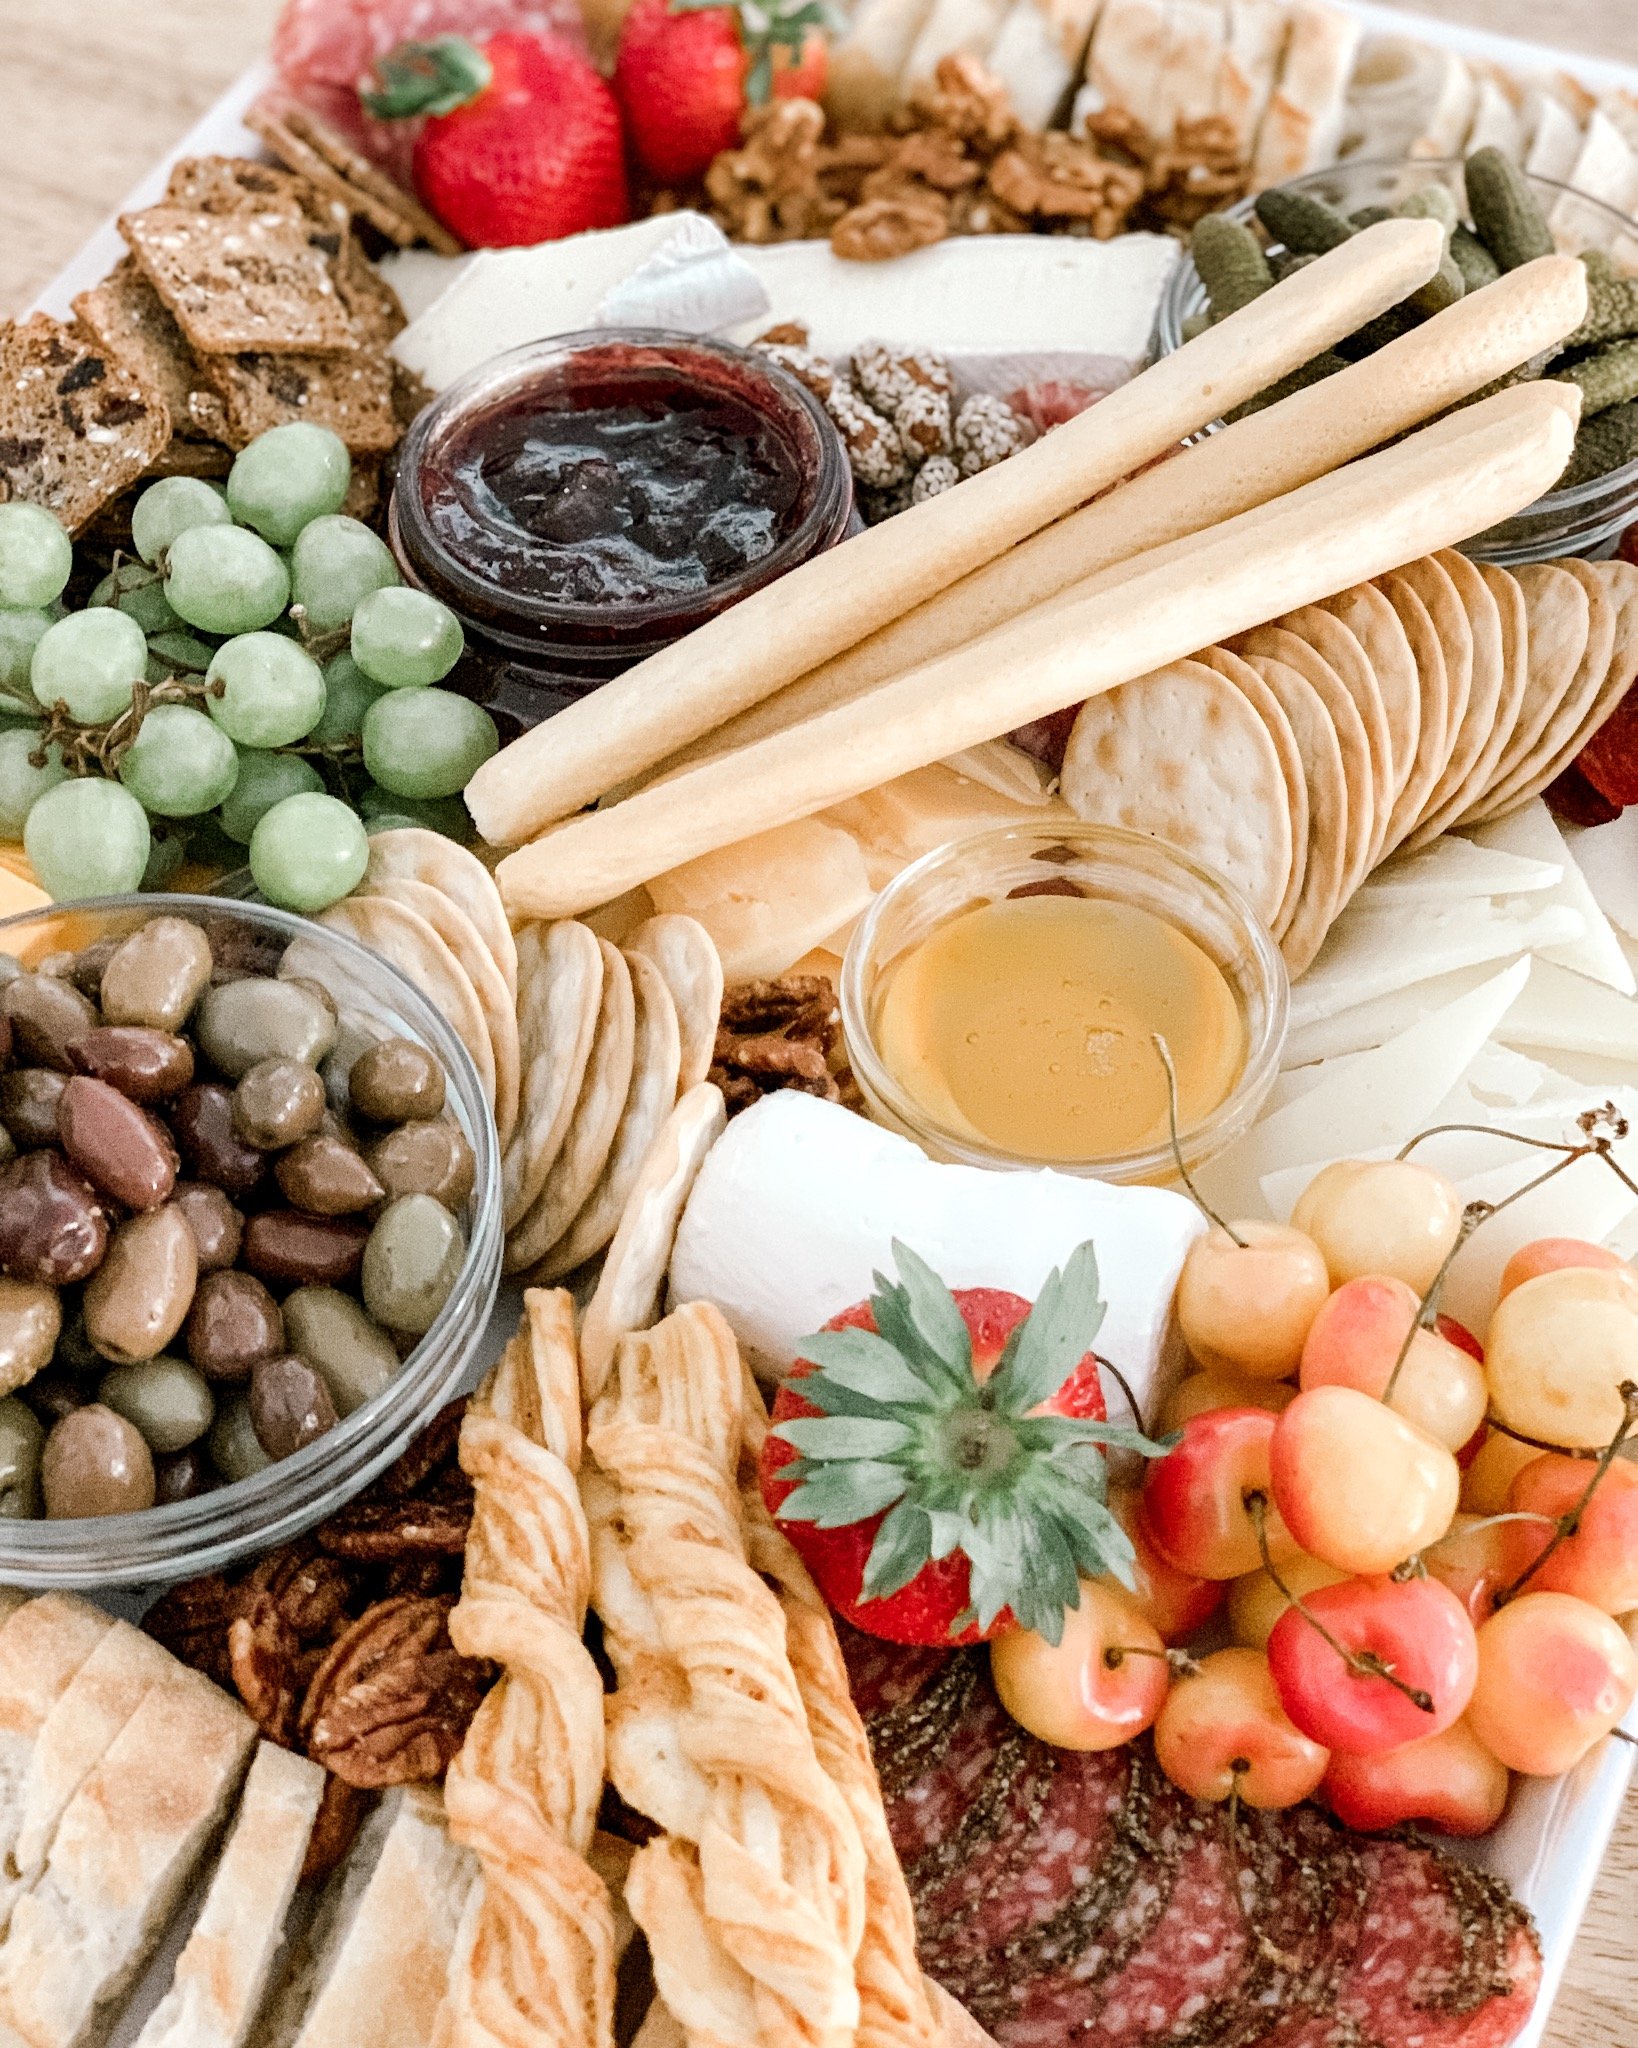
Ok…I’m gonna give away the “goods” up front. My #1 trick to building a cheese board (or any platter really)…don’t leave ANY empty space. Just scroll up and look at the first two pictures. Do you see any space between foods? If I didn’t fill in those gaps you would see all the odd shapes of the meat and cheese and it makes the presenation awkard.
Unless your a professional cheese cutter and meat folder (which I’m definitely not)….by using up the space between the different foods, you see one retangular board TOGETHER instead of seeing all the individal foods I literally threw together.
Be sure to watch my IGTV video tutorial to see exactly how I assemble this board.
So now that you know the secret to making the ultimate cheese board, let’s chat about what to include and what order it’s placed on the board.
First and most importantly…you need to shop! It can be as easy as going to Trader Joe’s. Here are several of my favorite items.
NOTE : I don’t necessarily include all of these at one time but these are some of the staples that I rotate through.
Cheese Selection
This is probably the most asked question I get. There’s no right or wrong to this…and it all depends on what you like. But if you want to know what I recommend…here are my favs!
For a large board (like the one pictured here), I recommend including 4-5 types of cheese. And I split that between 2 soft cheeses and 2-3 hard cheeses.
Soft cheese
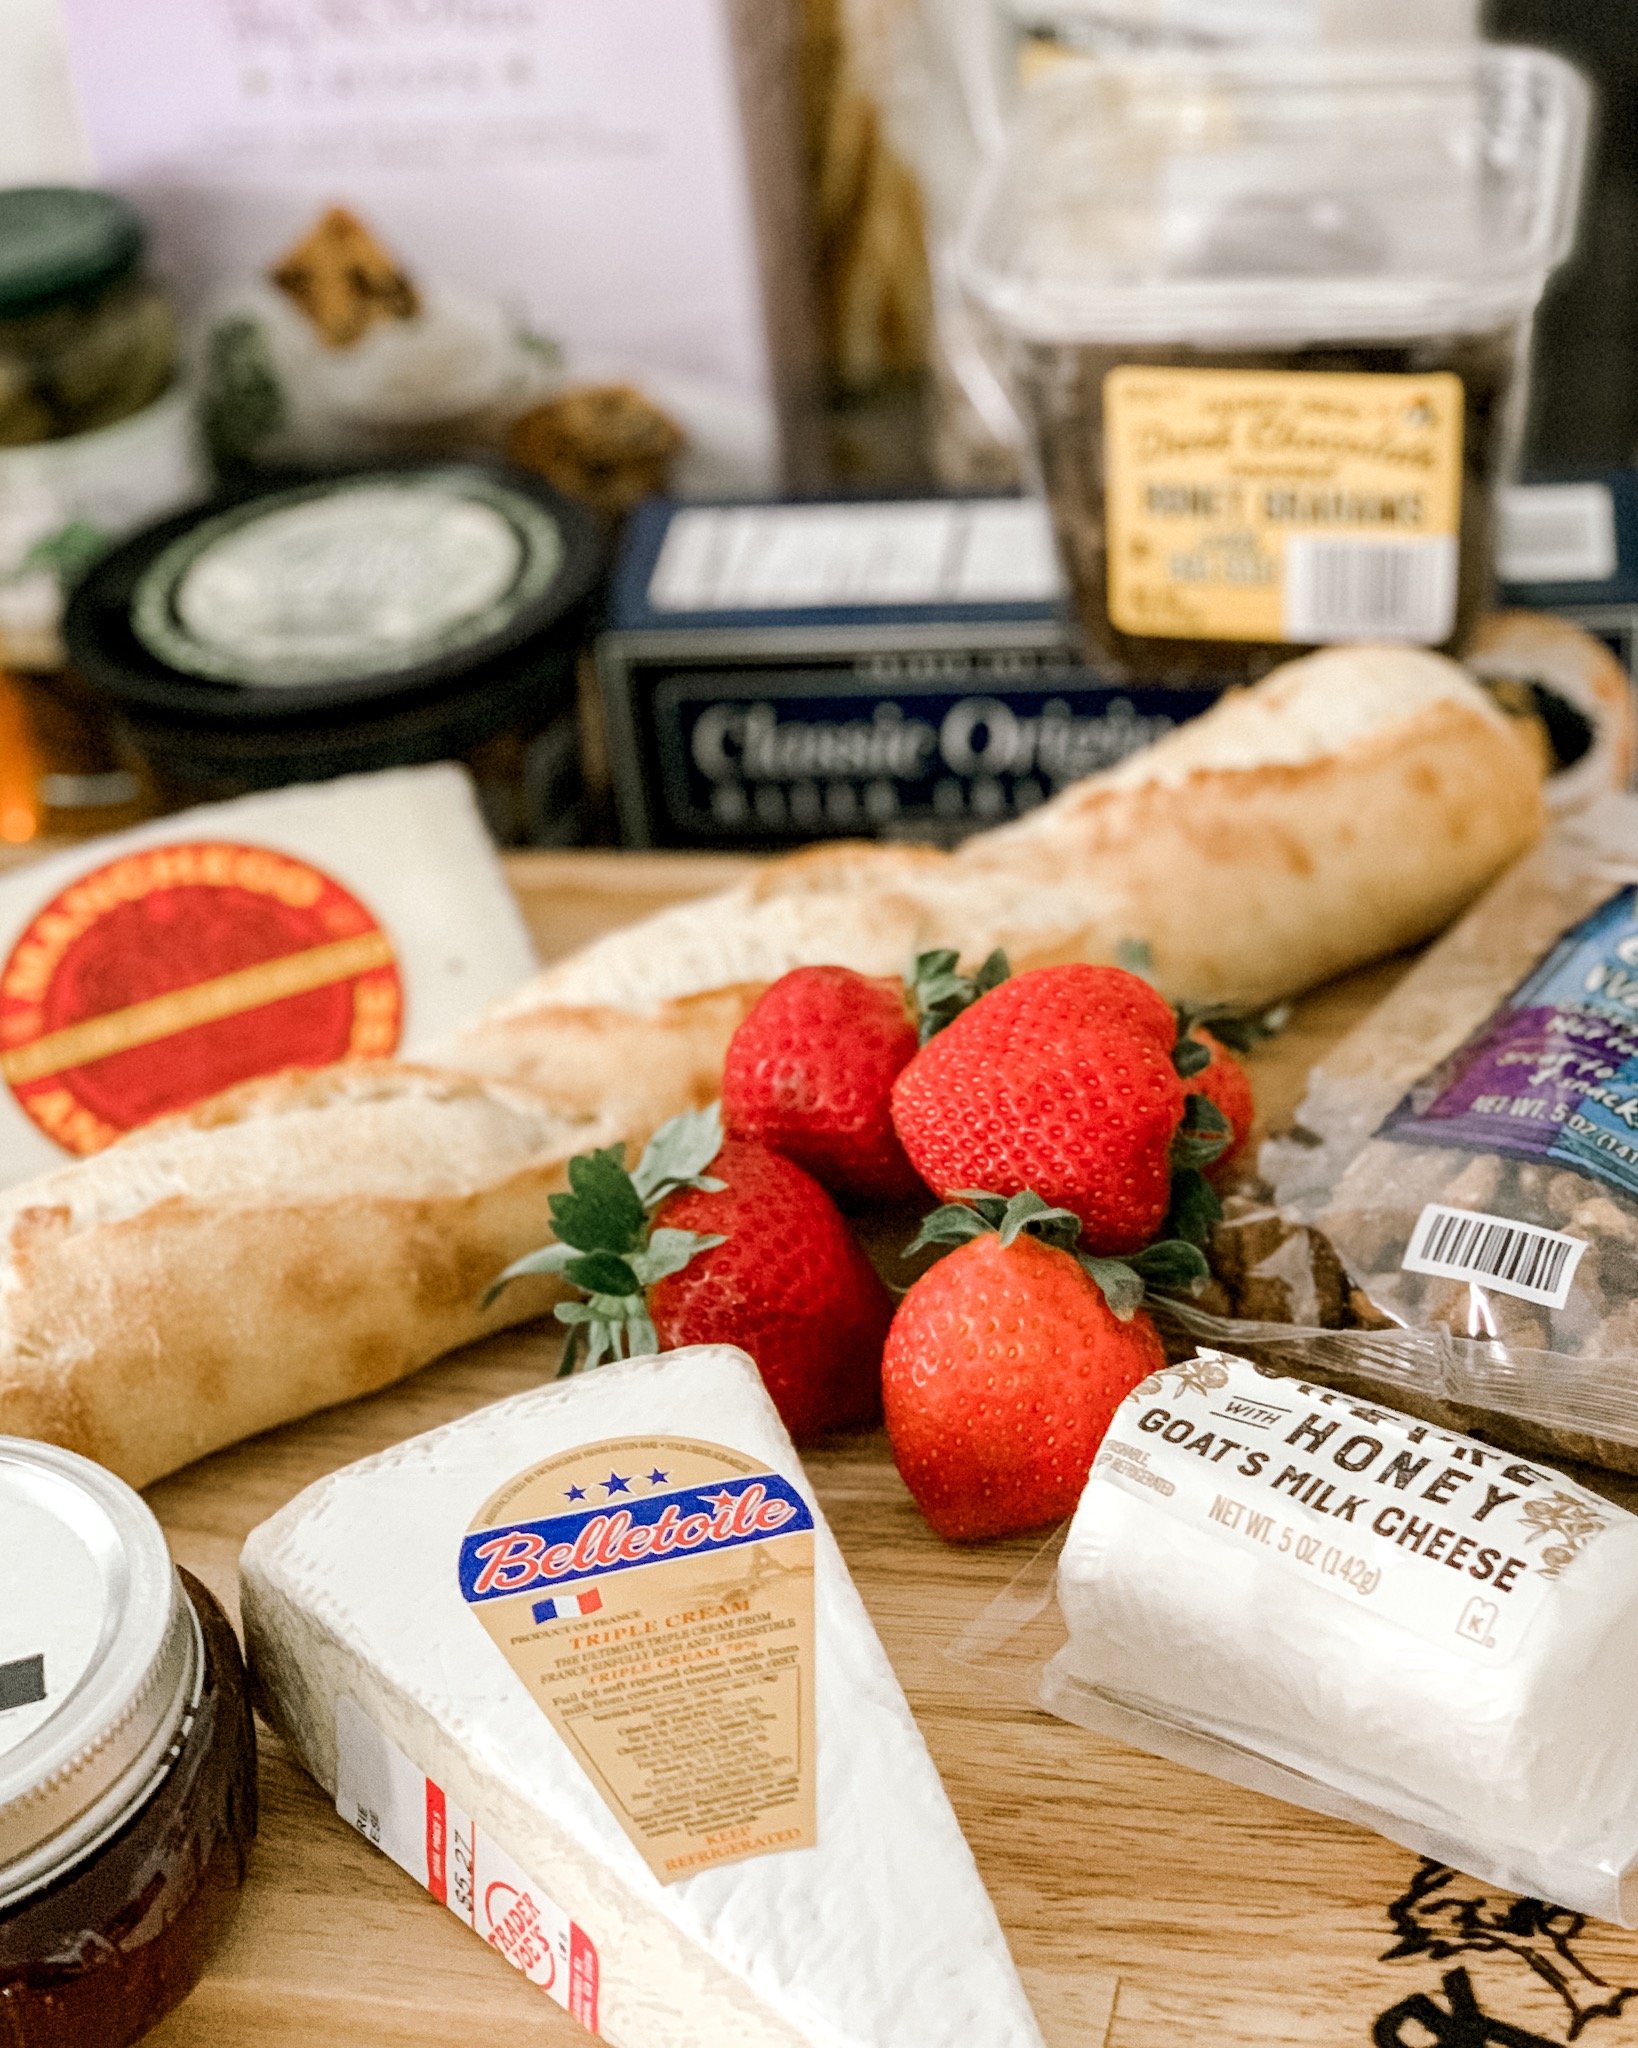
– Chevre Goat Cheese with Honey
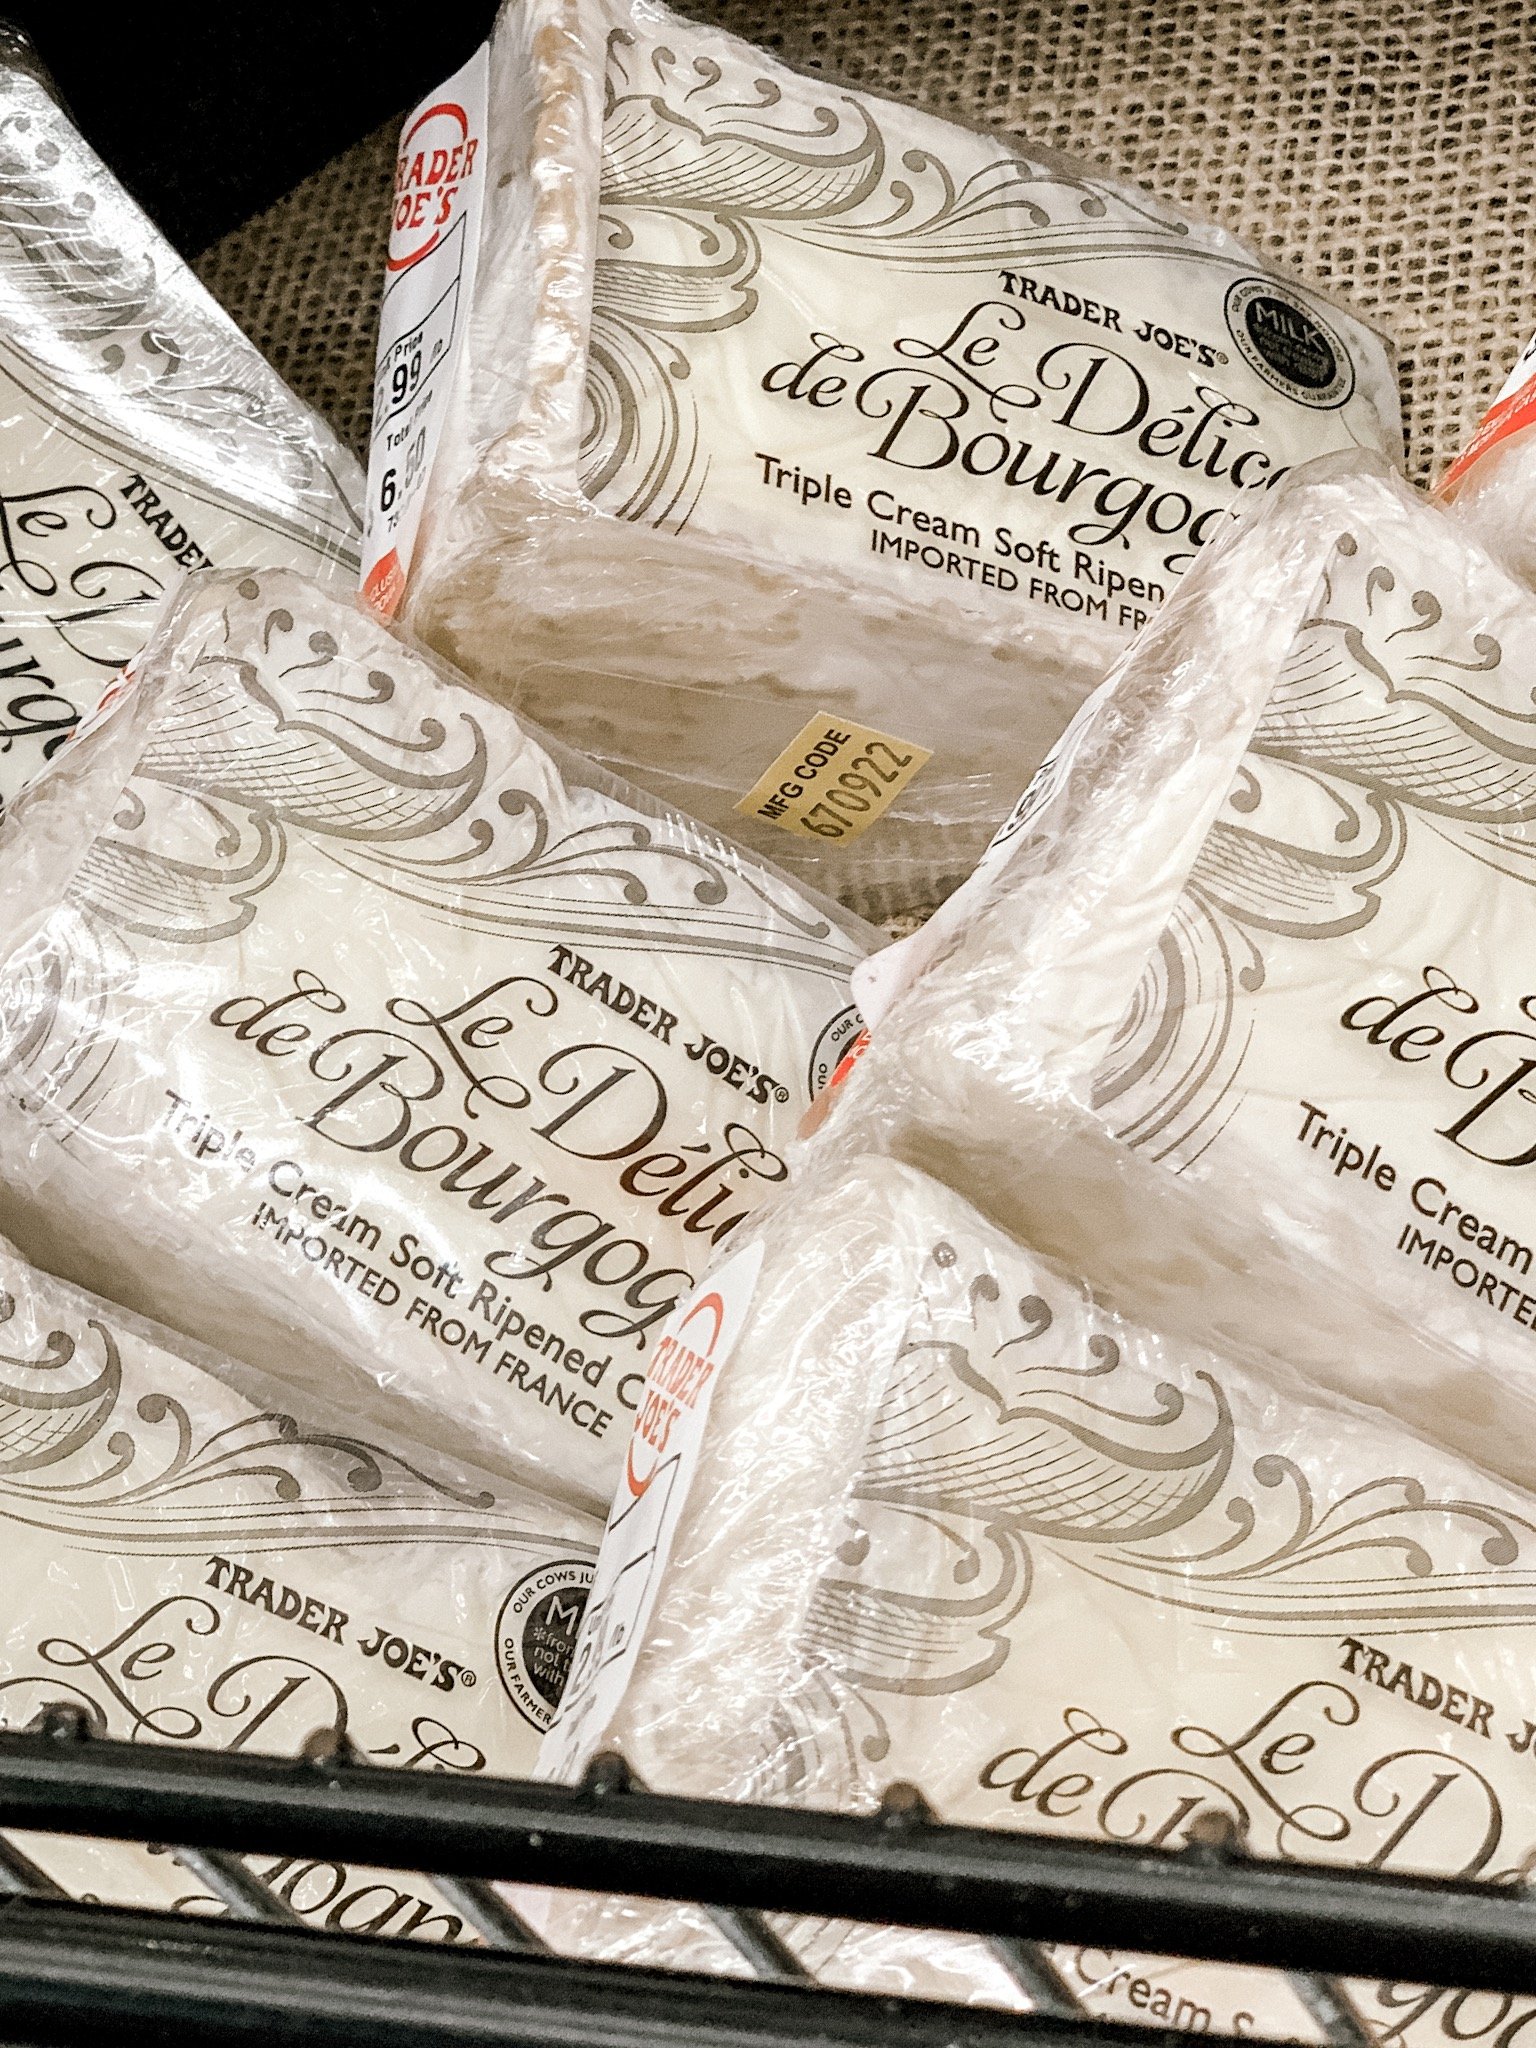
– Triple Cream Brie (In the summer I go with Belletolie or Supreme and in the cooler months I like Le Delice de Bourgogne (only because its SO soft that it gets soft too quickly in the summer).
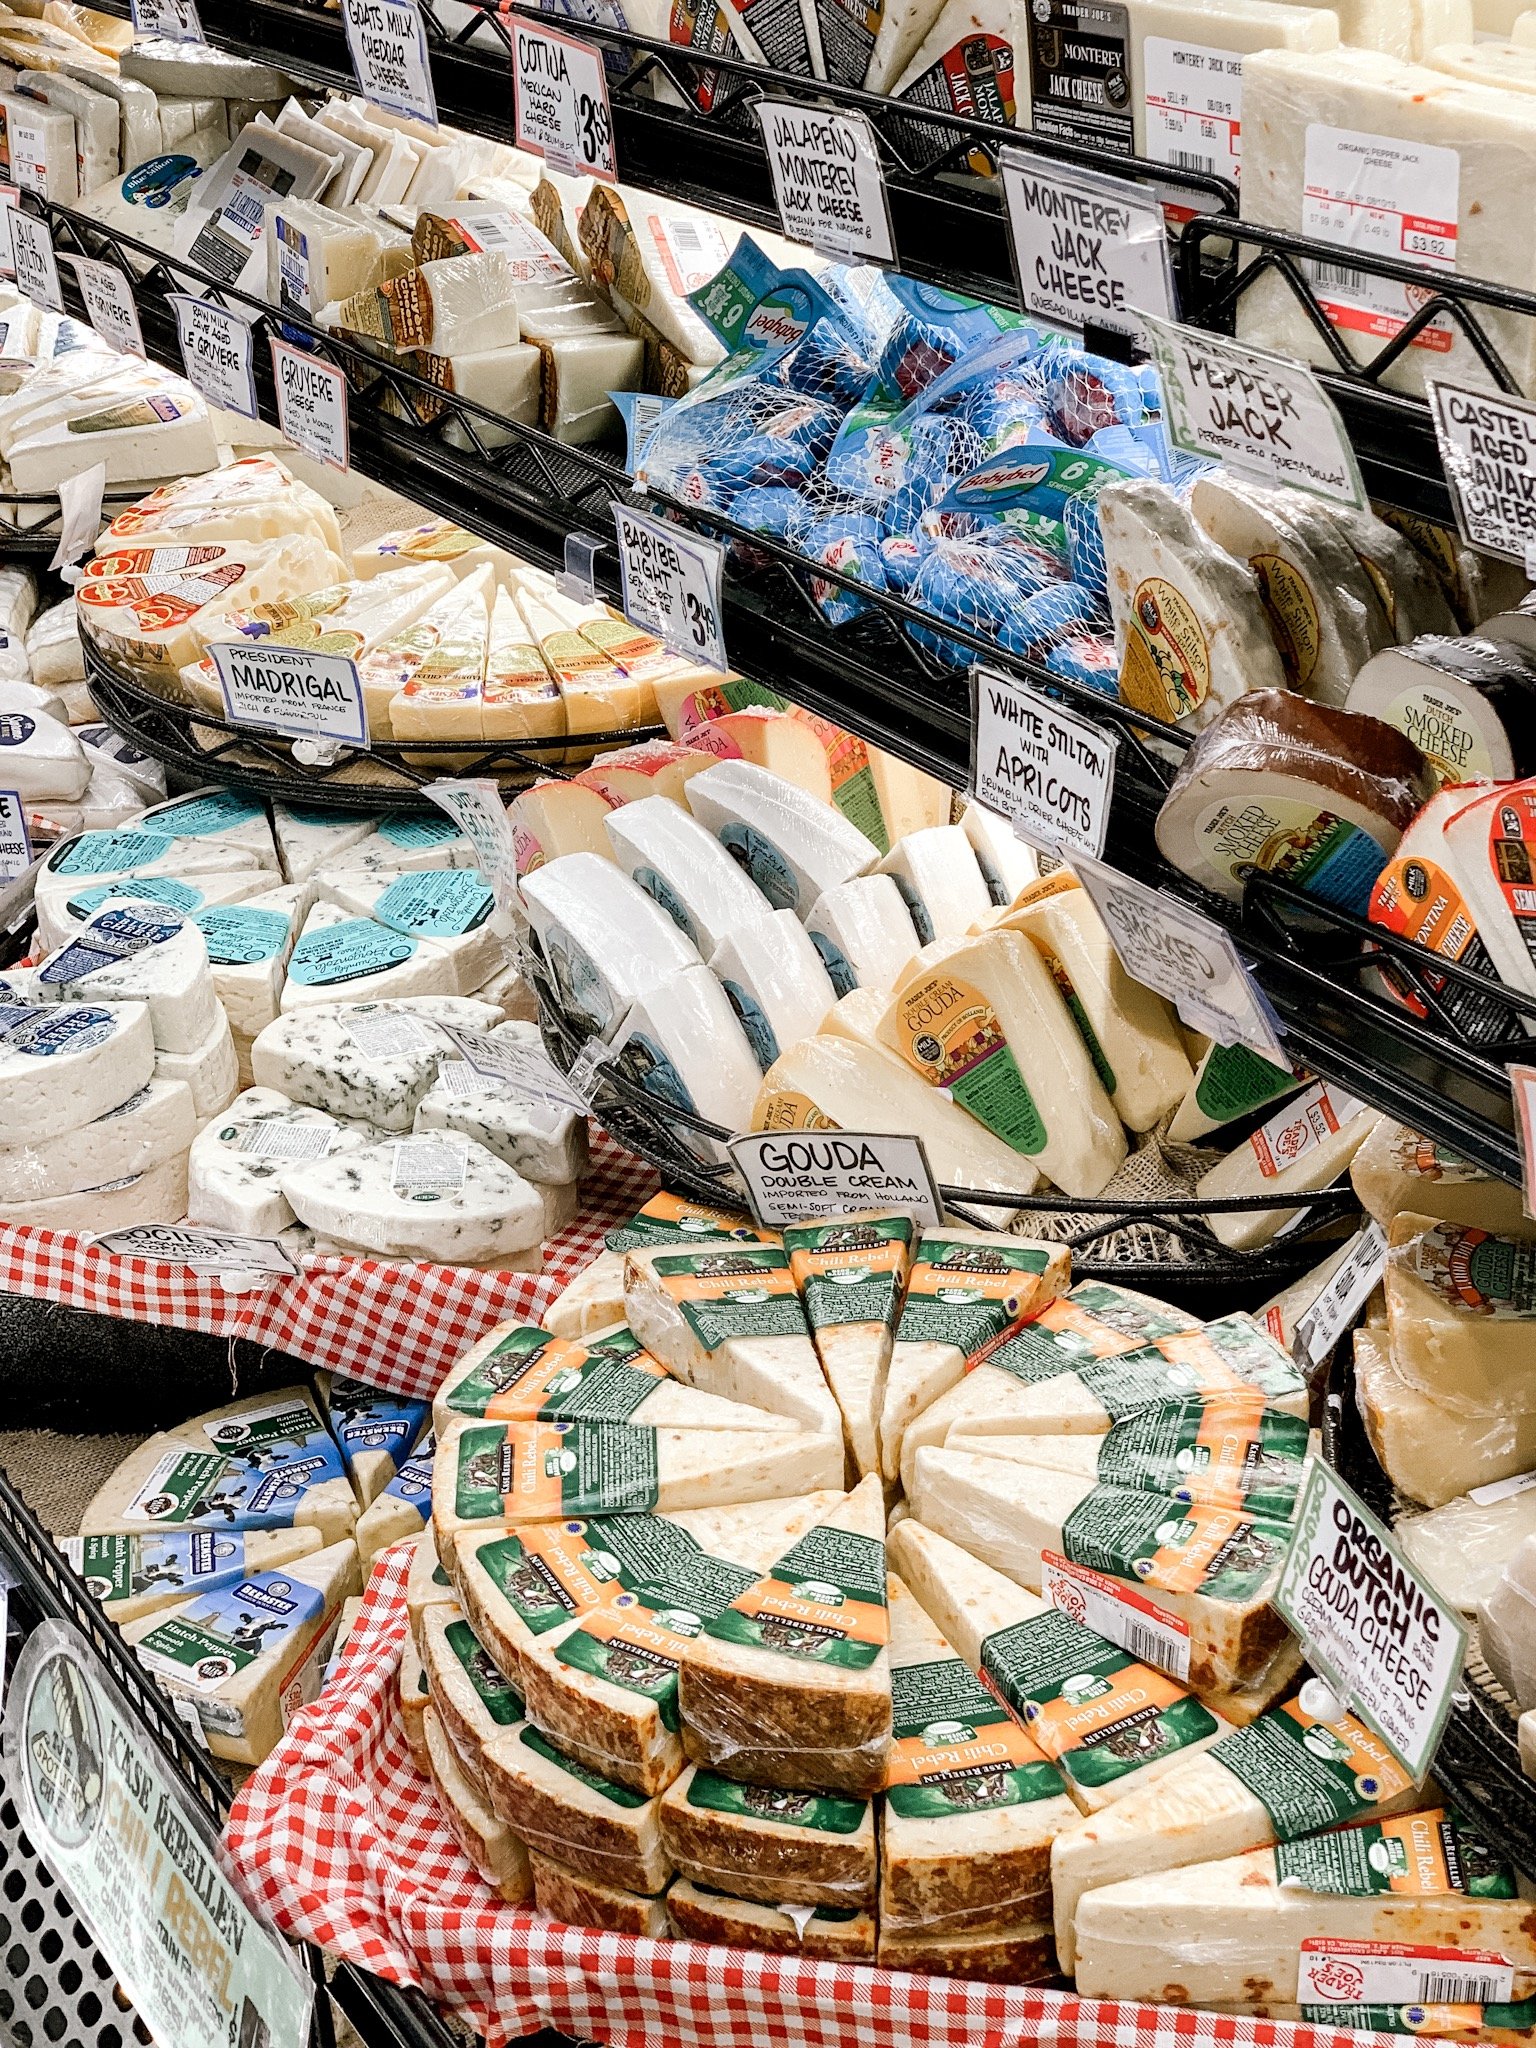
Hard cheese
– Manchengo
– Aged Gouda
– Cheddar (sometimes I do traditional extra sharp and other times I go for the carmelized onion cheddar!)
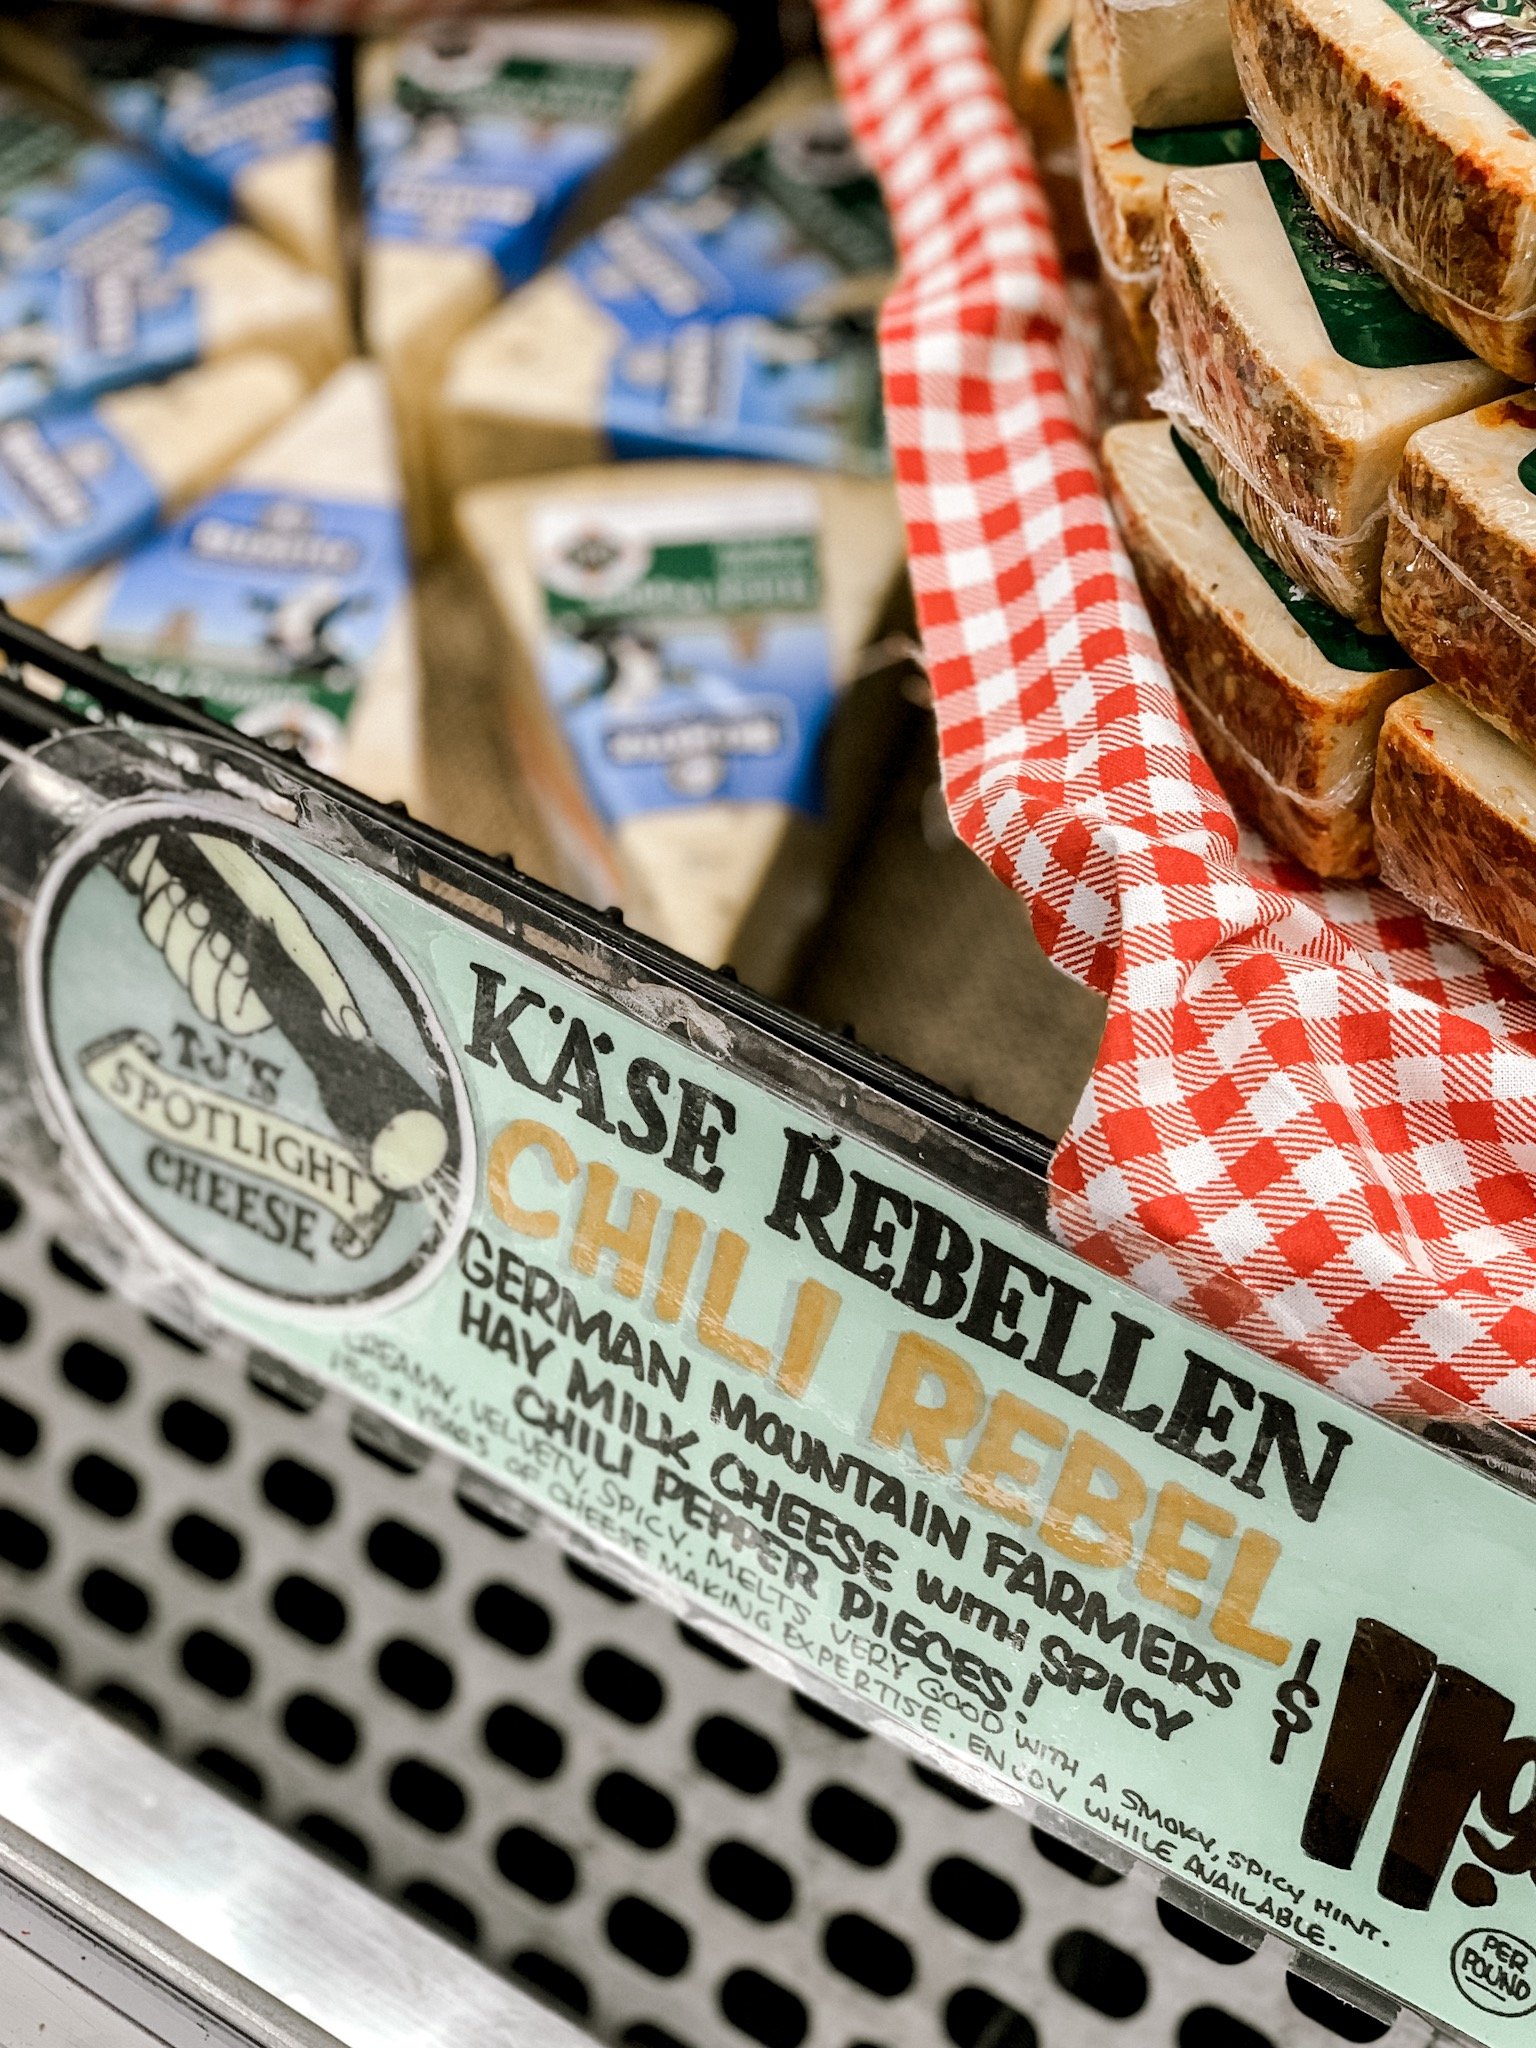
TIP!
Look for these spotlight stickers. I’ve found some amazing cheese thanks to this and they’ve been permantely added to my cheese rotation!
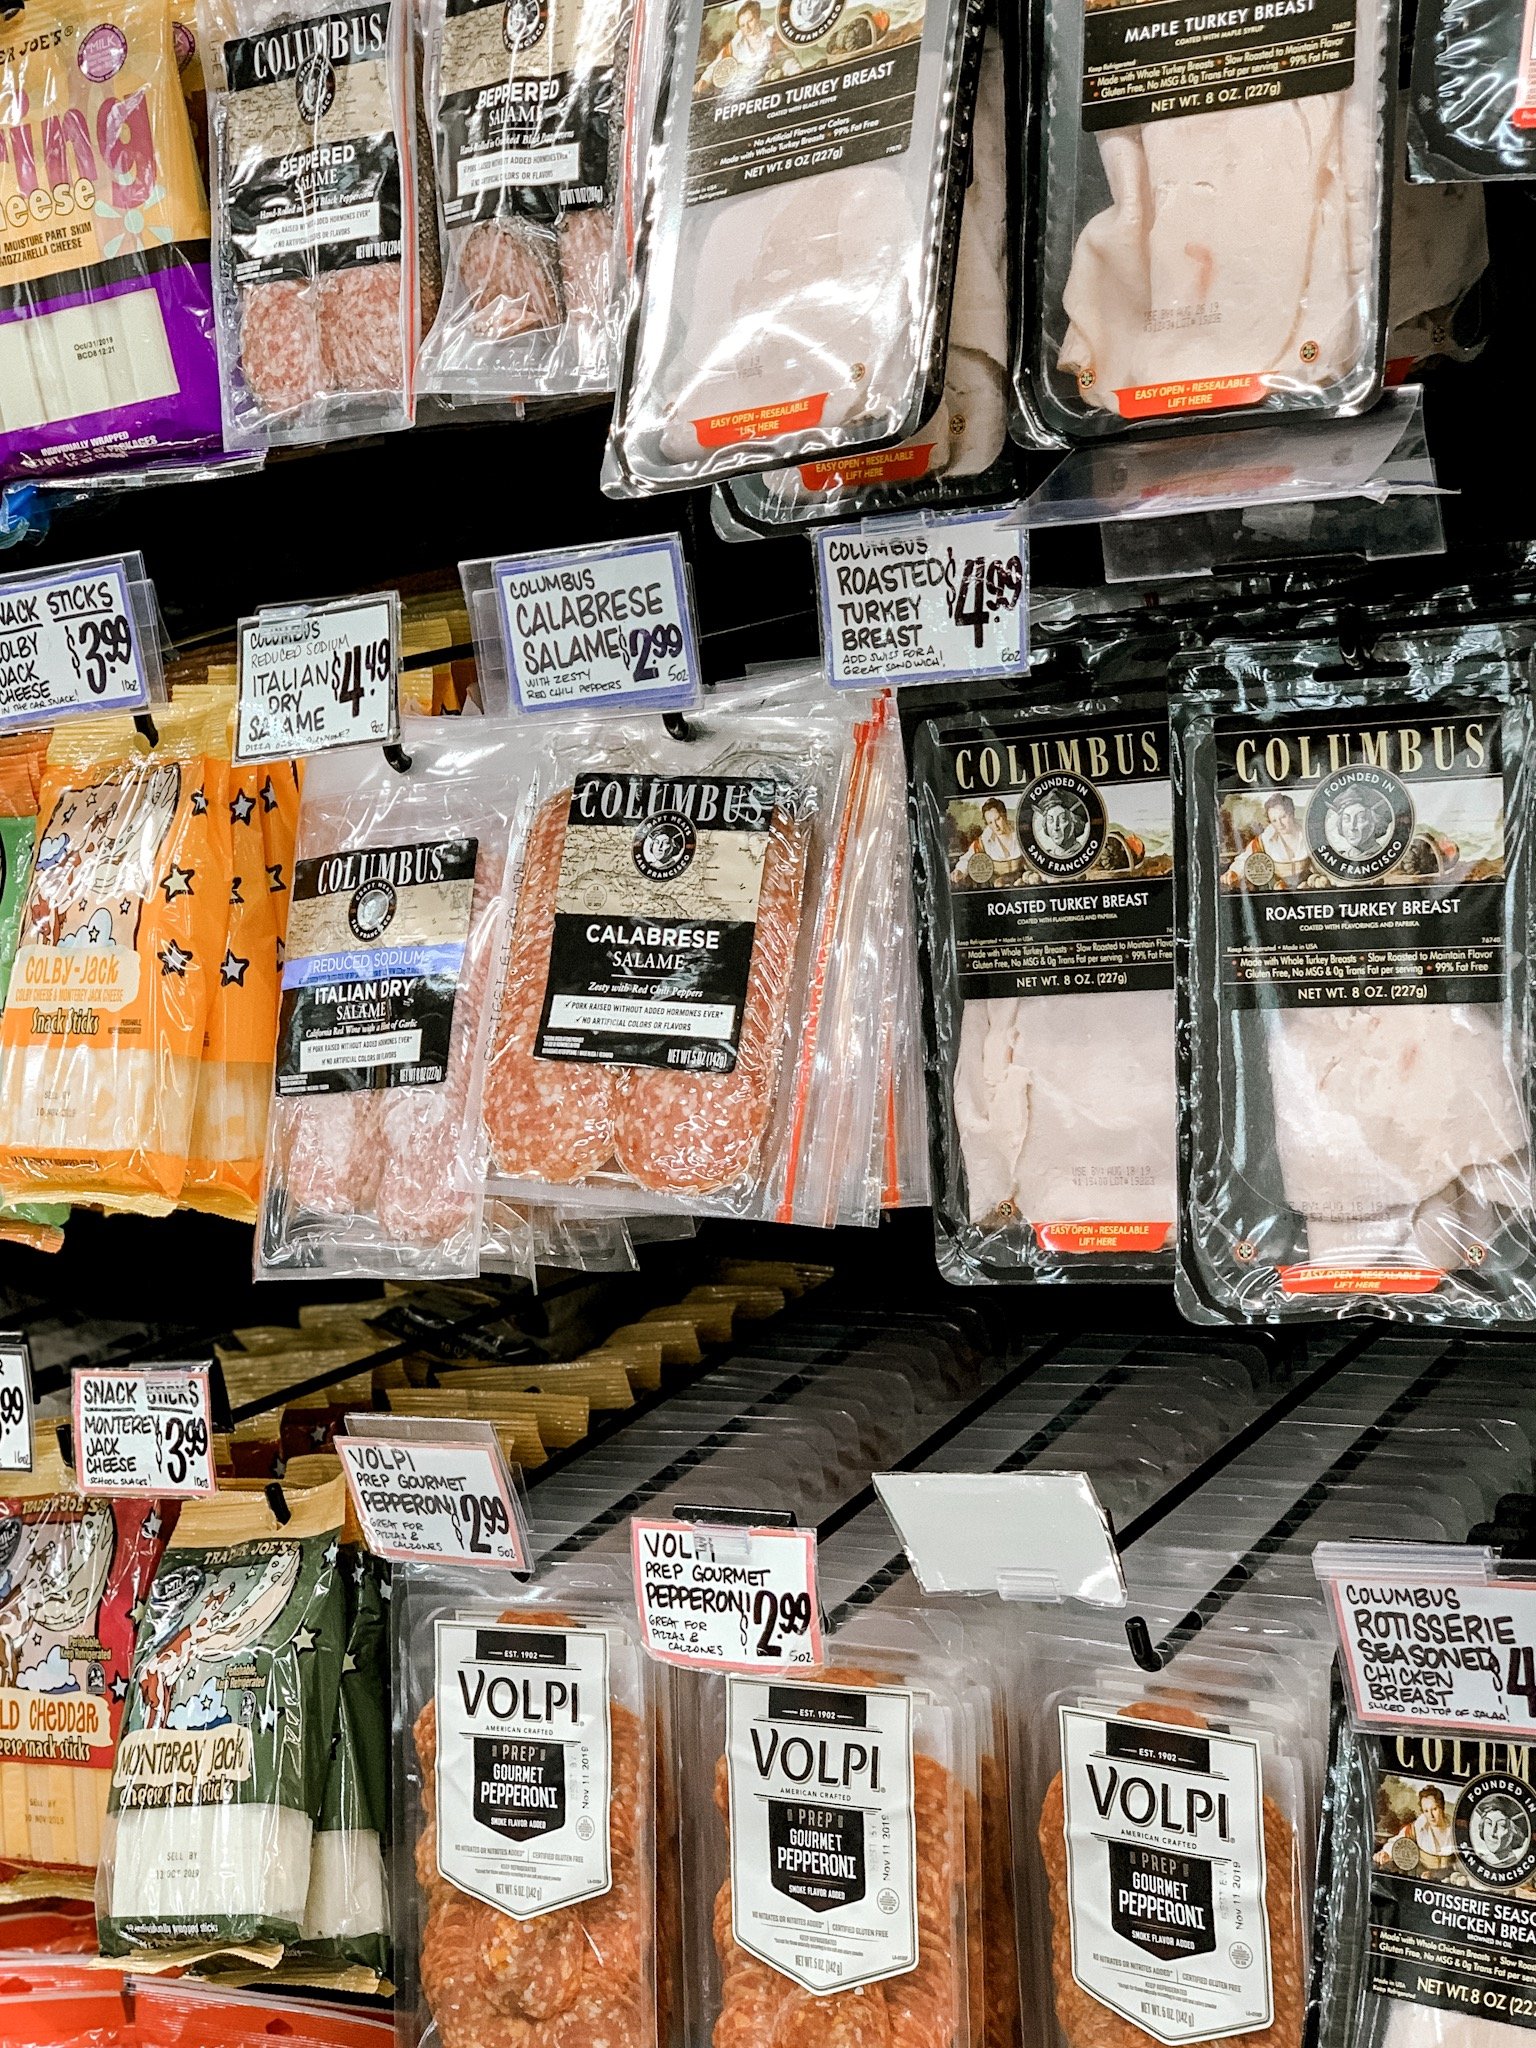
Meat Selection
For a large board I add 3 different meats. I rotate between the following:
– Proscuitto
– Peppered Salami
-Italian Dry Salami
-Soppresata
– Pepperoni (because it’s a crowd pleaser for picky eaters)
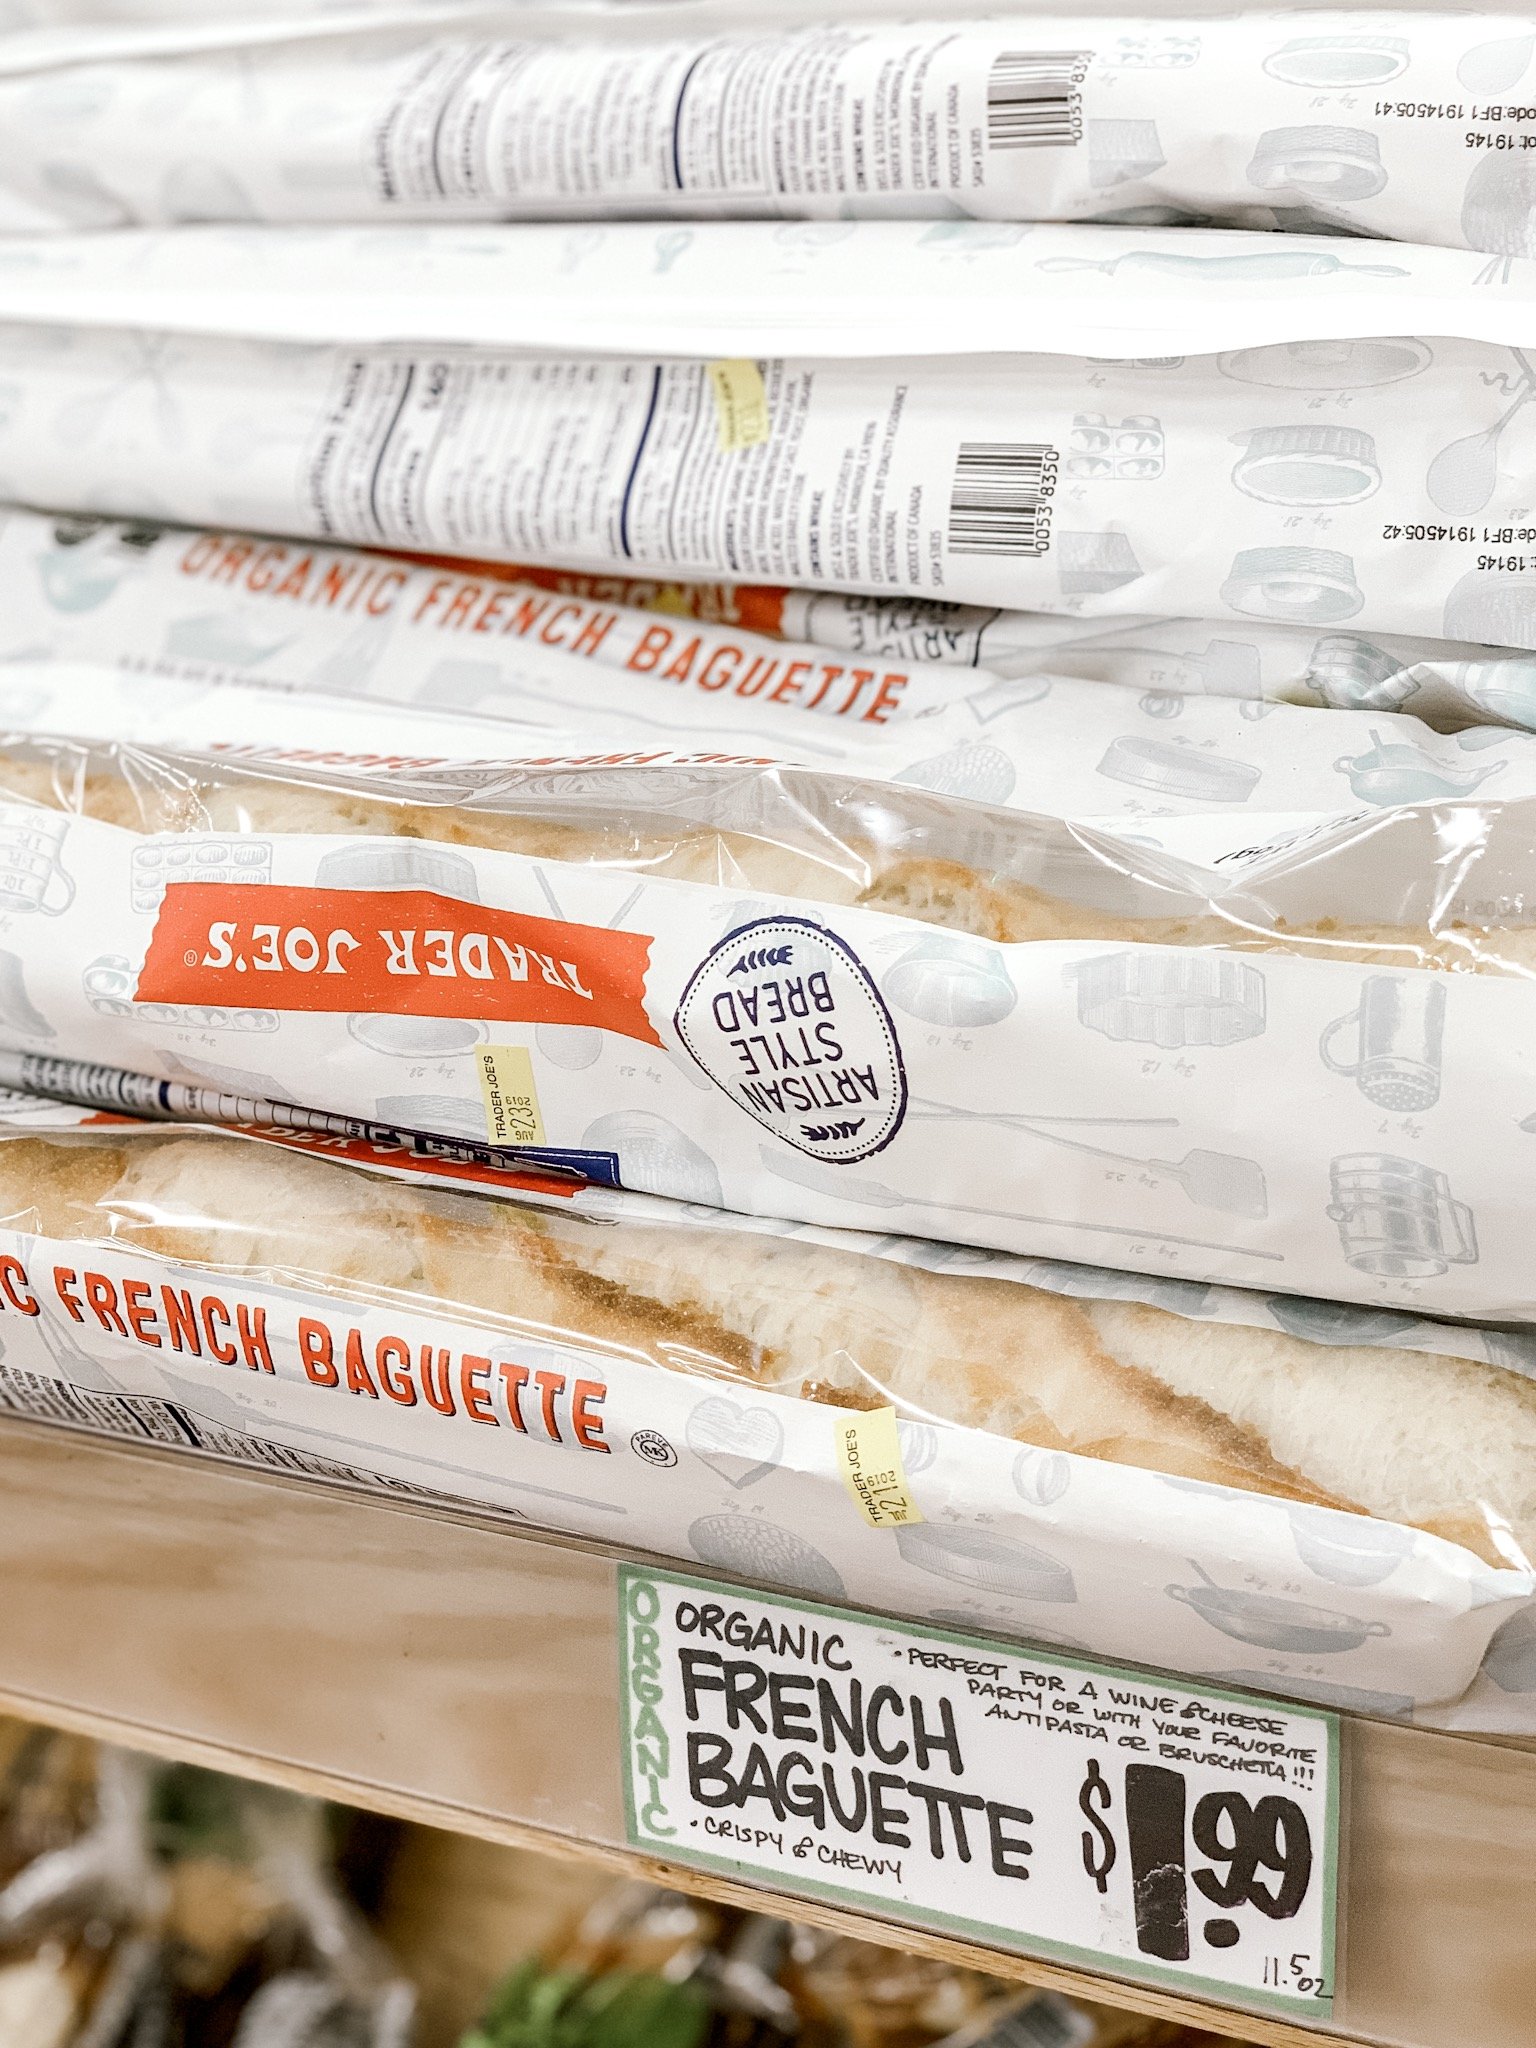
Bread
The organic partially baked baguette is my favorite find at Trader Joe’s, but any par-baked will do! Adding just baked (but completely cooled) bread to your board is a great touch.
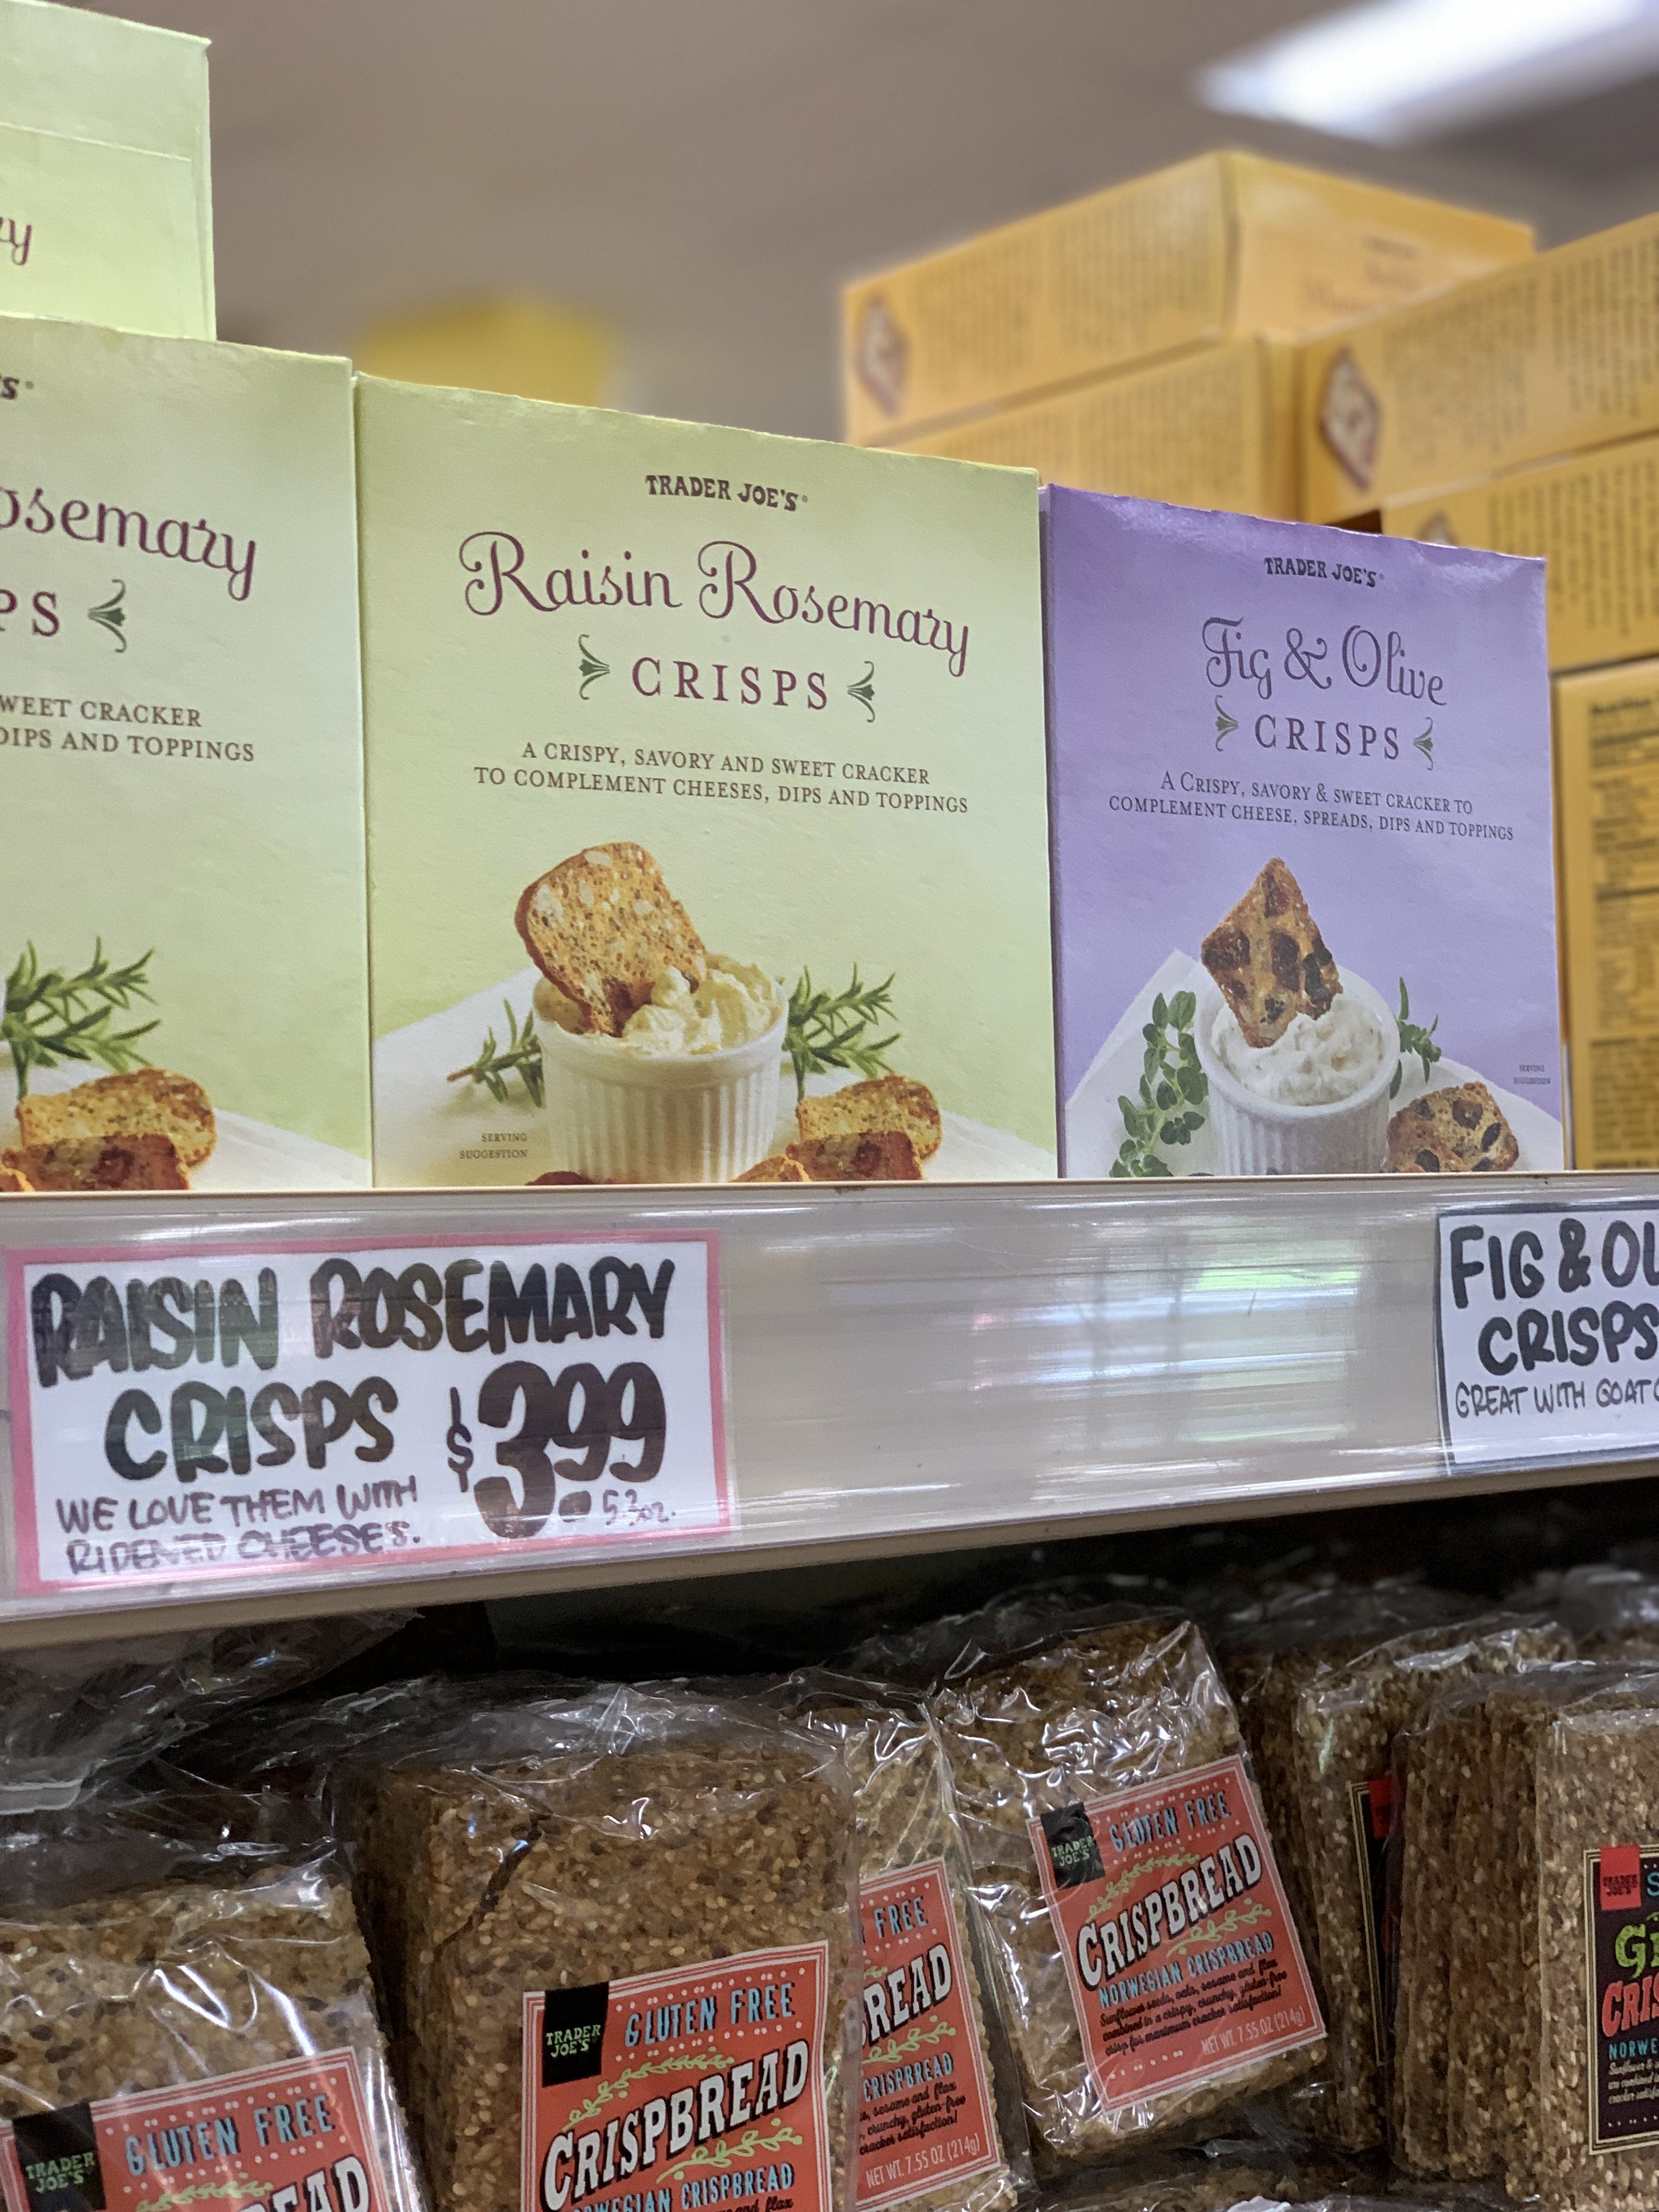
In addition to bread, I also always add crackers. The fig and raisin crisps are defintely my favorite and I always throw in traditional water cracker as well.
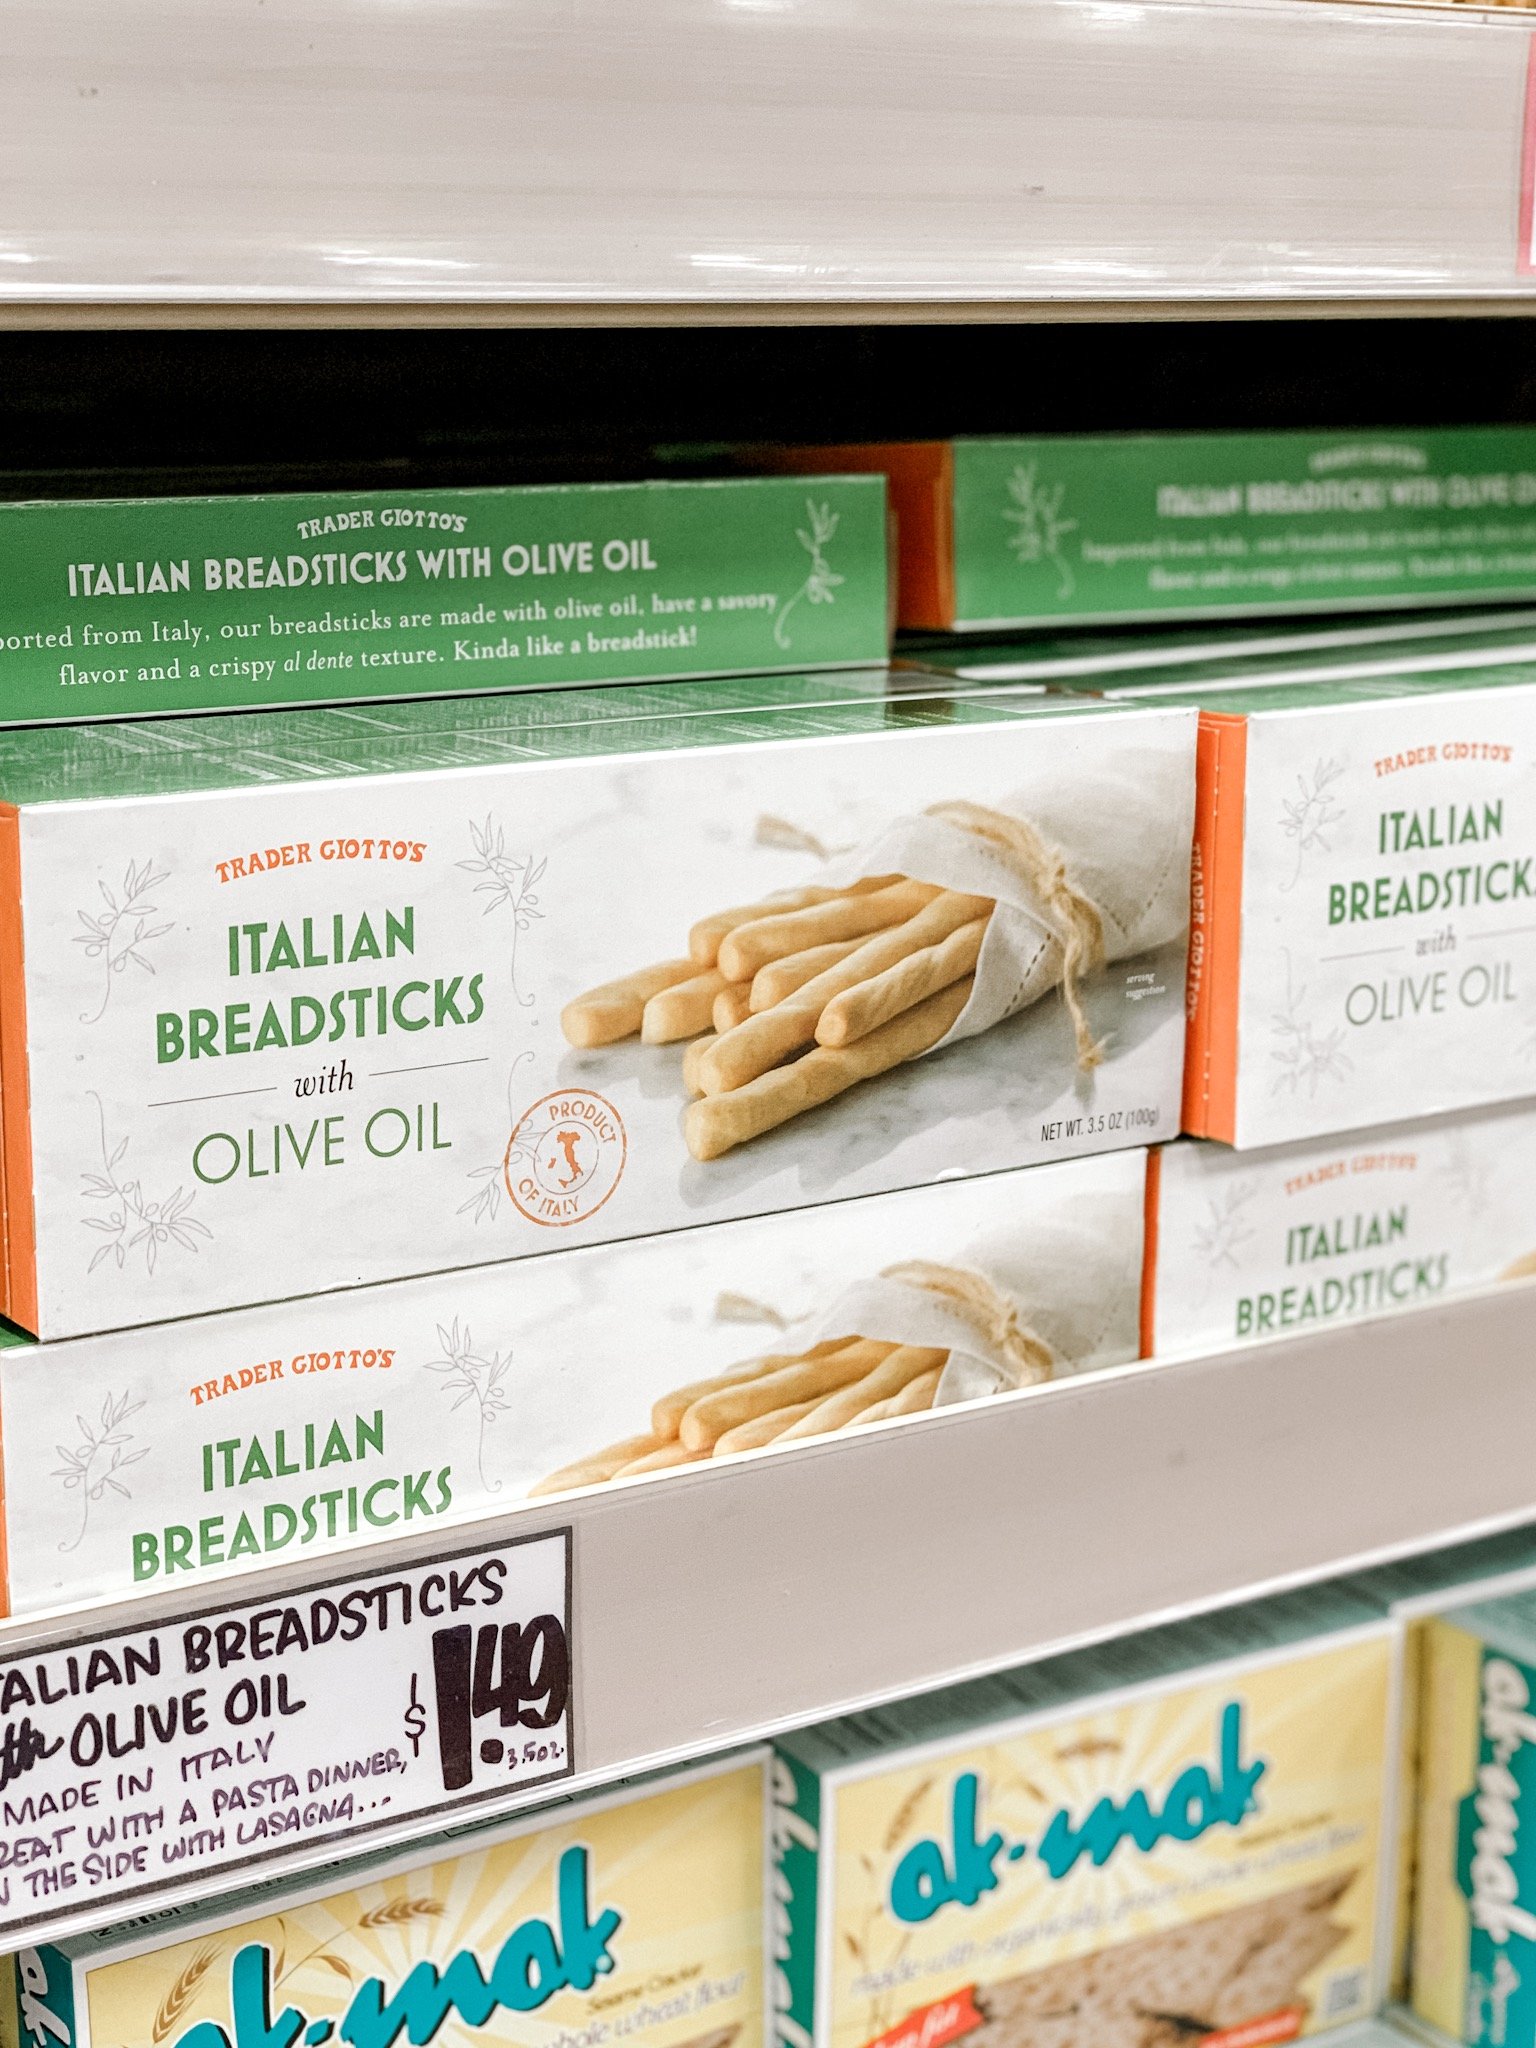
Breadsticks and cheese twists are also good to grab. I layer a few of those on top of my board at the very end for some additional texture and visual interest.
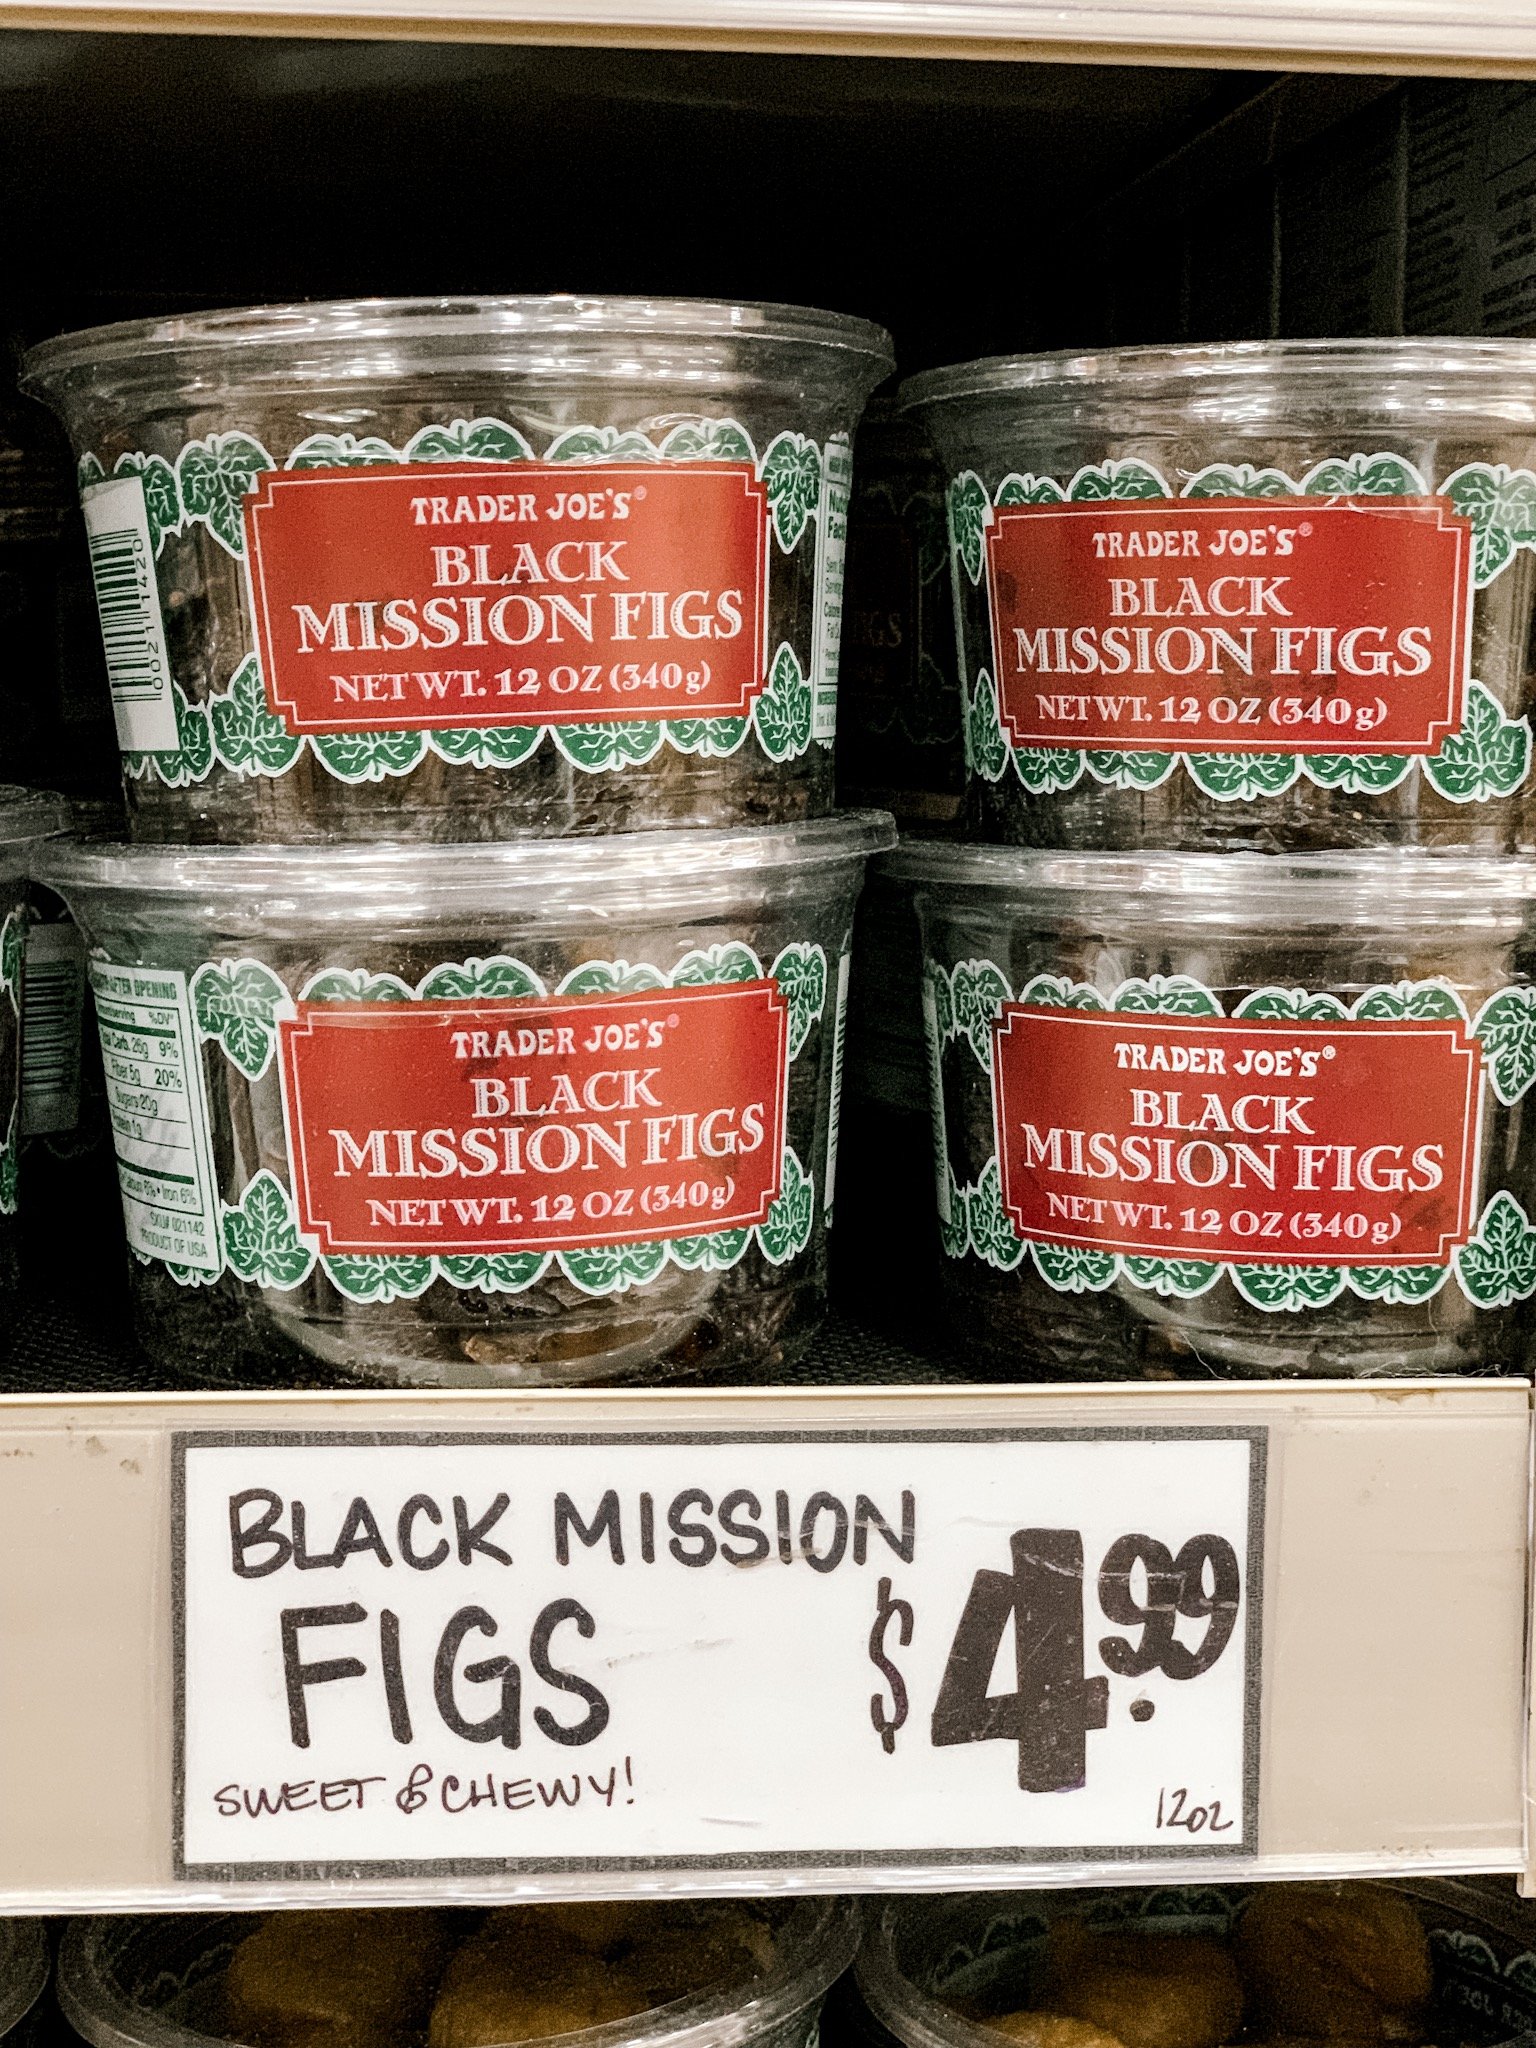
Dried fruit and nuts are the last thing I add to my board and they’re the most important because they’re small and they’ll help you fill in any small spaces!
When in season, I like to add fresh fruit like berries or pears. In the winter months I incorporate more dried fruits like figs and cherries. Grapes are defintely a must any time of year!
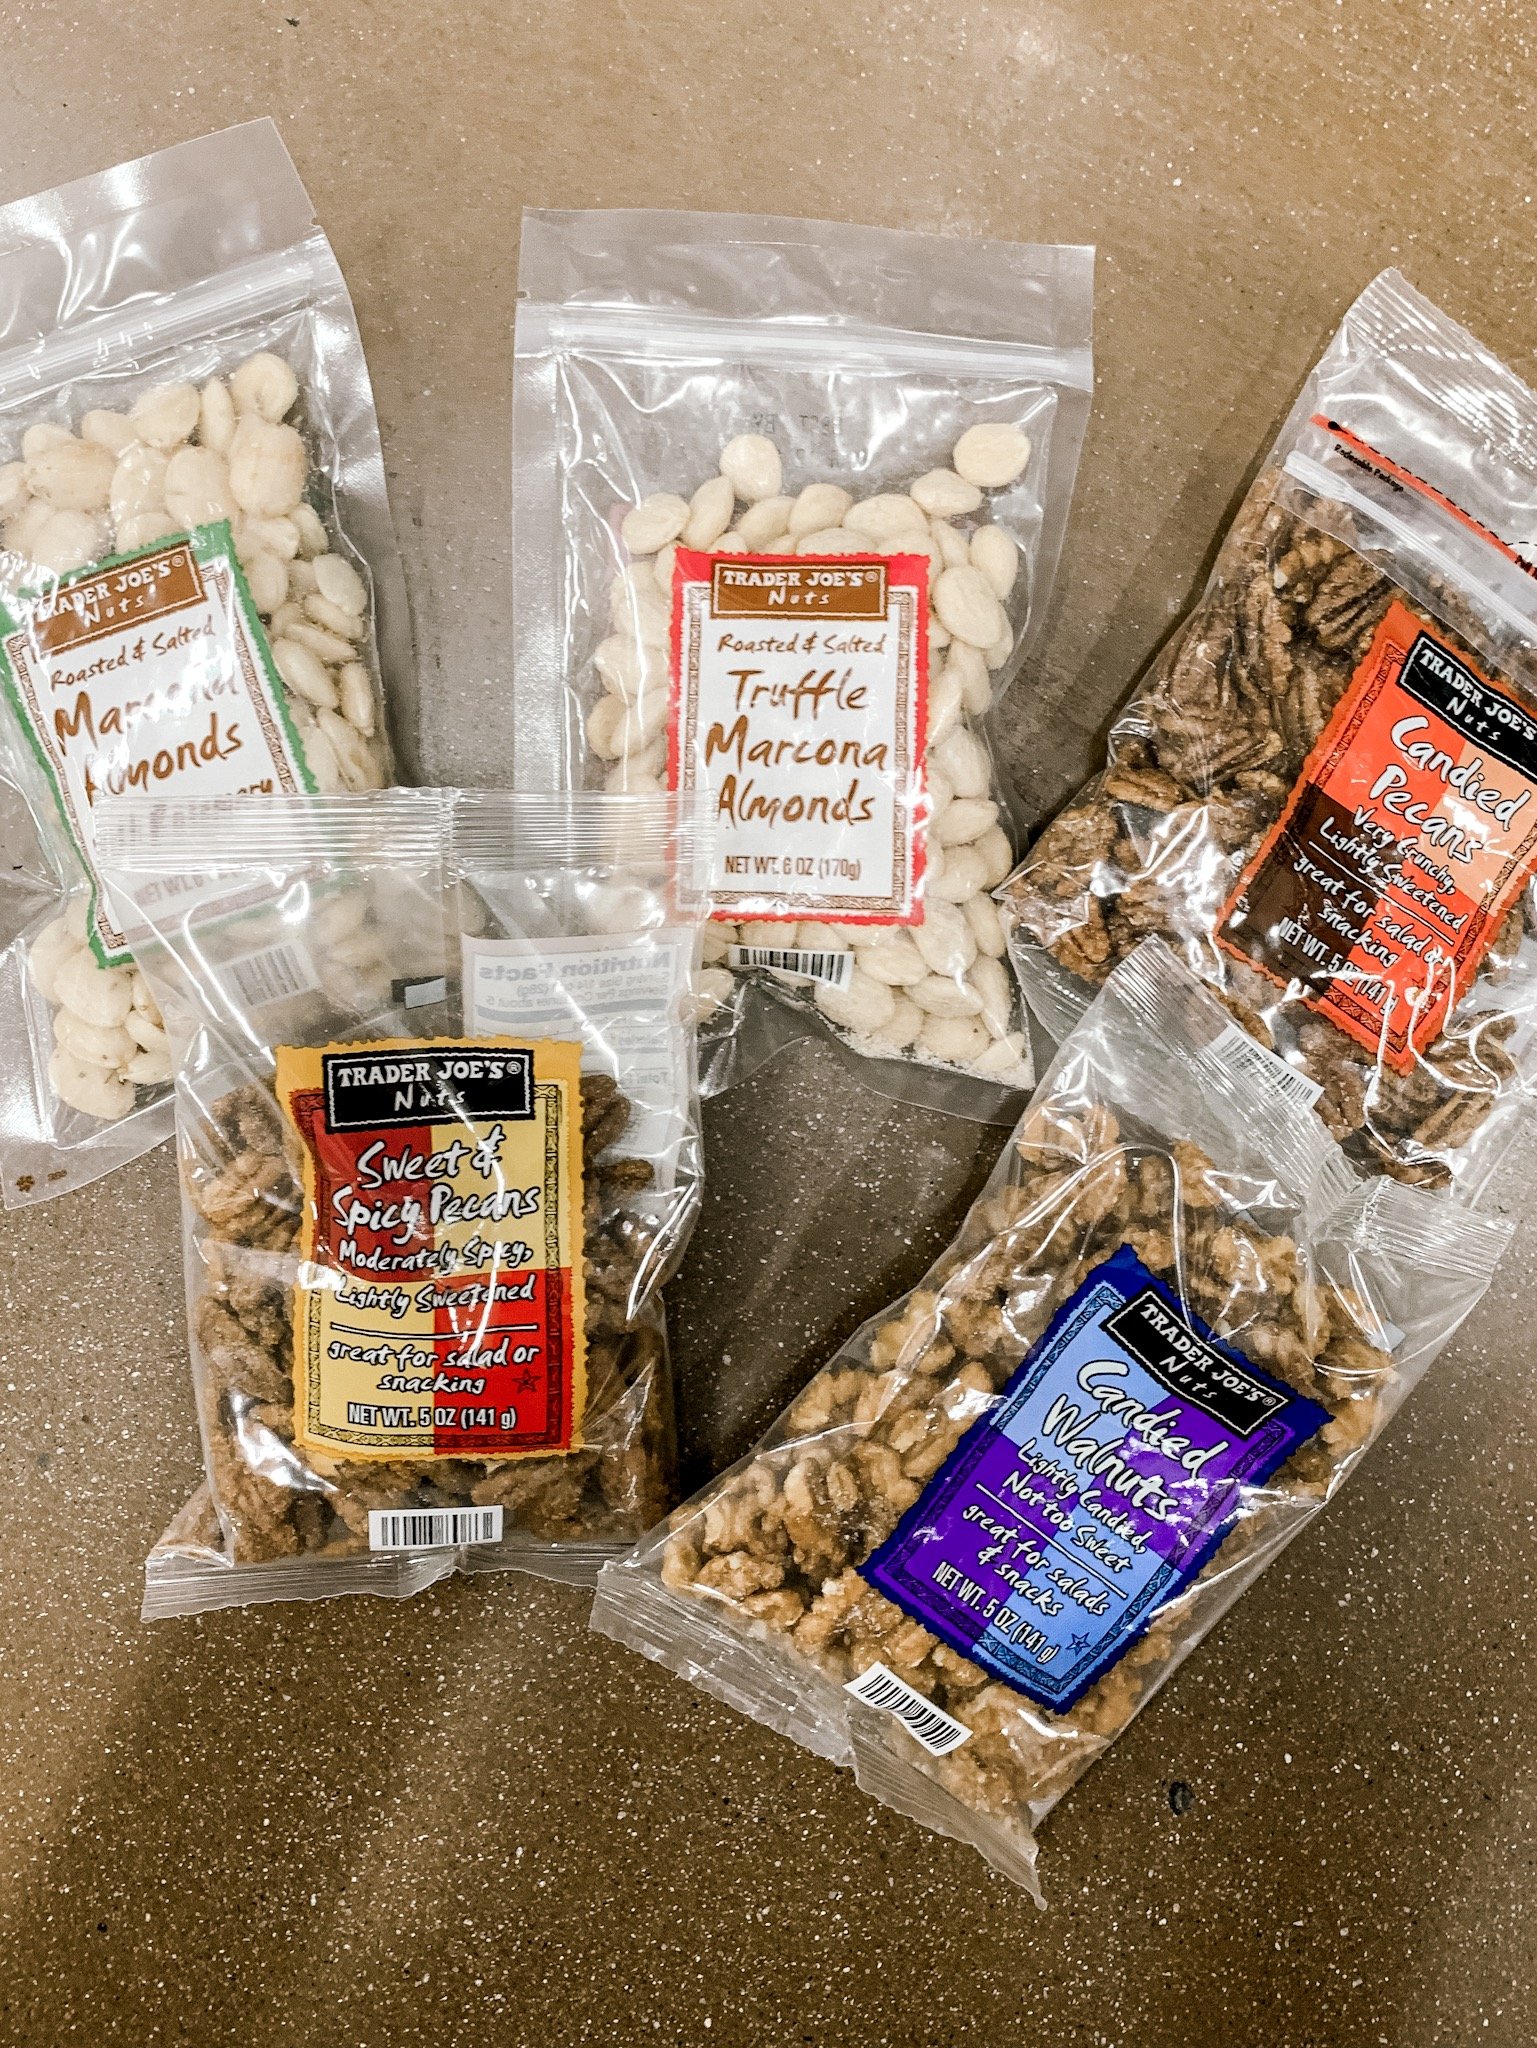
And for the nuts, I almost always have all of these in my pantry at any time! These are all amazing!
Other Foods
Here are a few other things I like to add:
– Cornichons (small pickles)
– Olives (ALWAYS!)
– Honey
– Jam (I love to make fig jam every fall!)
– Chocolate (covered almonds, or grahams are perfect!)
Order of Assembly
Ok…let’s build the ultimate cheese board!
1. Place your bread & cheese on the board. I like to separate them around the board. Remember to cut up any hard cheese into small pieces otherwise I promise people will barely eat it.
2. Fold and neatly arrange meat into piles on the board. . Place one next to a cheese and leave two others alone on the baord.
3. Fruit/Olives/Spreads. Add your large fresh fruit, jam and bowls for olives, honey or any other items that need a separate container.
4. Nuts/Crackers/Chocolates. The last thing to add are the smallest foods. Arrange these to fill in any remaining gaps between your larger food items.
5. Layer the breadsticks and cheese twists. . These are so simple but they’re always eaten and add some diagonal interest to the board.
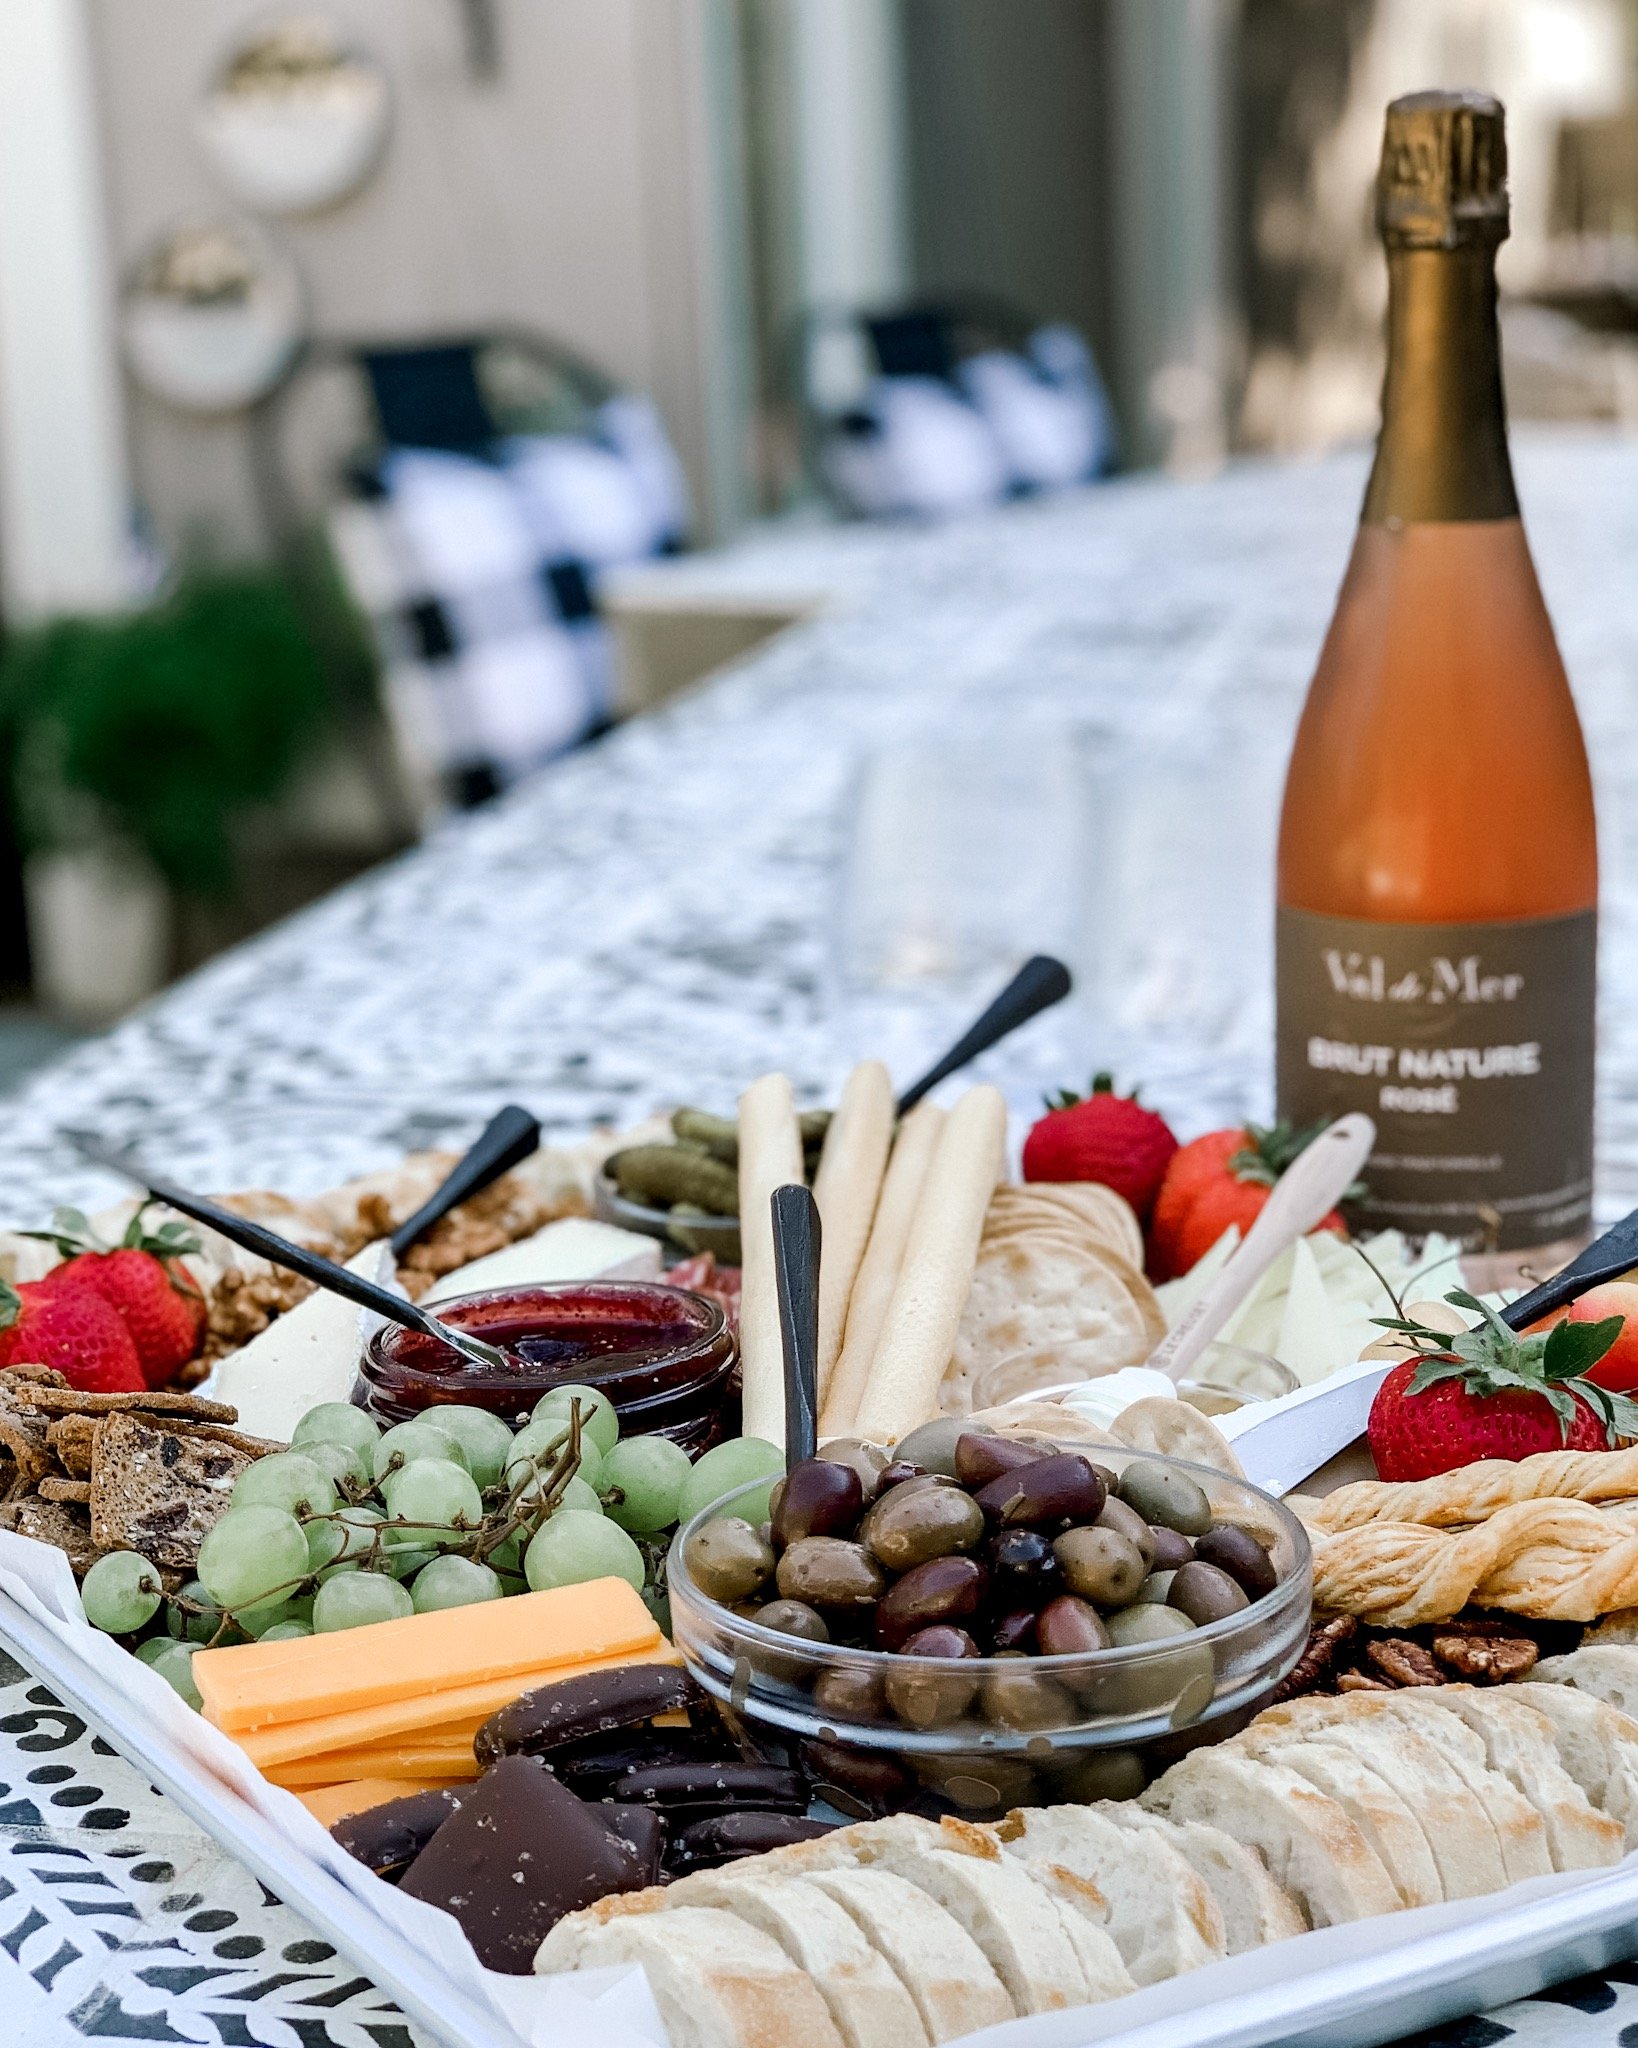
And you’re ready to pop some bubbly and EAT! It’s become such a fun and creative way to explore foods and to get my son so try different cheese and meats too!
Hope you enjoy! And don’t forget to pop over to my IGTV video tutorial for more!

xoxo
PS – if you like bubbles…you need to pop over to my friend’s business “We Drink Bubbles”. Hands down some of the best bubbles I’ve ever had! I was lucky enought to work with her to curate a bubbles box this month too!