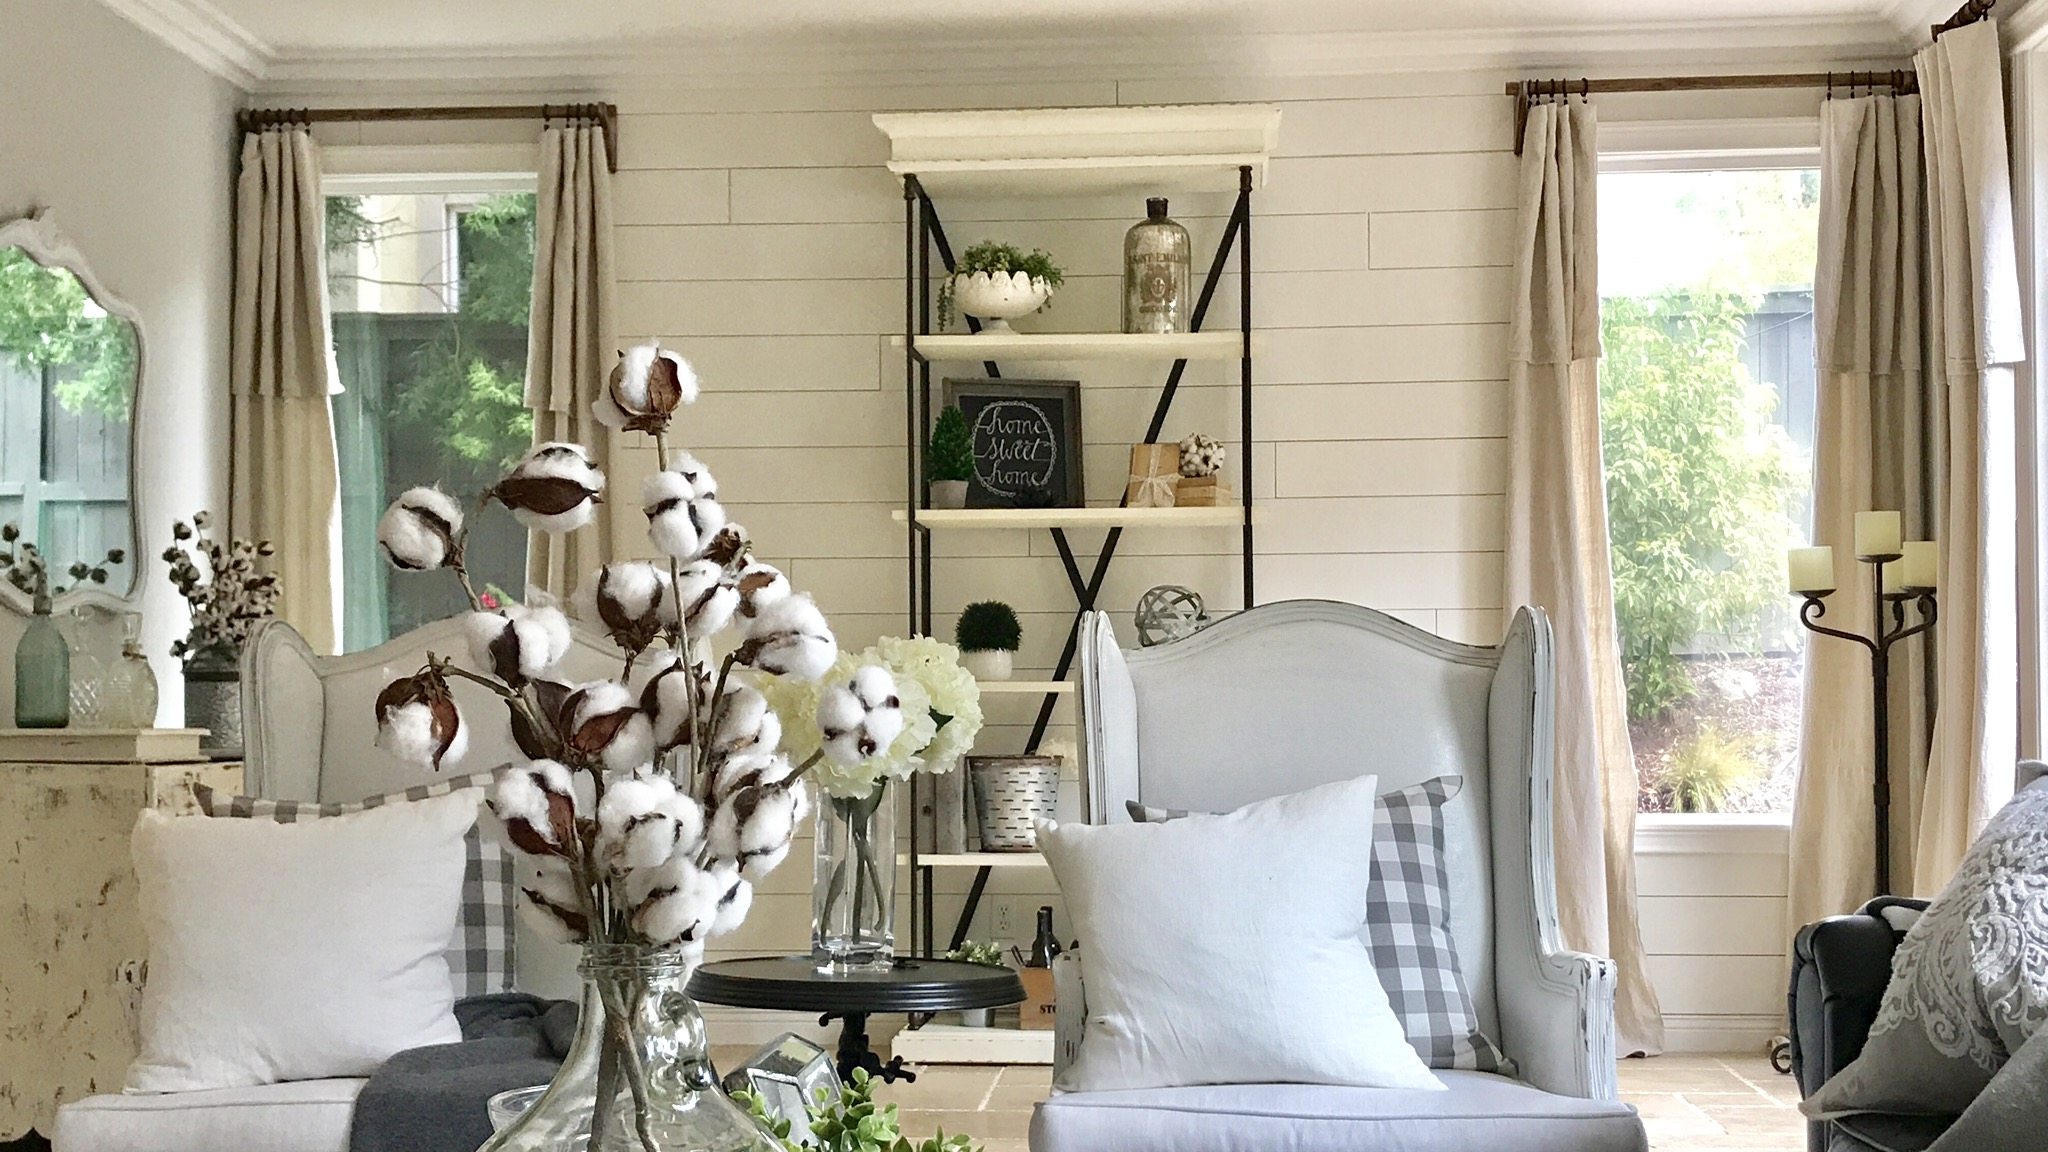

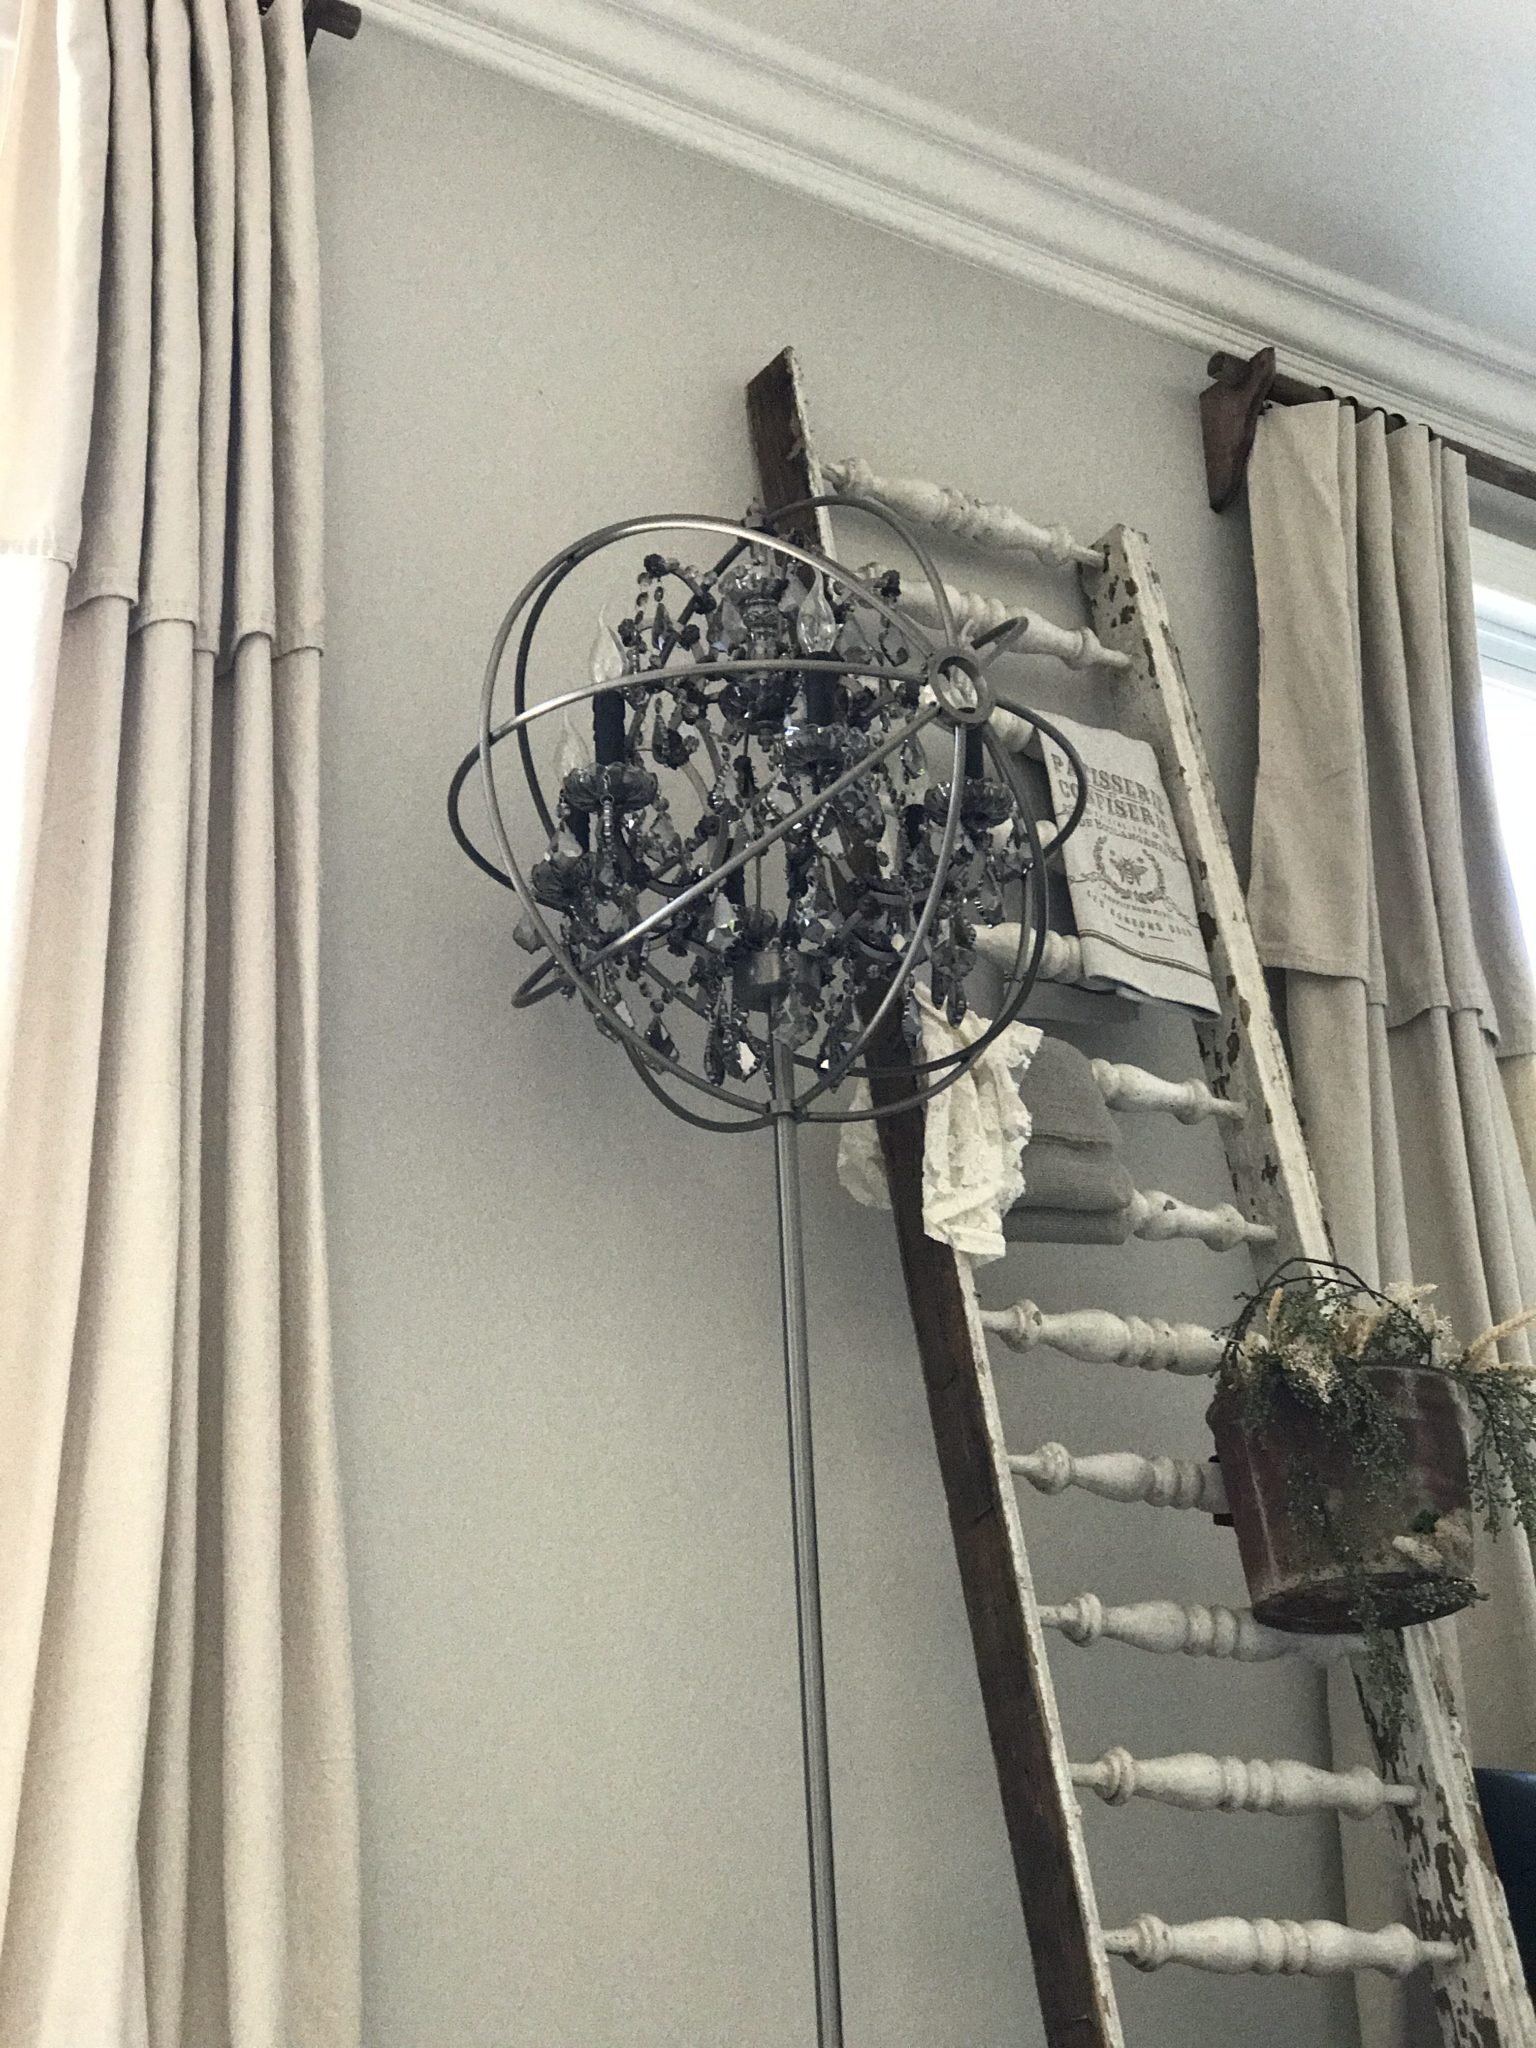
Can you believe these curtains are actually from the paint section at Lowe’s and they’re sold as painter drop cloths….and all I did was take a scissor to them!??!
When I first posted a picture of these curtains on Instagram, I had SO many comments and direct messages from people saying they just didn’t believe these are actually painter drop cloths. But I 100% SWEAR that they are!! I purchased them from Lowe’s and with a quick wash & dry, and a little snip and clip…these amazing curtains were made. Below is a quick tutorial on how to add warmth and coziness to your home with the easiest and most inexpensive curtains!
– Drop Cloth(s): most popular sizes are 6′ x 9′ or 9′ x 12′ (which is what I used in this room because I have 9′ ceilings)
– Good pair of scissors
– Curtain Rods – click HERE for my previous post on how to make amazing wood ones!
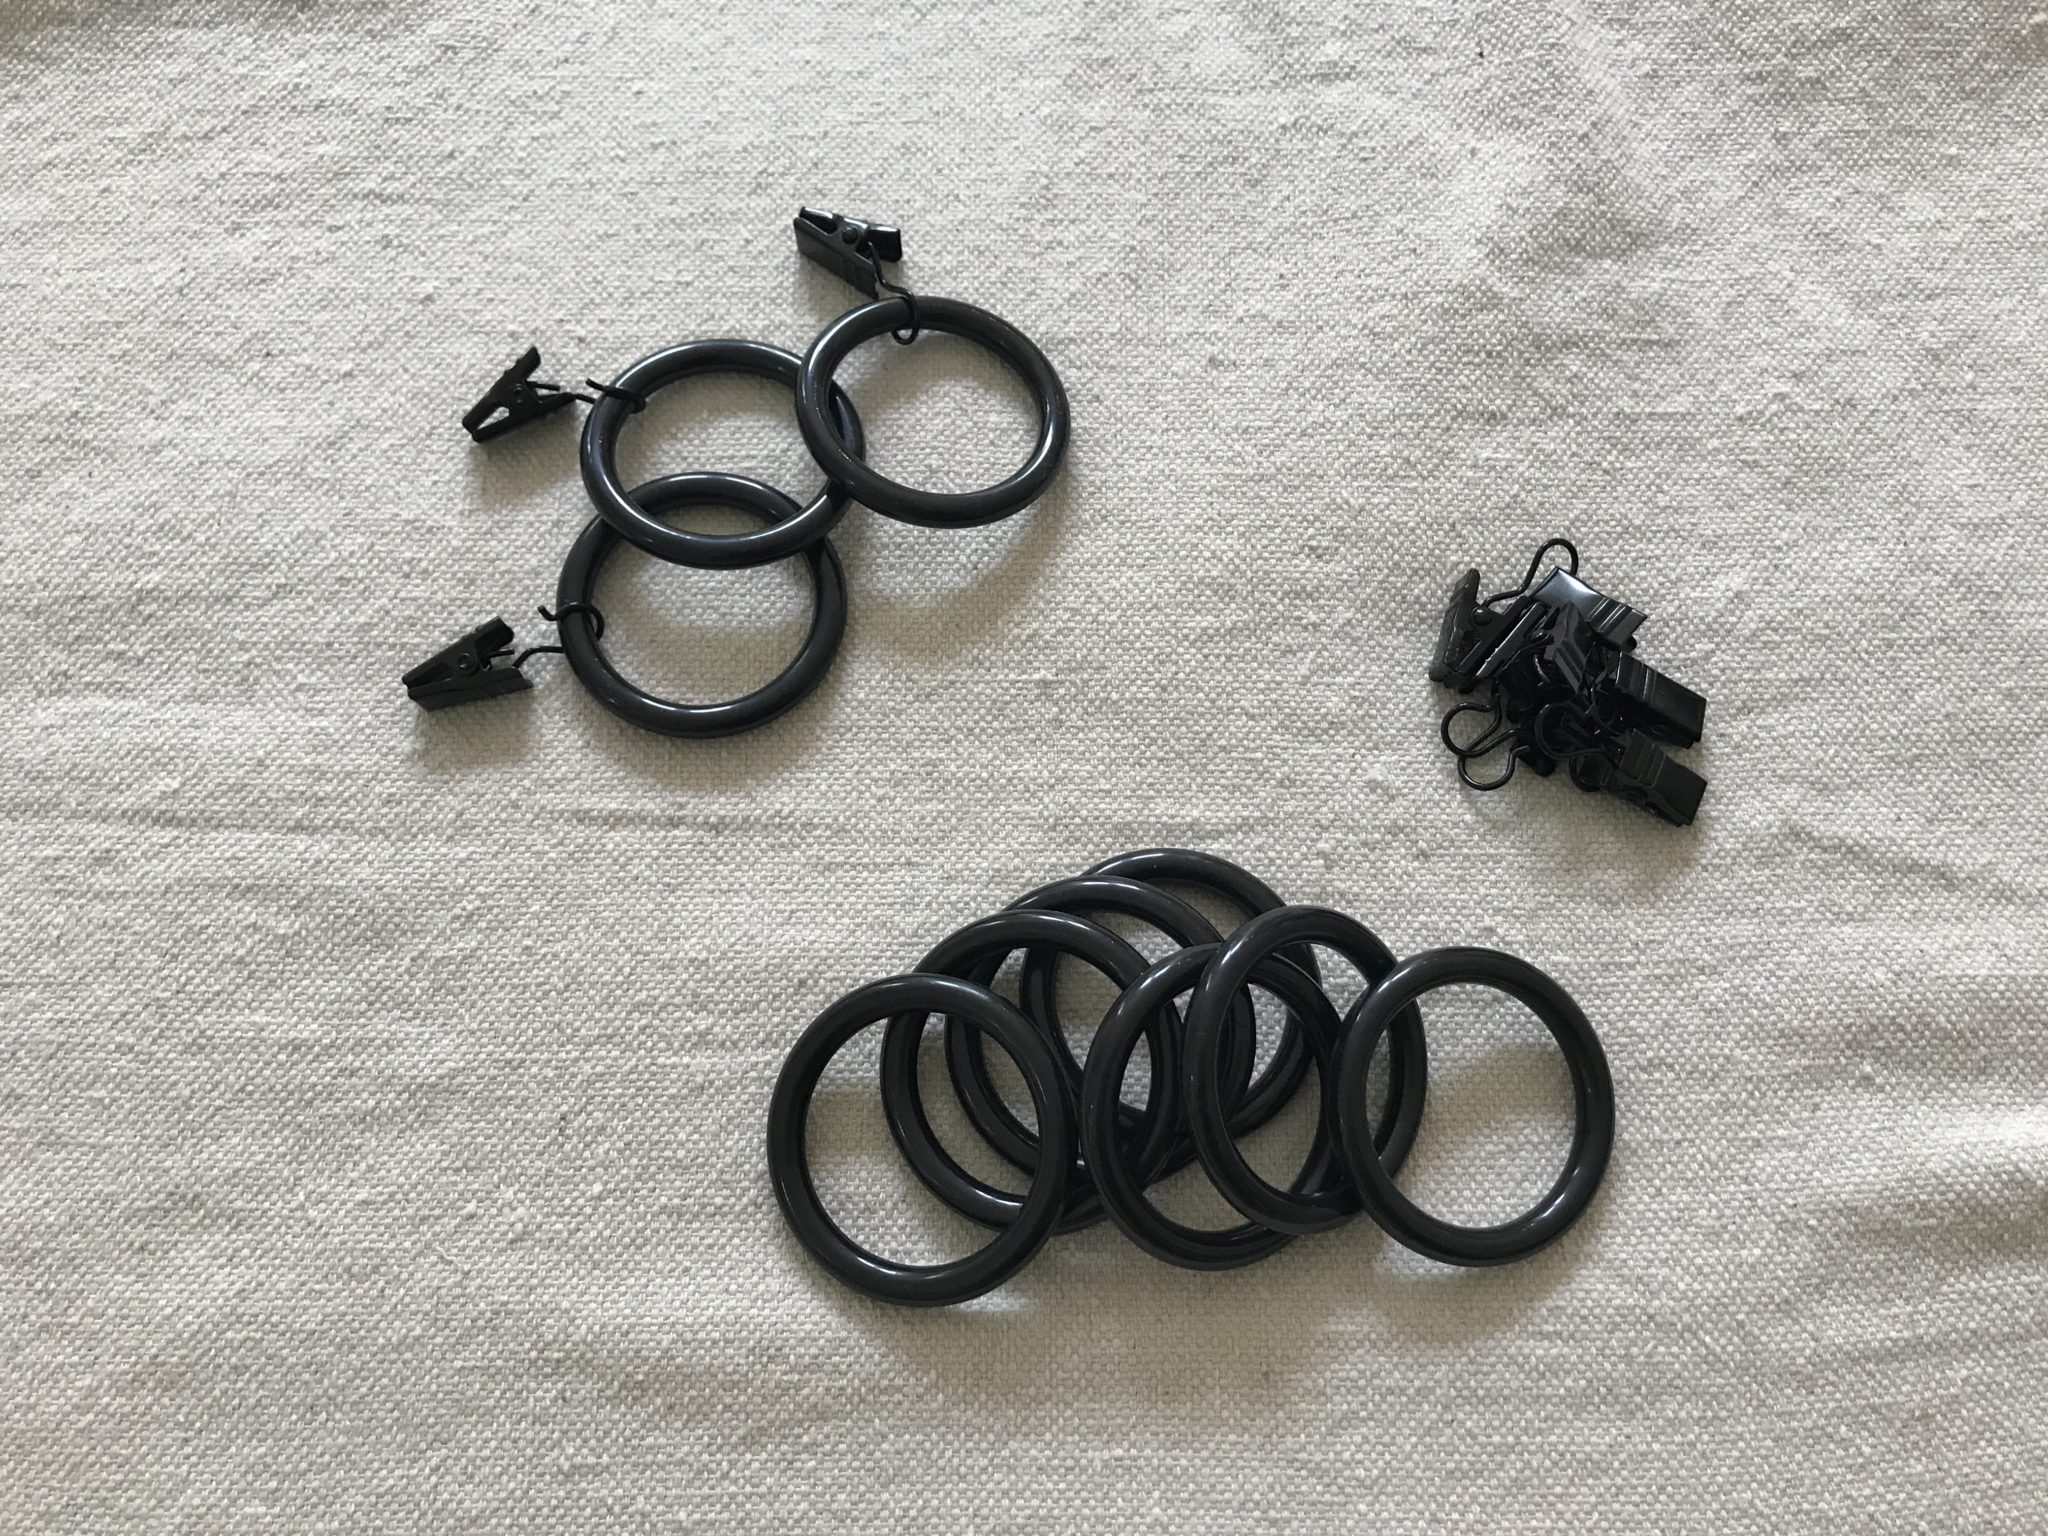
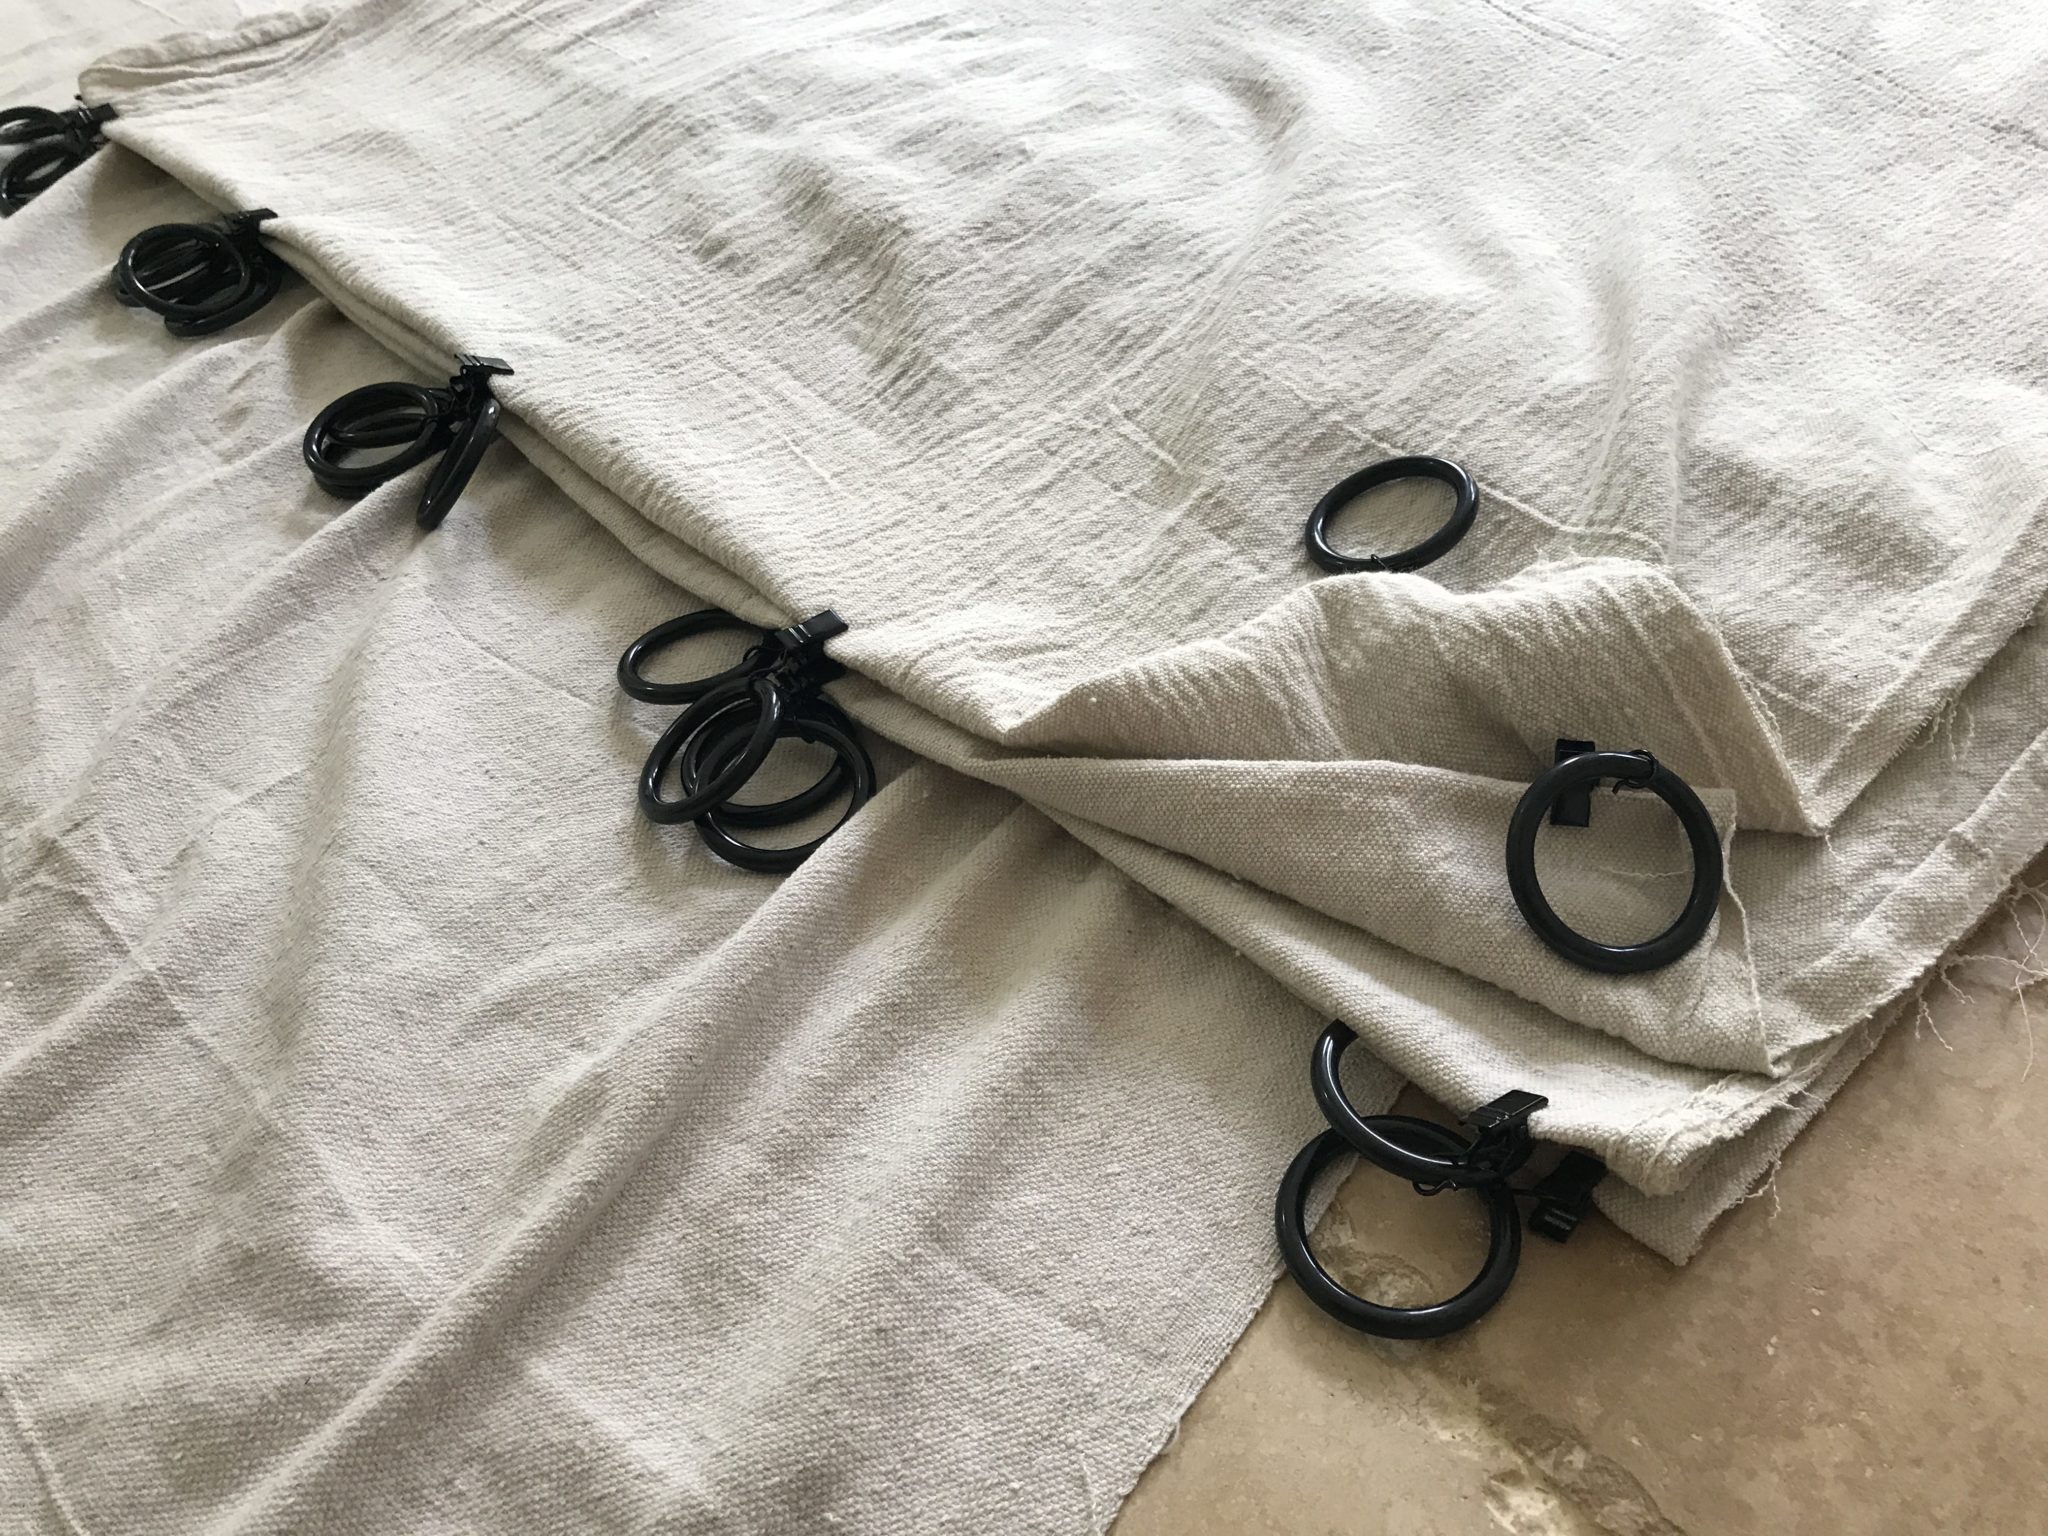
– Clips to hang the curtains (Ikea has the BEST price!)
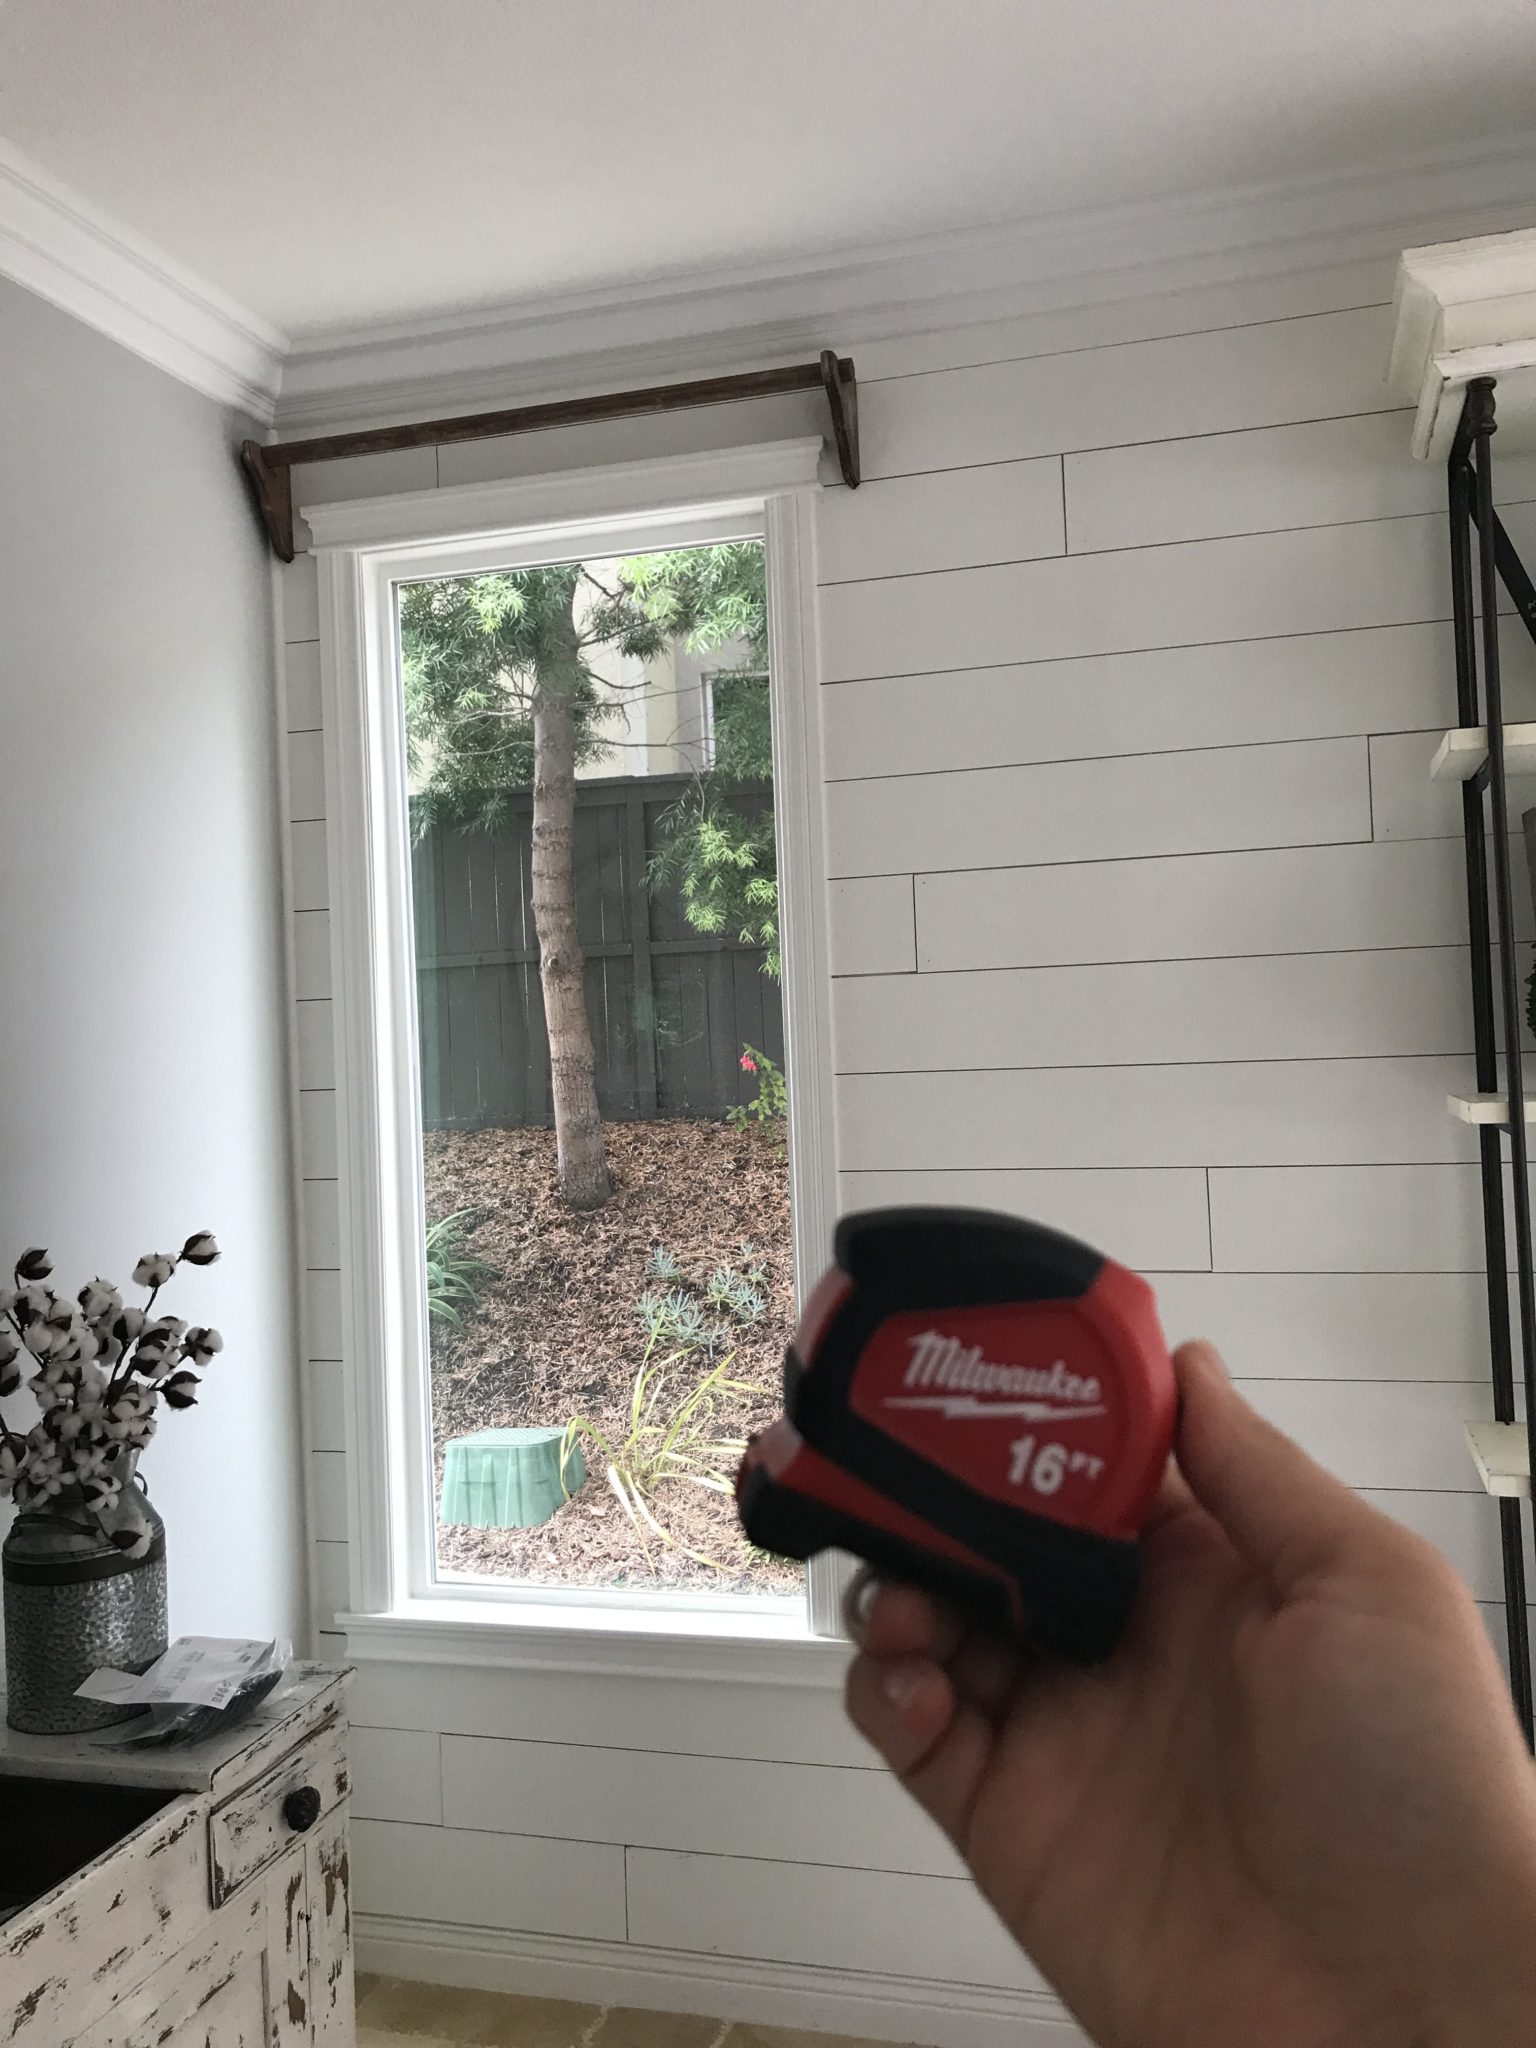
– Measuring tape
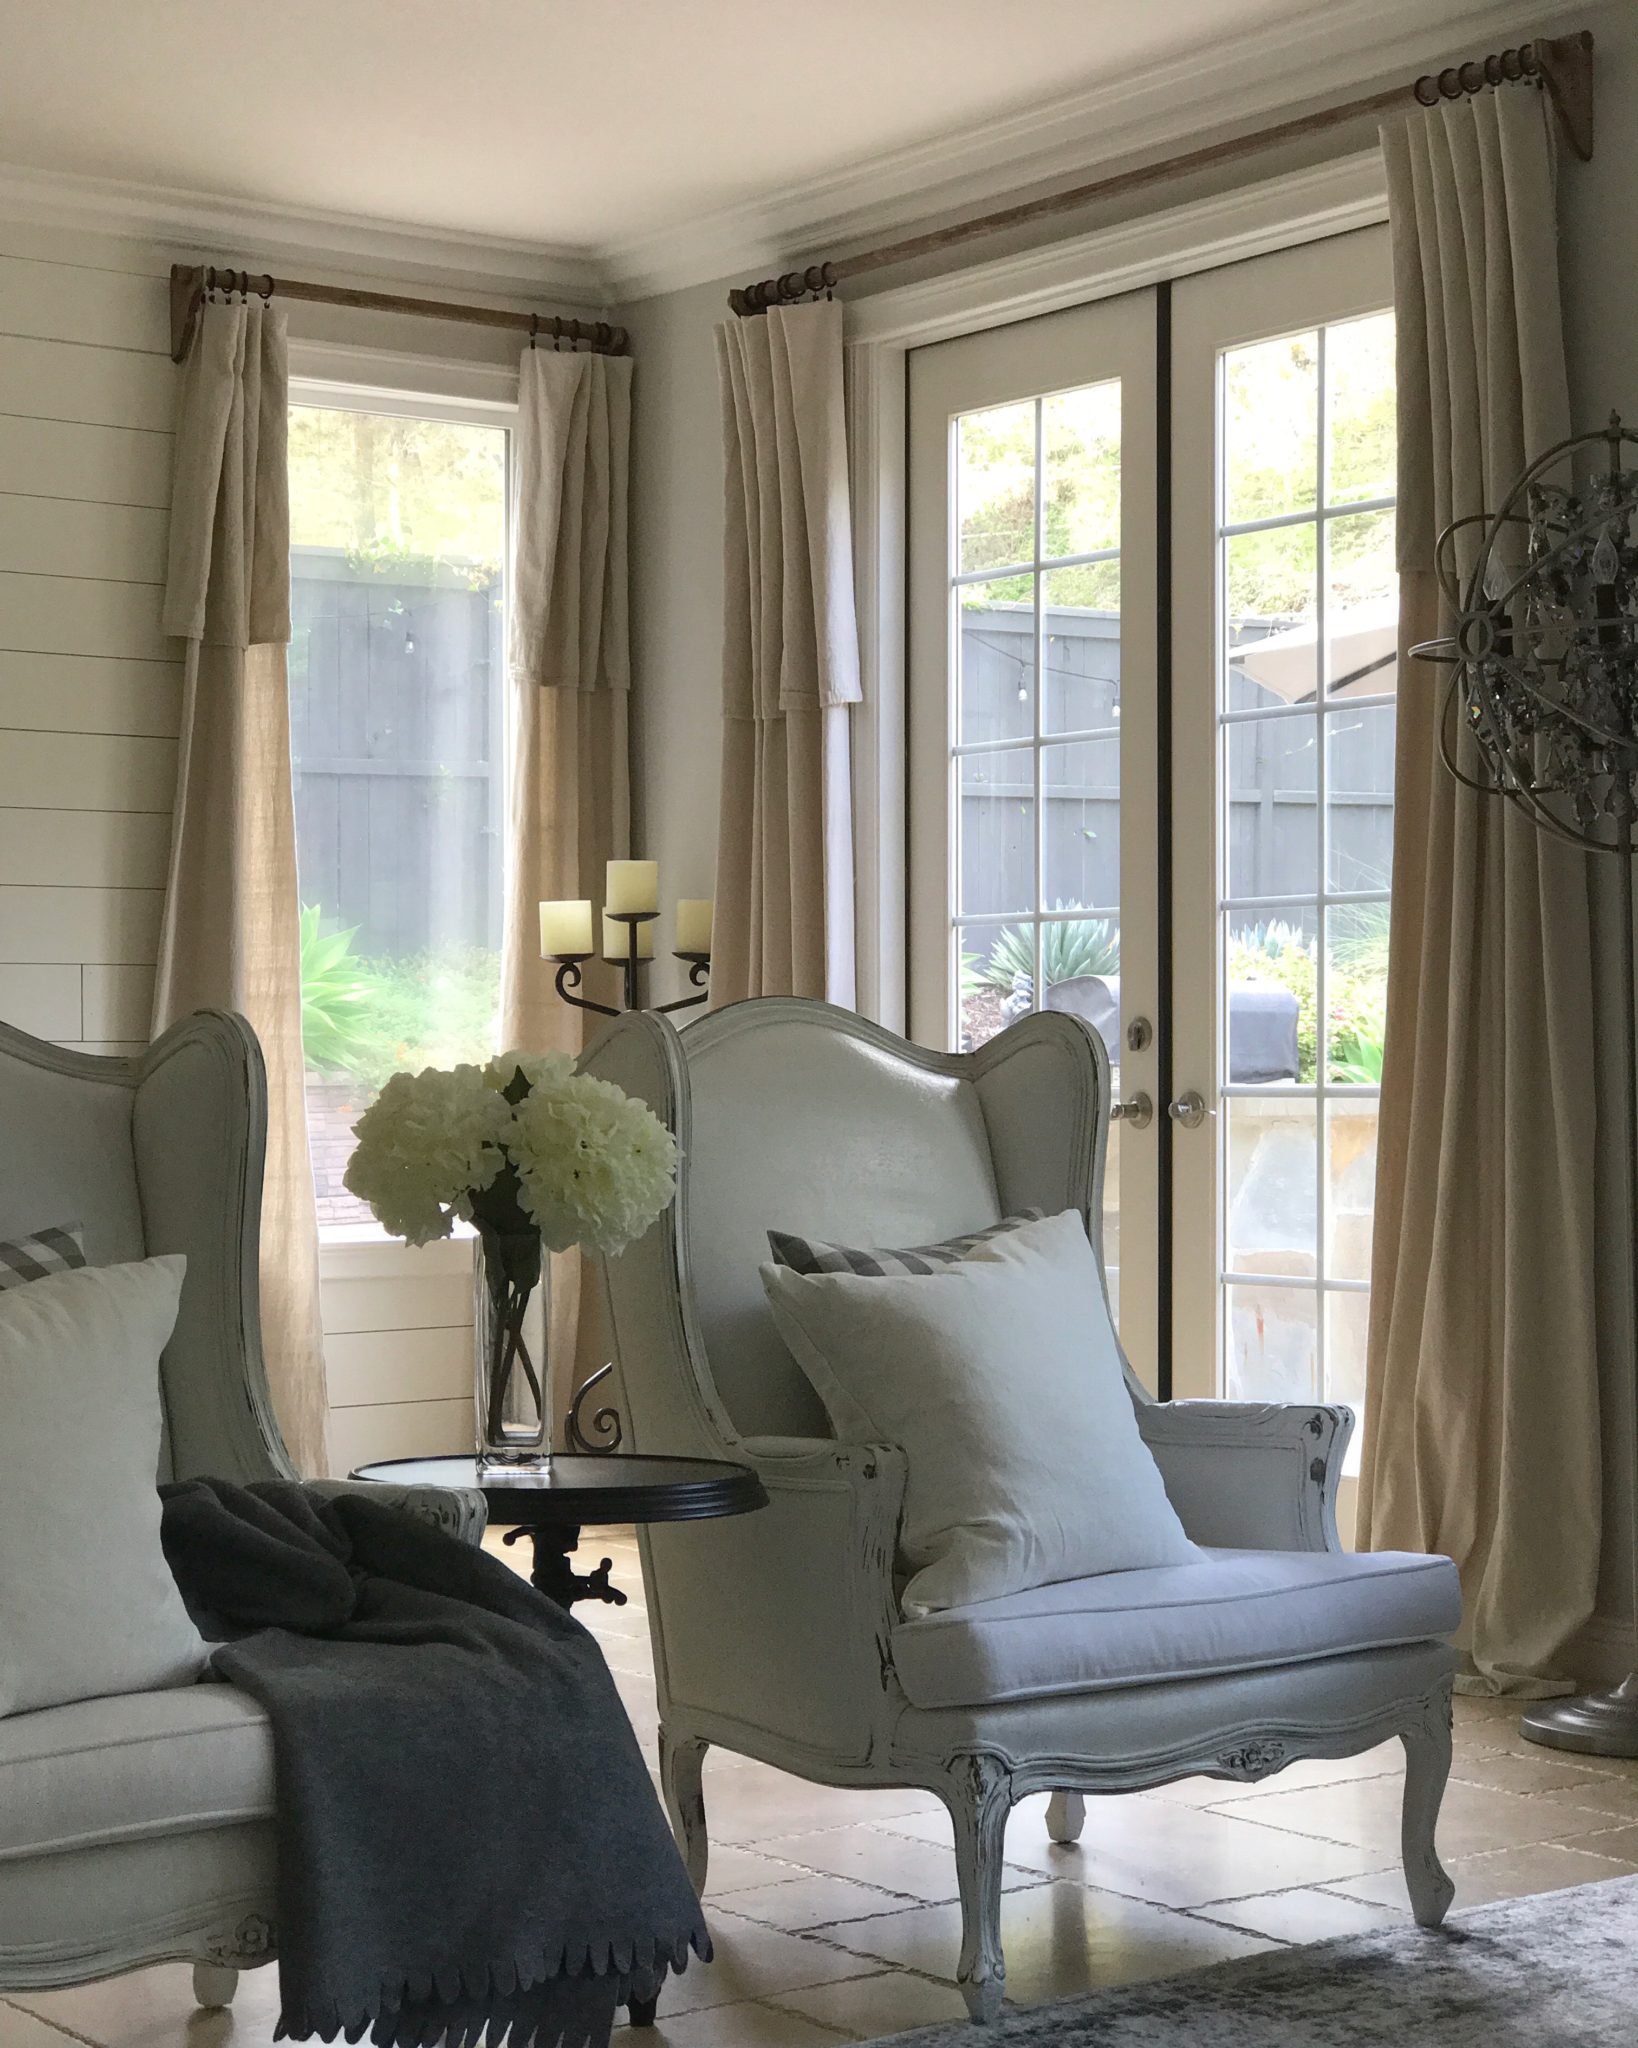
- Determine the length of curtain you need. The most common sizes I have seen used for drop cloth curtains are 6’ x 9’ or 9’ x 12’. I originally purchased the shorter size because I have 9 foot ceilings and thought I could sneak by with 9′ and save some extra money BUT you need to take into account that these are 100% cotton and they WILL SHRINK. I did not (OPPSY) and had to repurchase the larger size. (But don’t you worry…I have a few ideas for my short curtains and they will not go to waste!) So what you see hanging in my home are the 9’ x 12’. I washed and dried each drop cloth and removed them from the dryer promptly so I could avoid ironing. (And that’s HUGE because ironing may just be my next dreaded chore after laundry…and I am a terrible ironer. Ironer…is that even a word?!?!)
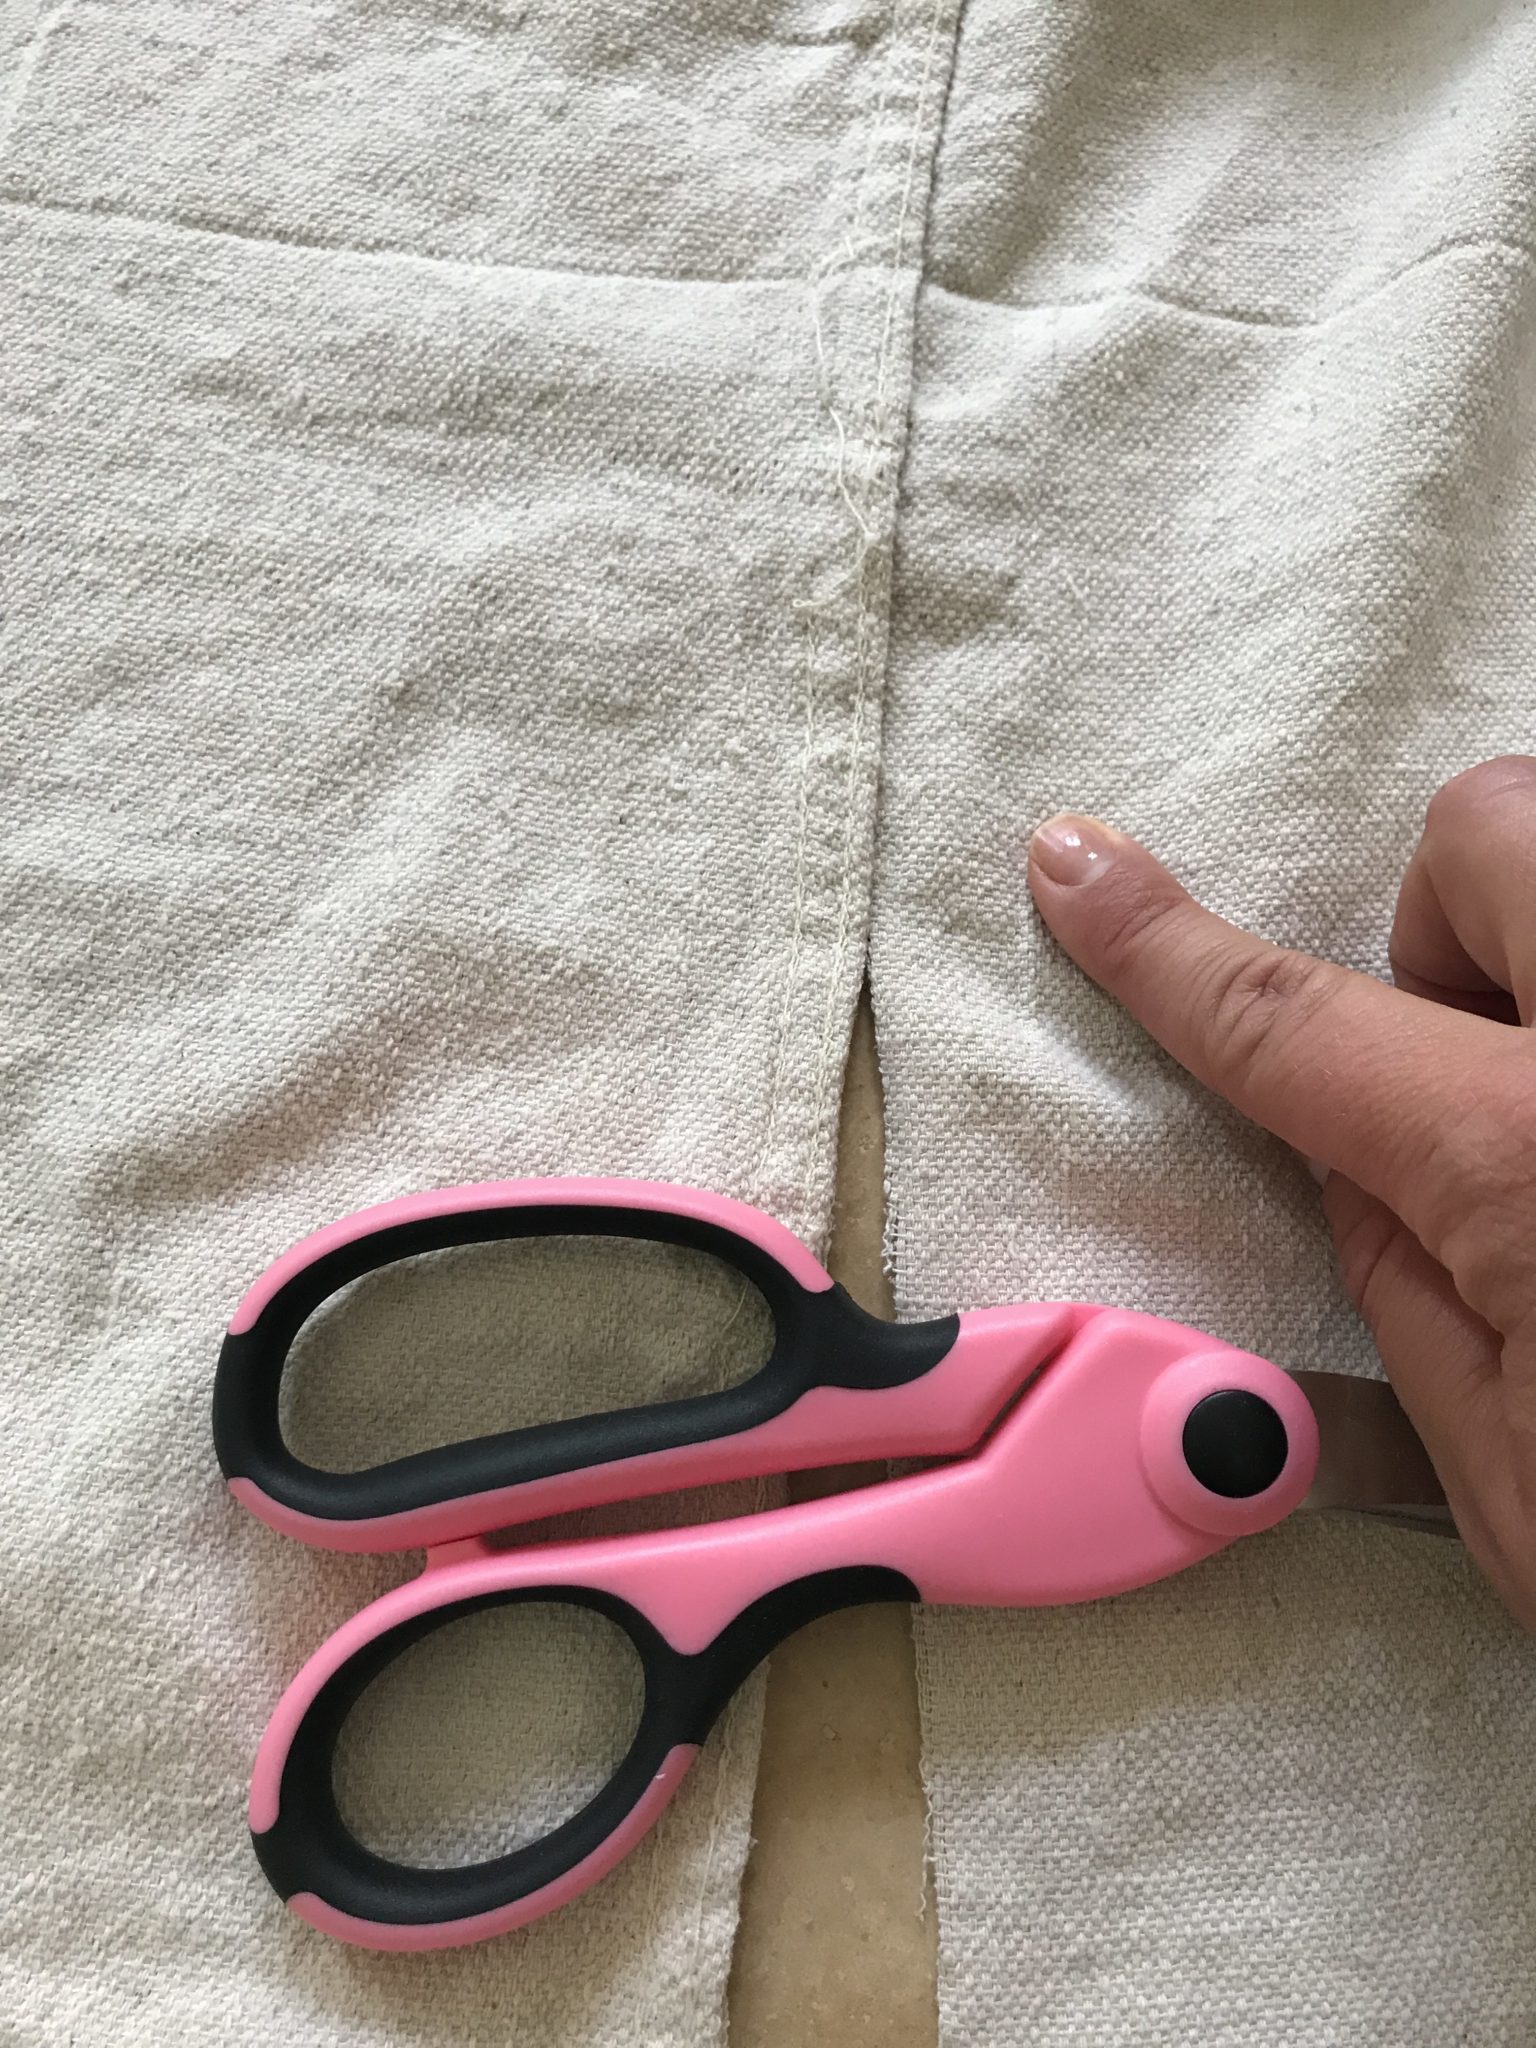
2. To create the two panels for each window, cut down the center seam of the drop cloth. One helpful tip – use scissors that you reserve only for cutting fabric or buy a new pair of scissors to keep just for fabric. I happen to love THESE scissors. It really does make a difference and you will have a cleaner cut which is ideal since we aren’t gluing or sewing a thing in this tutorial.
**UPDATE 2/6/2018 – Lowe’s changed the center seam on the drop cloths I recently purchased. I followed the same princple as above in step #2, folded the cloth in half and cut down the center as straight as possible.
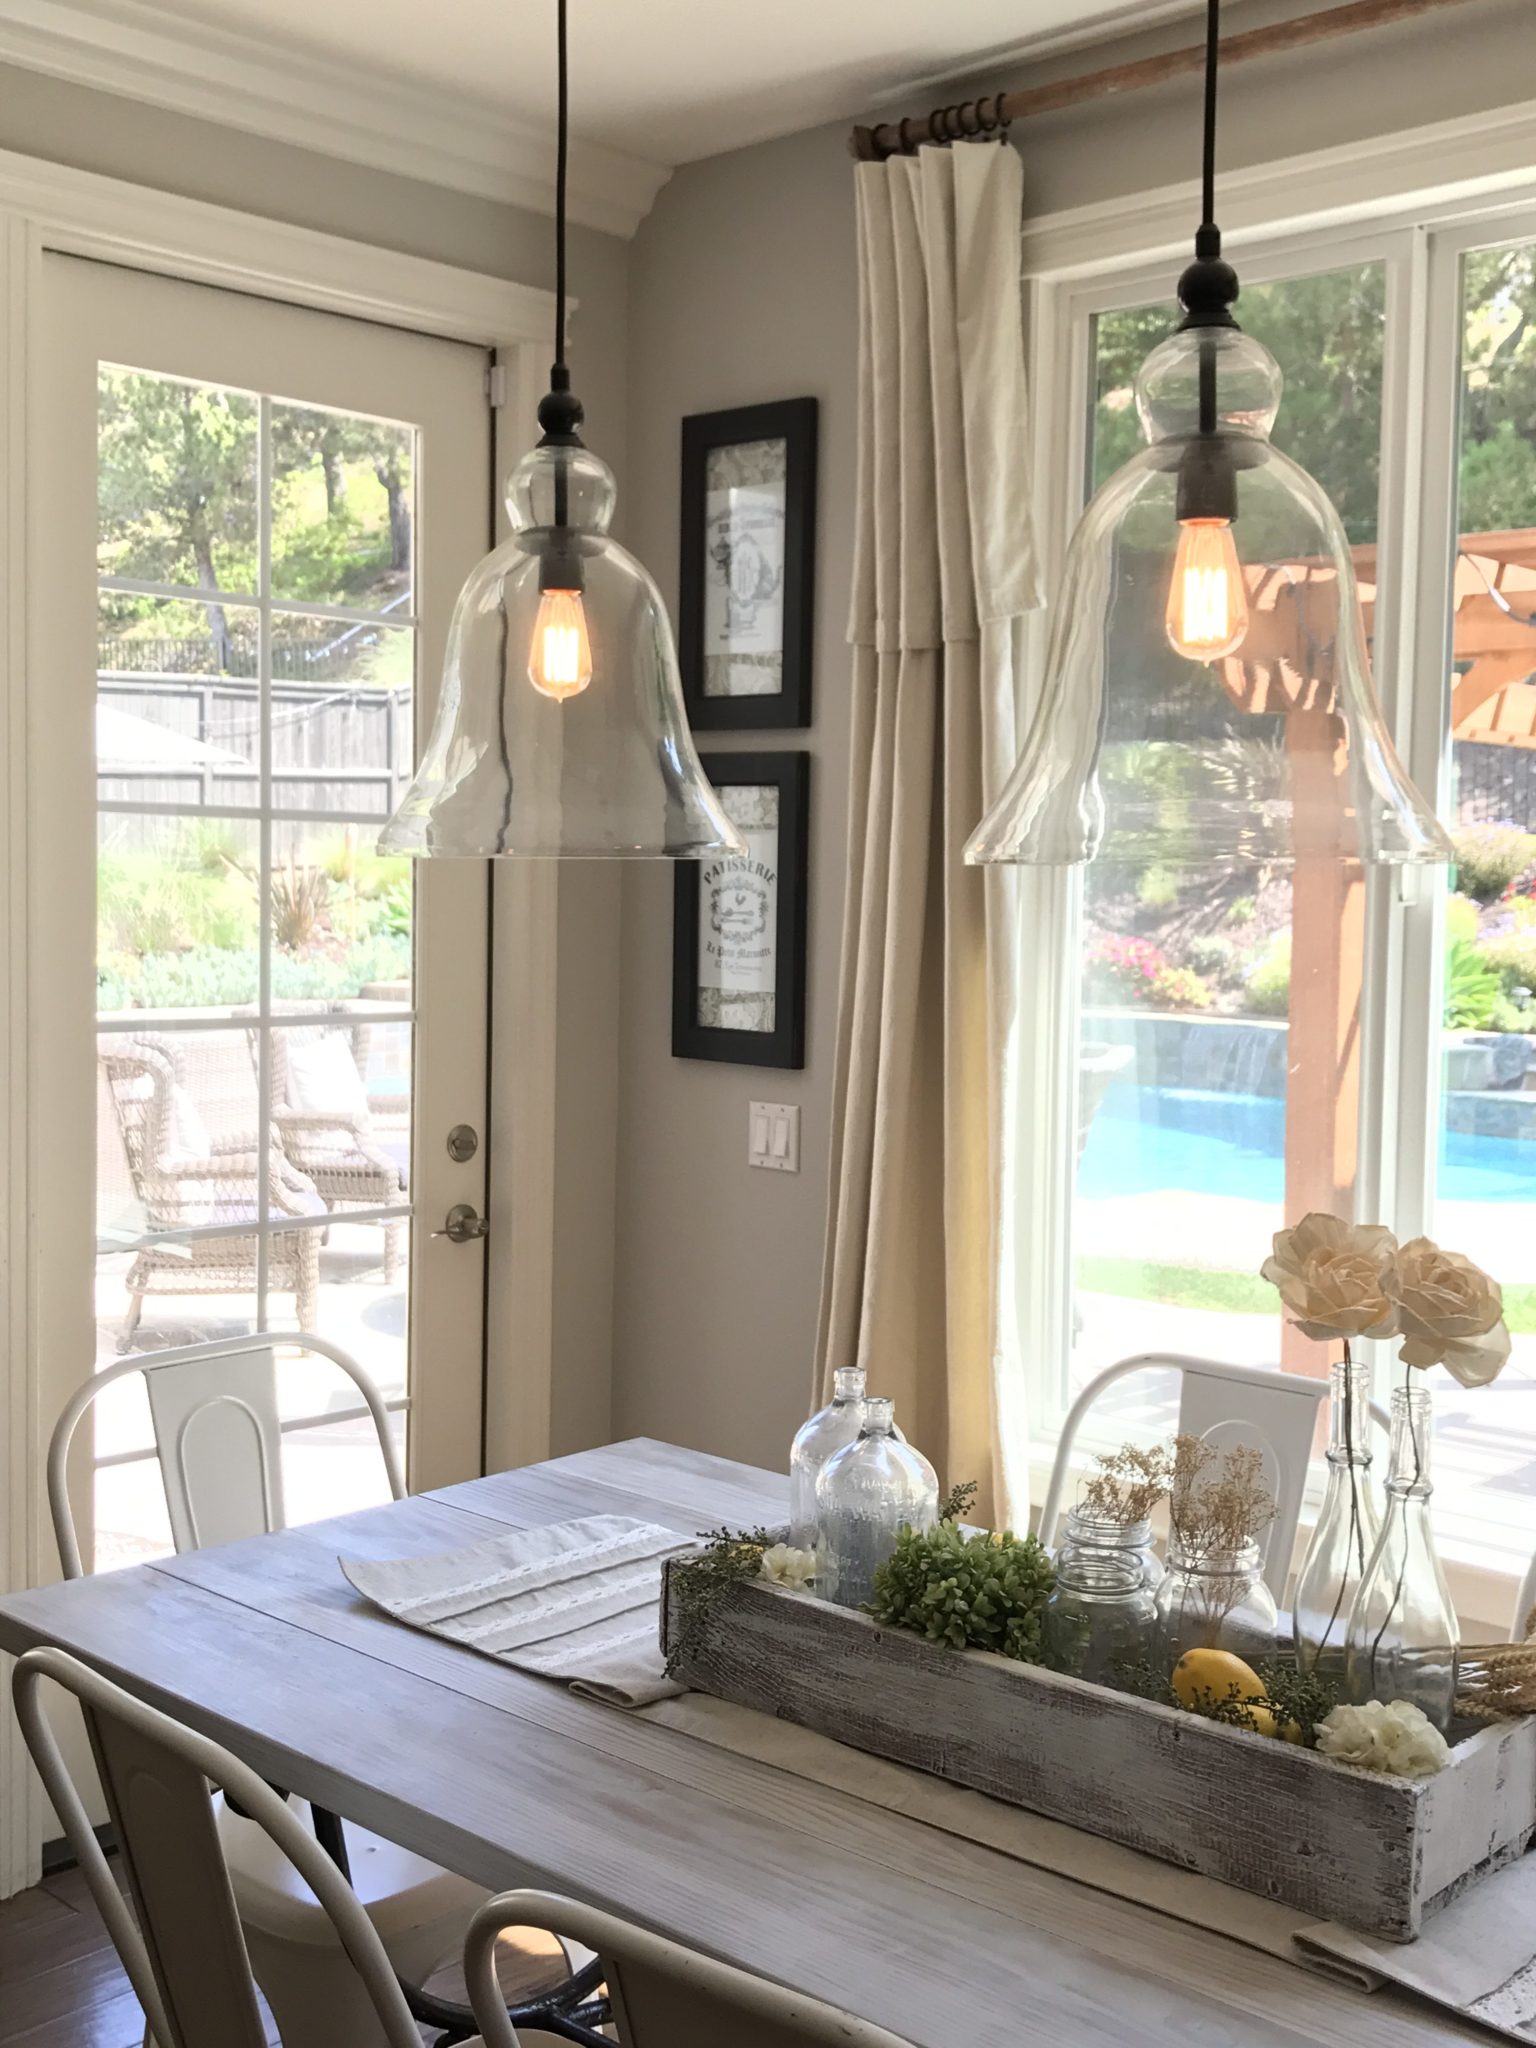
3. Determine the length of your curtain vs. cuff. You may not like a big cuff (aka fold over) but I LOVE it and feel it added something extra to the look of the curtains. Keep “cuff size” in mind when you’re selecting the overall length of your curtains. I measured from the top of my already hanging rods to the floor and added an inch to that measurement. I wanted a small amount of puddling, so adding about one inch (plus the few inches lower the curtains will sit hanging on the clips) did the trick.
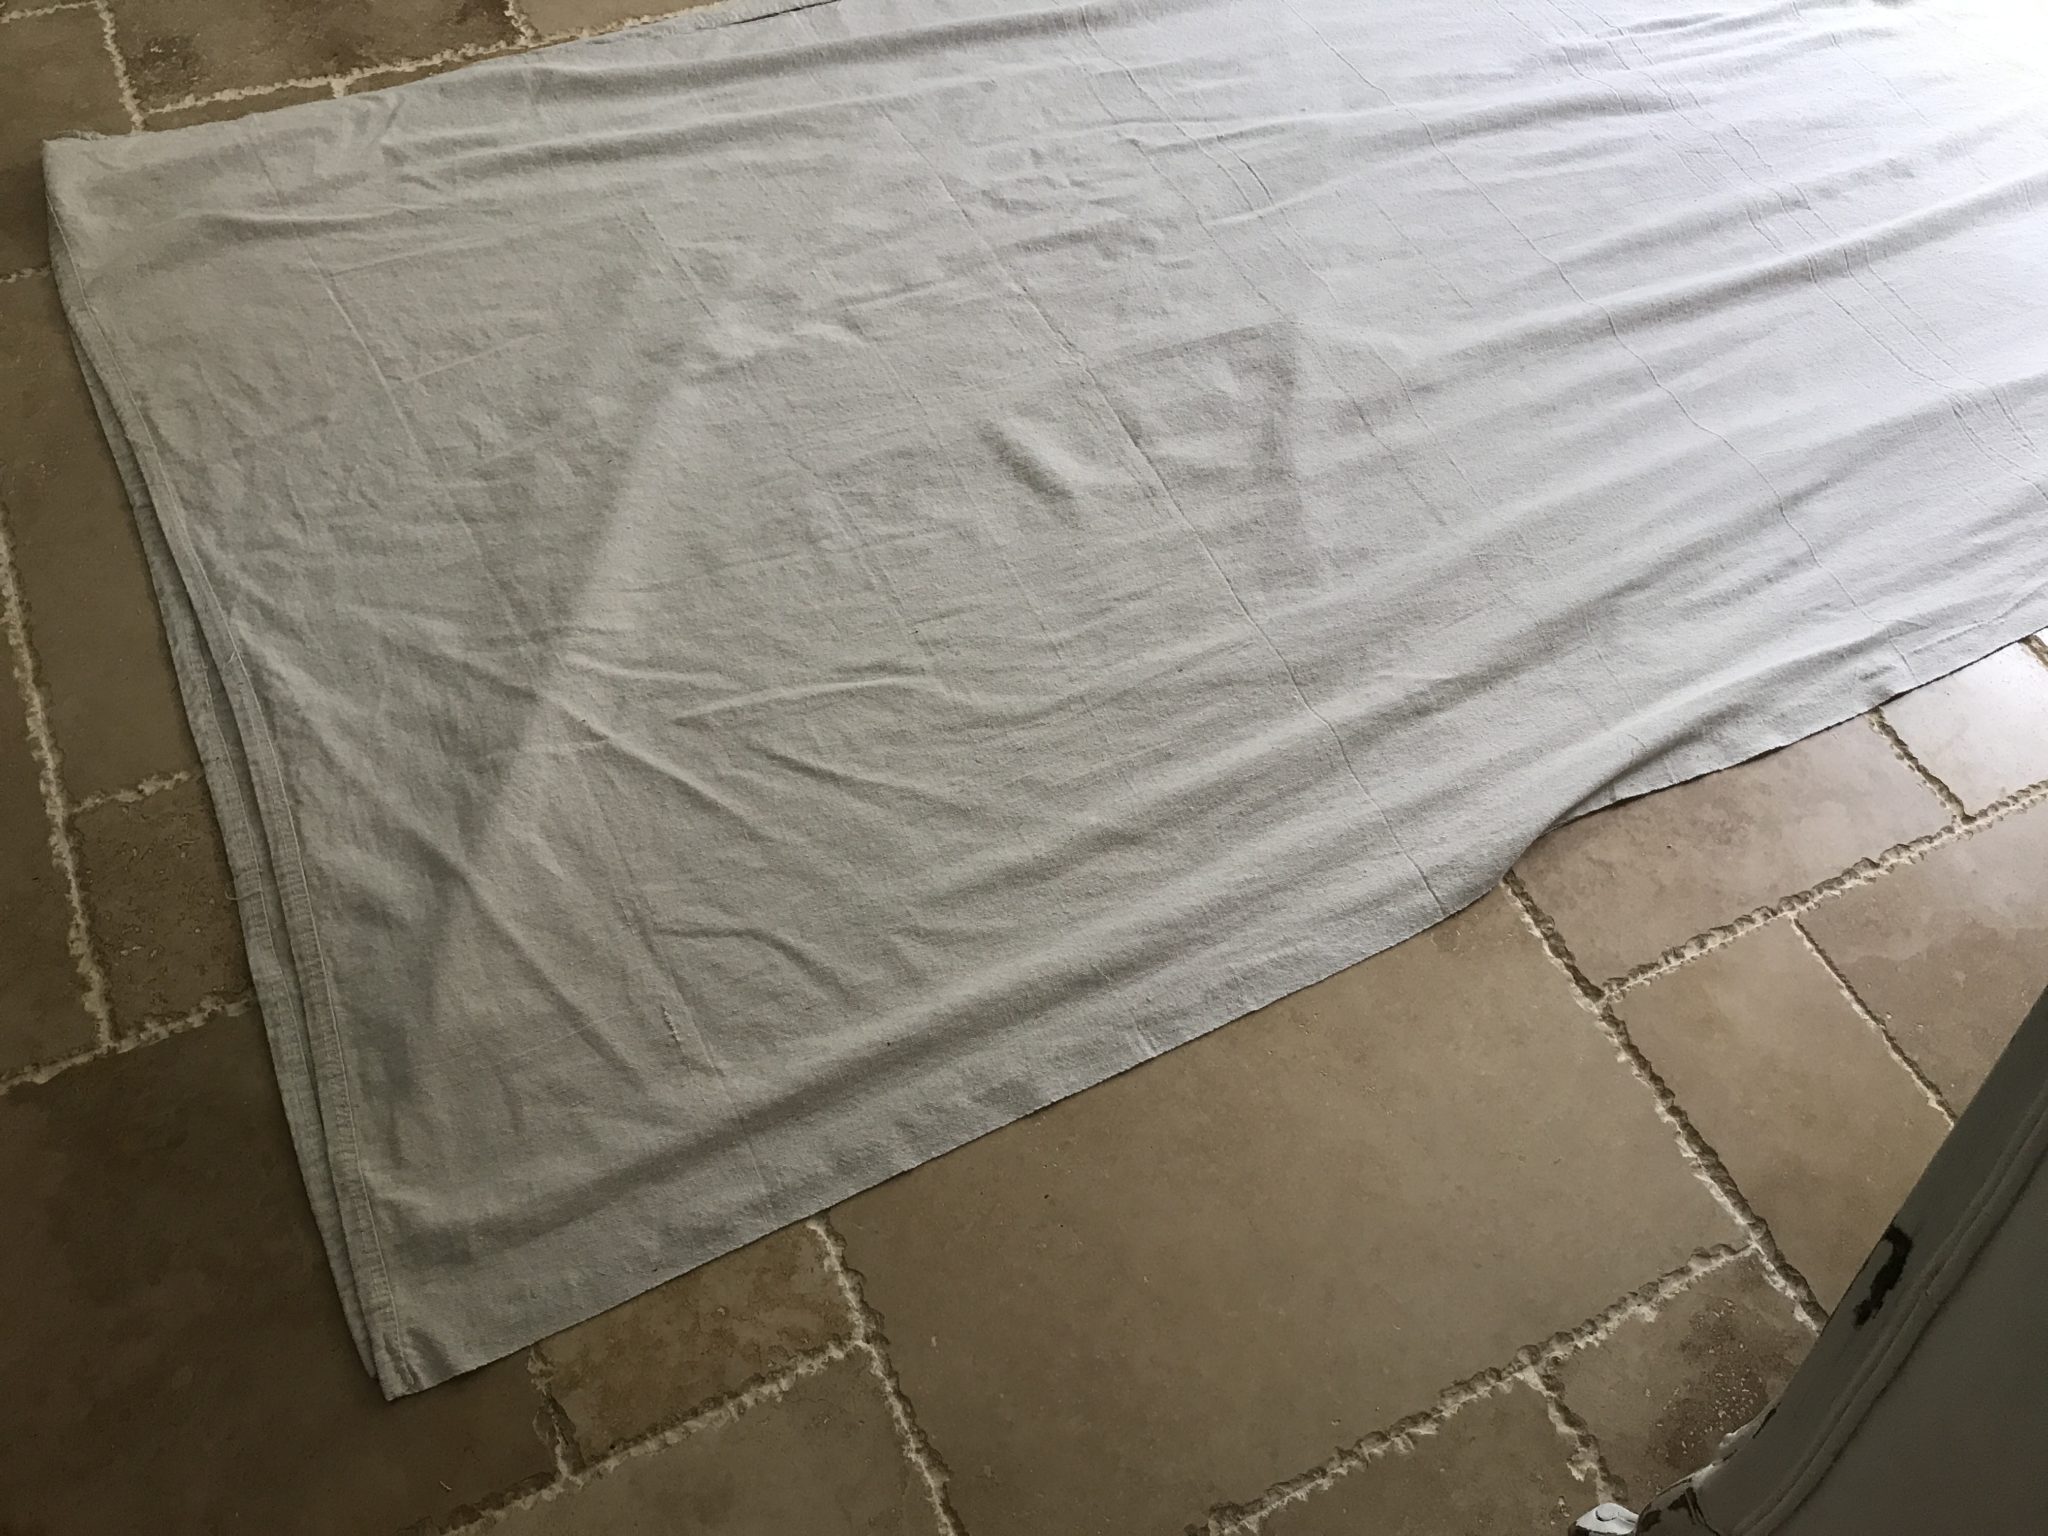
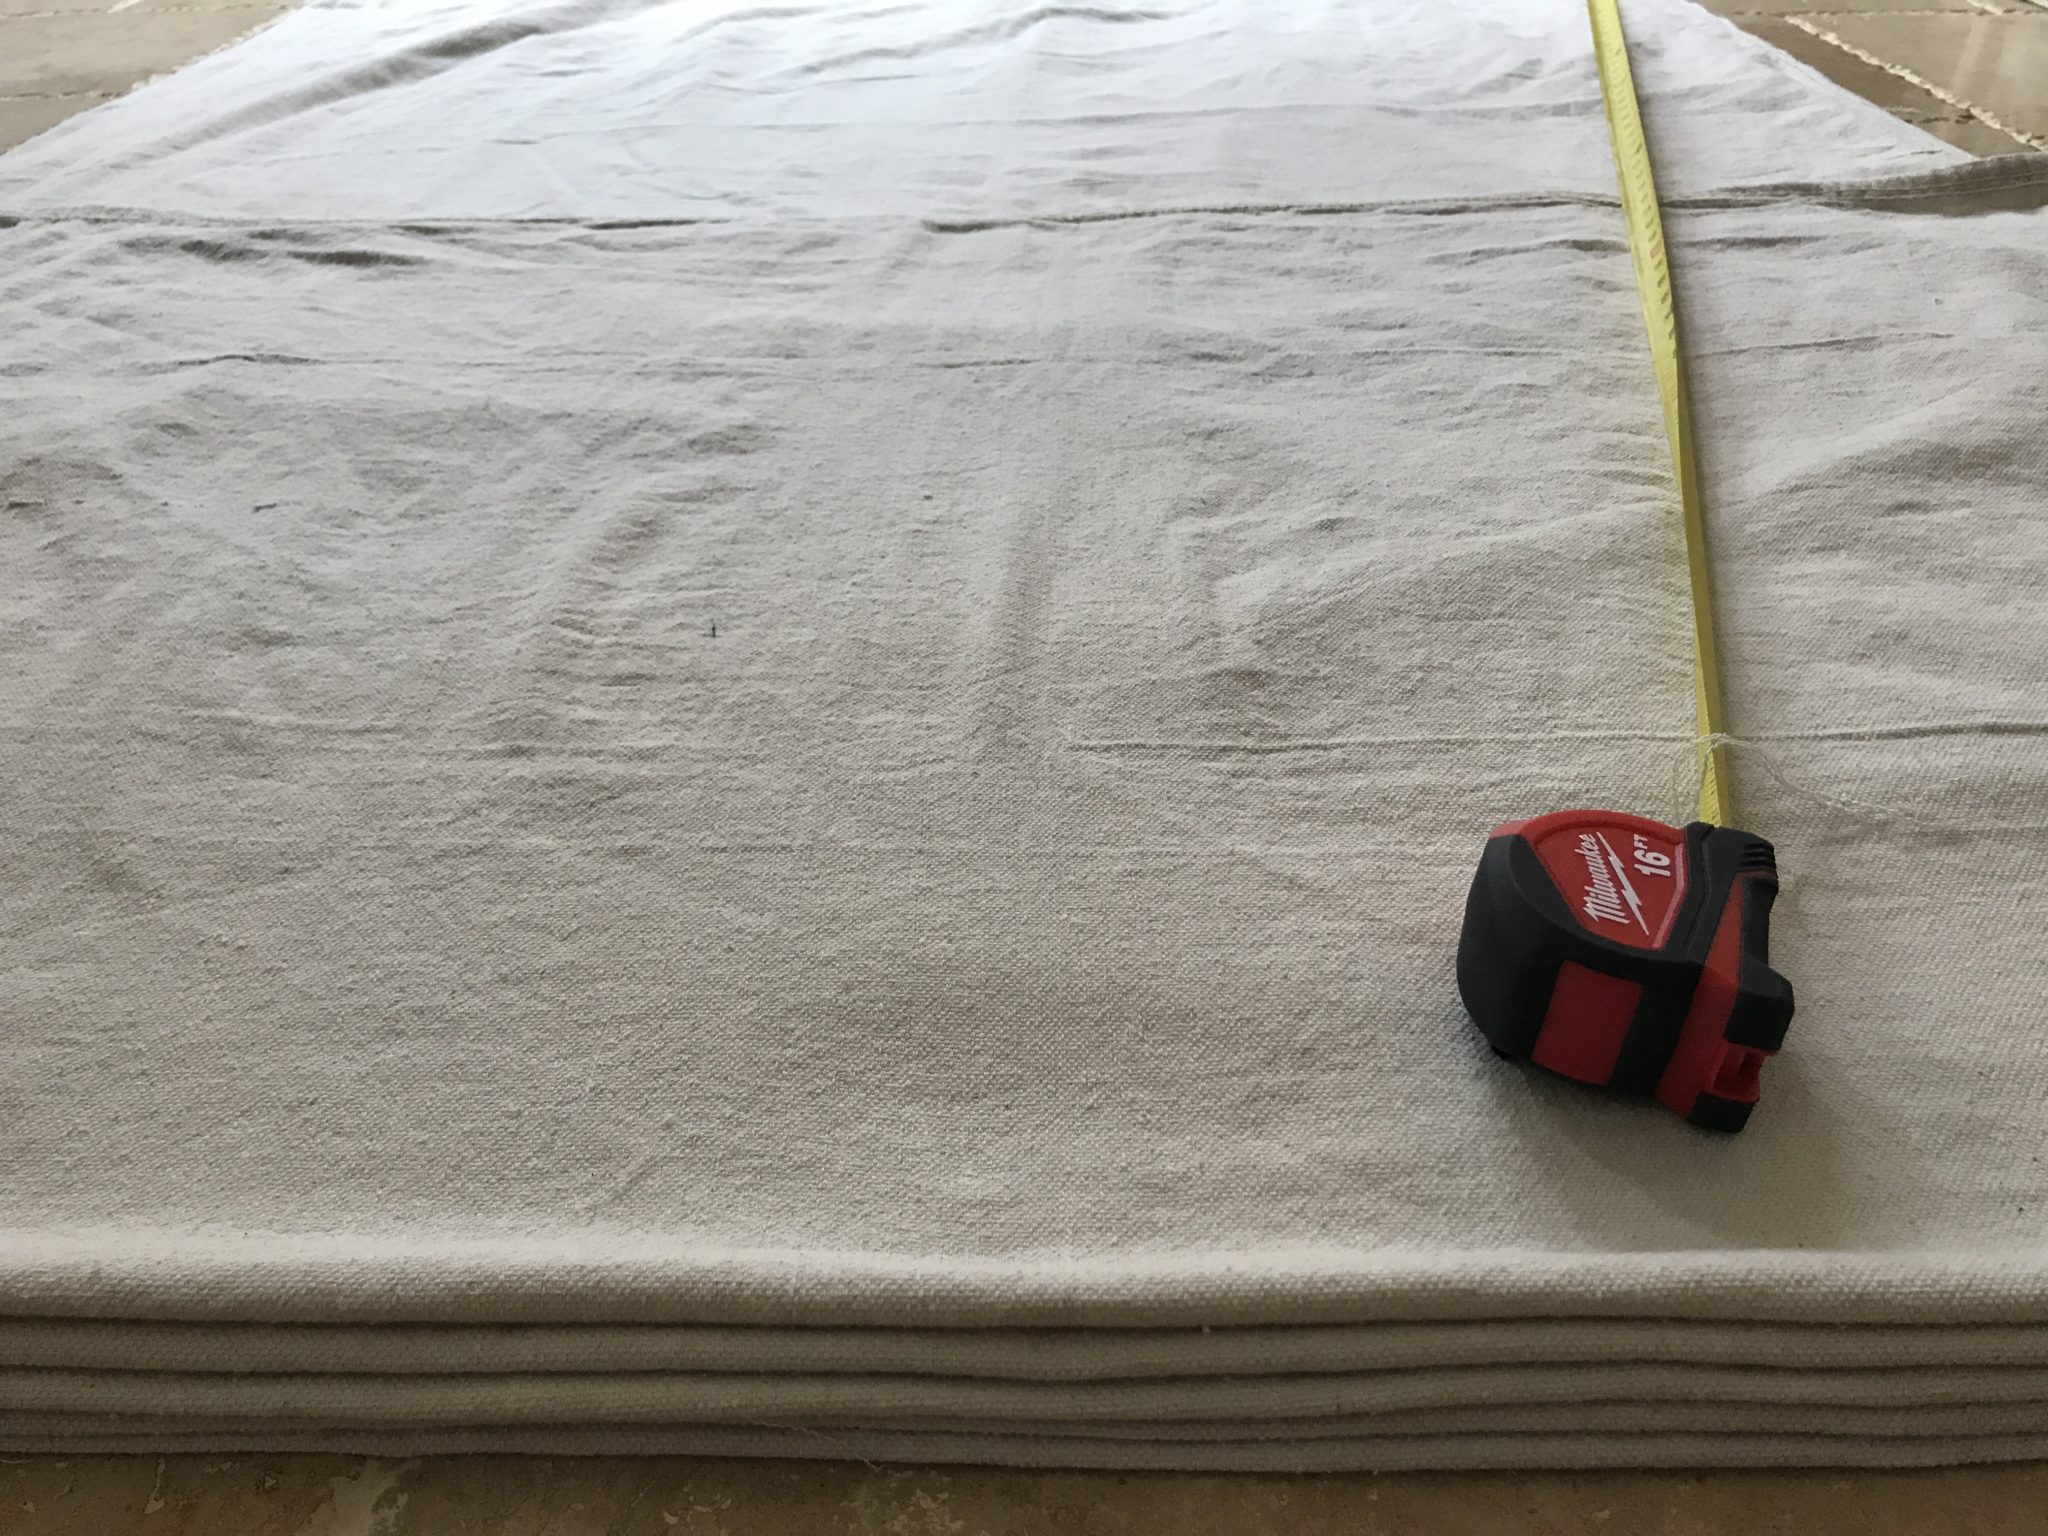
4. Start with your first cut panel and lay it out on the floor. Take your measuring tape to figure out where you need to fold it over to create your cuff. Use this curtain as your temple, place all the other panels directly overtop and fold them all exactly the same.

Hope that helps you create some cozy spaces in your home too!
Happy Drop Cloth Curtaining!