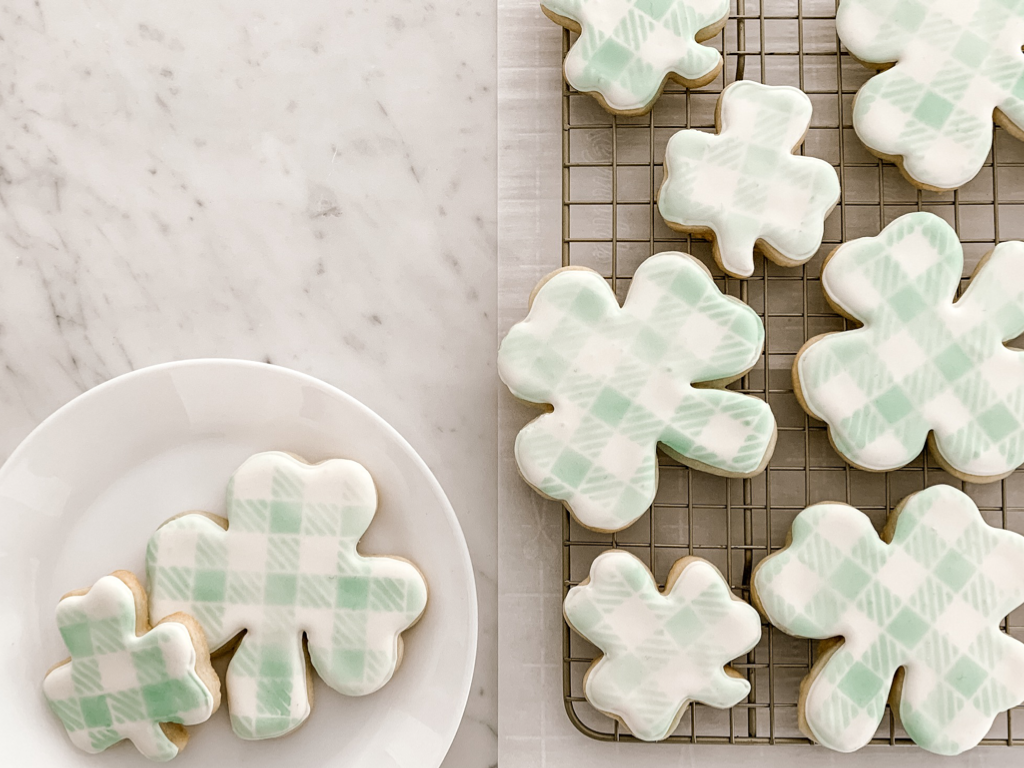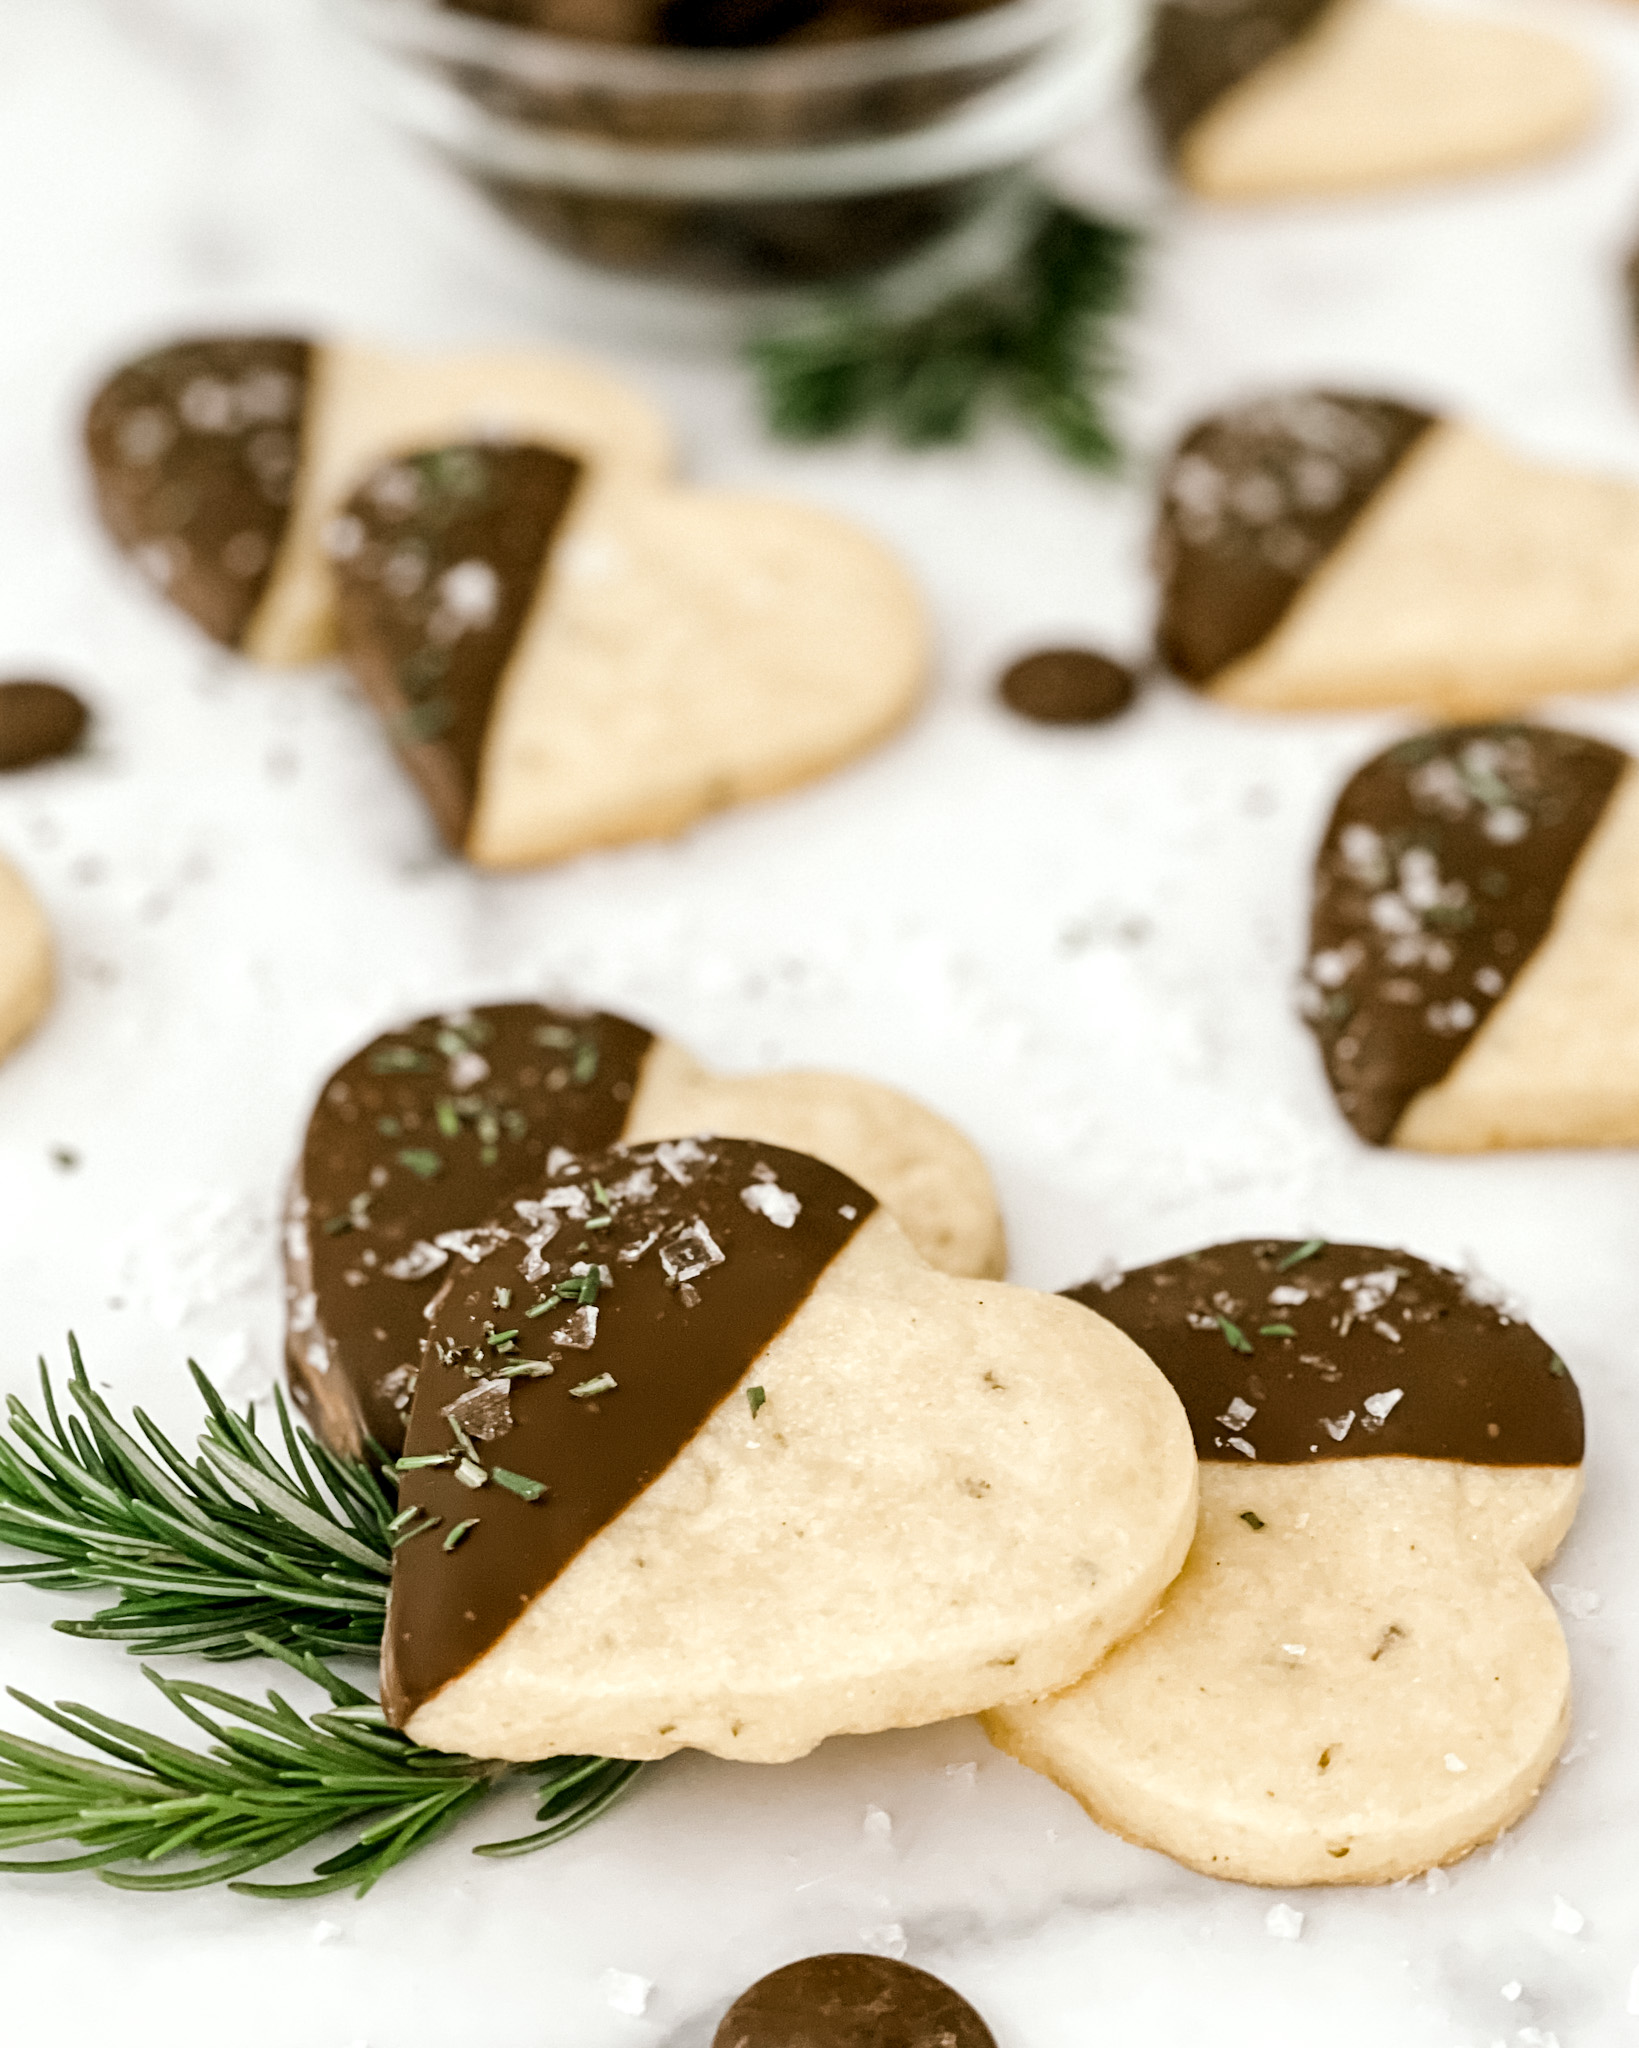
Pinterest worthy royal iced cookies…while a little time consuming, they are definitely attainable…even for a novice baker like me. I always wanted to learn the tricks to create “those” cookies that stop you in your tracks on social media. I started learning two months ago and am loving it! Last month I baked a shamrock sugar cookie, decorated with white royal icing and then used a stencil and color mist to add the gingham detail.
Watch the video below for instructions on how to create this cookie:
For a peek at the very first royal iced cookie I decorated click HERE.


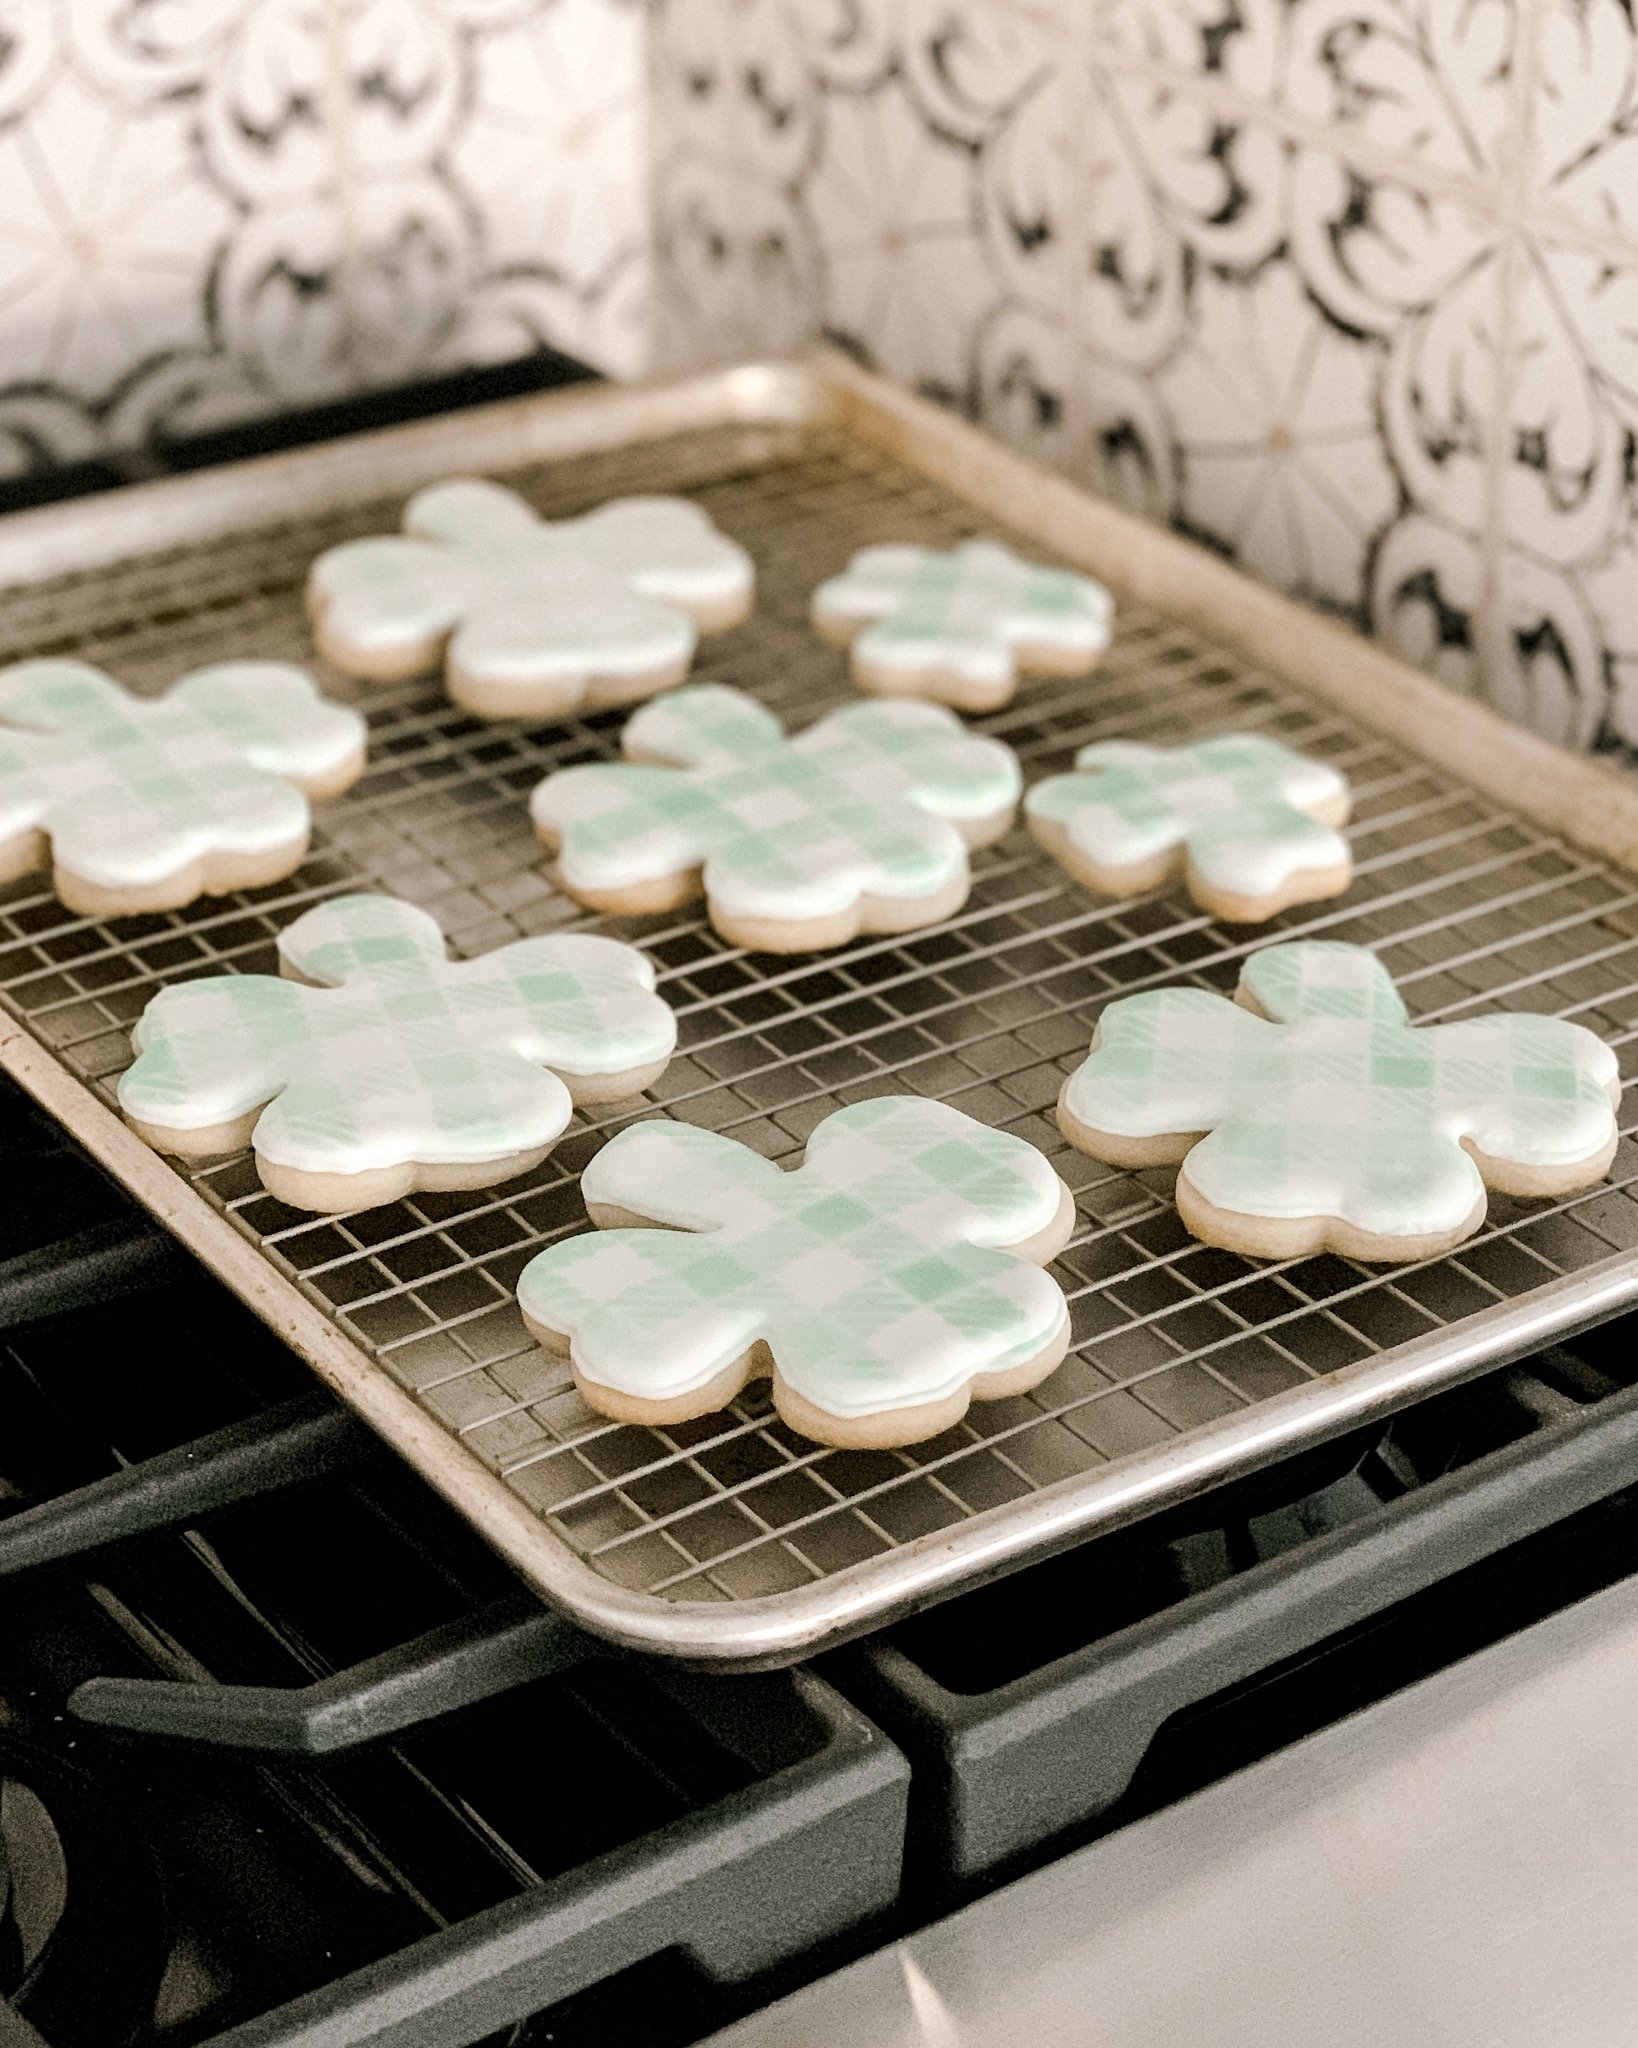
For April, we’ll be learning how to create a lace design and roses with royal icing. Below is the cookie we’ll be baking! And of course it was found on Pinterest (source unknown). Isn’t it just the CUTEST!?!? And perfect for the upcoming Easter Holiday.
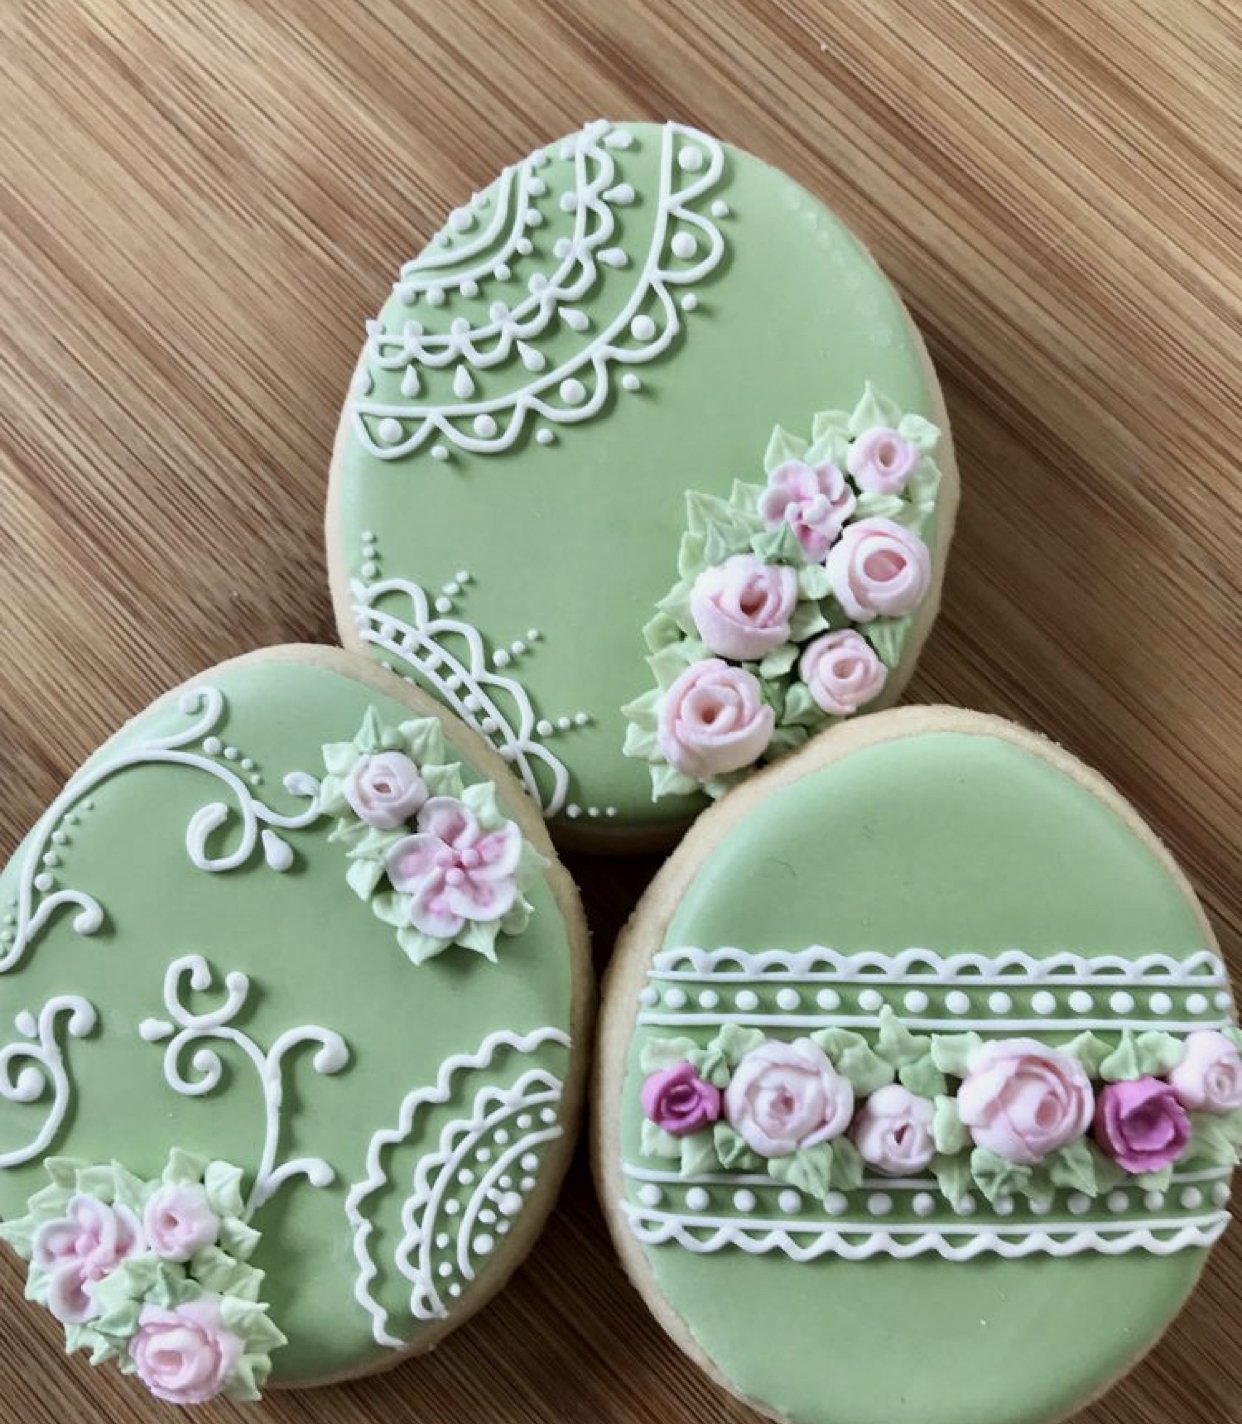
Here are a few items you’ll need to create this cookie. Clickable shopping links are below.
- Egg Shaped Cookie Cutter (I’ll be using a 4″ only but shared a few options)
- Graph Paper
- Push Pin
- Flower Nail
- Piping Bags or Piping Bottles
- Decorators tip size: 1.5 (lace), 2-4 (outline), 10 (flood), 67 (petals) and 101-104 (roses)
Cookie & Royal Icing Recipes
Click HERE for the Better Homes & Gardens recipe that I follow to make my sugar cookie. This recipe is technically for a shaped cookie but I refrigerate and roll the dough instead. I love the flavor of this cookie because it’s not overly sweet so it balances out the sweetness of the royal icing.
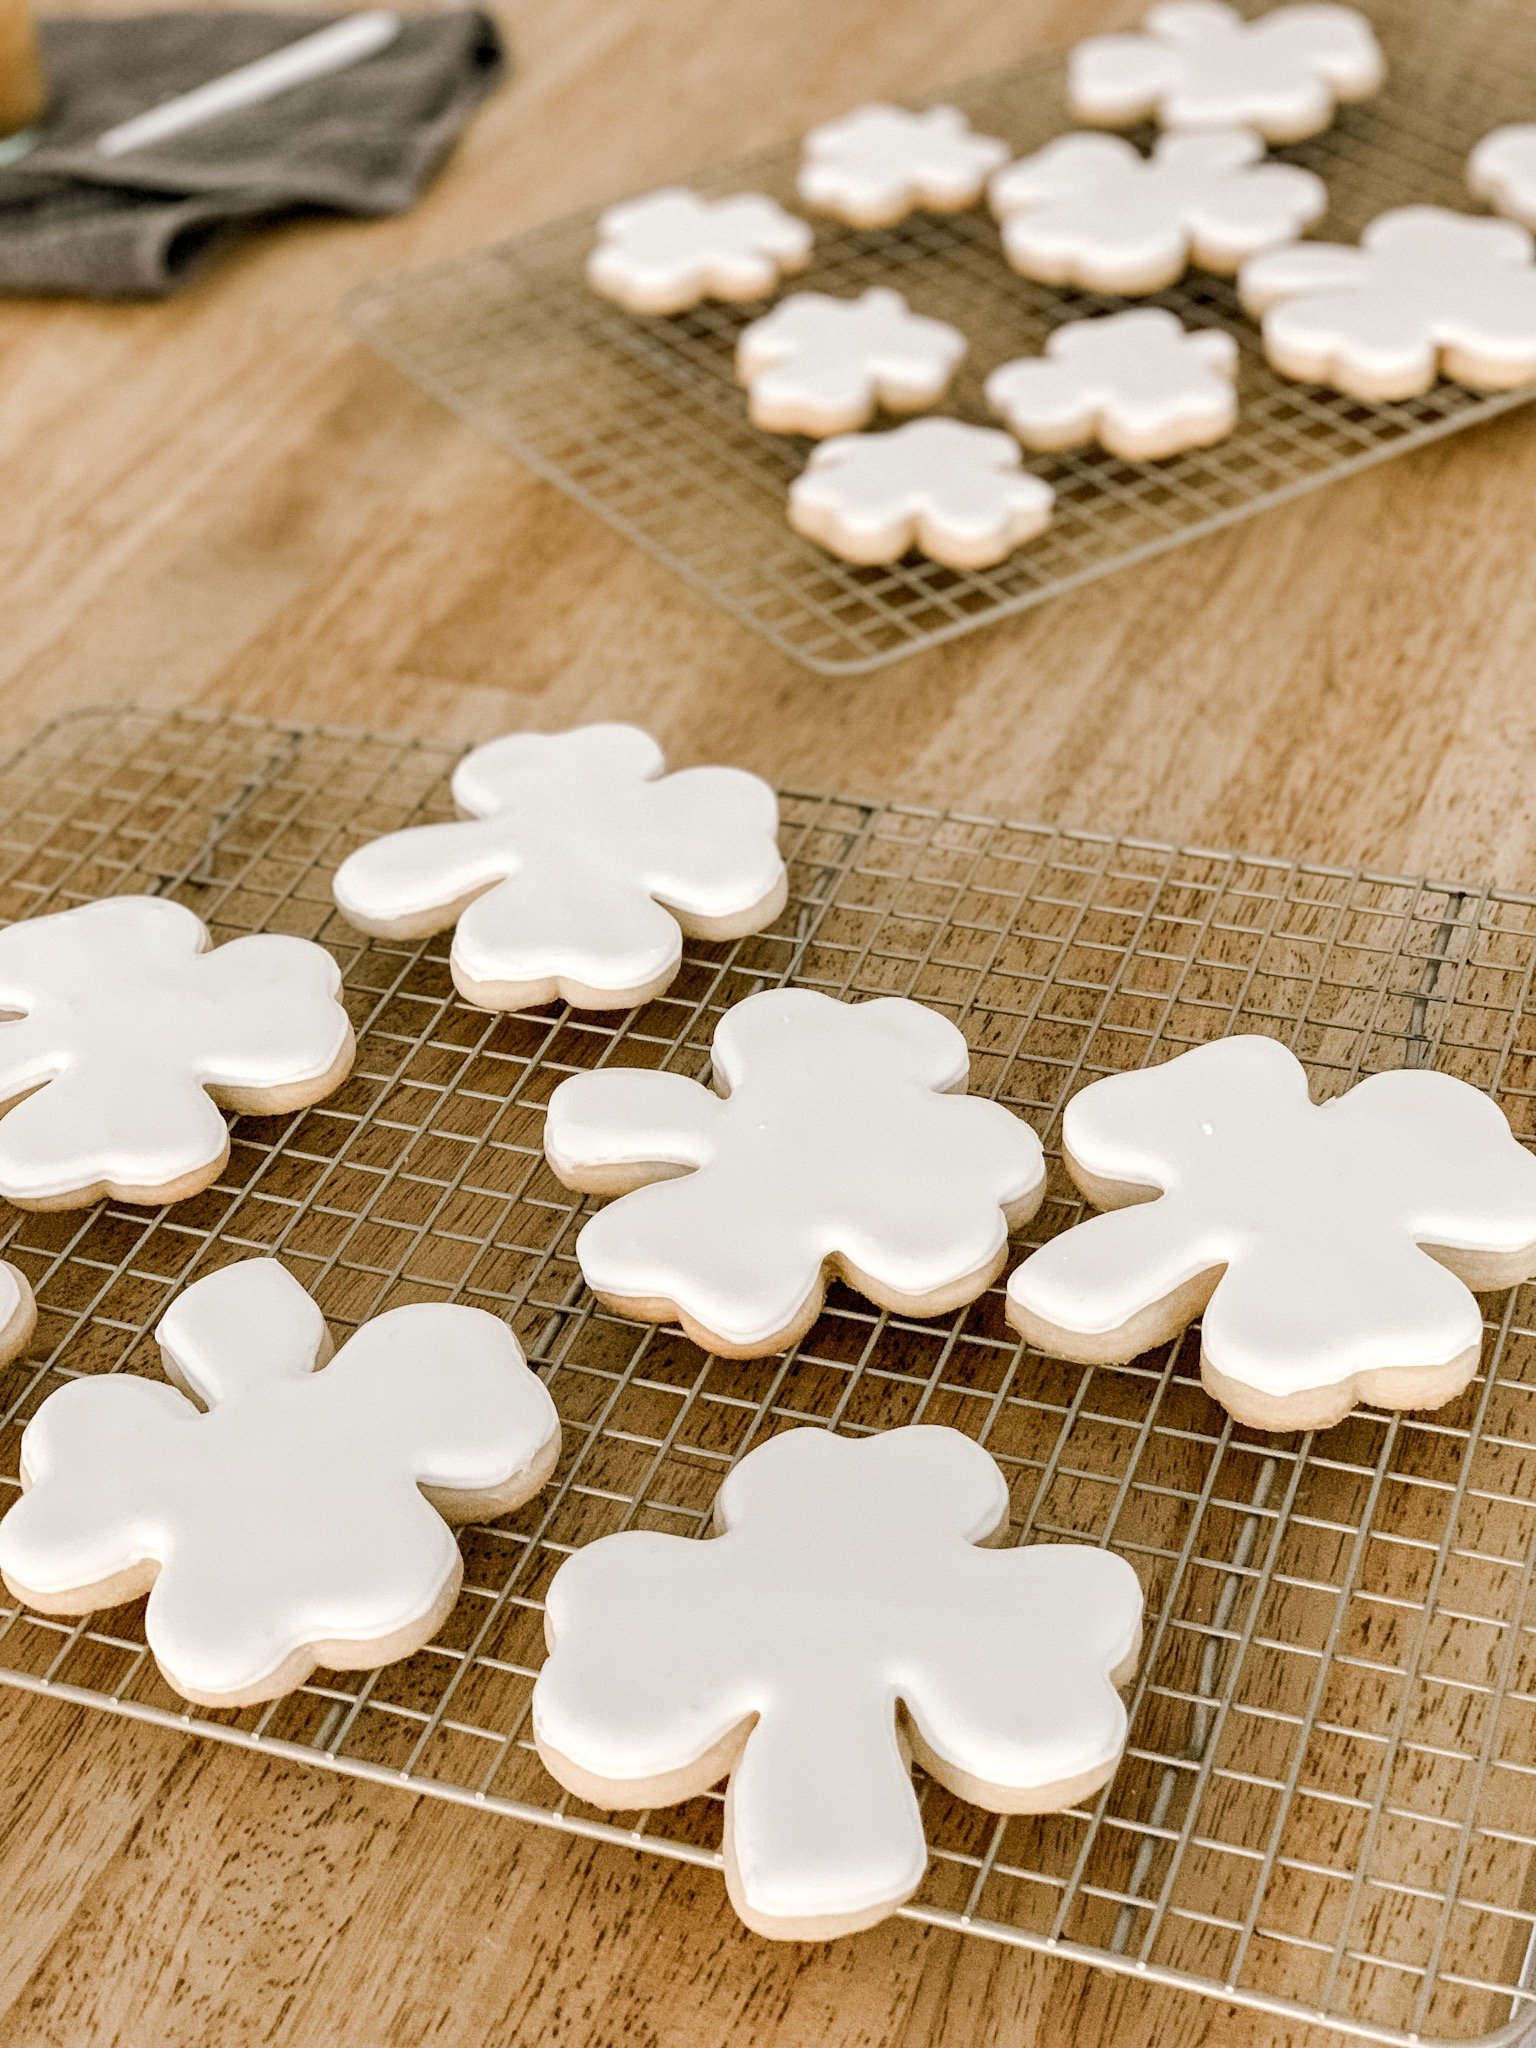
I follow the mixing instructions for the recipe, refrigerate for 1hr, then roll the dough between two pieces of wax paper. Once it’s about 1/4” thick, I use my cookie cutter and place on a baking sheet. You know the cookie is done when it’s just barely golden. Don’t let the edges get brown.
For the royal icing, HERE is the recipe I’m currently following from Sweet SugarBelle and had great success with!

At the end of this post I linked a few other helpful items that you may want to add to your kitchen.
See you in the kitchen next week!
xoxo

